
This post was originally published in 2015 and was updated in 2022.
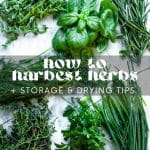
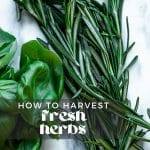
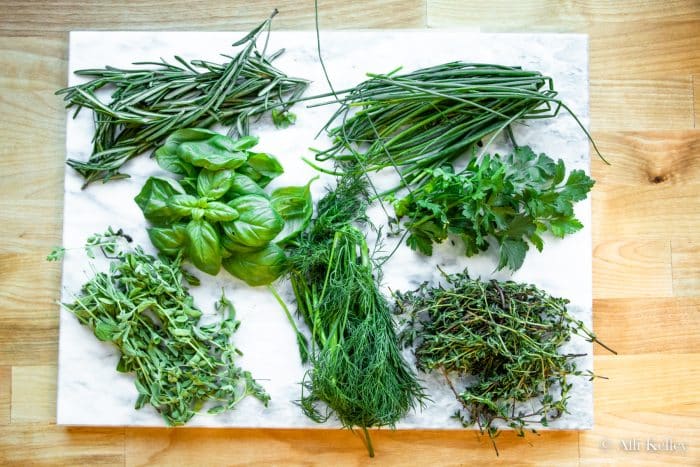
Learn how to harvest herbs and how to preserve them! A step-by-step tutorial on how to cut each herb so it will continue to grow and produce, along with a step-by-step guide to preserving your abundance of herbs.
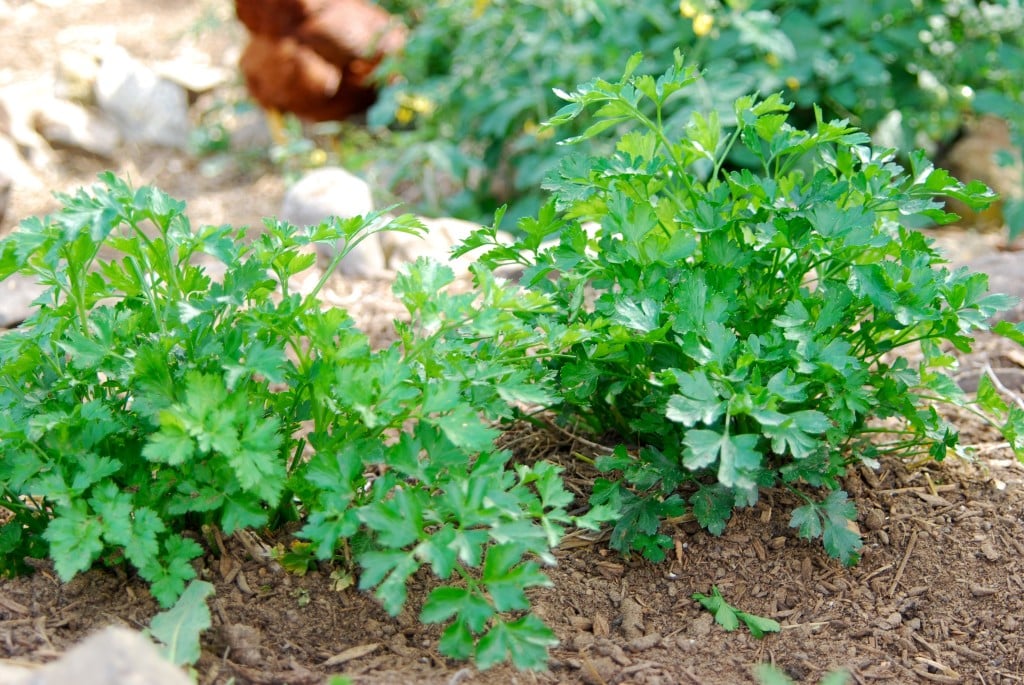
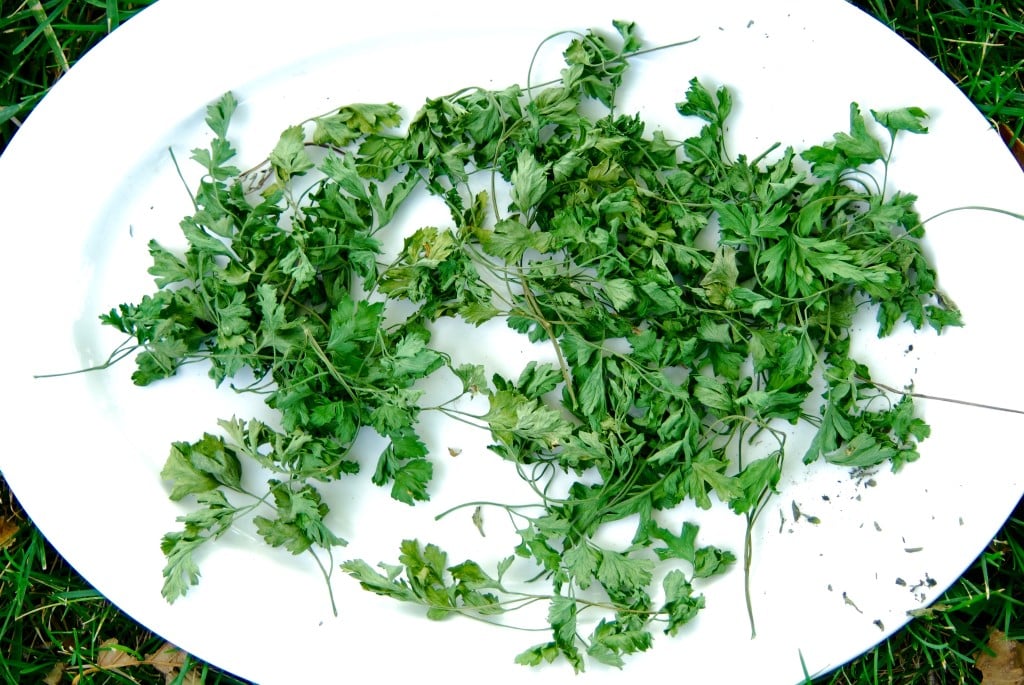
How to Harvest Parsley
WANT TO SAVE THIS RECIPE?
Enter your email below and we'll send it straight to your inbox. Plus you’ll get great new recipes from us every week!
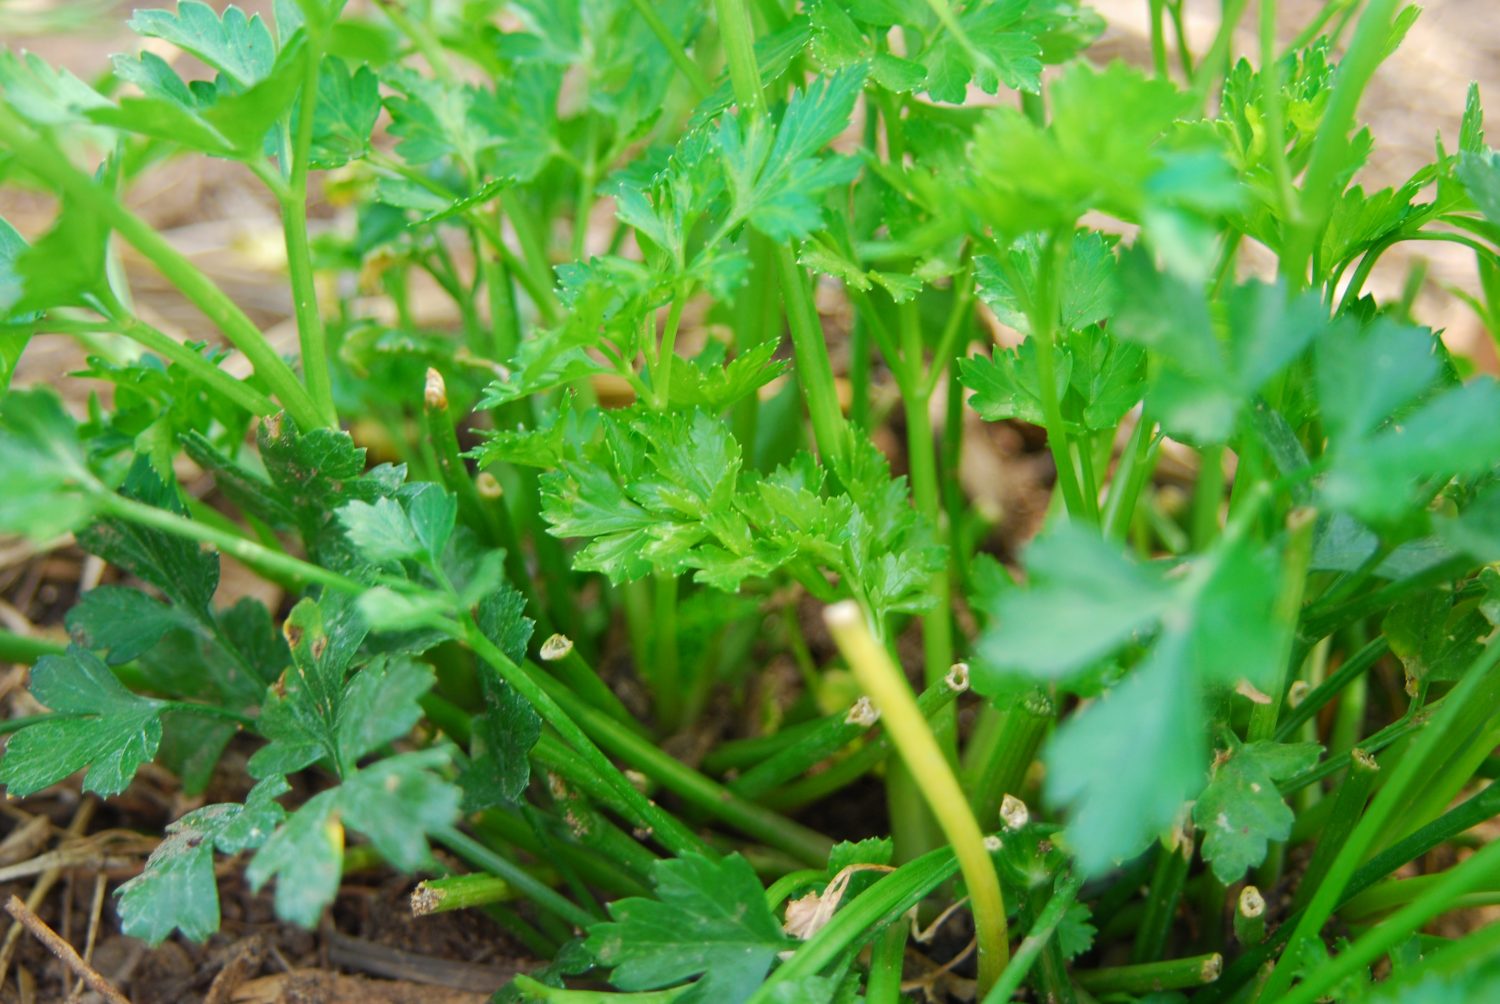
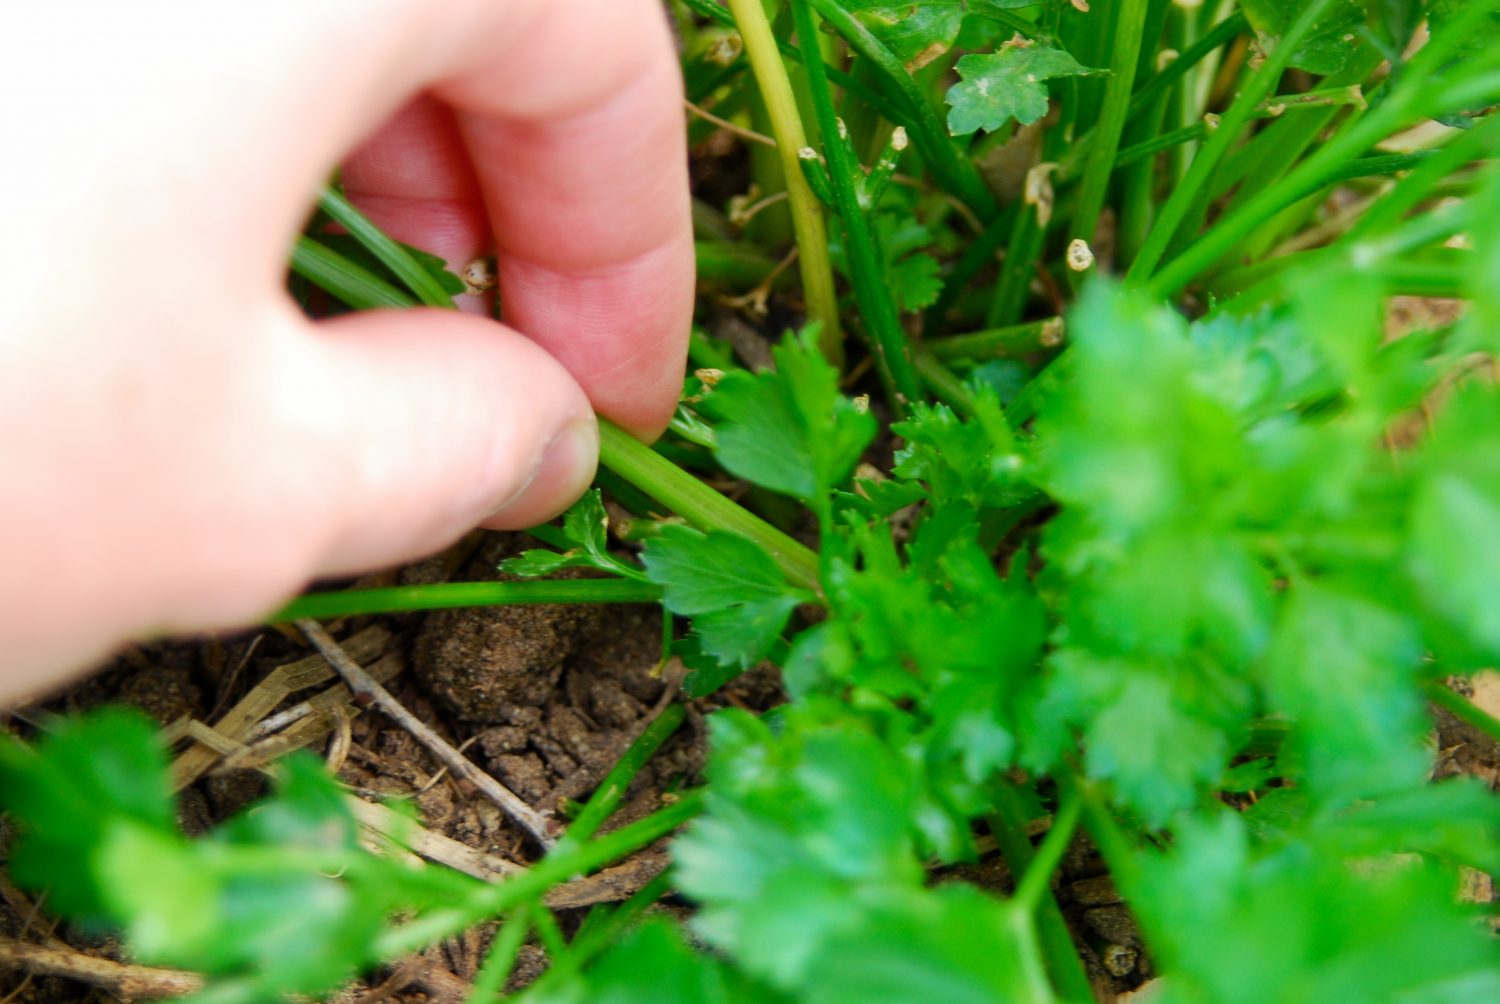
With parsley, the entire stem can be harvested at once, rather than just taking a few leaves. Of course, this entirely depends on how much parsley you need, so taking a couple of stems here and there is fine too. You'll want to only harvest the stems with the fuller-looking leaves and leave the fresh growth behind.
To harvest the parsley, cut the parsley plant down to about 2 inches from the ground. As we are cutting down the larger parsley leaves, this allows the little ones to access more sunlight. By doing this, the new growth will grow much quicker!
How to Harvest Lavender
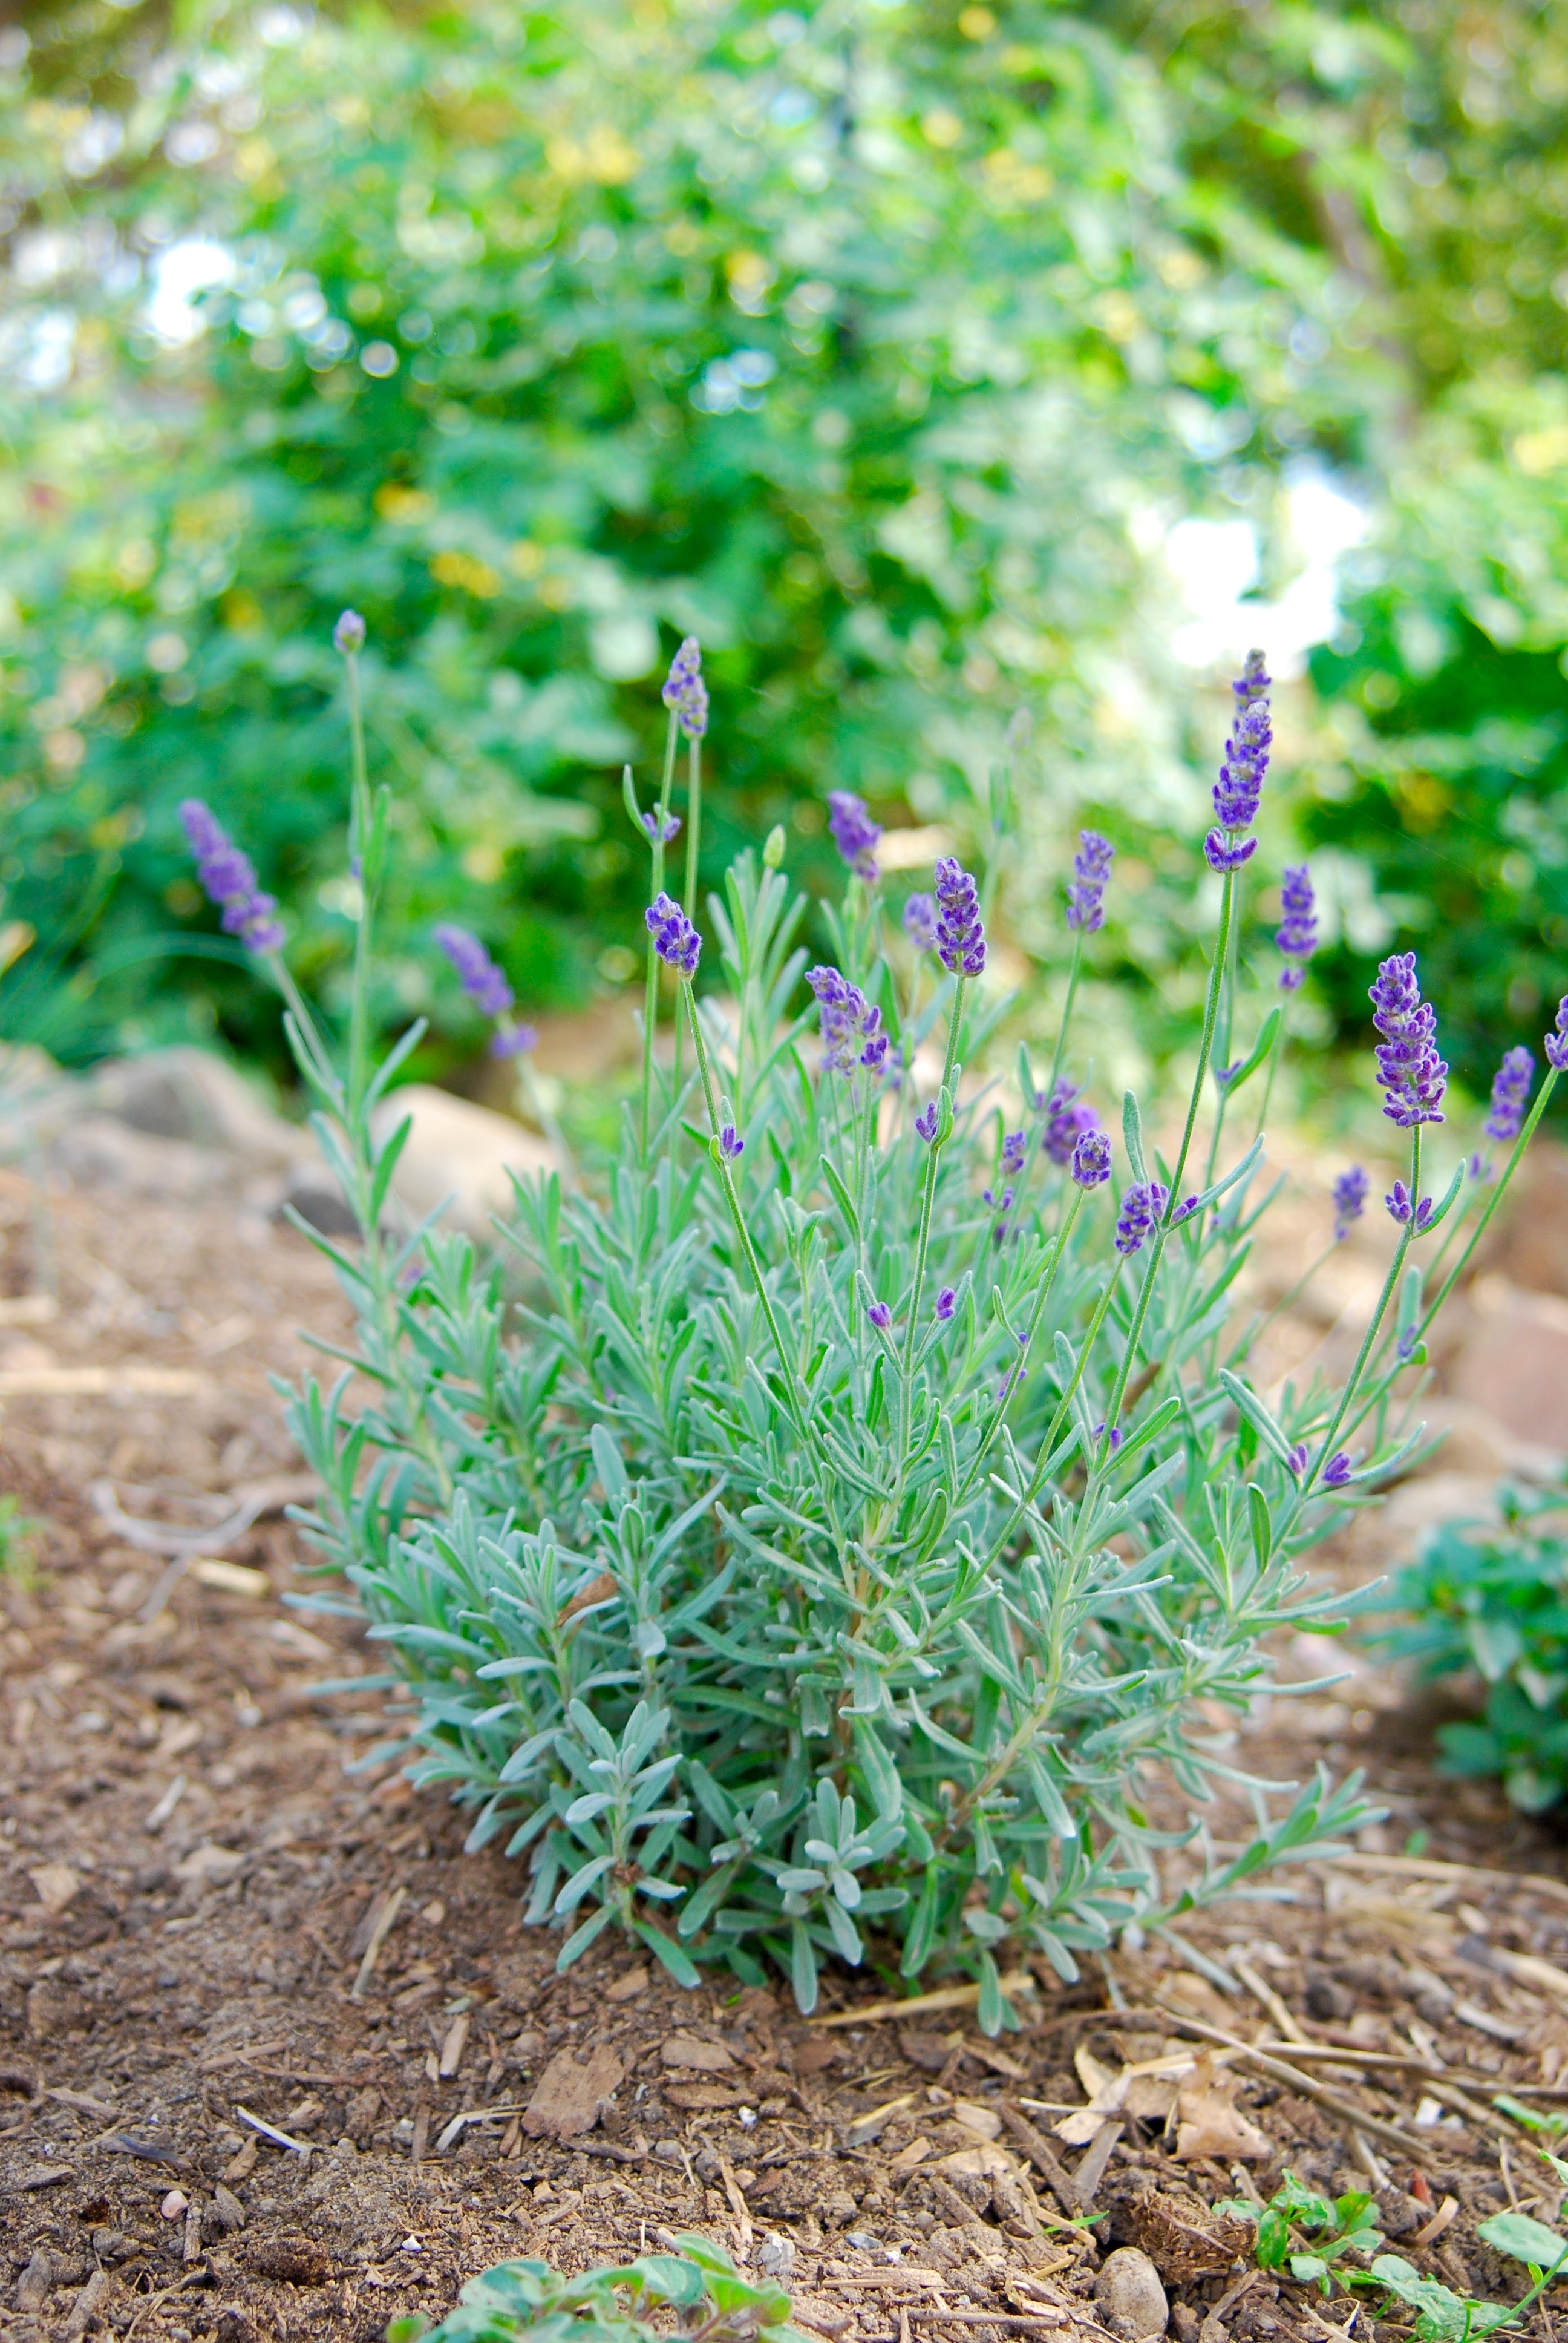
Lavender is such a fun herb, and you can use it for so many things! From adding something extra to a recipe or using it in crafts, lavender is a great herb to have around. Plus, it's a super easy plant to harvest! You can cut it just about anywhere on the plant, and it'll keep growing and producing that aromatic lavender we all love.
To start, you want to make sure at least half the plant has flowered and choose the stems with the most blooms. You might notice that the branches are a bit woody at the base of the plant, which isn't the best to harvest. You want to focus on the softer, more flexible stems with plenty of blooms. Simply cut the stem about an inch or two from the woody base, and you're good to go!
Looking for more in-depth chicken-keeping information? Take my course, Gardening 101!
My exclusive Gardening 101 course guides you through each step, from starting seeds to harvest. This course will teach you everything you’ll need to know about planning and growing your own garden.
How to Harvest Sage
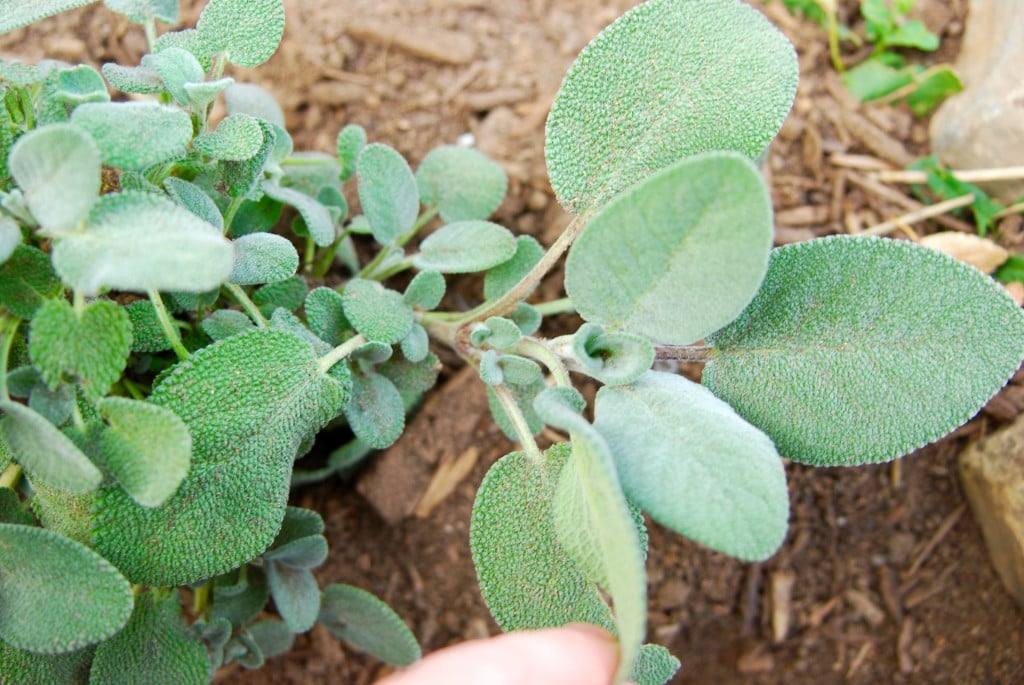
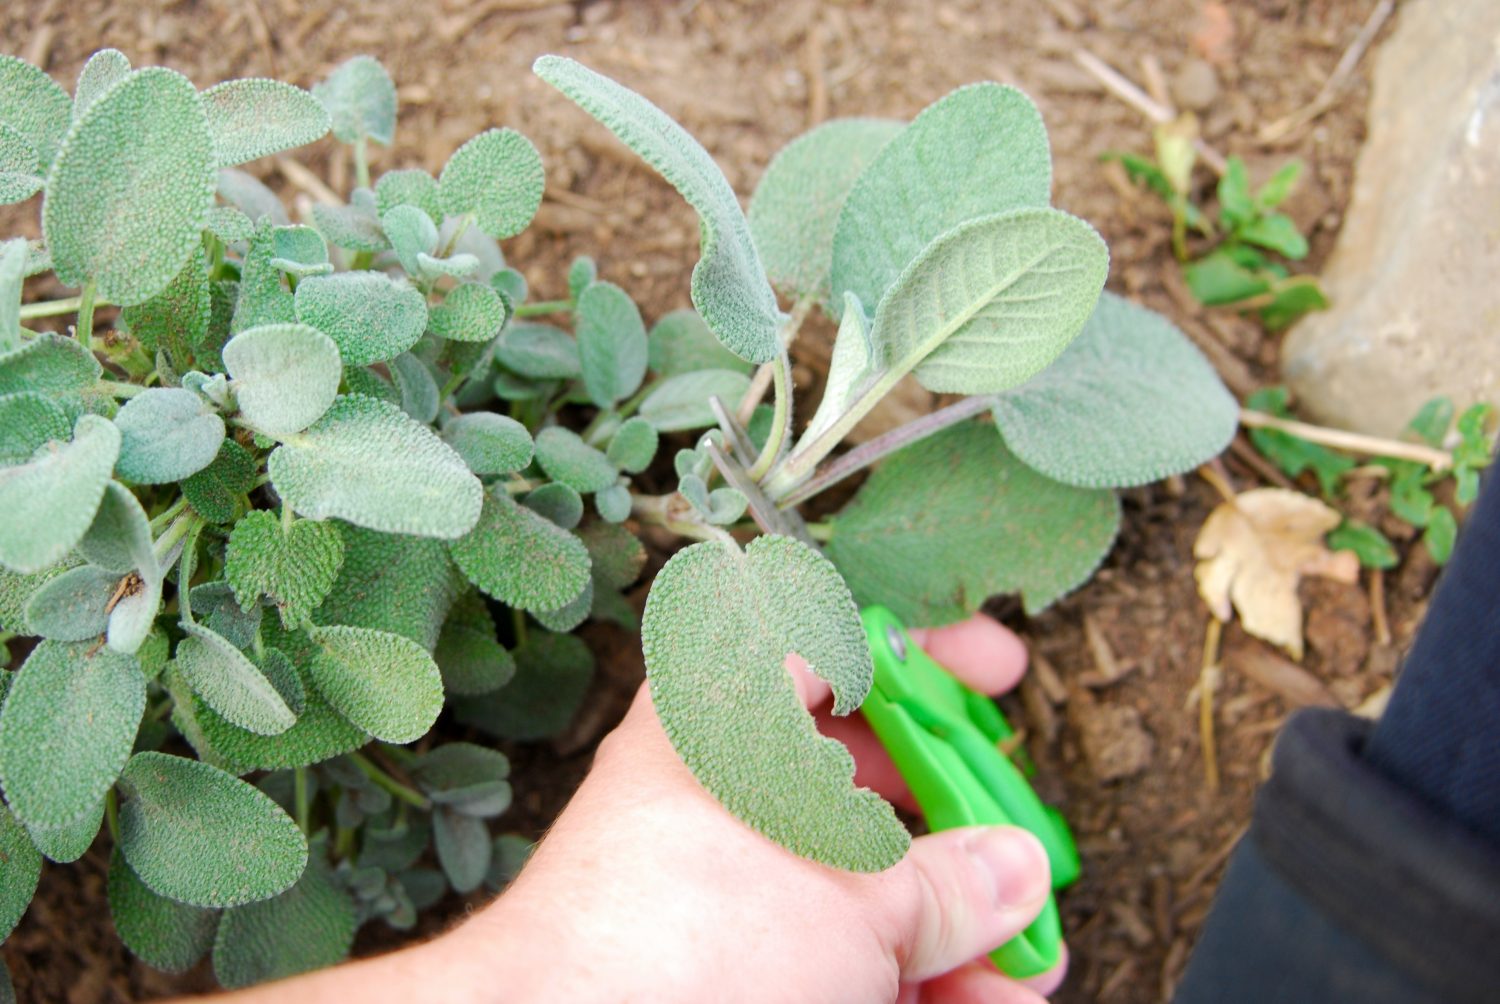
Sage grows very much like basil, with the new growth appearing on the same stem as the older leaves. So, when sage is ready to be harvested, you'll want to cut from the top down too. If you wish, you can just chop off the leaves as you go, but I feel like that makes the plant look super leggy!
A better way to harvest sage would be to lop off the top of the stems as a bunch, cutting just above the set of leaves below. Then you can leave the little baby sage leaves to grow and fill back in. This way, your sage plant will look a lot fuller and healthier!
How to Harvest Thyme
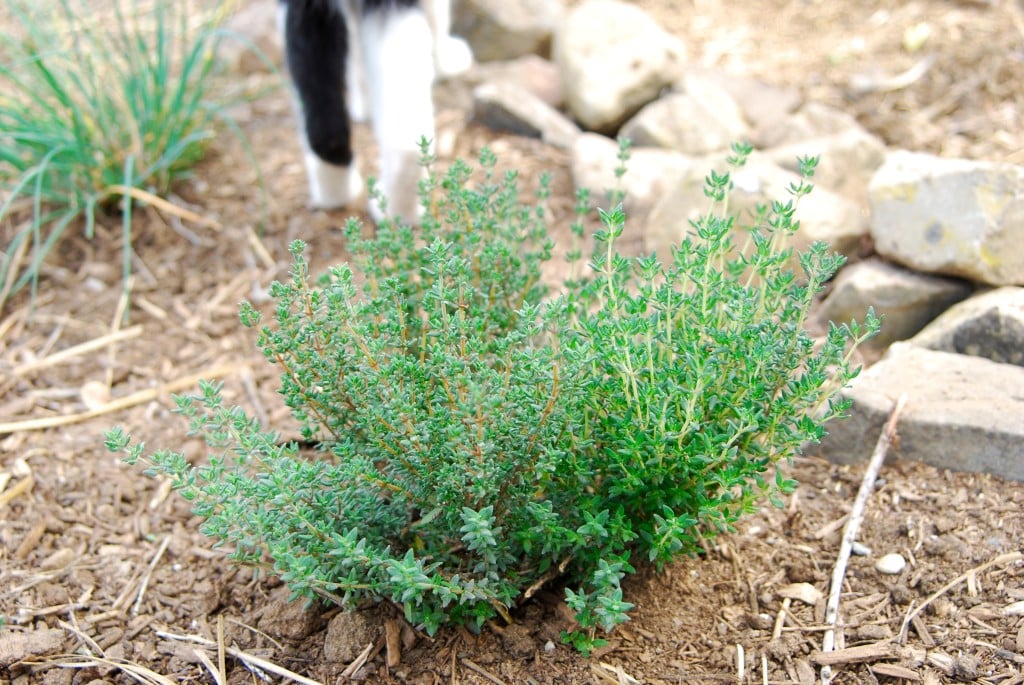
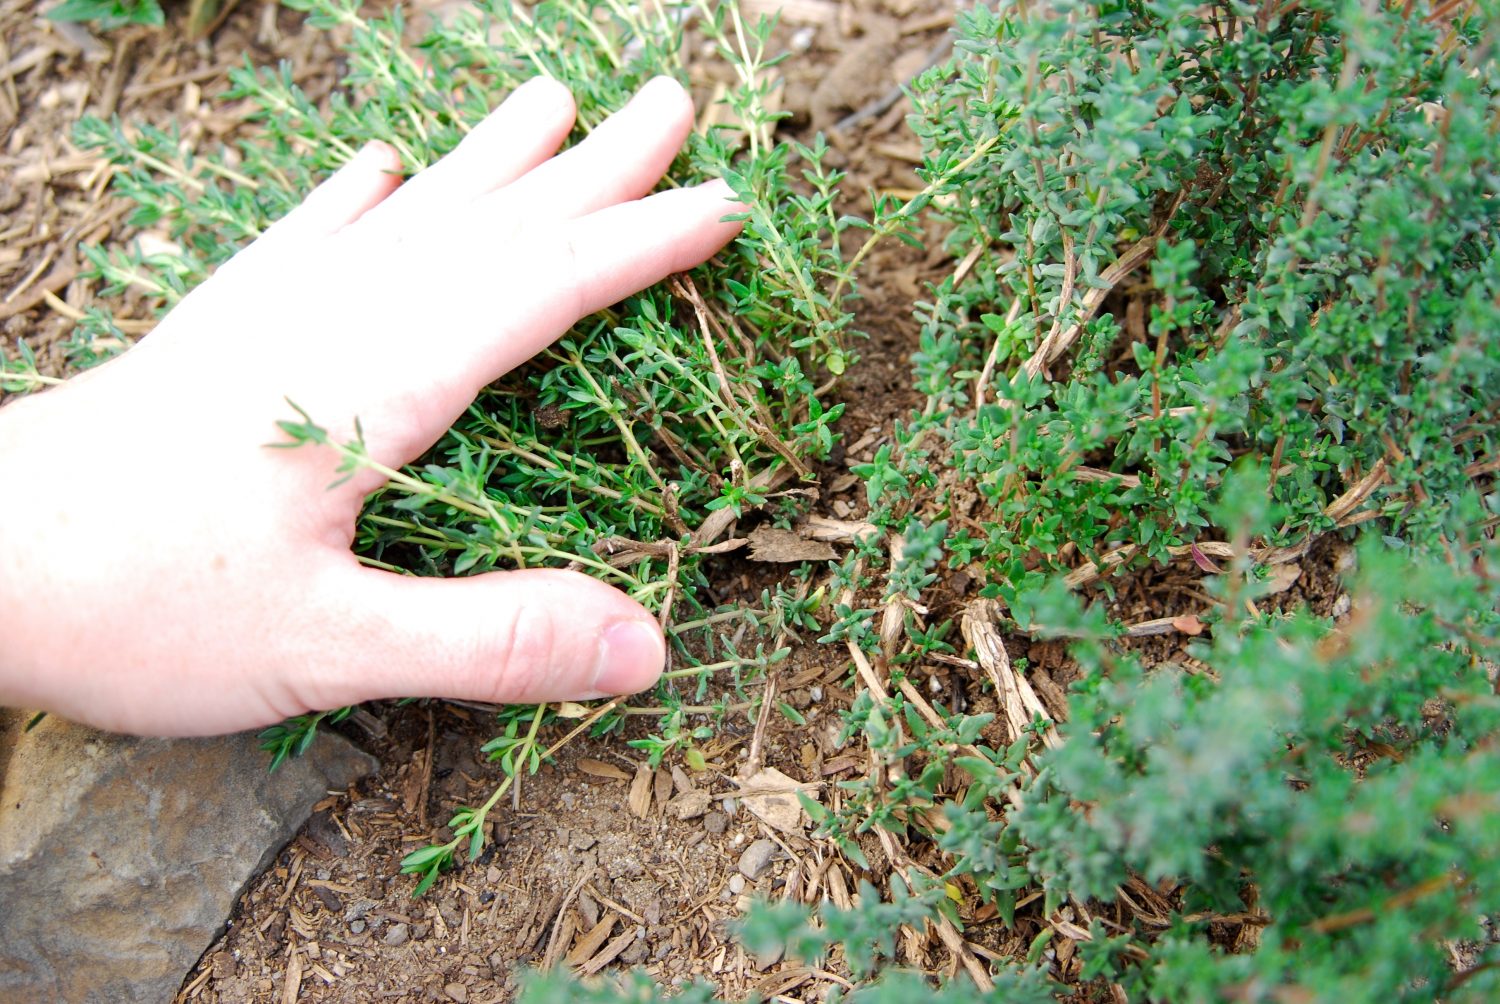
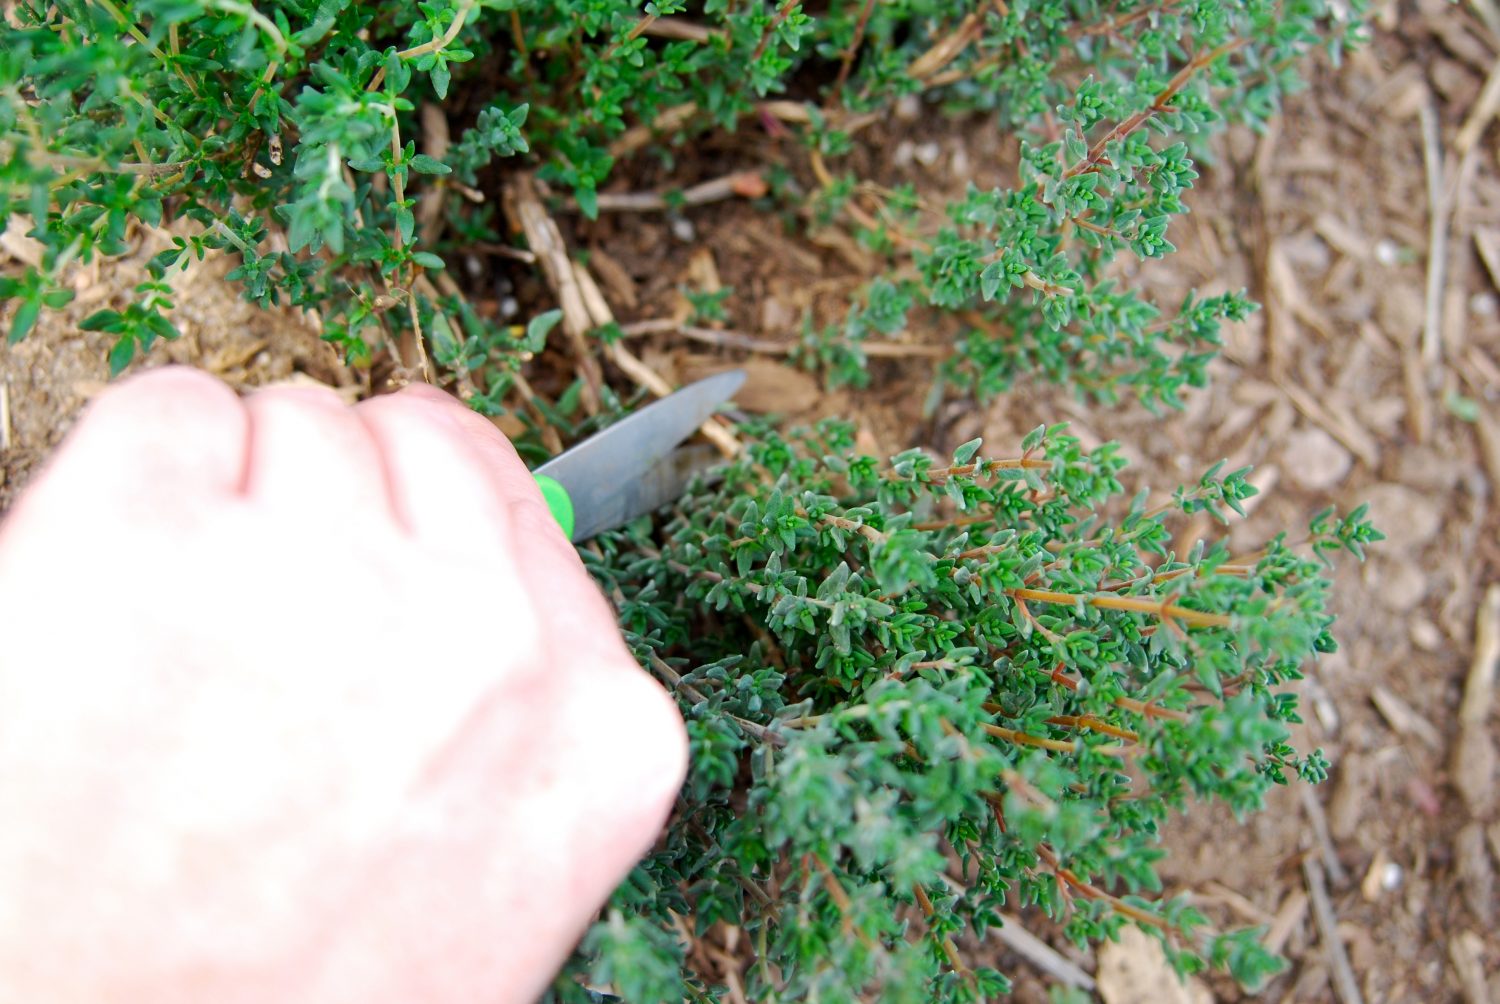
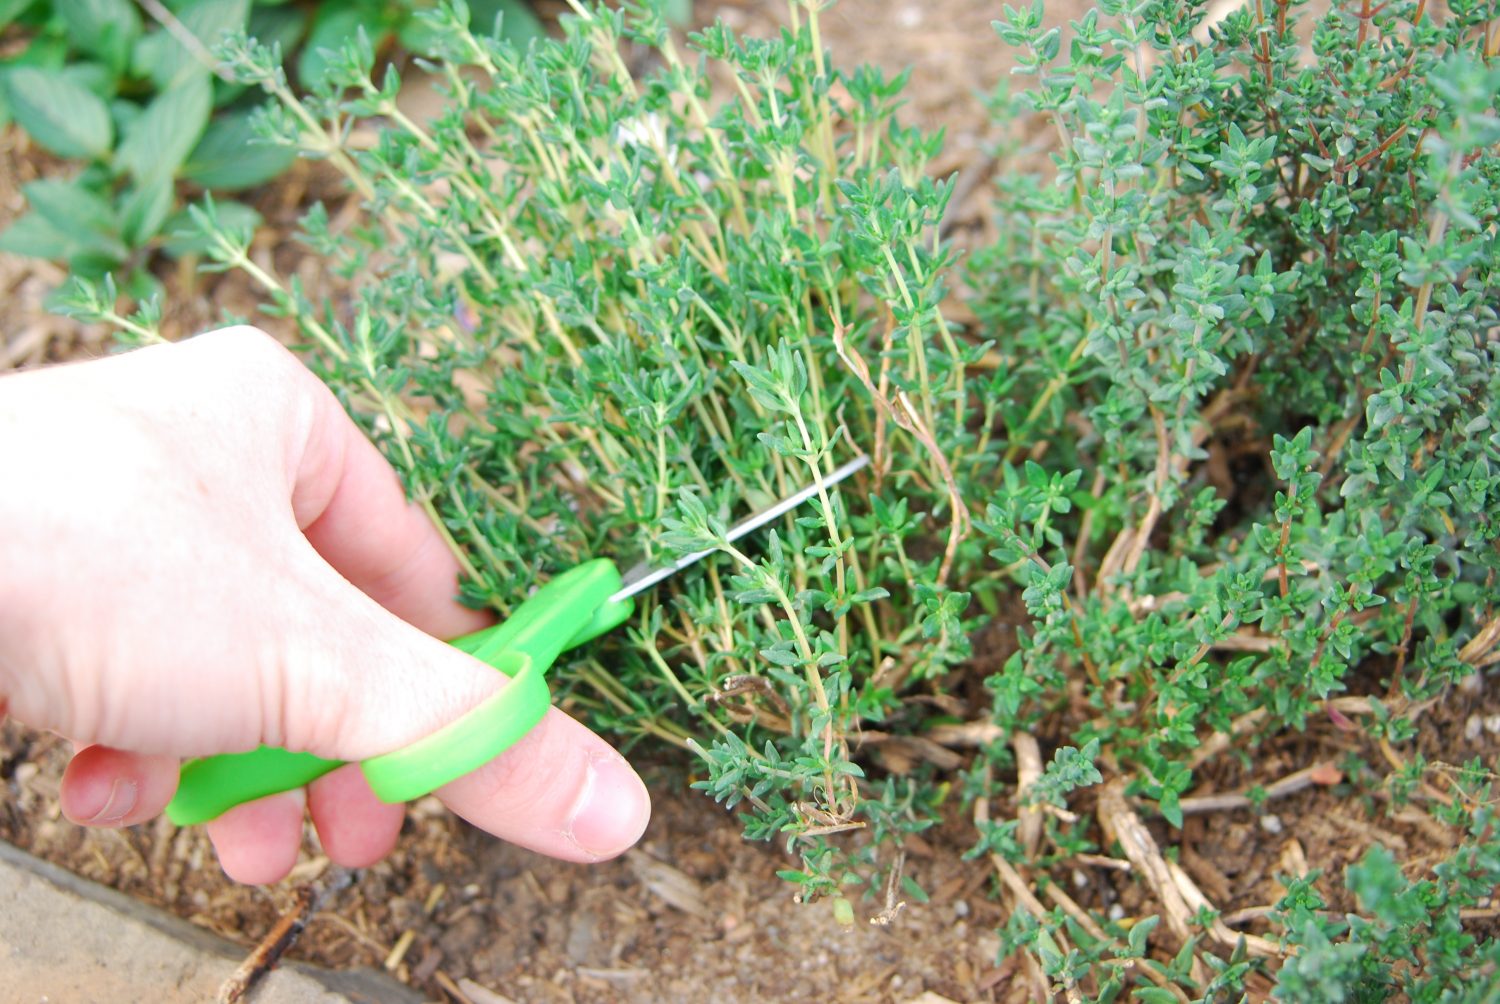
There are a couple of ways I go about harvesting thyme. If you have a lot of thyme that needs to be trimmed or if you want to harvest a large amount, you can cut the stems directly from the base. That way, you can get a nice mix of the more mature and also tender stems. Just make sure you leave some growth behind so the plant can continue to produce!
Or, if I'm just looking for a few stems to add to a dish or top up my dried herb selection, I'll go through and snip off the tops of the stems. This allows me to get a little bit of thyme without taking too much from the plant and be more selective on which stems to harvest.
How to Harvest Rosemary
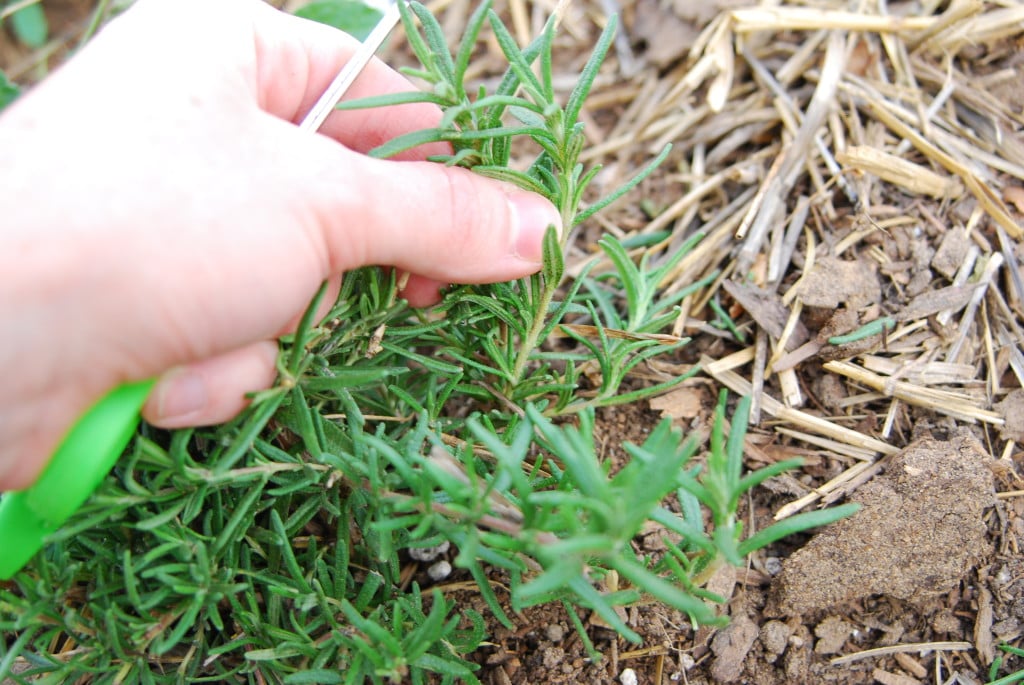
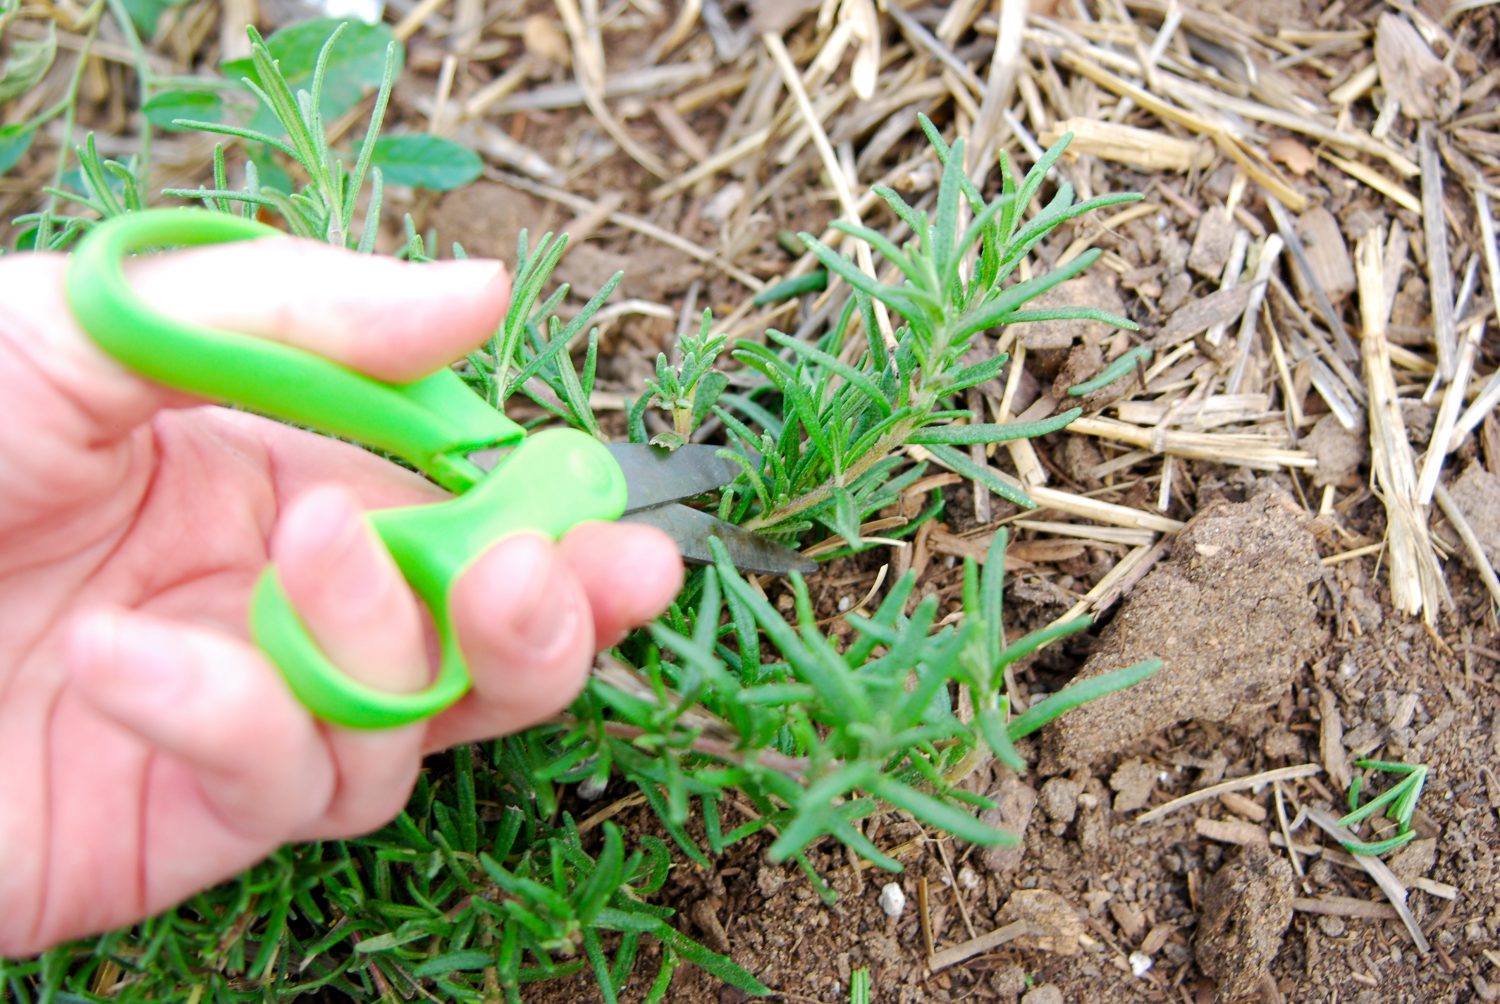
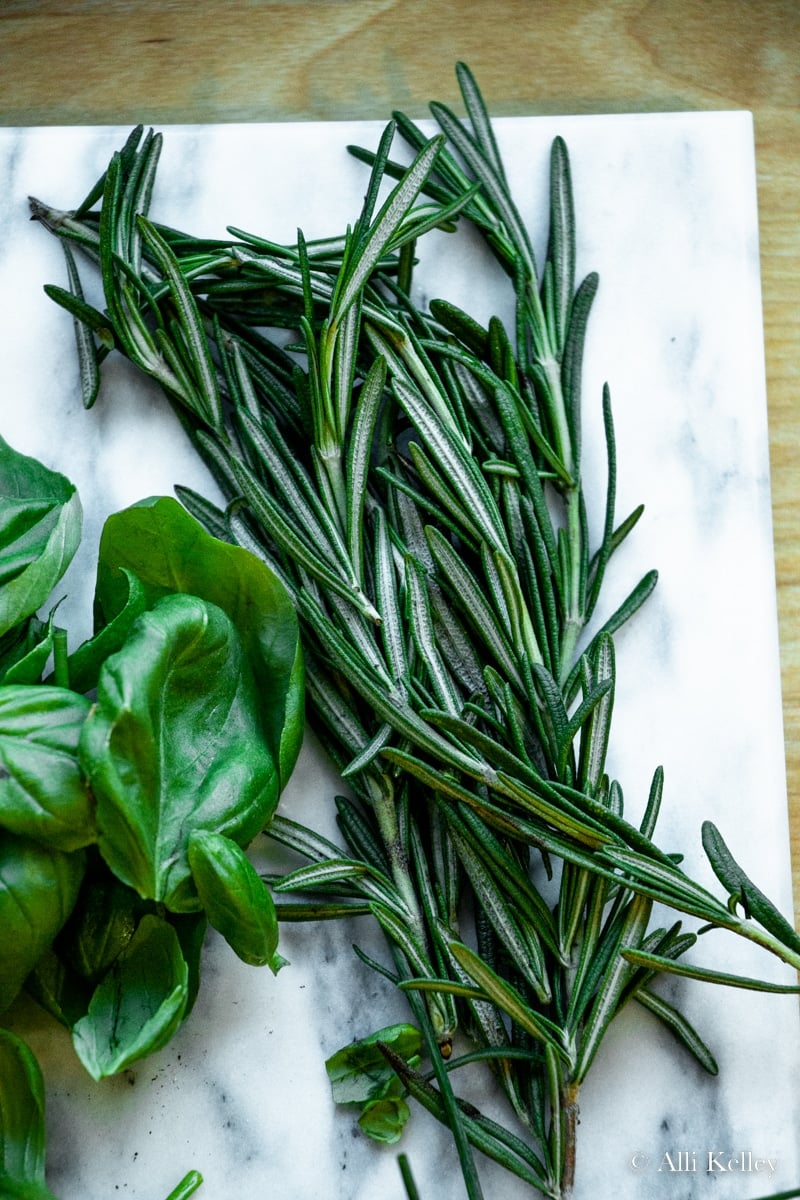
Rosemary actually also grows like thyme {as does lavender and mint}. You can cut just about anywhere and it will keep growing and producing leaves.
To keep my plants bushy, I usually just cut from the base on the longer stems. Rosemary is so versatile, I love it in fresh bread.
How to Harvest Basil
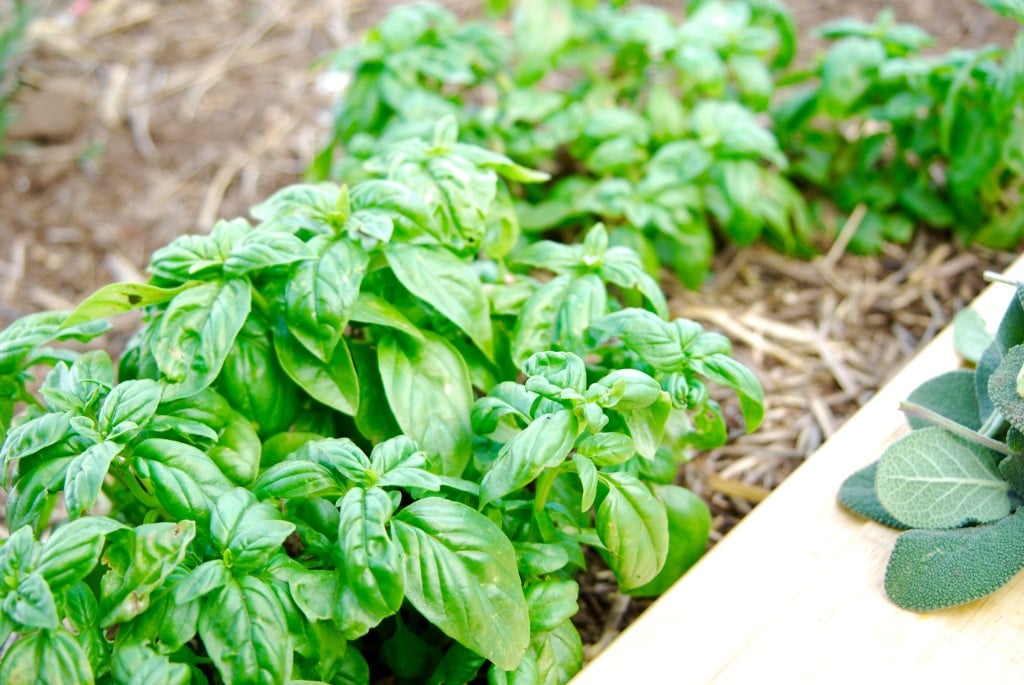
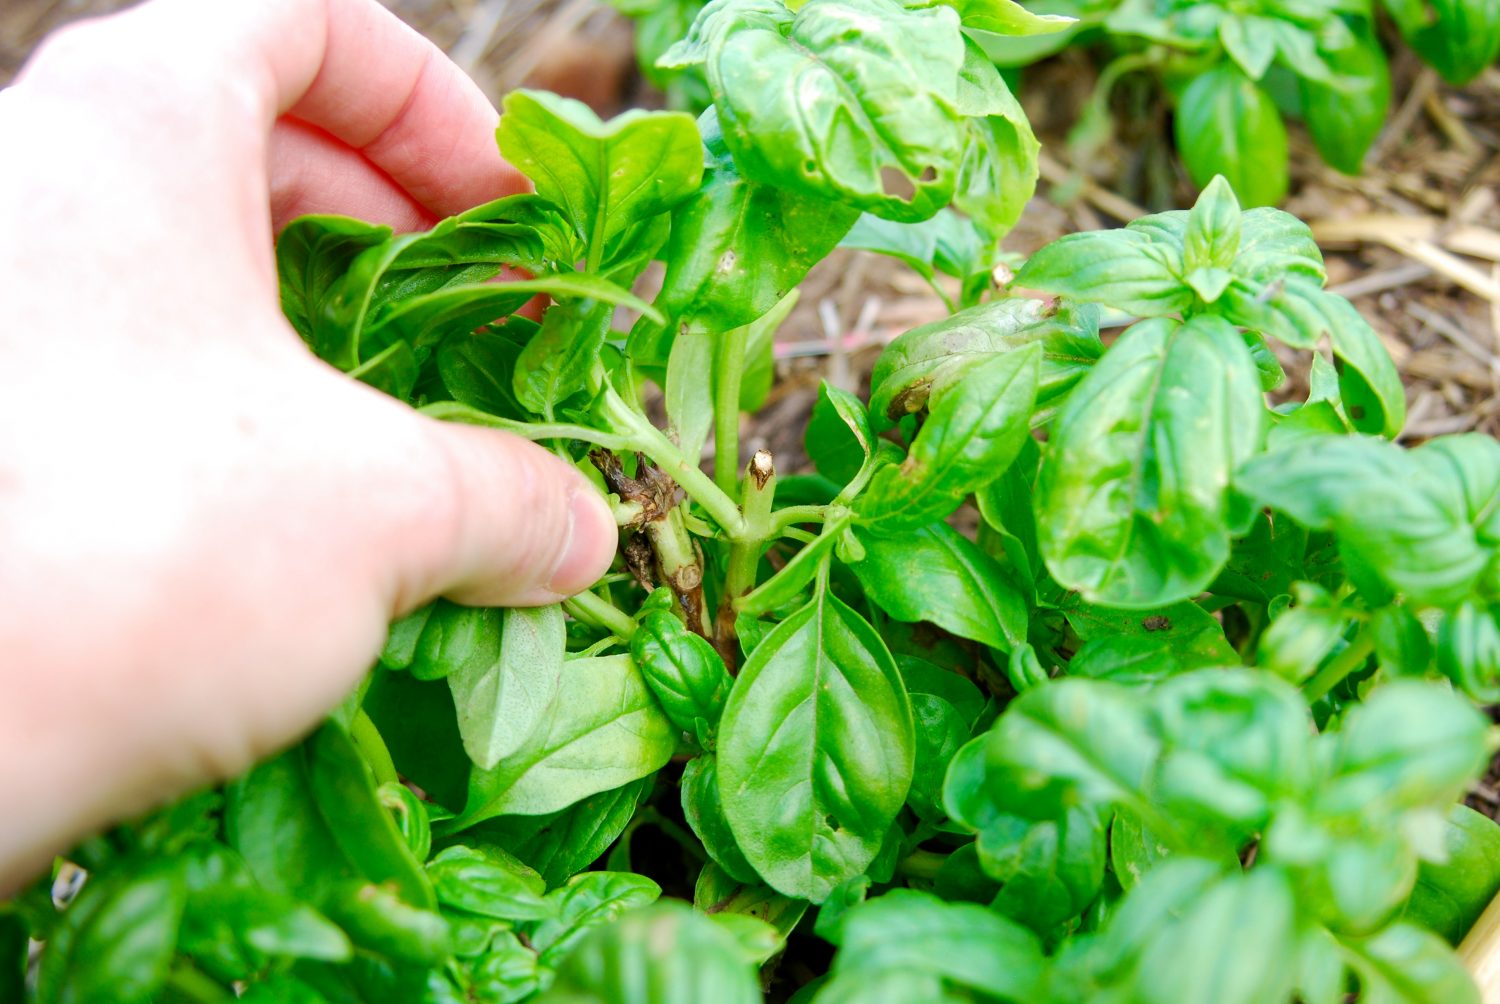
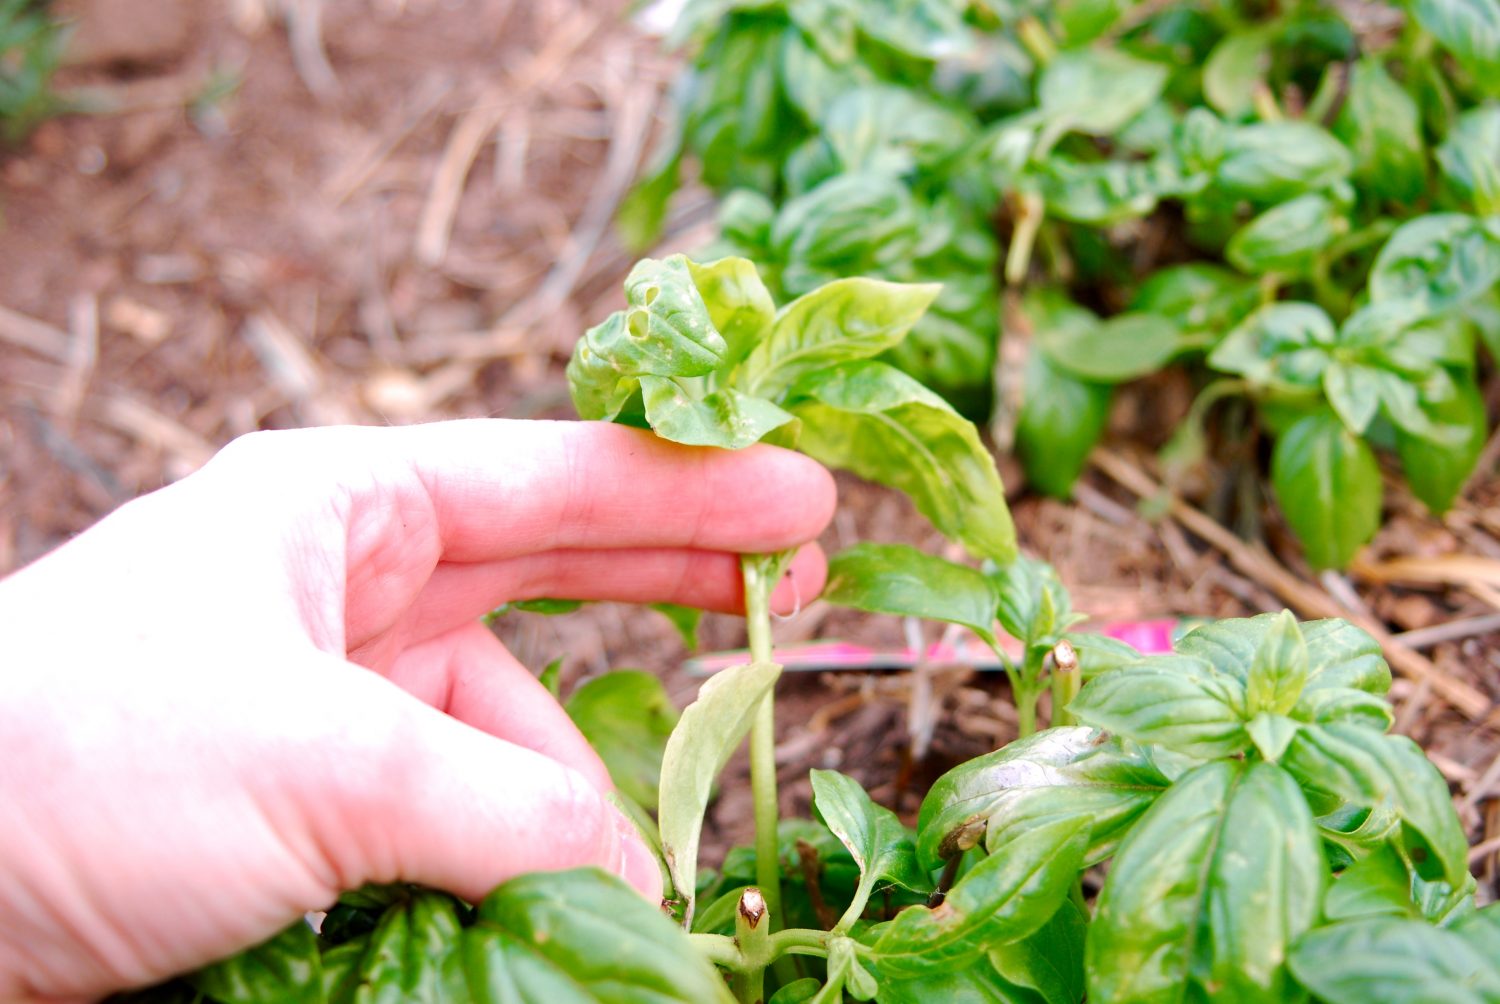
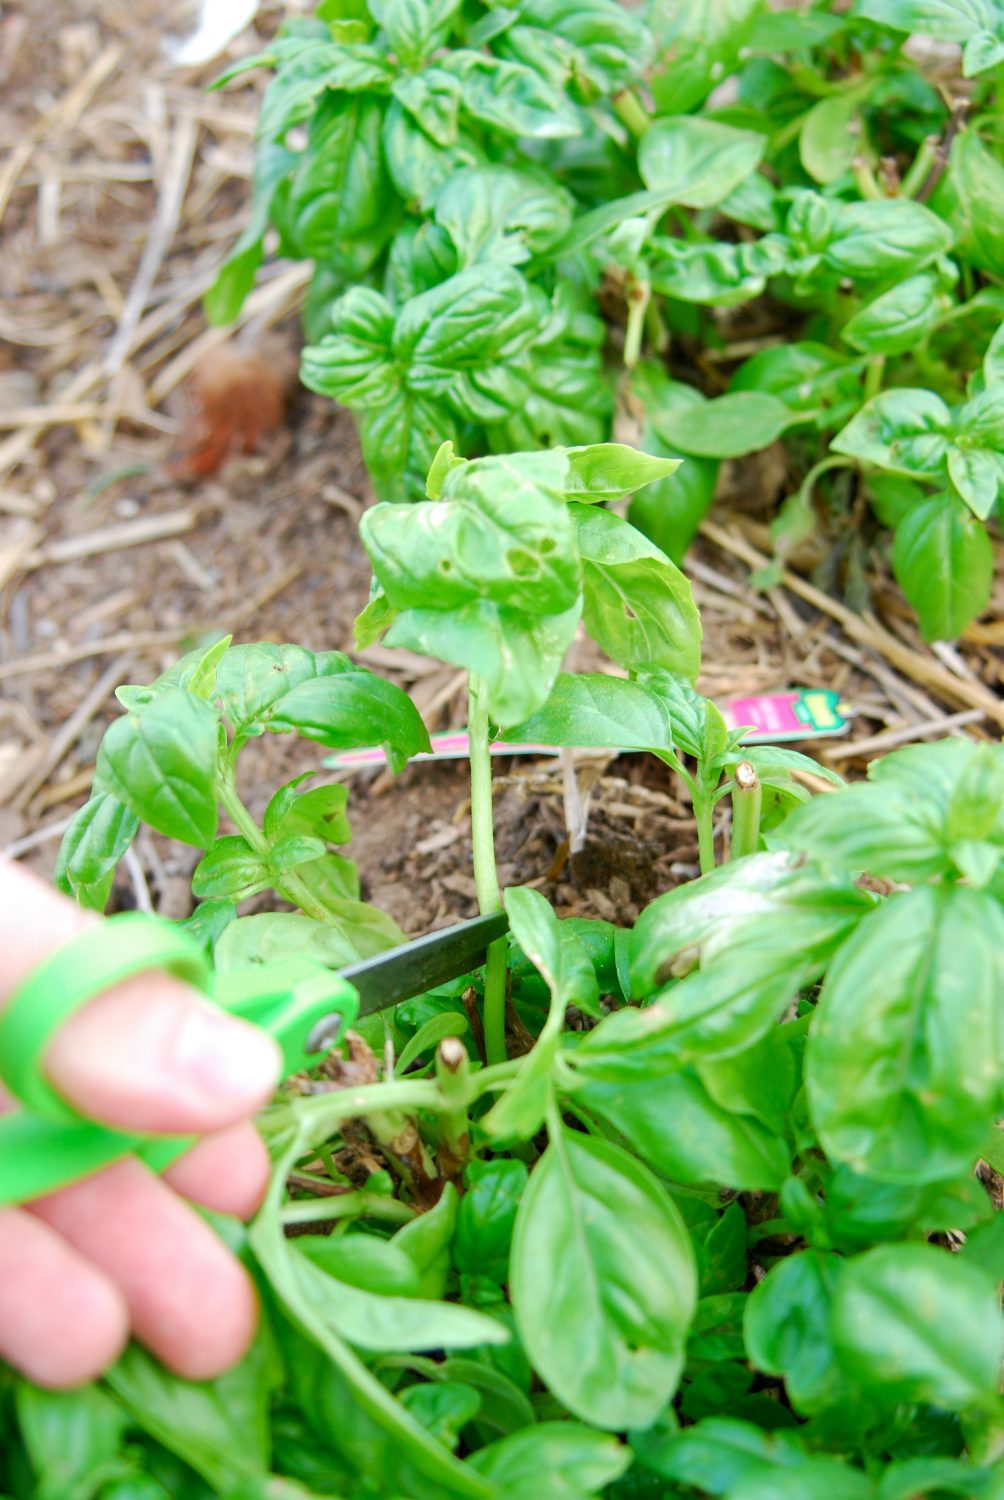
As basil grows, it will sprout new leaves on the same stem as the larger leaves. So, when harvesting basil, we need to ensure we cut from the top down. Sometimes, we only need a little bit of basil for a dish, in which case we can simply snip off a few leaves. But if we're looking to use a lot of basil or want to preserve it for later use, we need to do a bit more harvesting.
When you're ready to start harvesting a larger amount of basil, you'll want to chop off the top stems, leaving the smaller, new growth behind. Basil leaves grow in groups or 'pairs' opposite each other on the stem, so you'll want to trim just above the next set of leaves. This will encourage the plant to continue growing, and you'll be able to harvest again in no time!
Looking for more in-depth chicken-keeping information? Take my course, Gardening 101!
My exclusive Gardening 101 course guides you through each step, from starting seeds to harvest. This course will teach you everything you’ll need to know about planning and growing your own garden.
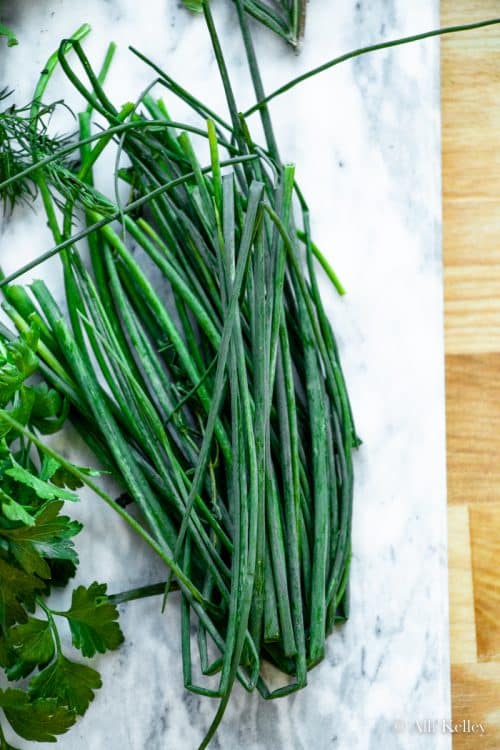
How to Harvest Chives
Chives are pretty awesome. Their subtle onion flavor is a delicious way to enhance any dish, and they're super easy to grow. We want to look for the lovely, long green leaves which will give us the best taste. All you need to do is gather the leaves into a bunch and snip them off at the bottom! Just make sure you don't cut too close to the bulb, or you might hinder its growth.
Did you know you can also harvest and eat the chive blossoms too?! They have a nice garlicky onion flavor, so they work well in mashed potatoes, in salads, and you can even infuse butter with them! Super cool!
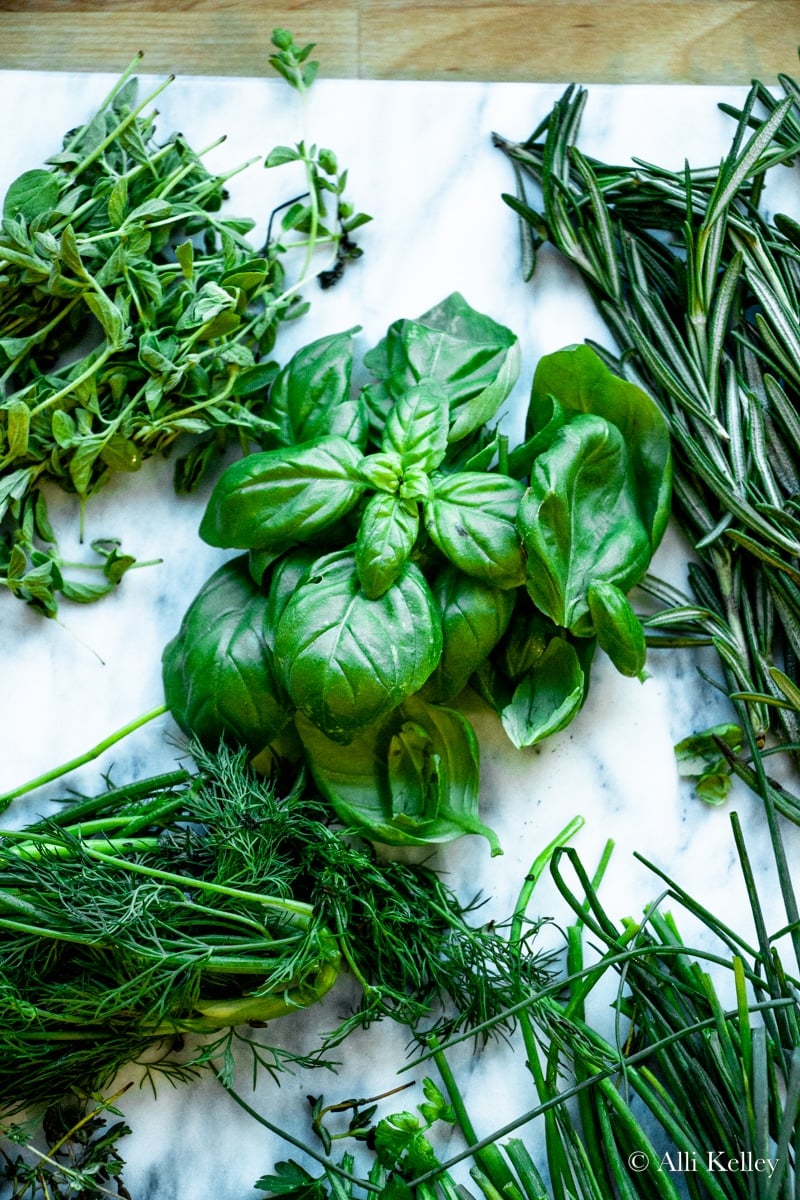
Recipes that Use Herbs
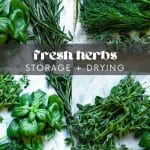
How to Store Fresh Herbs
So you've harvested your fresh herbs, and I bet you're now wondering what the best ways to store them are. You've spent time growing these herbs, so we want to make sure you get the most out of them!
You should always wash and dry your herbs before storing them to remove any bacteria. Just make sure to properly dry them off, as moisture is the enemy when it comes to storing herbs! Keeping the leaves wet can cause decay, which of course, we want to avoid.
Storing Fresh Herbs in the Fridge
You can store your fresh herbs in a glass jar in the fridge. Add enough water to cover the stems, and change out this water every few days. You can also loosely cover the jars with a bag or a damp paper towel to avoid them drying out.
For more hardy herbs, like rosemary, thyme, and oregano, you can refrigerate and store them in either the jar or wrapped in a slightly damp paper towel. Either way, these herbs will last for about a week!
Quick note: basil is pretty delicate and bruises easily. If you find your basil doesn't last too long in the fridge, try storing it in a jar on the countertop instead.
Storing Fresh Herbs in the Freezer
Storing fresh herbs in the freezer is such an easy way to add a burst of flavor when cooking. Simply chop and then store your herbs in an ice cube tray with a little bit of water, olive oil, or stock. This method is brilliant when you have a surplus of herbs and want them to last for months!
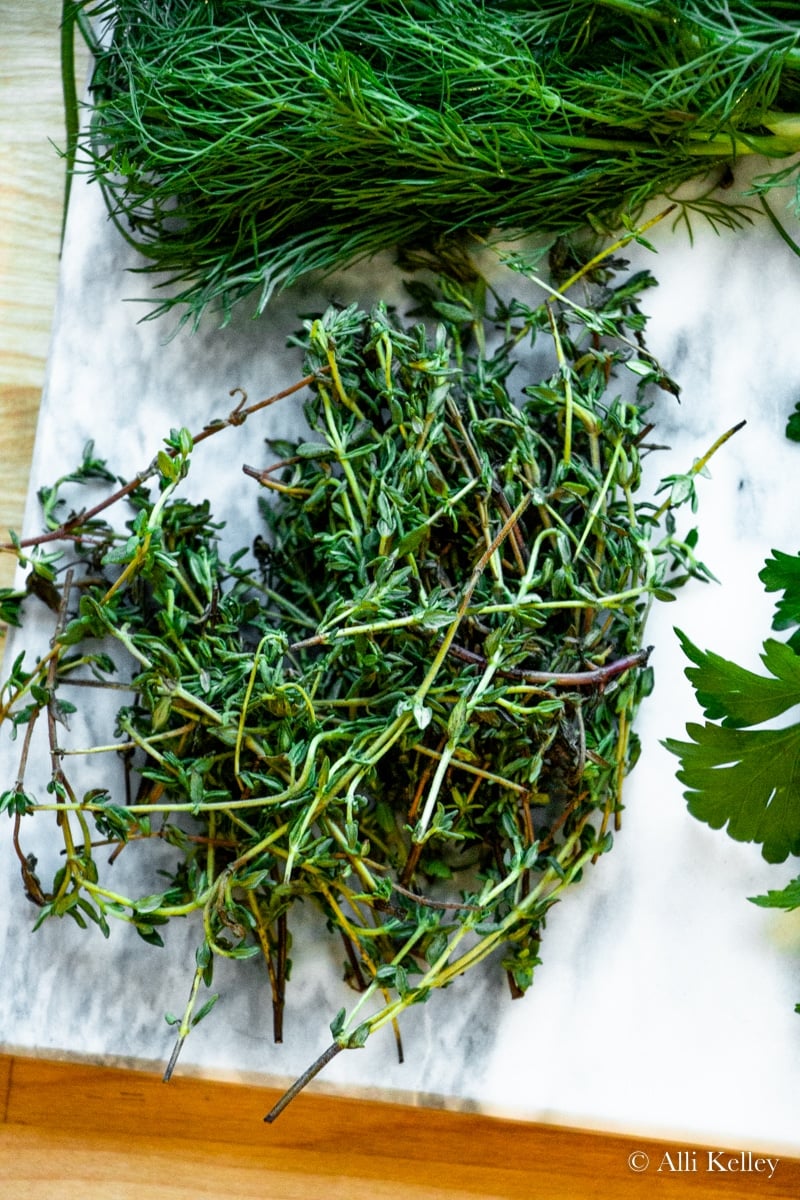
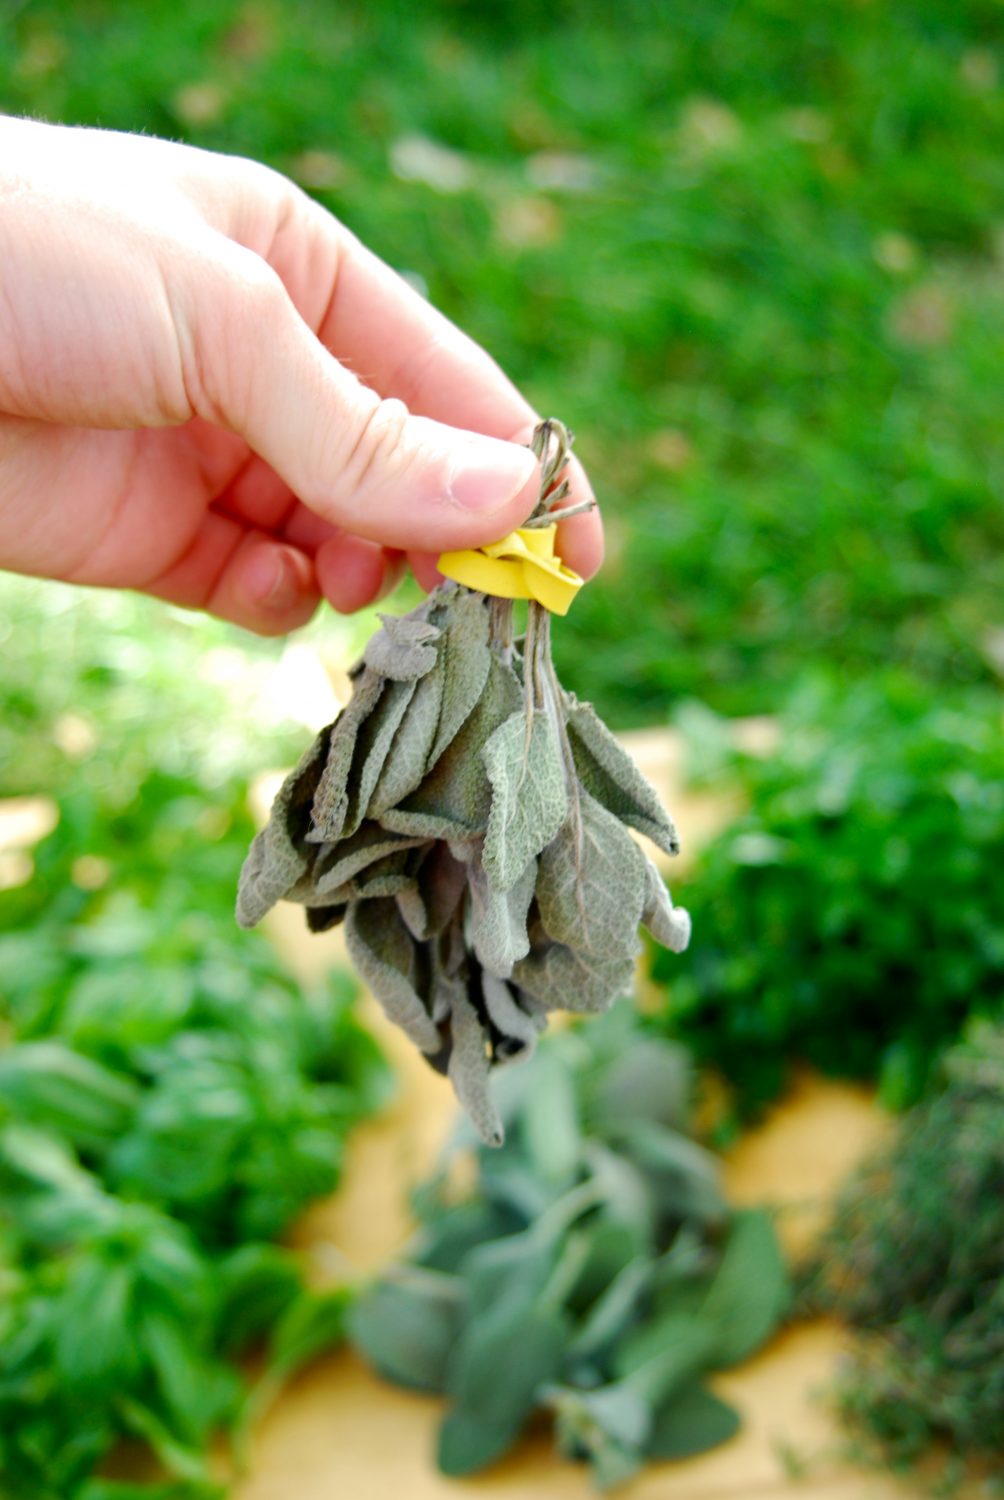
How to Dry Herbs
My all-time favorite way to store herbs has to be to dry them! Depending on your chosen method, it might not be the quickest process, but it's usually simple and super hands-off. Plus, once dried, they'll last for months, giving you a massive supply of tasty herbs to add to your cooking.
Herb Drying Rack
Aside from using my plate method or tying together and hanging, you can use a herb drying rack! Perfect if you have a lot of herbs to dry at once or if you live in a humid climate. There are a few different styles, but ultimately they all do the same thing.
A herb drying rack usually has multiple layers, with each layer featuring a mesh base. The aim of these drying racks is to allow as much airflow as possible so your herbs can dry quickly and evenly.
Dehydrating Herbs
Did you know that you can also use a dehydrator to dry your herbs? If you already own a food dehydrator, then dehydrating herbs to dry them out is a no-brainer! Again, this is a straightforward process and requires very little input from you.
In a single layer, with no overlapping leaves, place your herbs in the preheated dehydrator. Make sure when dehydrating herbs, you start at a low temperature to retain as much flavor as possible; around 95-110 Fahrenheit is ideal! If your dehydrator doesn't have a temperature setting, stick with the lowest option and keep checking on the herbs.
The process usually takes a few hours, depending on the size of the leaves. You'll know they are ready when they are nice and crispy!
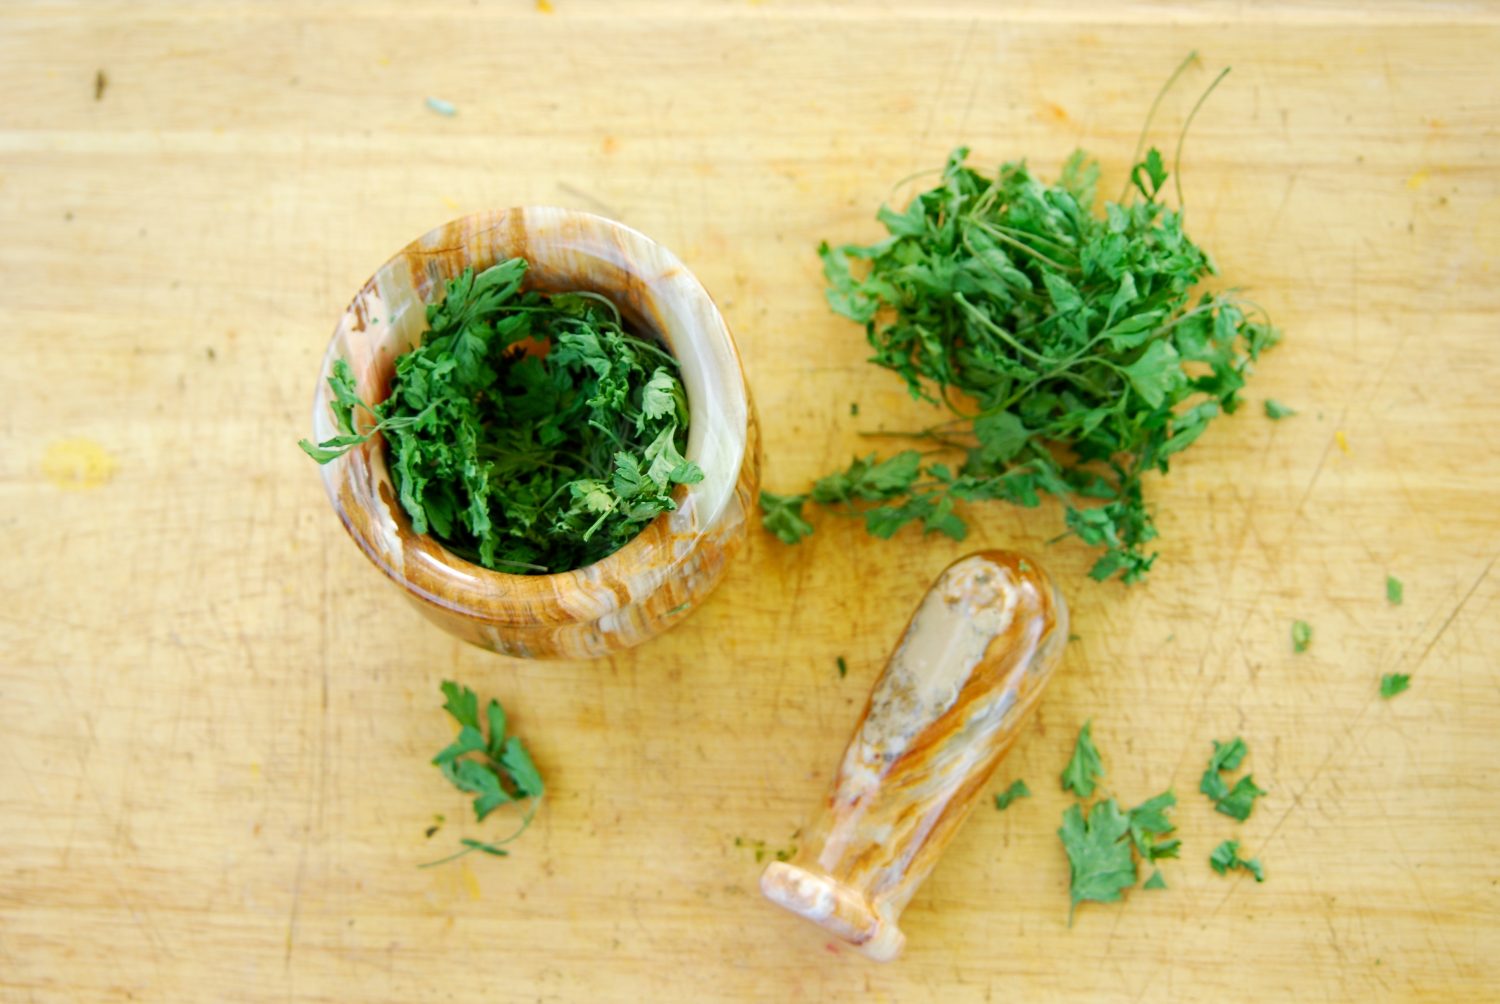
How to Store Dried Herbs
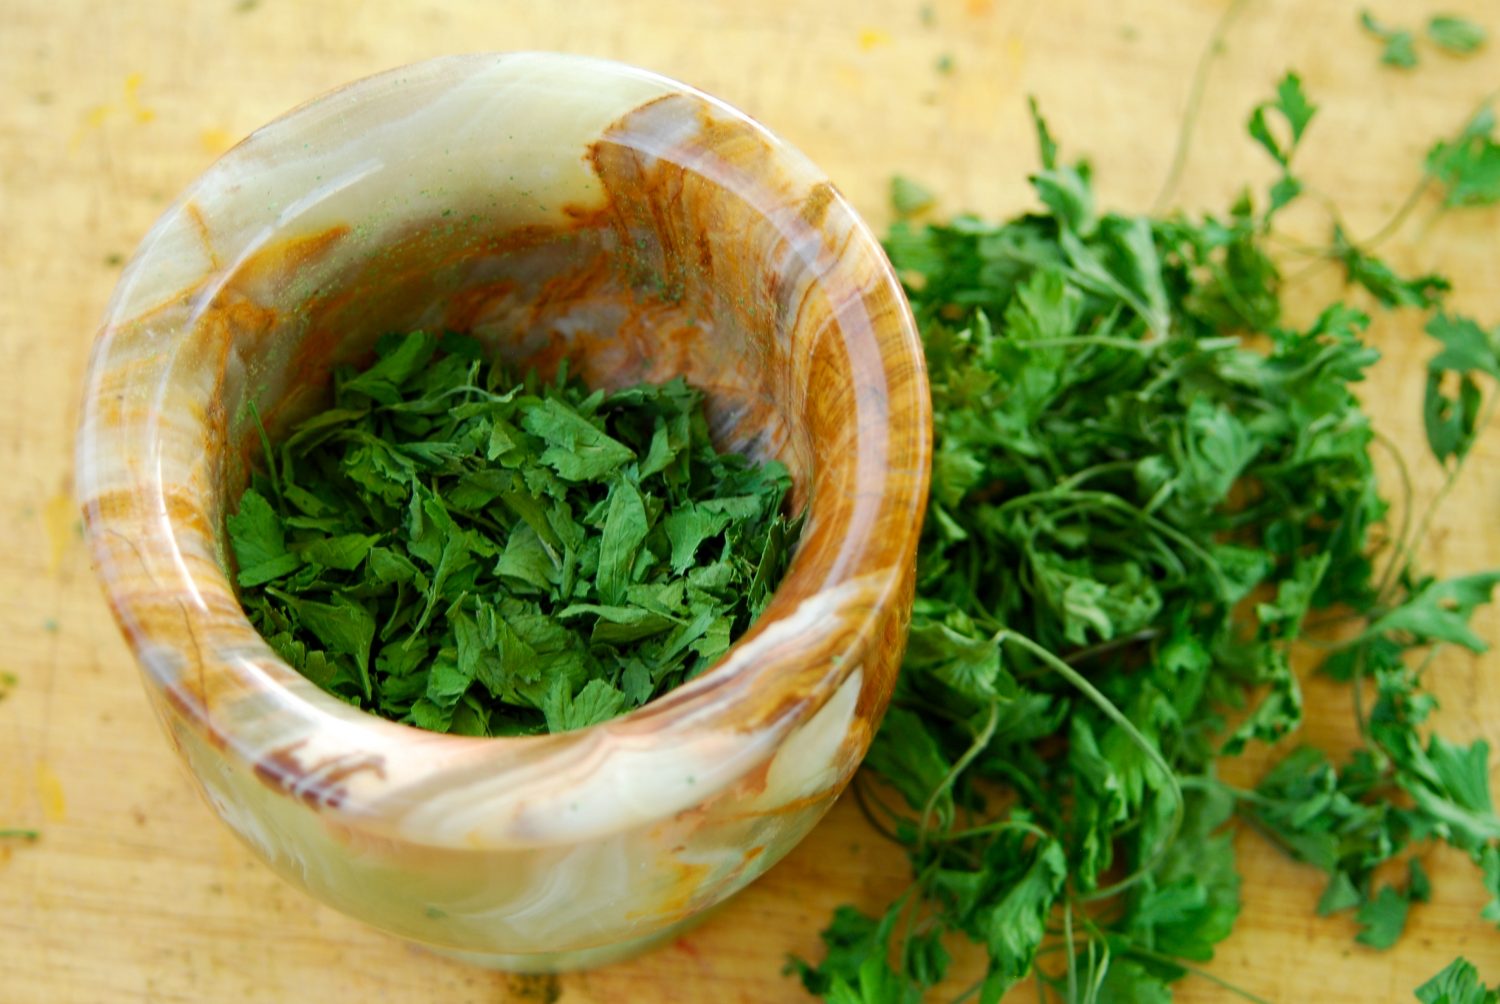
Once your herbs are dried out, you can store them, either whole or crushed, in an airtight container. Keeping the herbs whole can help reserve their taste, but if you're going to be using the herbs often, it's easier to have them crushed and ready to go. When grinding my herbs, I use a mortar and pestle, but any other method will do! You have to make sure your herbs are really dried out for them to grind nicely and store for a long time. You'll know they're ready when they crumble off their stems easily. The more you dry out your herbs, the more you'll notice how different varieties feel when dried out!
Whichever form you decide to store your homemade dried herbs, make sure to keep them out of direct sunlight!
Using an Electric Herb Grinder
As much as I love using a pestle and mortar, you've got to admit an electric herb grinder has got to be the quicker option! All you need to do is place your dried herbs in the grinder, press the power button, and you're good to go! An electric herb grinder is definitely something to consider if you see you're becoming a bit of a herb drying pro!
But that sparks the question: what is the best grinder for herbs? When it comes to choosing an electric herb grinder, it can be pretty confusing with so many options available on the market. For something at a nice price point and offering a decent capacity, the Cool Knight herb grinder is a great option! For something a bit more heavy-duty for doing large batches of herbs and other ingredients, like coffee or grains, the CGoldenwall Electric Mill is pretty mega!
Looking for more in-depth chicken-keeping information? Take my course, Gardening 101!
My exclusive Gardening 101 course guides you through each step, from starting seeds to harvest. This course will teach you everything you’ll need to know about planning and growing your own garden.
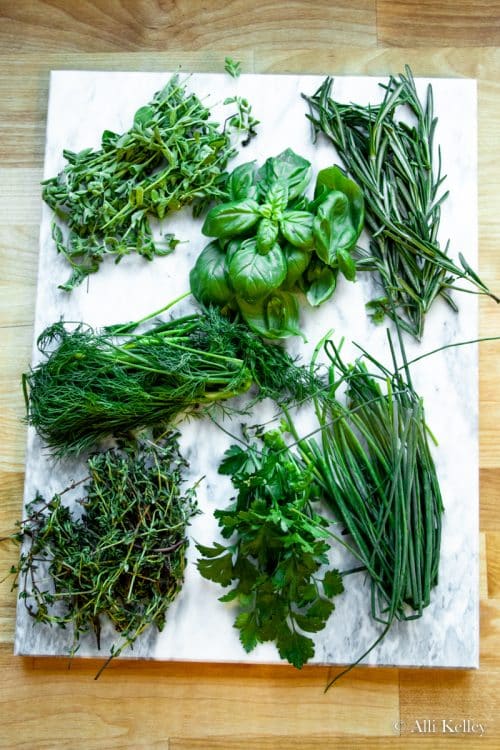
Herbs to Plant Together
Not everyone has space for a herb garden, so luckily for us, herbs tend to grow pretty well in pots or planters. You can even plant multiple herbs together in one pot or area of your garden! If this sounds ideal, you might want to consider what herbs to plant together.
Herbs have their own life cycles, so it's important to choose complementary plants with similar irrigation requirements. This way, you can ensure they are getting the correct amounts of sun, water, and care.
Some great combinations are:
- Basil, parsley, and oregano
- Thyme, rosemary, and sage
- Chives, parsley, and dill
- Oregano, sage, and thyme
- Rosemary, lavender, and marjoram
Herbs That Grow in Shade
If you're limited on space or sunlight, there are still plenty of herbs that will do just fine in shady areas. For herbs that grow in shade, consider planting:
- Chives
- Dill
- Cilantro
- Mint
- Parsley (curled and flat leaved)
- Bay
While they will still need some sunlight to grow, these herbs are more tolerant of shady areas than other varieties. This means even if you don't live somewhere super sunny, you can still start a wonderful herb garden!


Heather
Can you still harvest herbs that have flowered? I have oregano that was flowered before I could really harvest anything from it this summer. I also have basil that keeps trying to flower, and I just keep pinching it off til I'm ready to do pesto, or have time for a big harvest.
Alli
Yes, just continue to pluck the flowers off. Once it flowers, the herbs won't be as flavorful.
Candice
This was extremely helpful! I love the pictures along with the information. Thank you for taking the time to explain, I'm new to gardening and this helped a lot.
Alli
So glad to hear this, Candice!
Vanessa
Thanks for sharing! I've always wondered how to do this!
Alli
You're welcome Vanessa!
Lisa
Thanks for the info! I’m inspired to try drying, you made it look easy!
Alli
It is super easy! You can totally do it this year.