
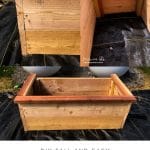
Building a DIY Tall Planter Box is really easy and much cheaper than buying one. With a few supplies, you can get it done a few hours.

WANT TO SAVE THIS RECIPE?
Enter your email below and we'll send it straight to your inbox. Plus you’ll get great new recipes from us every week!
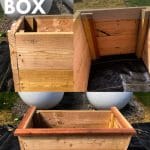
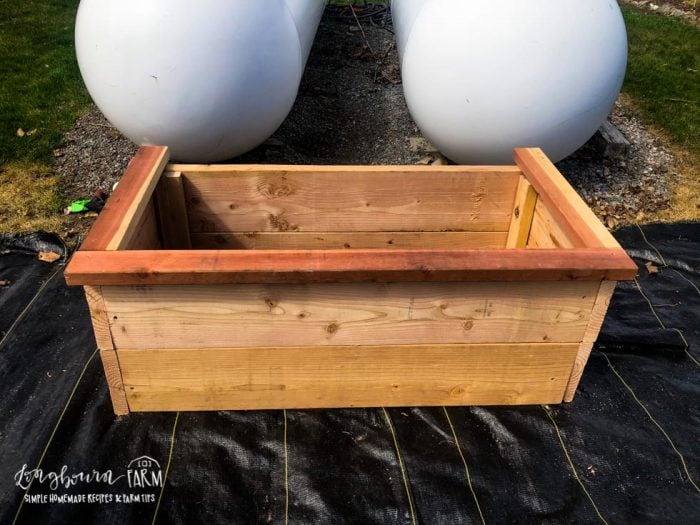
On the edge of my garden you can see my propane tanks. I wanted to place a planter on that edge so I could grow a climbing plant to block the view of the propane tanks from the garden.
Because I've built raised planter boxes before, I knew this was going to be a quick and easy project!
The first thing you need to do is decide how long and wide you want your planter box. Mine is 3 feet long by 1 foot wide. I didn't want it to be too long because I didn't want it to take away from my garden. Obviously this is up to you!
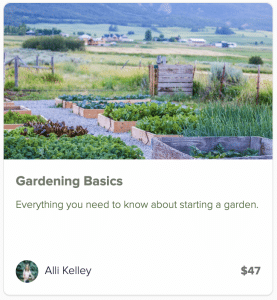
Looking for more in-depth chicken-keeping information? Take my course, Gardening 101!
My exclusive Gardening 101 course guides you through each step, from starting seeds to harvest. This course will teach you everything you’ll need to know about planning and growing your own garden.
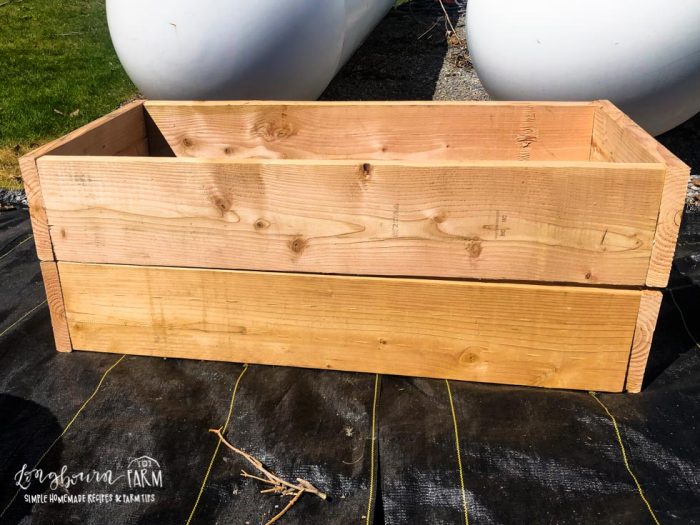
Once you know how wide and long you want your box, you need to decide how tall you want it. I used 10-inch high boards and stacked them two high plus the edging so it's about 22 inches tall.
Once you know how tall your DIY tall planter box is going to be, you can measure how many lengths of 2x4 you'll need to secure the stacks all together.
Supplies for DIY Tall Planter Box
- 3-inch Screws
- DeWalt Cordless Drill
- DeWalt Skill Saw
- Saw Horse Set
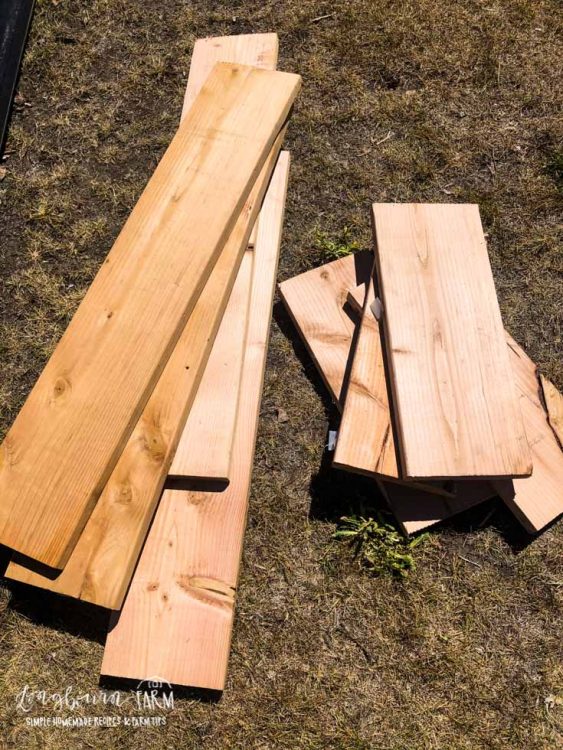
- 2 2x10x8 Planks (you can use any wood species you like, cedar will last the longest amount of time outdoors).
- 2 2x4x8 Boards

How to Build DIY Tall Planter Box
- Cut the 2x10x8 boards into two 3 foot lengths and two 1 foot lengths. This gives you a front, back, and two sides from each board.
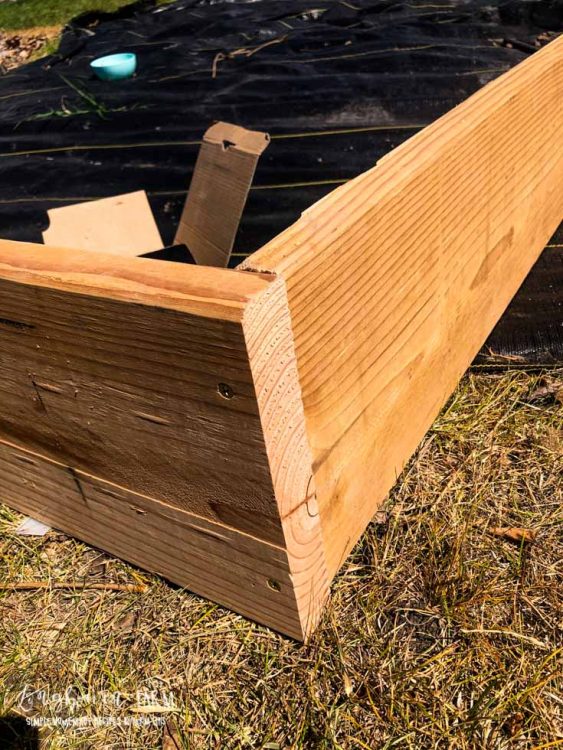
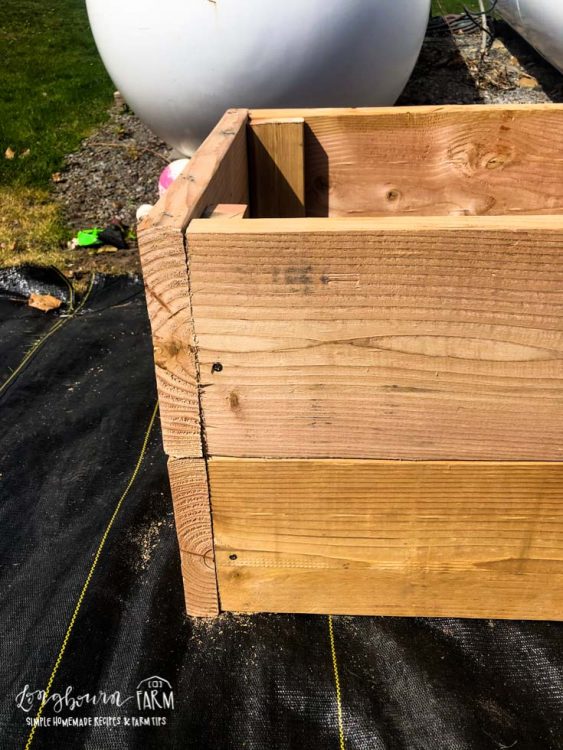
- Screw the boards together into a rectangle. You need to match up the edges the same way on every board, either long side in or long side out so that all the edges are even.
- I used two screws to secure the boards into a rectangle.
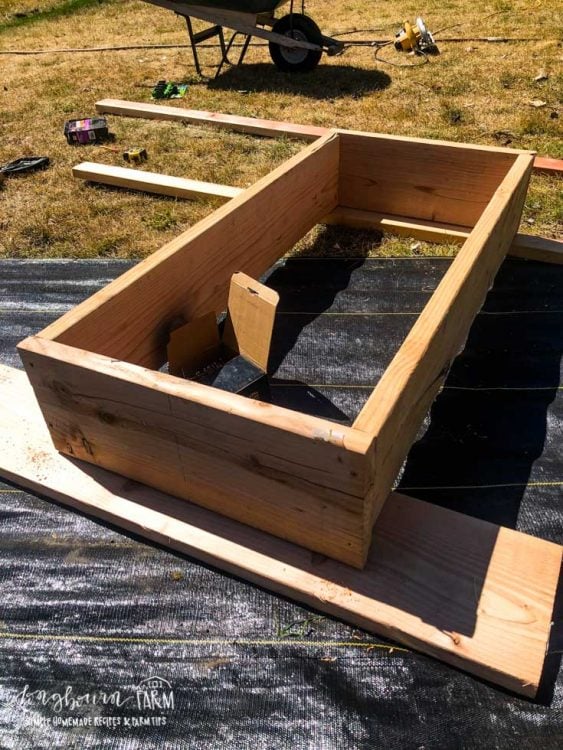
- Once you have two rectangles made, stack them on top of one another to create the height you're looking for in your tall planter box.
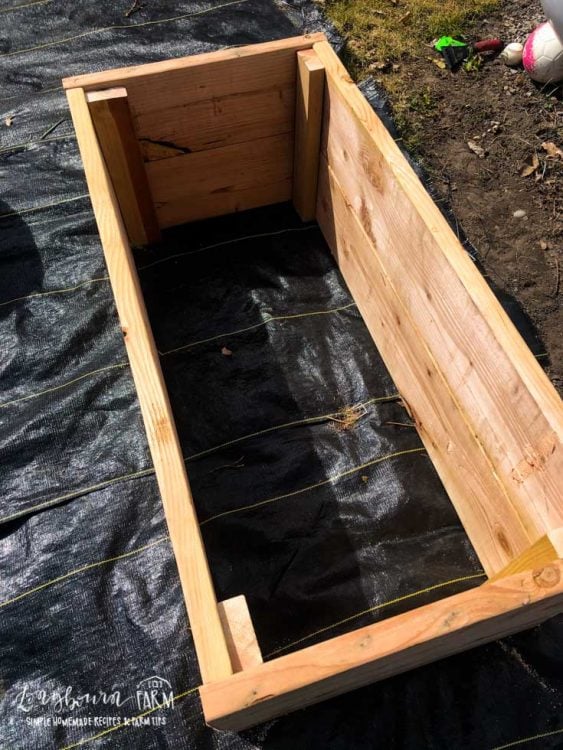
- Cut the 2x4x8 into four 20-inch long sections.
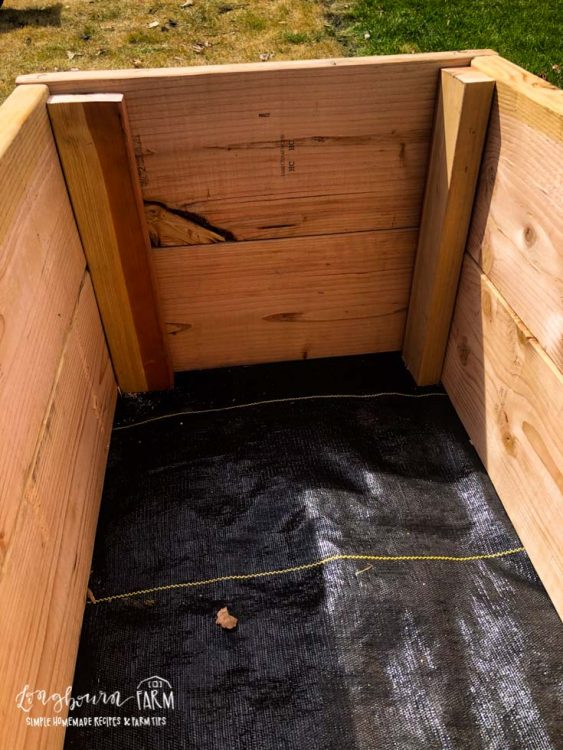
- Place these on the inside corners of the stacked rectangles.
- Screw these in from the inside. These are securing your rectangles together.
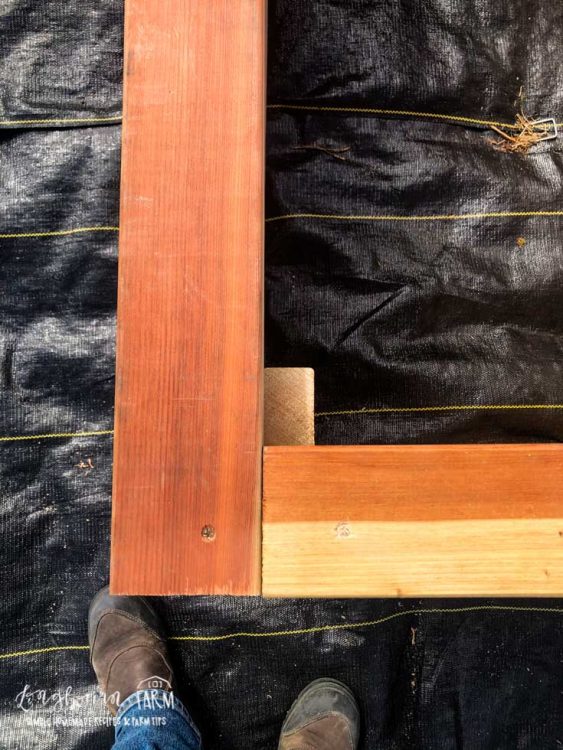
- Frame the top of the planter with the remaining 2x4x8 board. Measure the front length and the side lengths. I omitted a trim board in the back of my planter because I am adding a trellis, but if you want it to be completely trimmed out measure one for the back as well.
- Screw the trim pieces into place.
- Fill with dirt and plant away!
Obviously, you'll need to adjust the number of boards you get and the measurements you use if you are making your DIY tall planter box larger or smaller. This should give you a good idea of what method to use though going forward!
Looking for more in-depth chicken-keeping information? Take my course, Gardening 101!
My exclusive Gardening 101 course guides you through each step, from starting seeds to harvest. This course will teach you everything you’ll need to know about planning and growing your own garden.
Check out these Gardening Posts:
- DIY Tall Planter Box
- DIY Self-Watering Window Boxes
- When to Plant?
- How to Set Up a Garden Drip System
- Gardening Tips for Beginners
- Winter Squash Storage
- Tips for Growing Herbs Indoors
- Building Raised Wooden Planter Boxes
- Starting Plants from Seed Indoors
- How to Make Hummingbird Food
- How Long Do Potatoes Take to Grow?
- How to Grow and Harvest Lettuce
- The 5 Best Soil Moisture Meters
- How to Grow Jalapenos
- How to Grow Green Onions
- How to Grow Big Tomatoes in Pots
- How to Grow Broccoli
- How to Grow a Corn Plant
Looking for more in-depth chicken-keeping information? Take my course, Gardening 101!
My exclusive Gardening 101 course guides you through each step, from starting seeds to harvest. This course will teach you everything you’ll need to know about planning and growing your own garden.


Leave a Reply