


A DIY Self Watering Window Box system can improve your home's curb appeal without the daily watering hassle or expensive price tag. This simple drip irrigation solution gives you a beautiful, low-maintenance window boxes that thrive every season.
WANT TO SAVE THIS RECIPE?
Enter your email below and we'll send it straight to your inbox. Plus you’ll get great new recipes from us every week!
I look for every little nook and cranny to add another container, planter box, or fun plant holder for all the flowers and vegetables I can handle!
Why Choose Self Watering Window Boxes?
Traditional window boxes demand daily attention and often fail in challenging locations, while self-watering systems deliver consistent moisture directly to plant roots with zero daily maintenance.
They are perfect for second-story windows or busy homeowners who want beautiful plants without the constant worry of watering schedules.
After researching expensive commercial self-watering planters, I discovered that even $200+ store-bought versions aren't very effective at maintaining proper soil moisture.
Building your own DIY system costs a fraction of the price and actually works better, giving you complete control over water distribution and timing while creating stunning curb appeal that lasts all season.
Why I Installed My Self Watering Window Box

When we moved into our house, the outside was drab and boring! I spent all winter dreaming of how good it would look with new siding. Once I priced out new siding, I decided that was out of the budget for this year.
Luckily, I had a few great projects that amped up the curb appeal without breaking the bank! These self-watering window boxes are one of them.
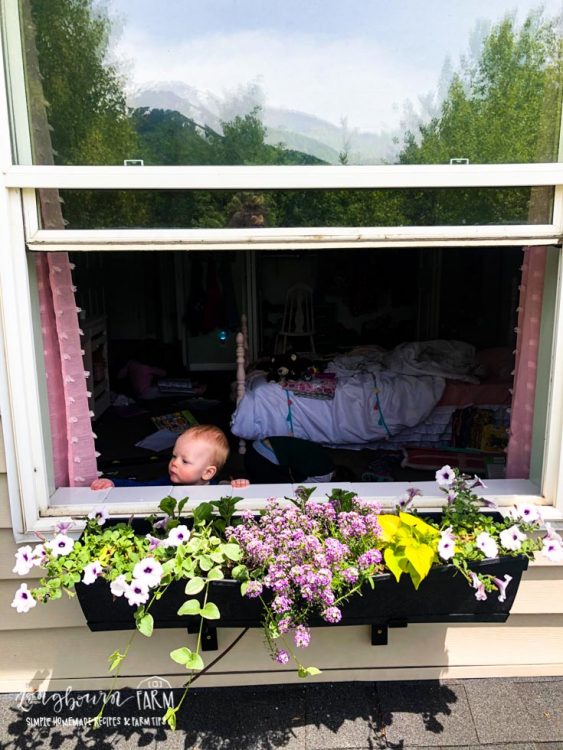
I knew I wanted window boxes on our second-story windows. But I also knew that they would get really hot being next to the roof and facing southwest.
I researched and read so much about window boxes and learned that even the most expensive self-watering window boxes aren't very effective. I decided to make my own window boxes and run drip irrigation up the side of my house to them.
It worked! And they look amazing, everything is staying well watered and beautiful.
Planning Your Self Watering Window Box
Assess Your Home's Layout and Water Access: Identify the nearest water source and plan the most direct route from your spigot or hose connection to each window box location.
Measure Tubing Requirements: Calculate the total distance from water source to each box, including vertical runs and connections, then add 20% extra for fittings and adjustments.
Choose Strategic Window Box Placement: Select locations that balance curb appeal with practical considerations like accessibility for maintenance and structural support for mounting.
Consider Climate and Sun Exposure: Evaluate daily sun patterns and local weather conditions to determine optimal placement and watering frequency for your specific environment.
WANT TO SAVE THIS RECIPE?
Enter your email below and we will send it straight to your inbox. Plus you will get great new recipes from us every week!

DIY Self-Watering Window Boxes: Never Hand-Water Again
Equipment
Ingredients
- 4 window boxes (see note)
- 25 ¼-inch Micro Tubing Drip Line Drip Emitters (I used .5 GPH which is recommended for annuals)
- 25 ¼-inch Barbed Connection T's
- 25 ¼-inch Barbed Connection Elbows
- 25 ¼-inch Straight Barbed Connectors
- 25 ¼-inch Coaxial Staples
- 1 ¼-inch to ¾-inch Hose Adapter
- 25 ¼-inch tubing stakes
- 1 25 PSI Pressure Reducer
- 1 Brass ¾ inch hose adapter to connect the pressure reducer to the hose or spigot.
- 1 Orbit Single Port Dial Timer so that you can make this a totally hands-free system!
Instructions
- Run the ¼ inch micro tubing drip line up through a drainage hole in the bottom of the window box. Reference this post, DIY Window Boxes, for the window boxes I used.
- Once the drip line is up through the drainage hole, fill the window box with soil if it wasn't full already.
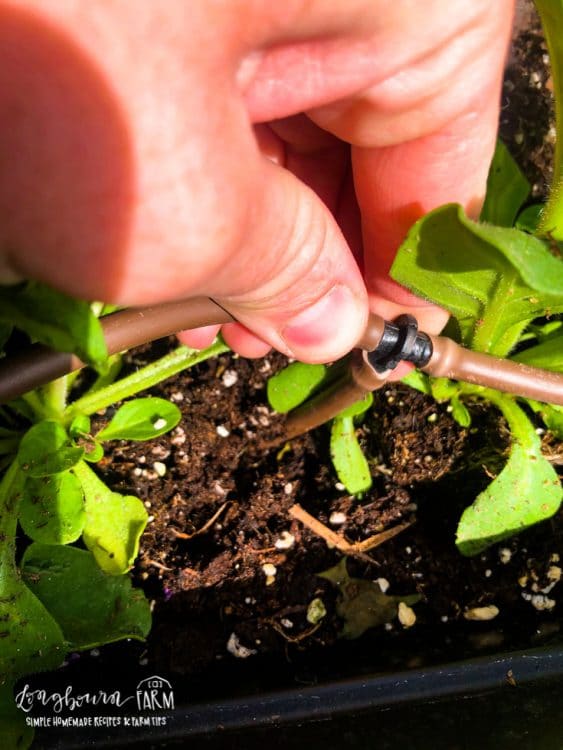
- Add drip emitters (I used .5 GPH) every 3-4 inches across the window box. I like the drip emitters better than the spray emitters for a few reasons. They keep the water near the soil which reduces evaporation. They also won't spray your windows every time they come on.
- You will add the drip emitters by attaching more dripline with T's, elbows, and straight connectors.
- Once the emitters have been run along the top of the box, connect the end of the drip line that is coming out of the bottom of the window box to your main line.
- We ran ours down along the bracket of the window box so you can't see it and then along the eaves of our house down to the spigot we were using. To keep it in place, we used these coaxial staples.
- Test the drip line to make sure it is working once it is all hooked up.
- You will need a pressure reducer, ¼-inch to ¾-inch hose adapter, and ¼-inch tubing stakes to keep the micro tubing in place anywhere it is in the soil.
Notes
How to Set Up Drip Irrigation to a Window Box
Step 1: Run the ¼-inch micro tubing drip line up through a drainage hole in the bottom of your window box, then fill the box with soil if it isn't already full.
Step 2: Add drip emitters (.5 GPH recommended for annuals) every 3-4 inches across the window box using T-connectors, elbows, and straight connectors to create a network that covers the entire planting area.
Step 3: Connect the drip line coming out of the bottom of the window box to your main water line, routing it discretely along the window box bracket and house eaves to your water source.
Step 4: Use coaxial staples to secure the tubing along its entire path, keeping it hidden and preventing movement that could damage connections or create visible clutter.
Step 5: Install the 25 PSI pressure reducer, ¼-inch to ¾-inch hose adapter, and ¼-inch tubing stakes to keep the micro tubing in place in the soil, then test the entire system to ensure all emitters are working properly and water pressure is appropriate for consistent coverage.
Self Watering Window Box FAQs
With .5 GPH drip emitters running for 15-30 minutes daily, each window box uses approximately 1-3 gallons per week, which is actually less water than hand-watering due to reduced evaporation and targeted delivery.
Simply unscrew the clogged emitter, rinse it with clean water or use a small wire to clear debris, then reinstall—keeping spare emitters on hand makes quick replacements easy.
Check soil moisture 2-3 inches deep with your finger; if it's consistently moist but not soggy, your system is working perfectly—adjust timer duration if needed.
Start with 15-20 minutes daily in spring/fall and increase to 20-30 minutes in hot summer weather, adjusting based on plant type, box size, and local climate conditions.
More Favorites From Longbourn Farm
-

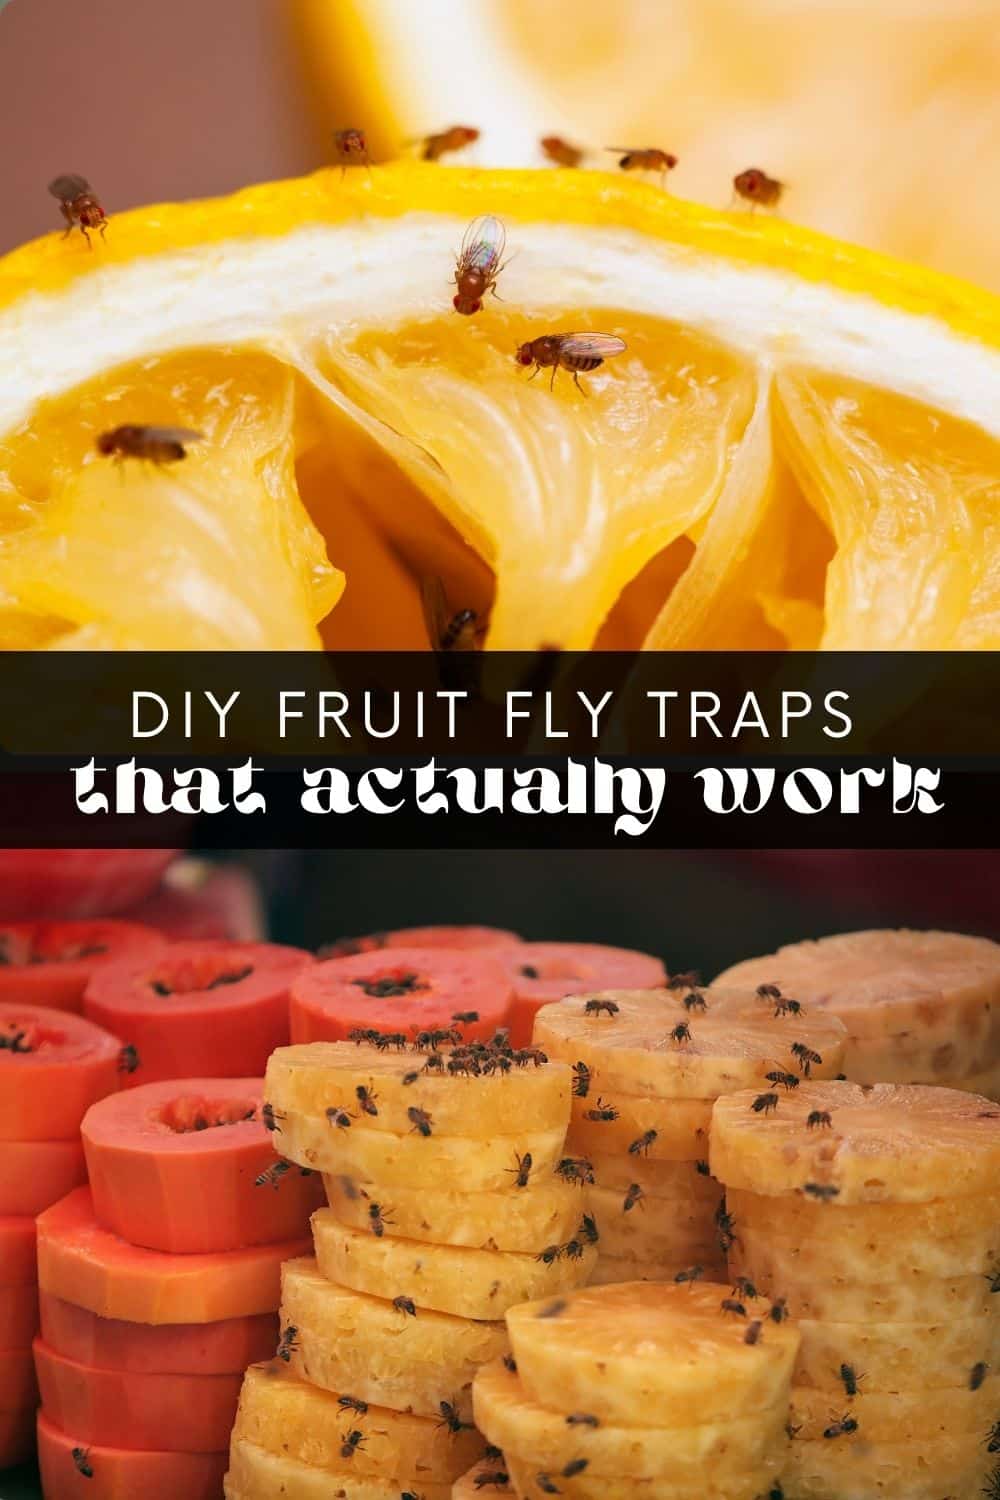
DIY Fruit Fly Traps (Gets rid of them fast!)
-
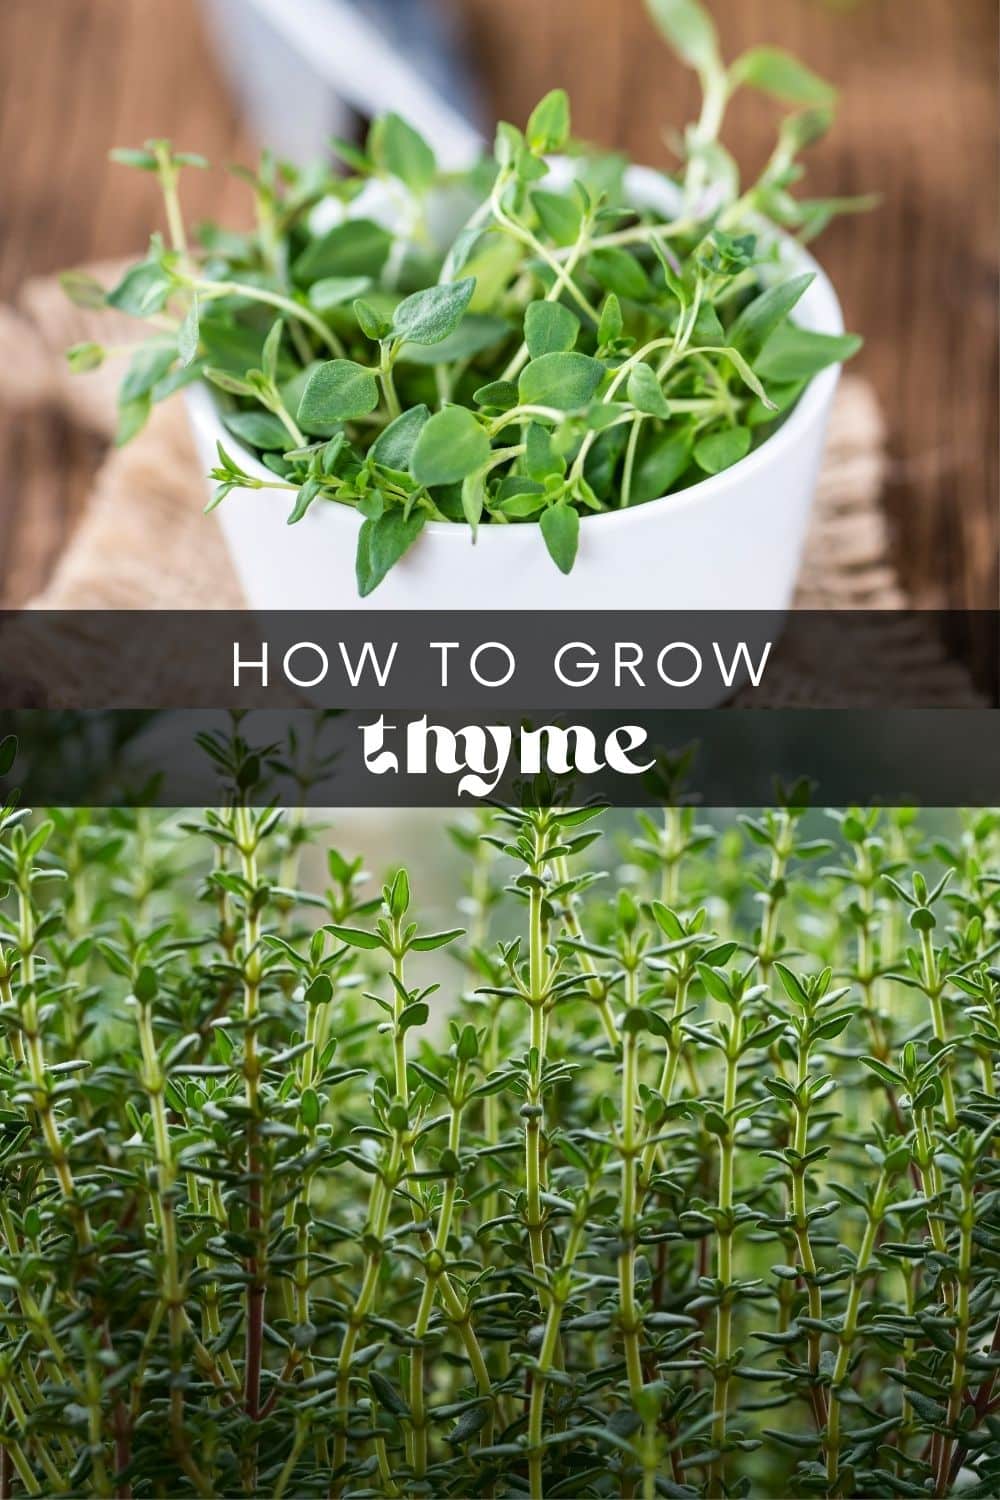
How to Grow Thyme
-
How to Grow Parsley
-
How to Grow Tomatoes


Did you find this info helpful? If so, please share it on Instagram, Facebook, or Pinterest!


Technofizi
Your blog is a very great.