
Learning how to start seeds indoors isn't hard, follow these simple steps to ensure your seeds get a good start so they can become strong plants. Starting seeds indoors is a great way to save money in your garden and get the varieties you want!
WANT TO SAVE THIS RECIPE?
Enter your email below and we'll send it straight to your inbox. Plus you’ll get great new recipes from us every week!
Starting seeds indoors is much easier than I thought, it just takes some preparation and the right materials! I'll be giving you links to everything I purchased and an honest opinion of what I thought of the products! This post isn't sponsored, I just find brand recommendations helpful.
Supplies needed for Starting Seeds Indoors
- Peat Moss
- Moisture Control Potting Soil
- Vermiculite
- Seedling Pots or Trays divided trays, not one large area
- Seedling Heat Mats
- Grow Lights
How to Start Seedlings Indoors: Planting Containers
The type of containers you plant in need to have a few essentials. The first essential is multiple drainage holes. Drainage is crucial to the success of your seedlings! Seeds need moist conditions to sprout, but not soaking ones. Drainage allows the soil to retain the correct amount of moisture.
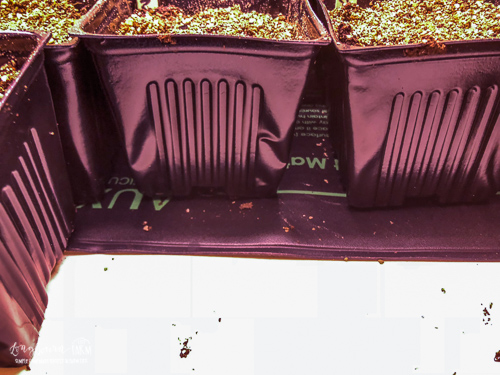
Another thing the containers you use must have is the right amount of space. Most seedlings do fine starting in smaller spaces and being transplanted to larger pots before making it out to the garden. However, most squashes do not care for transplanting. I opted for larger 3-inch x 3-inch pots {affiliate link} for the majority of my seedlings and really like how low maintenance they make things. They do use more soil and take up more space, but overall they have been less work.
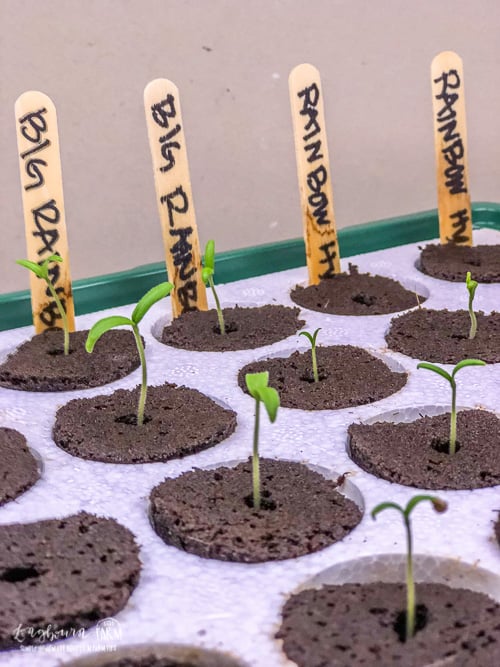
I also tried out this seed starting tray from Gurney's and I didn't like them as much as the regular planting containers. They save space and sprouted the seeds fine, but I tested the seed tray against my 3-inch pots and the pots are growing just as well as the seedling tray plants AND I don't have to transplant them. The seedling trays have some algae on the bottom and mold on the seedlings that are taking a long time to sprout {peppers}. Neither of which is good for seedlings.
Starting Plants from Seeds Indoors: Soil Mix
The first thing you need to get right, regardless of what vessel you decide to plant your seeds in, needs to be your soil mix.
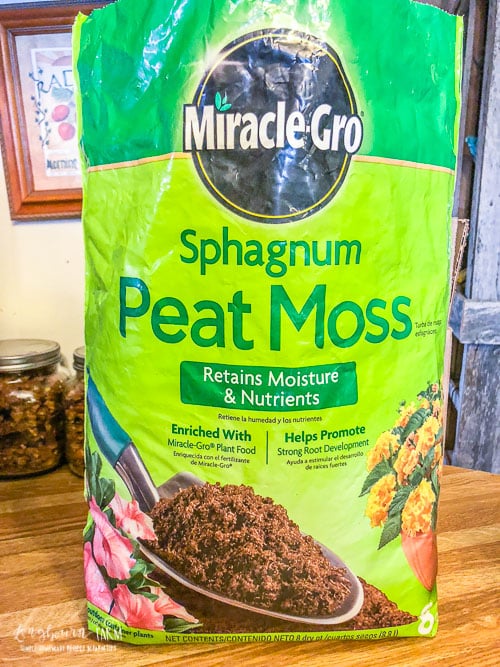
The first layer in my seedling pots was sphagnum moss {affiliate link}. This is in the bottom to encourage drainage and good root development since it's more loose than the potting soil. This was about ¼ of the total space in the pot.
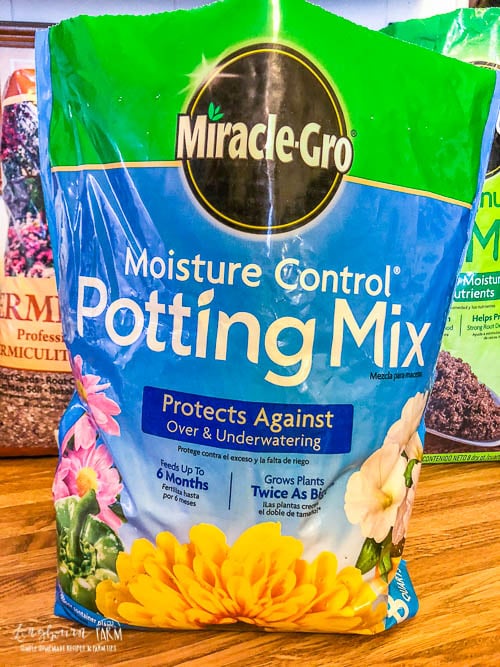
The best kind of soil to use is moisture controlled soil{affiliate link}. This keeps the soil at a more constant moisture level, which encourages the seeds to sprout. It also keeps you from over watering and washing your seeds out, or encouraging mold from too much moisture. I used Miracle-Gro Moisture Control Potting Mix to fill the bulk of my containers. I have used it and other products in the past and it does the best job retaining soil moisture.
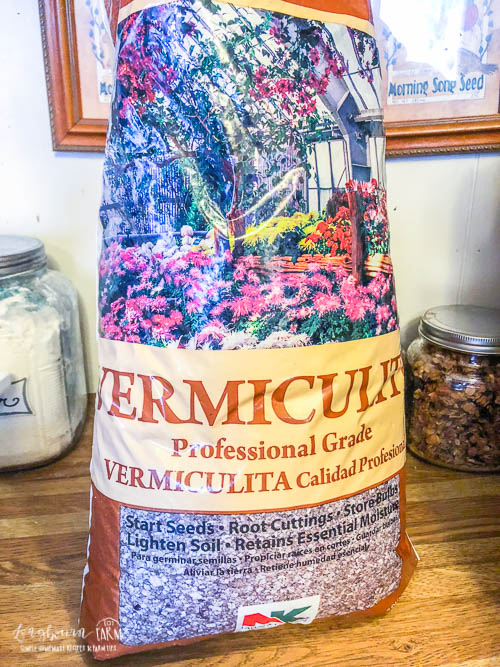
The last thing I put in my pots AFTER I had planted the seeds, was vermiculite {affiliate link}. This is a moisture barrier so you just need a thin layer that covers the top of the dirt. This helps seal the moisture in so your seedlings can sprout well!
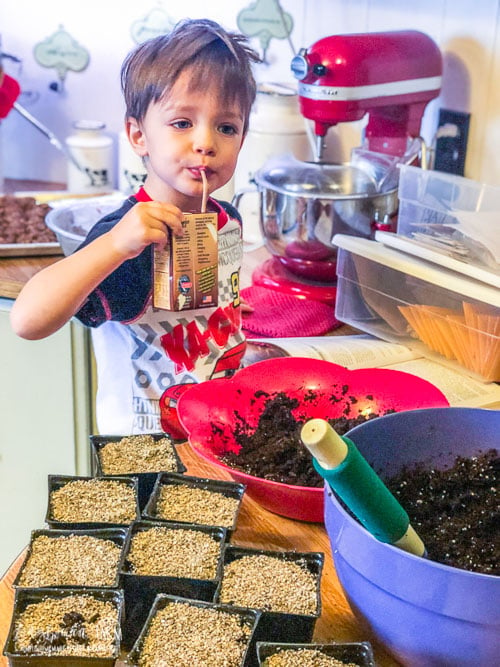
I set up my seedlings indoors and had a cute helper! It was a messy few days but the 2 feet of snow on the ground outside made being inside much easier. It was a little annoying having to trek outside to the garage and drop off loads of planted seeds, but it ended up being the easiest way to get the job done.
Starting Garden Seeds Indoors: Heating Pads
Having the soil in your pots be a certain temperature is important for proper seed germination. The minimum soil temperature for seed germination is usually 50 degrees F, but most plants {like tomatoes and peppers} need temperatures higher than that, usually 65-85 degrees. Unless you have plenty of heated space in your house for starting seeds, you may need to provide your seeds with additional heat.
I used heating pads {affiliate link} and they worked really well. There are two sizes, a 20x20 and a 10x20. I had one larger one and three narrow ones, the narrow ones fit on my shelving better. Even though they didn't cover all the seeds, I still got good germination {about 90%} by rotating them around the shelf.
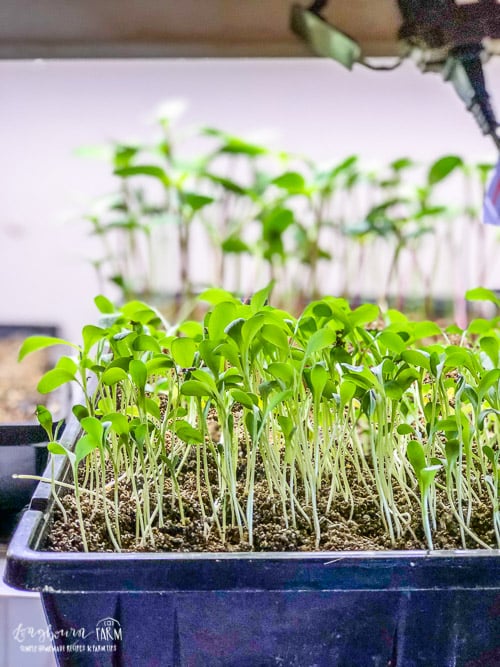
Starting Seeds Indoors with Grow Lights
Lighting is also very important once your seeds sprout. They need at least 12 hours of sunlight per day.
Starting Seeds Indoors without Grow Lights
If you have enough window space, be sure to rotate the pots to the plants don't start to lean too much in one direction.
Best Lights for Starting Seeds Indoors
If you are using artificial lighting, plants prefer a mix of red and blue light. I didn't want the headache of determining what mix of lights to use, so I went with plant/aquarium lights and they have worked great.
You'll also want to start the seeds about 6 inches from the light, and then gradually move them down as they sprout and start to grow. This will keep the seedlings from getting too long and leggy.
I had a really hard time finding lights that were a reasonable price. Luckily we had some old black lights we switched the bulbs out of instead of having to pay $50-60 for a new light. The bulbs are inexpensive, $10 or so {affiliate link}. But if you look specifically for a grow light it will be an expensive set-up. I recommend seeing what you can rig up yourself by finding used lights before dropping that kind of cash.
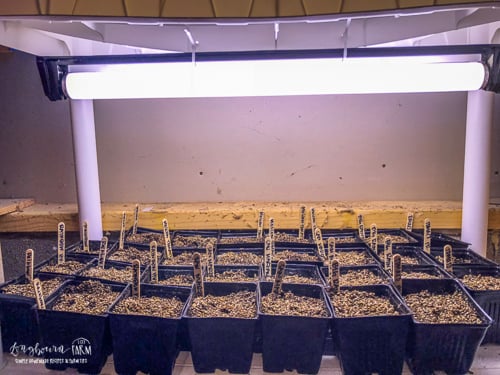
Space Needed for Starting Seeds Indoors
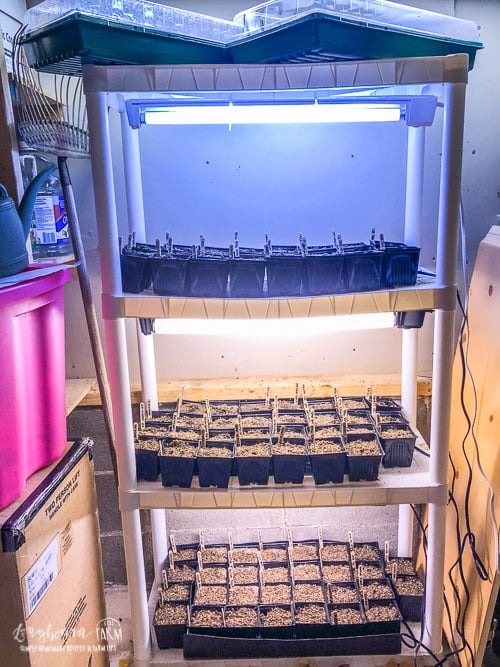
As you can see from the picture below, my space was crammed into my storage room. Ha! And it's working really well! I used an old shelf we already had and I have about 120 plants started on it. Each shelf has a heating pad and a light, I used file box lids to raise up the seedlings closer to the light as they grew.
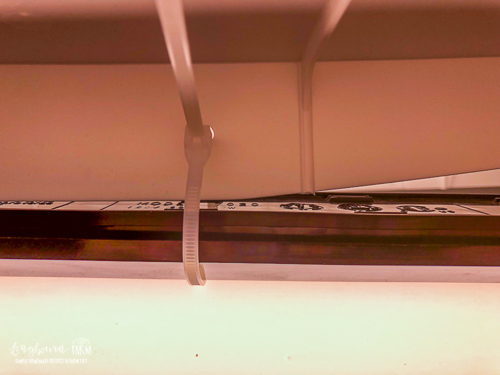
I attached the lights to the shelf by drilling a hole big enough for a zip tie on the underside of the shelf and attached the lights with zip ties. If I had thought of it when I was attaching the lights, I would have just looped the zip tie through the hole in the shelf and left it big enough to slide a piece of bailing twine through. Then I could have had the lights on an adjustable string and I could have adjusted the lights closer to the seedlings that way.
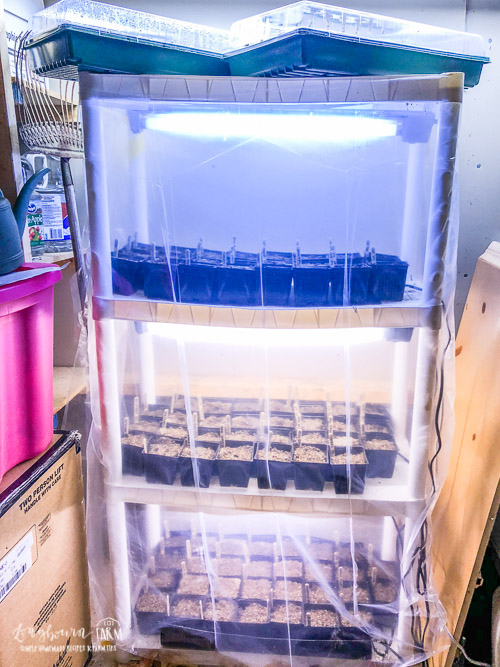
Before any of the seedlings were sprouted, I wrapped the entire shelf in plastic to keep moisture in and imitate a greenhouse. This worked fairly well but would have been better if I could have sealed off the bottom and top.
How to Start Seeds Indoors: Purchasing Seeds
Where you purchase seeds is up to you, just be sure that you are getting seeds from a reputable company that has a record of good germination rates. There is nothing more disappointing than going to all this trouble to set up a good place to grow seedlings and not having the seeds be quality.
I purchased some seeds from a local garden center and the rest of my seeds I purchased from Gurney's. Ask for recommendations from people around you who grow plants you really like.
Also, please, please PLEASE don't overpay for "Non-GMO" seeds. That is a tricky marketing tactic that gets you to pay more money for seeds that aren't GMO in the first place. There are only 10 GMO crops on the market: Corn, Soybeans, Alfalfa, Papya, Cotton, Sugar Beets, Canola, Squash/Zucchini, Potato, and Apples.
Only certain varieties of those crops are available as GMO's and purchasing GMO seeds for your garden would be so expensive and just not practical, no one would sell them to you. Those seeds are for farmers to use and are sold in bulk from multiple very large seed companies. You can get more ACCURATE information about GMO's here.
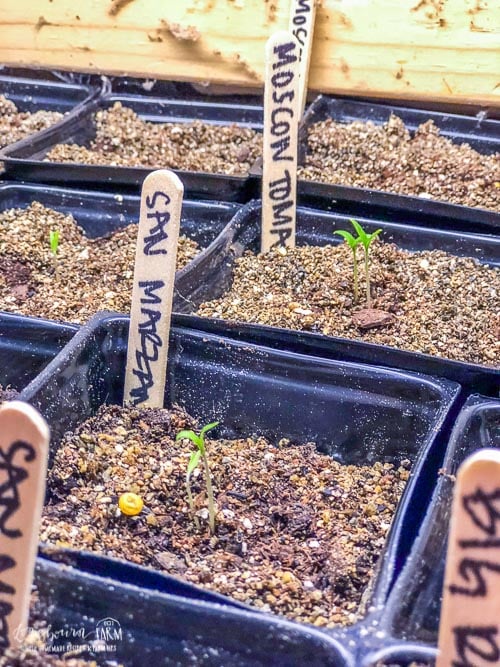
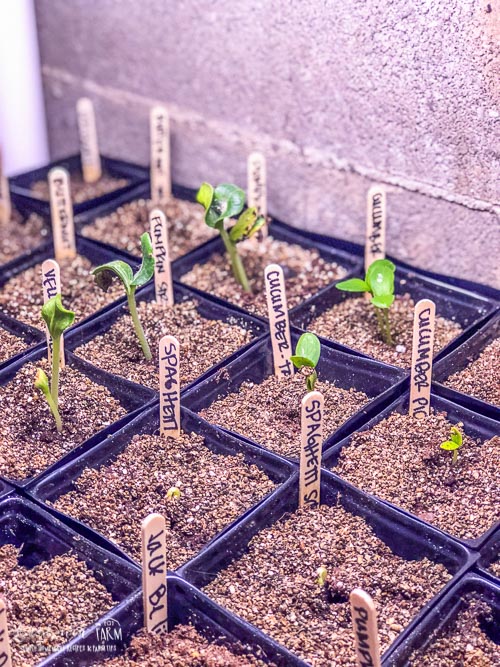
I planted two seeds in every pot, and next time I'll just do one. The germination rate was fantastic! Since my pots that had nothing sprout were few and far between, I think that it is more likely something was off with the soil temperature for too long than something off with both seeds I planted.
Starting Garden Seeds Indoors: When to Plant Seeds
The big question: when do you plant your seeds?
When should I start growing seeds indoors?
This is going to depend on two things - 1} the plant and 2} your zone. I am a zone 5 so I start tomatoes and peppers about 8 weeks before the last frost date. You can find a comprehensive list for zone 5 here! Or find one for your zone from your local extension office.
When should I start growing seeds outdoors?
When it comes time to plant your seedlings outside, you will need to harden them off. Do this by moving them outside during the DAY for a few hours at a time, gradually increasing the time they are outside.
And, don't plant them outside too early. As someone who has been overly ambitious about planting out seedlings in the past, RESIST THE URGE to plant too early!!
It's never worth wasting all your hard work and money to get caught in a hard frost 2 weeks early. Just wait it out and trust the last frost date, your plants will do much better in the long run.
Tips for Starting Plants from Seeds Indoors
Starting Vegetable Seeds Indoors
While planting seeds is similar regardless of the seed, the timing for when you should plant different seeds varies. For an in-depth look at when you should plant, check out this post.
Starting Tomato Seeds Indoors
Tomato seeds should be started indoors 6-8 weeks before your last frost date. Tomatoes need moist soil and humidity to germinate. The tomato seedlings will need a soil temperature between 65-85ºF to germinate.
Starting Flower Seeds Indoors
There is a wide variety of flower seeds out there and they can vary widely. Typically, flower seeds come up quickly and can dry out quickly. Keeping soil consistently moist, between 65-85ºF, and in a humid environment will be best. They also take up a lot of room, so make sure you have the space for flower seeds. To calculate when to start flower seeds indoors, use the timing listed on the seed packet and work backwards.
Starting Pepper Seeds Indoors
Pepper seeds should be started indoors 6-8 weeks before your last frost date. Peppers need a soil temperature of 75-85ºF to germinate and a humid environment.
Starting Sunflower Seeds Indoors
Sunflower seeds come up pretty quickly and typically don't need to be started indoors. If you do want to start them indoors, only start them 2-3 weeks before you can plant them outside. They will sprout quickly and grow quickly.
Starting Marigold Seeds Indoors
Marigold seeds can be started indoors 6-8 weeks before your last frost date. They are easy to start and need a soil temperature of 70-75ºF.
Starting Onion Seeds Indoors
Typically, onions do not need to be started indoors. As cooler weather plants, they can germinate in cooler soil temperatures. The optimal temperature is 70ºF. You can also use onion sets, which can be planted directly outside once the soil is thawed, about 4-6 weeks before your last frost date.
Starting Watermelon Seeds Indoors
Watermelons don't like being transplanted, so unless it's truly necessary, don't start them indoors. If you do need to start watermelons indoors, start them 2 weeks before your last frost date. They will need moist soil and a soil temperature of 70-90ºF.
Starting Cucumber Seeds Indoors
Cucumbers, like watermelon, are best to directly sow outdoors. If you do need to start them inside, start them about 2 weeks before your last frost date in moist soil and a soil temperature between 70-90ºF.
FAQs - How to Start Seedlings Indoors
If you have a very bright room, you could get away without using grow lights. The issues with not using grow lights can be leaning and leggy starts. Grow lights help control those issues.
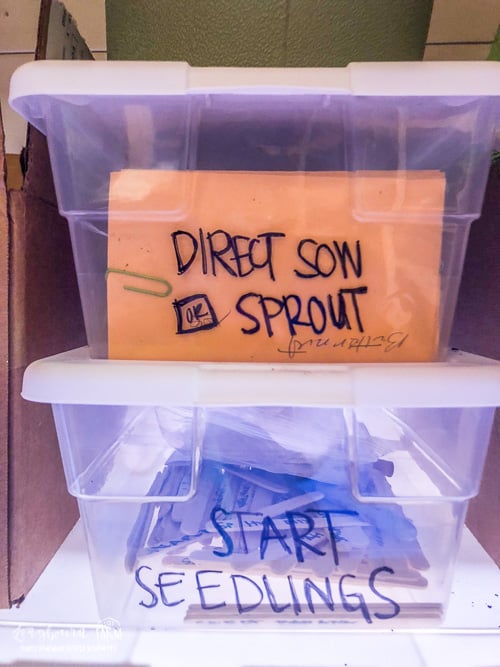
This depends on where you live and what growing zone you are in. If your growing season is short, you'll want to start seeds indoors so they have time to mature and produce before your season ends. Generally, these are plants with longer growing times like tomatoes and peppers. For a complete list of seeds that can be direct sow, check out this post.
The most important temperature for starting seeds indoors is the soil temperature. Ambient temperature can be around 65ºF, but soil temperatures will need to be 70ºF and above. This is why heating mats are important.
If you start seeds indoors too early, the plants can get too big for their small containers. This can lead to plant damage, rot, or dehydration. If needed, replant into larger containers until you can plant outdoors.
While squashes and beans come up quickly indoors, they can be harder to transplant and don't always need to be started indoors. Tomatoes are a great plant to start indoors because they come up relatively well and are easier to transplant.
I hope this post helps you feel confident in knowing how to start seeds indoors!! It's been a lot of fun to get unique seed varieties and start them myself. I can't wait until the garden is in full swing this summer!
WANT TO SAVE THIS RECIPE?
Enter your email below and we will send it straight to your inbox. Plus you will get great new recipes from us every week!

How to Start Seeds Indoors
Equipment
Ingredients
- Peat Moss
- Moisture Control Potting Soil
- Vermiculite
- Seedling Pots or Trays (divided trays, not one large area)
- Seedling Heat Mats
- Grow Lights
Instructions
- In your seedling pots or divided trays, place about 1 inch of peat moss.
- Add your moisture control potting soil to the pots or trays so it is about ¼ inch from the top.
- Without the seeds in the pots, water in the soil until evenly moist.
- Gently press 2 seeds of your choice into the soil and cover. Do not bury them deeper than ⅛ inch.
- Sprinkle a thin layer of Vermiculite over the top of the top of the soil.
- Place seedling pots or trays on the seedling heat mats.
- Place seedlings under a grow light if your seed starting area recieves less than 12 hours of sunlight a day.
- Keep them watered and moist until you see your seedlings spout.
- If possible, water them from the bottom by setting them in a tray filled with 2 inches of water once sprouted. This will help avoid soil rot and mold.
- Once seedlings are ready to be moved outside, harden them off by placing them outside for a few hours, then bringing them back in, and repeating that process for about a week, graudally lengthening the time each day until you can extend the time to over 8 hours.
- DO NOT be tempted to plant your seedlings without hardening them off or before your last frost date. They will thrive much better when you set them up for success.
Looking for more great gardening posts?
- How to Make Hummingbird Food
- Tips for Growing Herbs Indoors
- Building Raised Planter Boxes
- Gardening Tips for Beginners
- Winter Squash Storage
- Garden Soil Preparation for Planting
- Quick and Easy Way to Preserve Tomatoes
- How to Compost
- Best Way to Store Zucchini
- Harvesting Onions and Storing Onions
- Watering Your Garden
- How to Harvest and Freeze Broccoli
- Herb Harvest and Preservation


Marco
A good read for those who want to Start Seeds Indoors. Recommendations are given clearly in order to have a successful indoor plant activity.
Alli
Thanks!
Lydia
I'm a bit confused. You say that you don't transplant the 3 in. pots. So you just put the pot and everything in the soil? That doesn't seem to make sense with what I know about gardening. Am I missing something?
I'm thinking of trying my hand at starting some plants from seed this year. We are living at a place that has a small greenhouse and I think it could be kind of fun...but it also looks a bit overwhelming too. I enjoyed reading this though. Your info was helpful!
Alli
Hi Lydia, sorry for the confusion. I mean that I leave them in the 3-inch pot until I plant them in the garden. I try to transplant seedlings from pot-to-pot as little as possible. Does that make sense? Definitely don't plant the whole pot in the garden!