
Harvesting onions is so easy, and storing onions is so easy too! Easy to follow steps so you can enjoy your harvest for months!
WANT TO SAVE THIS RECIPE?
Enter your email below and we'll send it straight to your inbox. Plus you’ll get great new recipes from us every week!
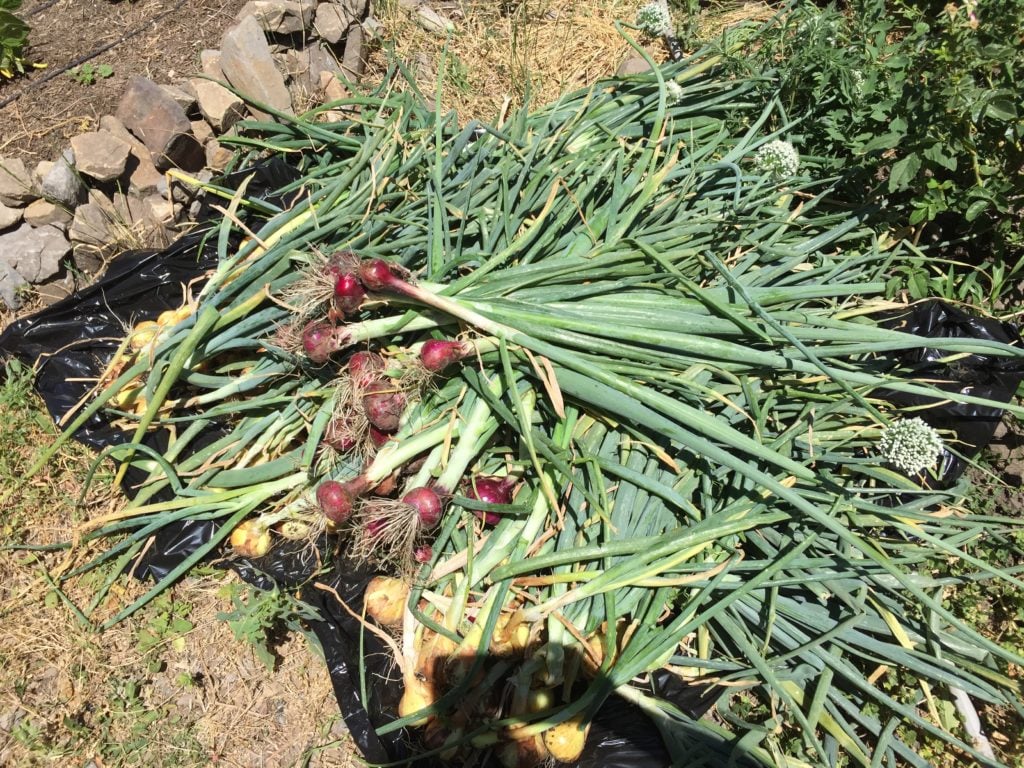
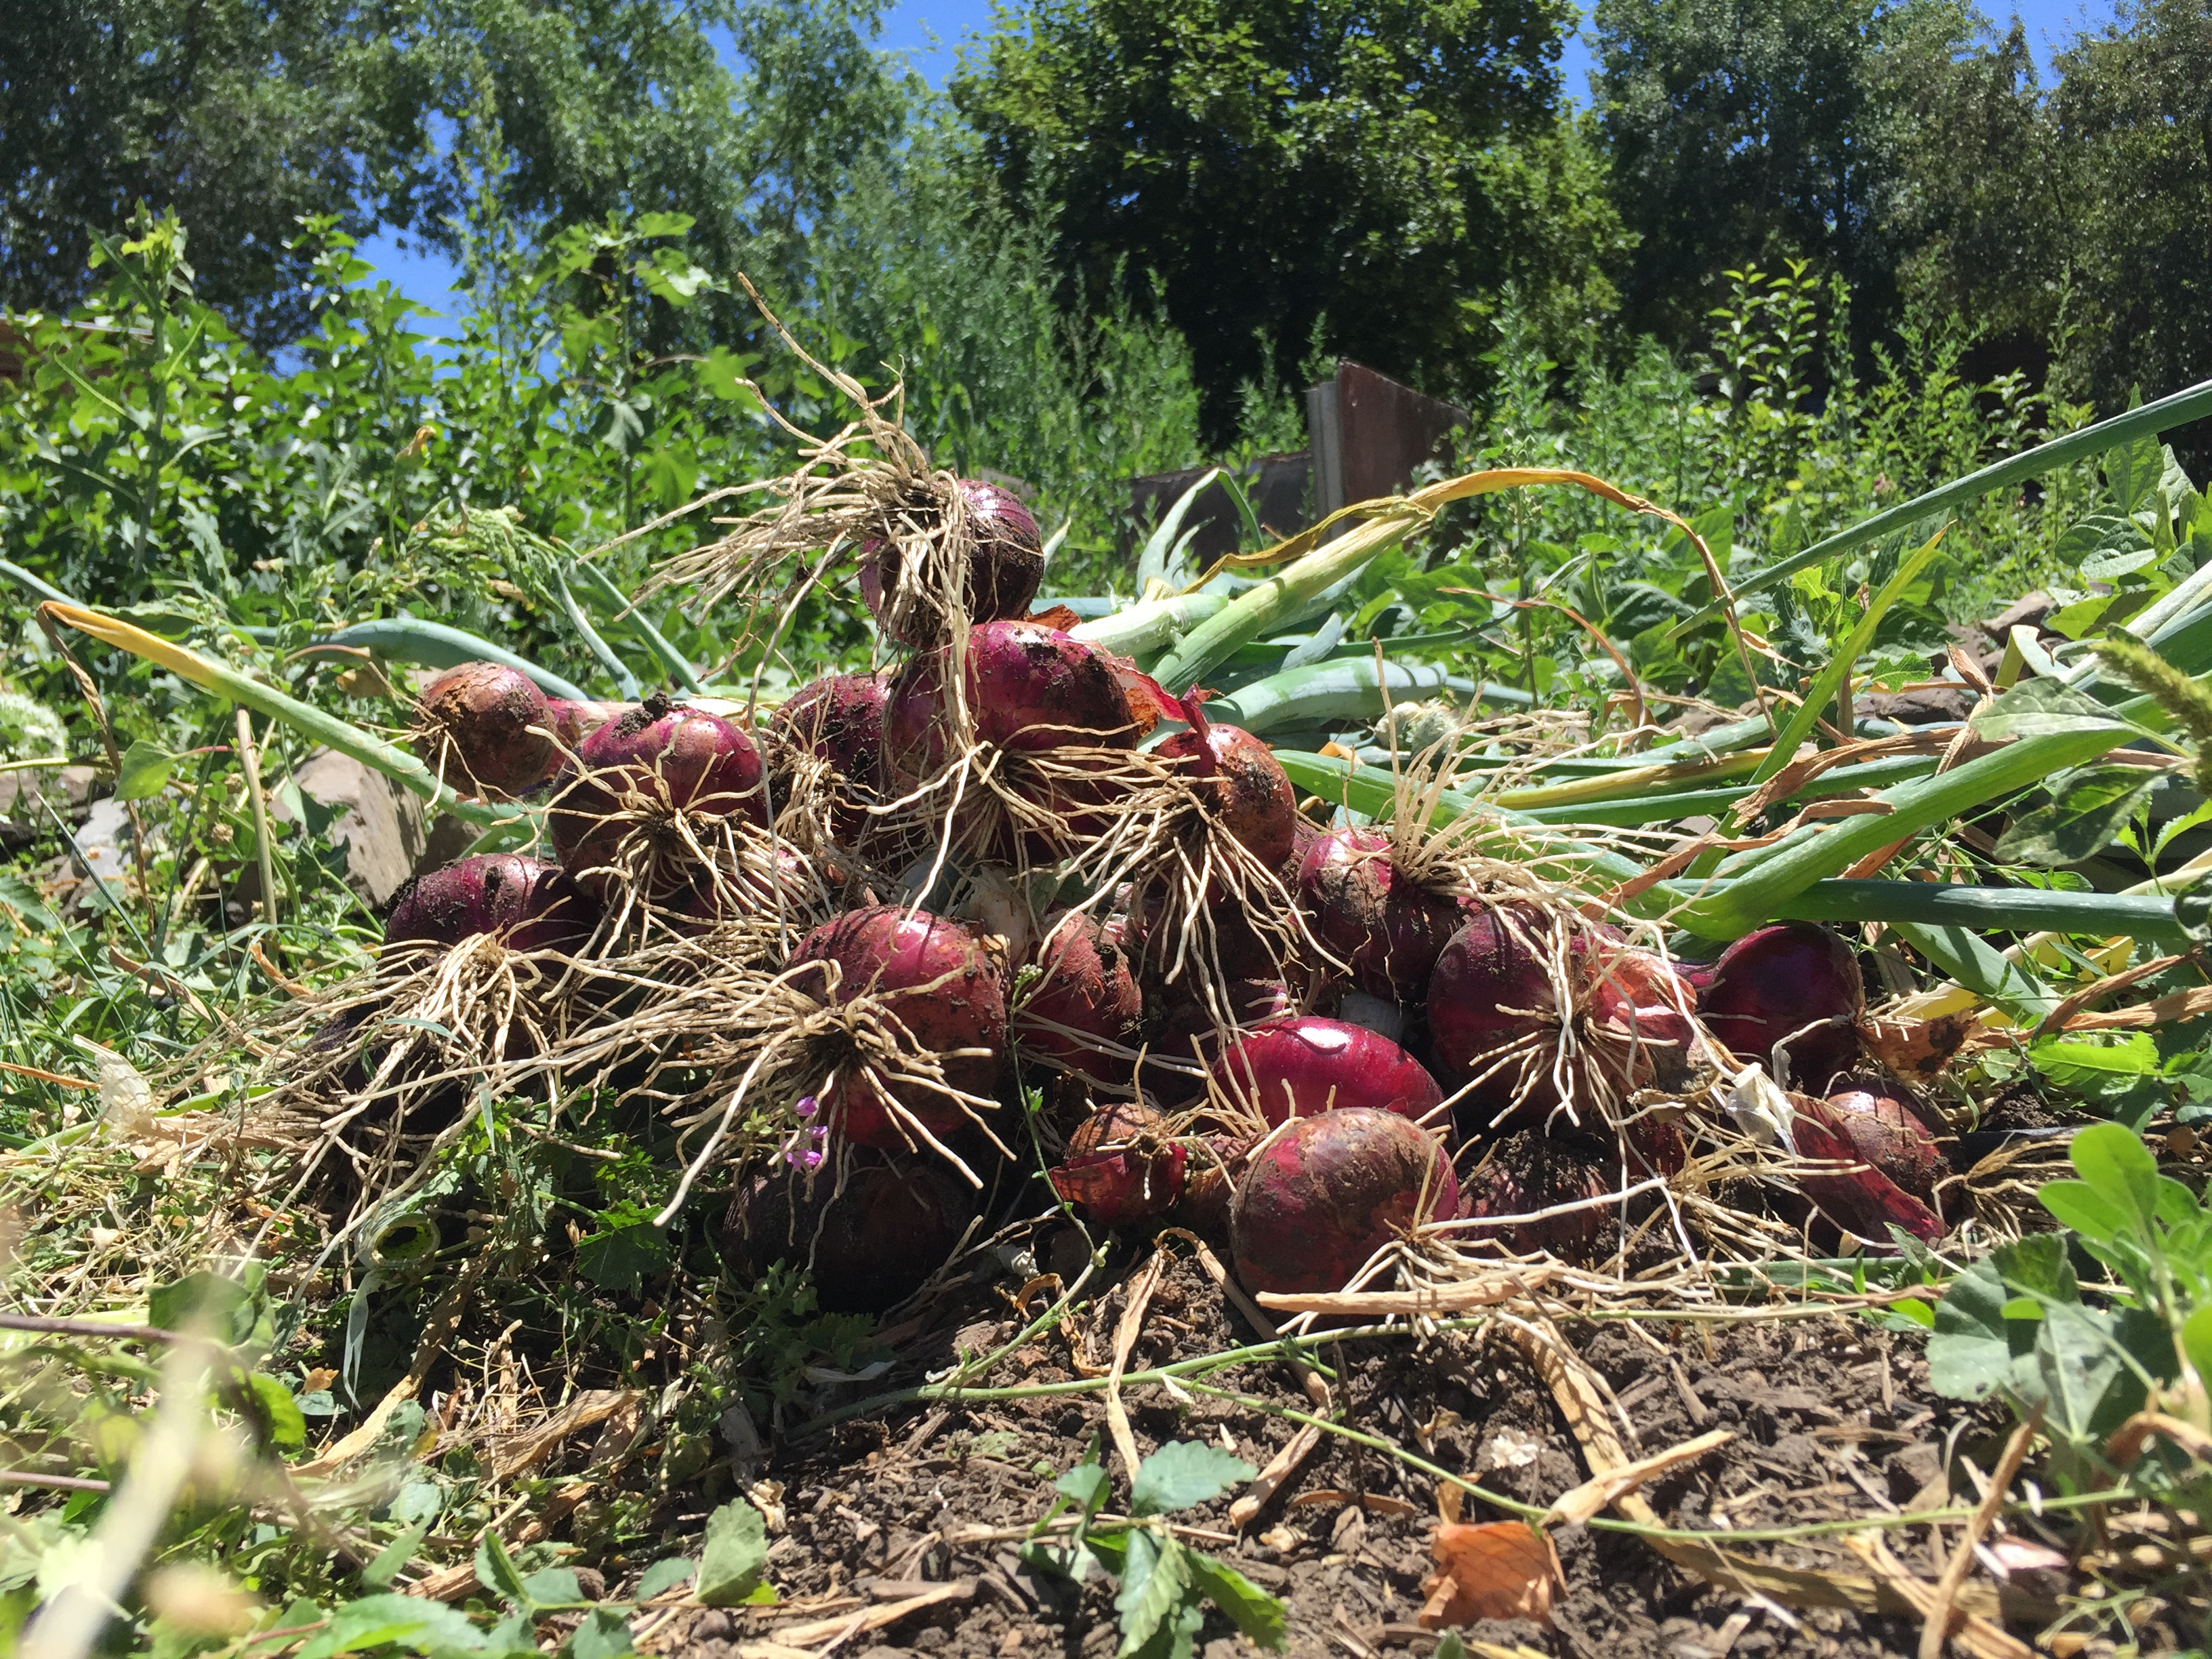
Today's Farm Tip Friday is all about harvesting onions and storing onions so you can enjoy them for months to come. Last year, I think I harvested 10 tiny onions. It was such a disappointment! This year I did some research and asked around for advice for my particular area and things went much better. I didn't count how many onions I harvested this year, but you can see from the picture that it was quite a pile! They aren't as large as I'd like, but that's what makes gardening fun - there is always something new to try for next year.
I knew a few basics about onions, but I'd really never had them grow well enough to know the normal signs of when to harvest. I'd either get them in late and just pull them up when it got cold or they never grew well enough to "tell me" when it was time to harvest. This year, they really took off and got impressively tall - some of the greens were about 4 ft high! A few weeks ago I could tell that stalk growth was slowing down and noticed that some of them were even starting to lay down. I wondered if this meant it was time to harvest, so I asked my go-to garden expert - my dad. He affirmed my suspicions so I proceeded to harvest my entire onion patch in the middle of a hot day while Abram was napping because I was just so excited to see how it turned out.

Pregnancy made me pay for that one later with an evening full of Braxton Hicks contractions. For someone who isn't even born yet, this little lady sure likes things to go a particular way. I'm hoping that wears off after birth...ha! Literally nothing I did bugged Abram, and I had a couple pretty frightening experiences while carrying him.
Anyways, harvesting onions is really easy {even if you are pregnant}. And storing them long-term is even easier! Like I mentioned, you'll know they are ready to harvest when the tops start to lay down. The above photo is what mine looked like about a week before I harvested them. When I actually pulled them out, they were about 90% down.
I pulled them all up and piled them together, just so I could see how much of each variety I had. I planted yellow onions and red onions, since those are the kind I cook with most often.
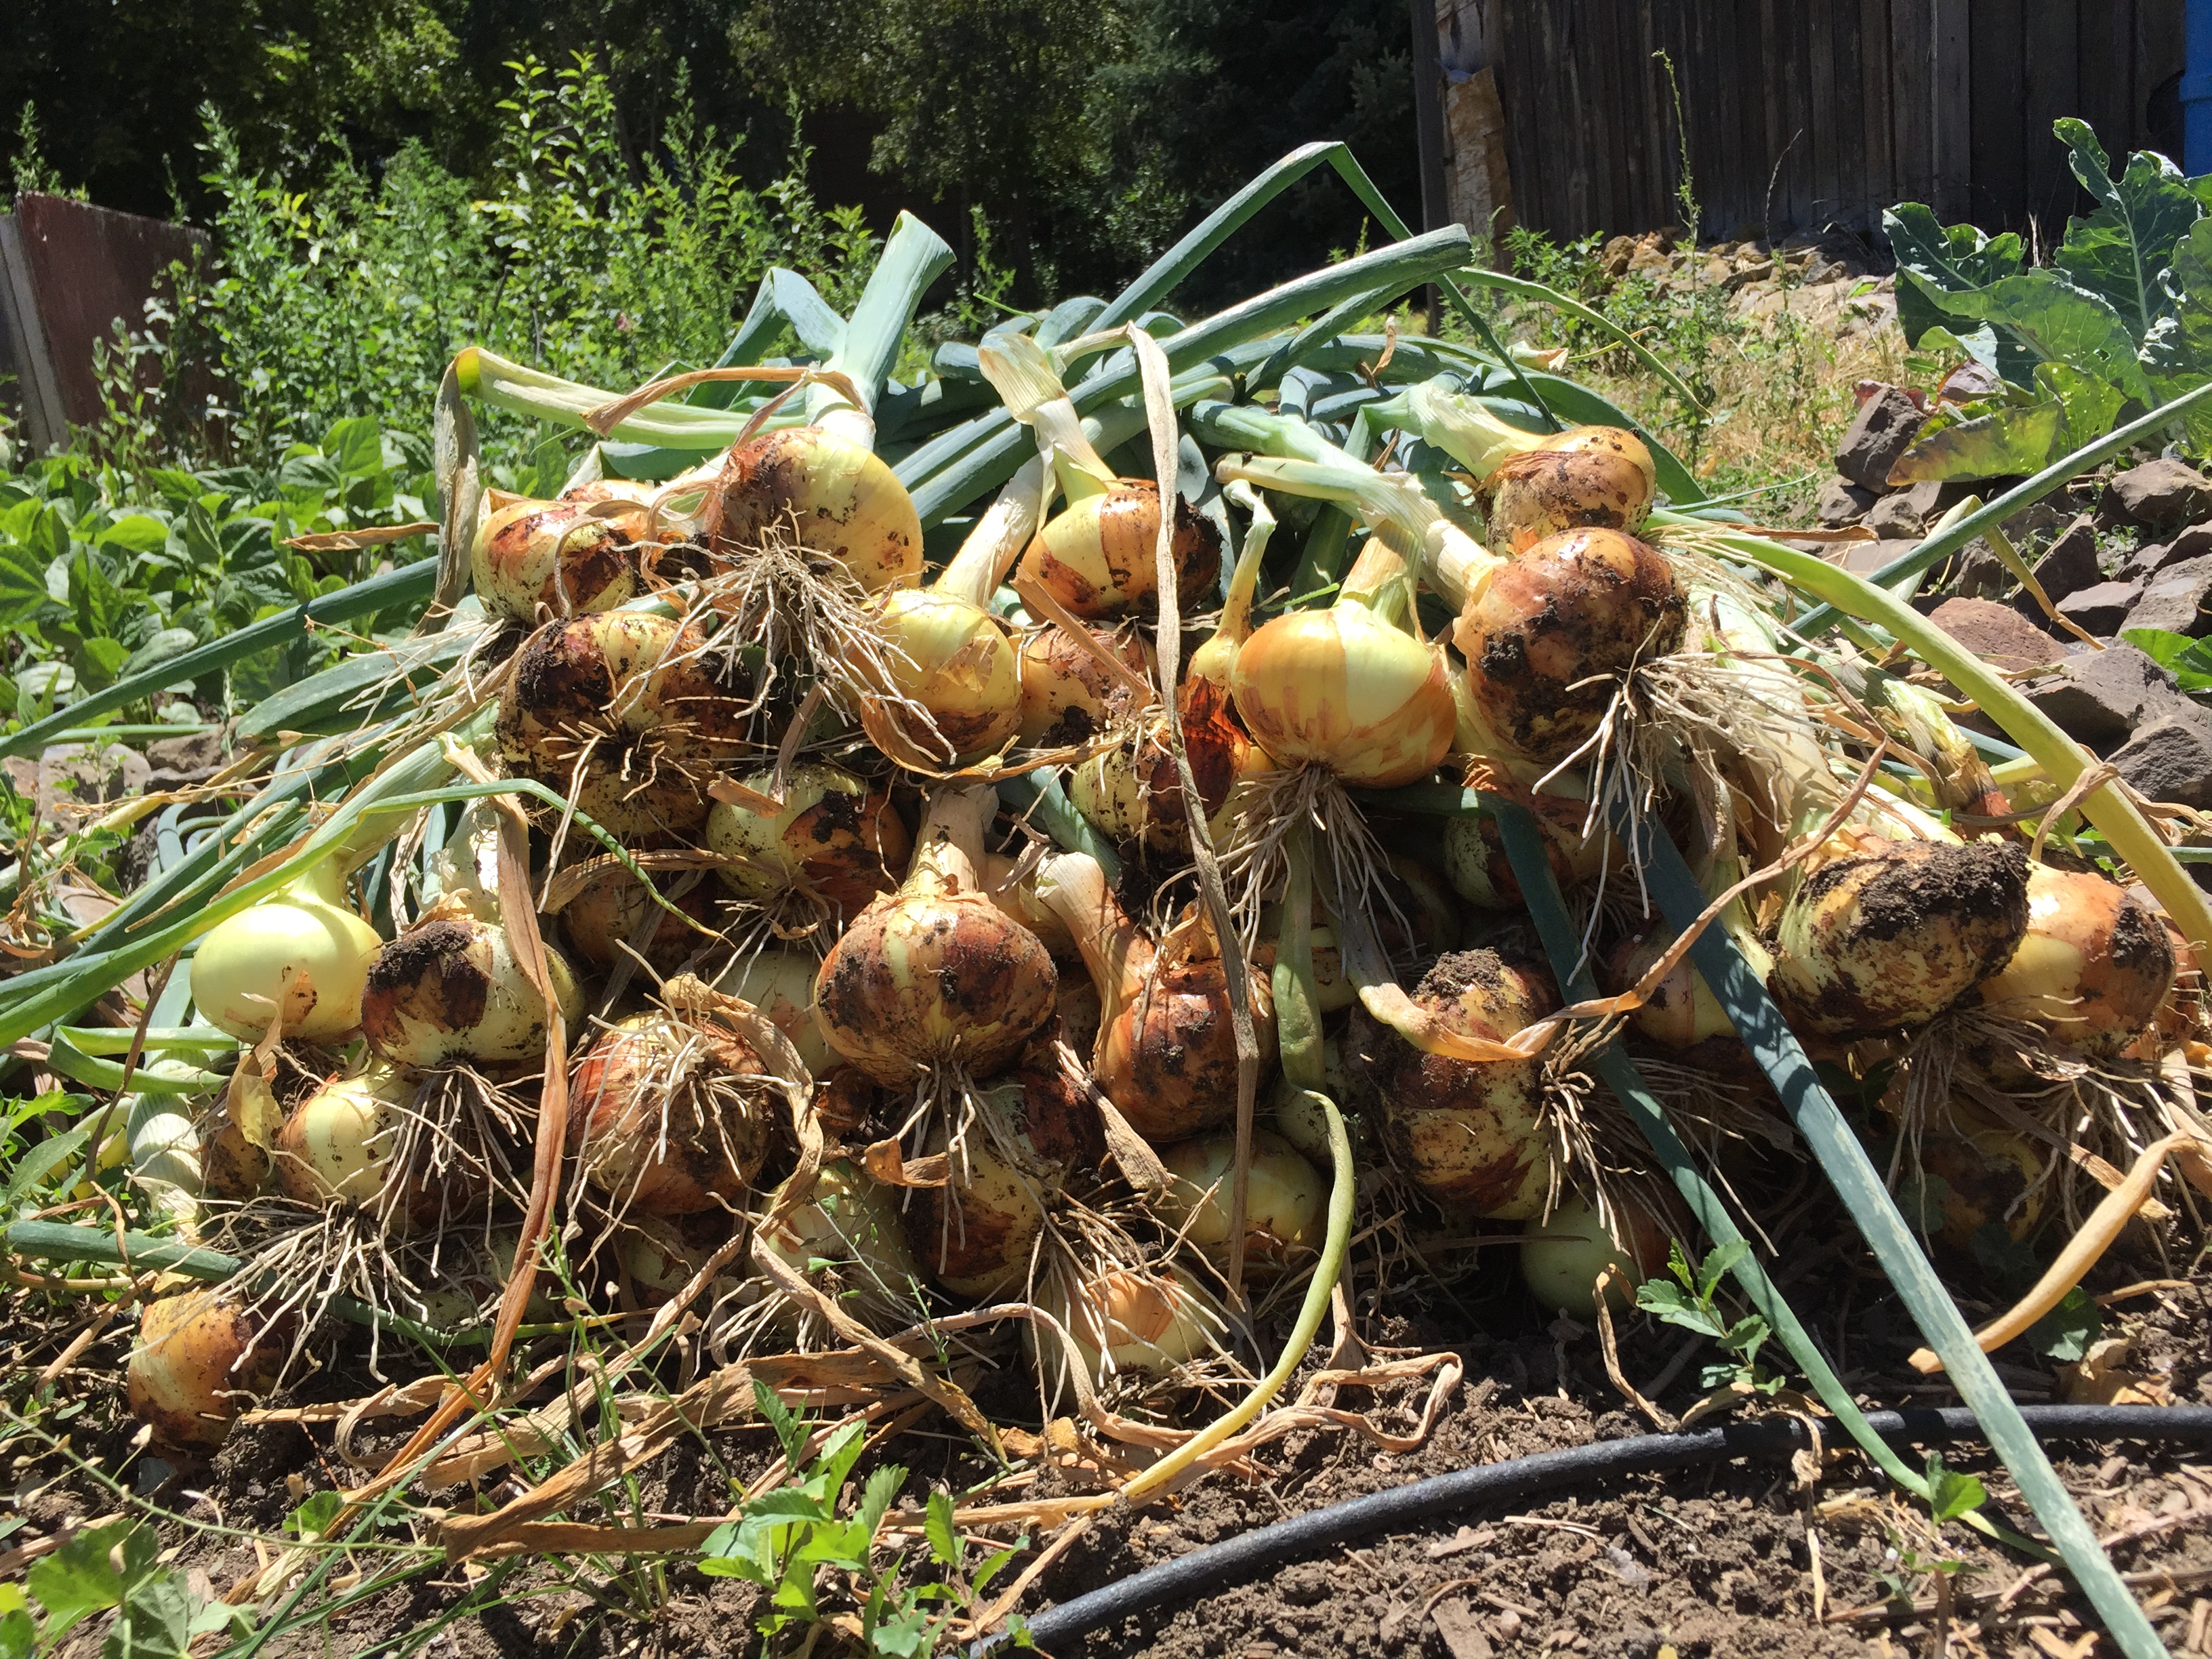
I don't recommend leaving them stacked like this for a very long time, more than a day or so will encourage rot. And really, it doesn't take very long to pull them and then prep them for drying.
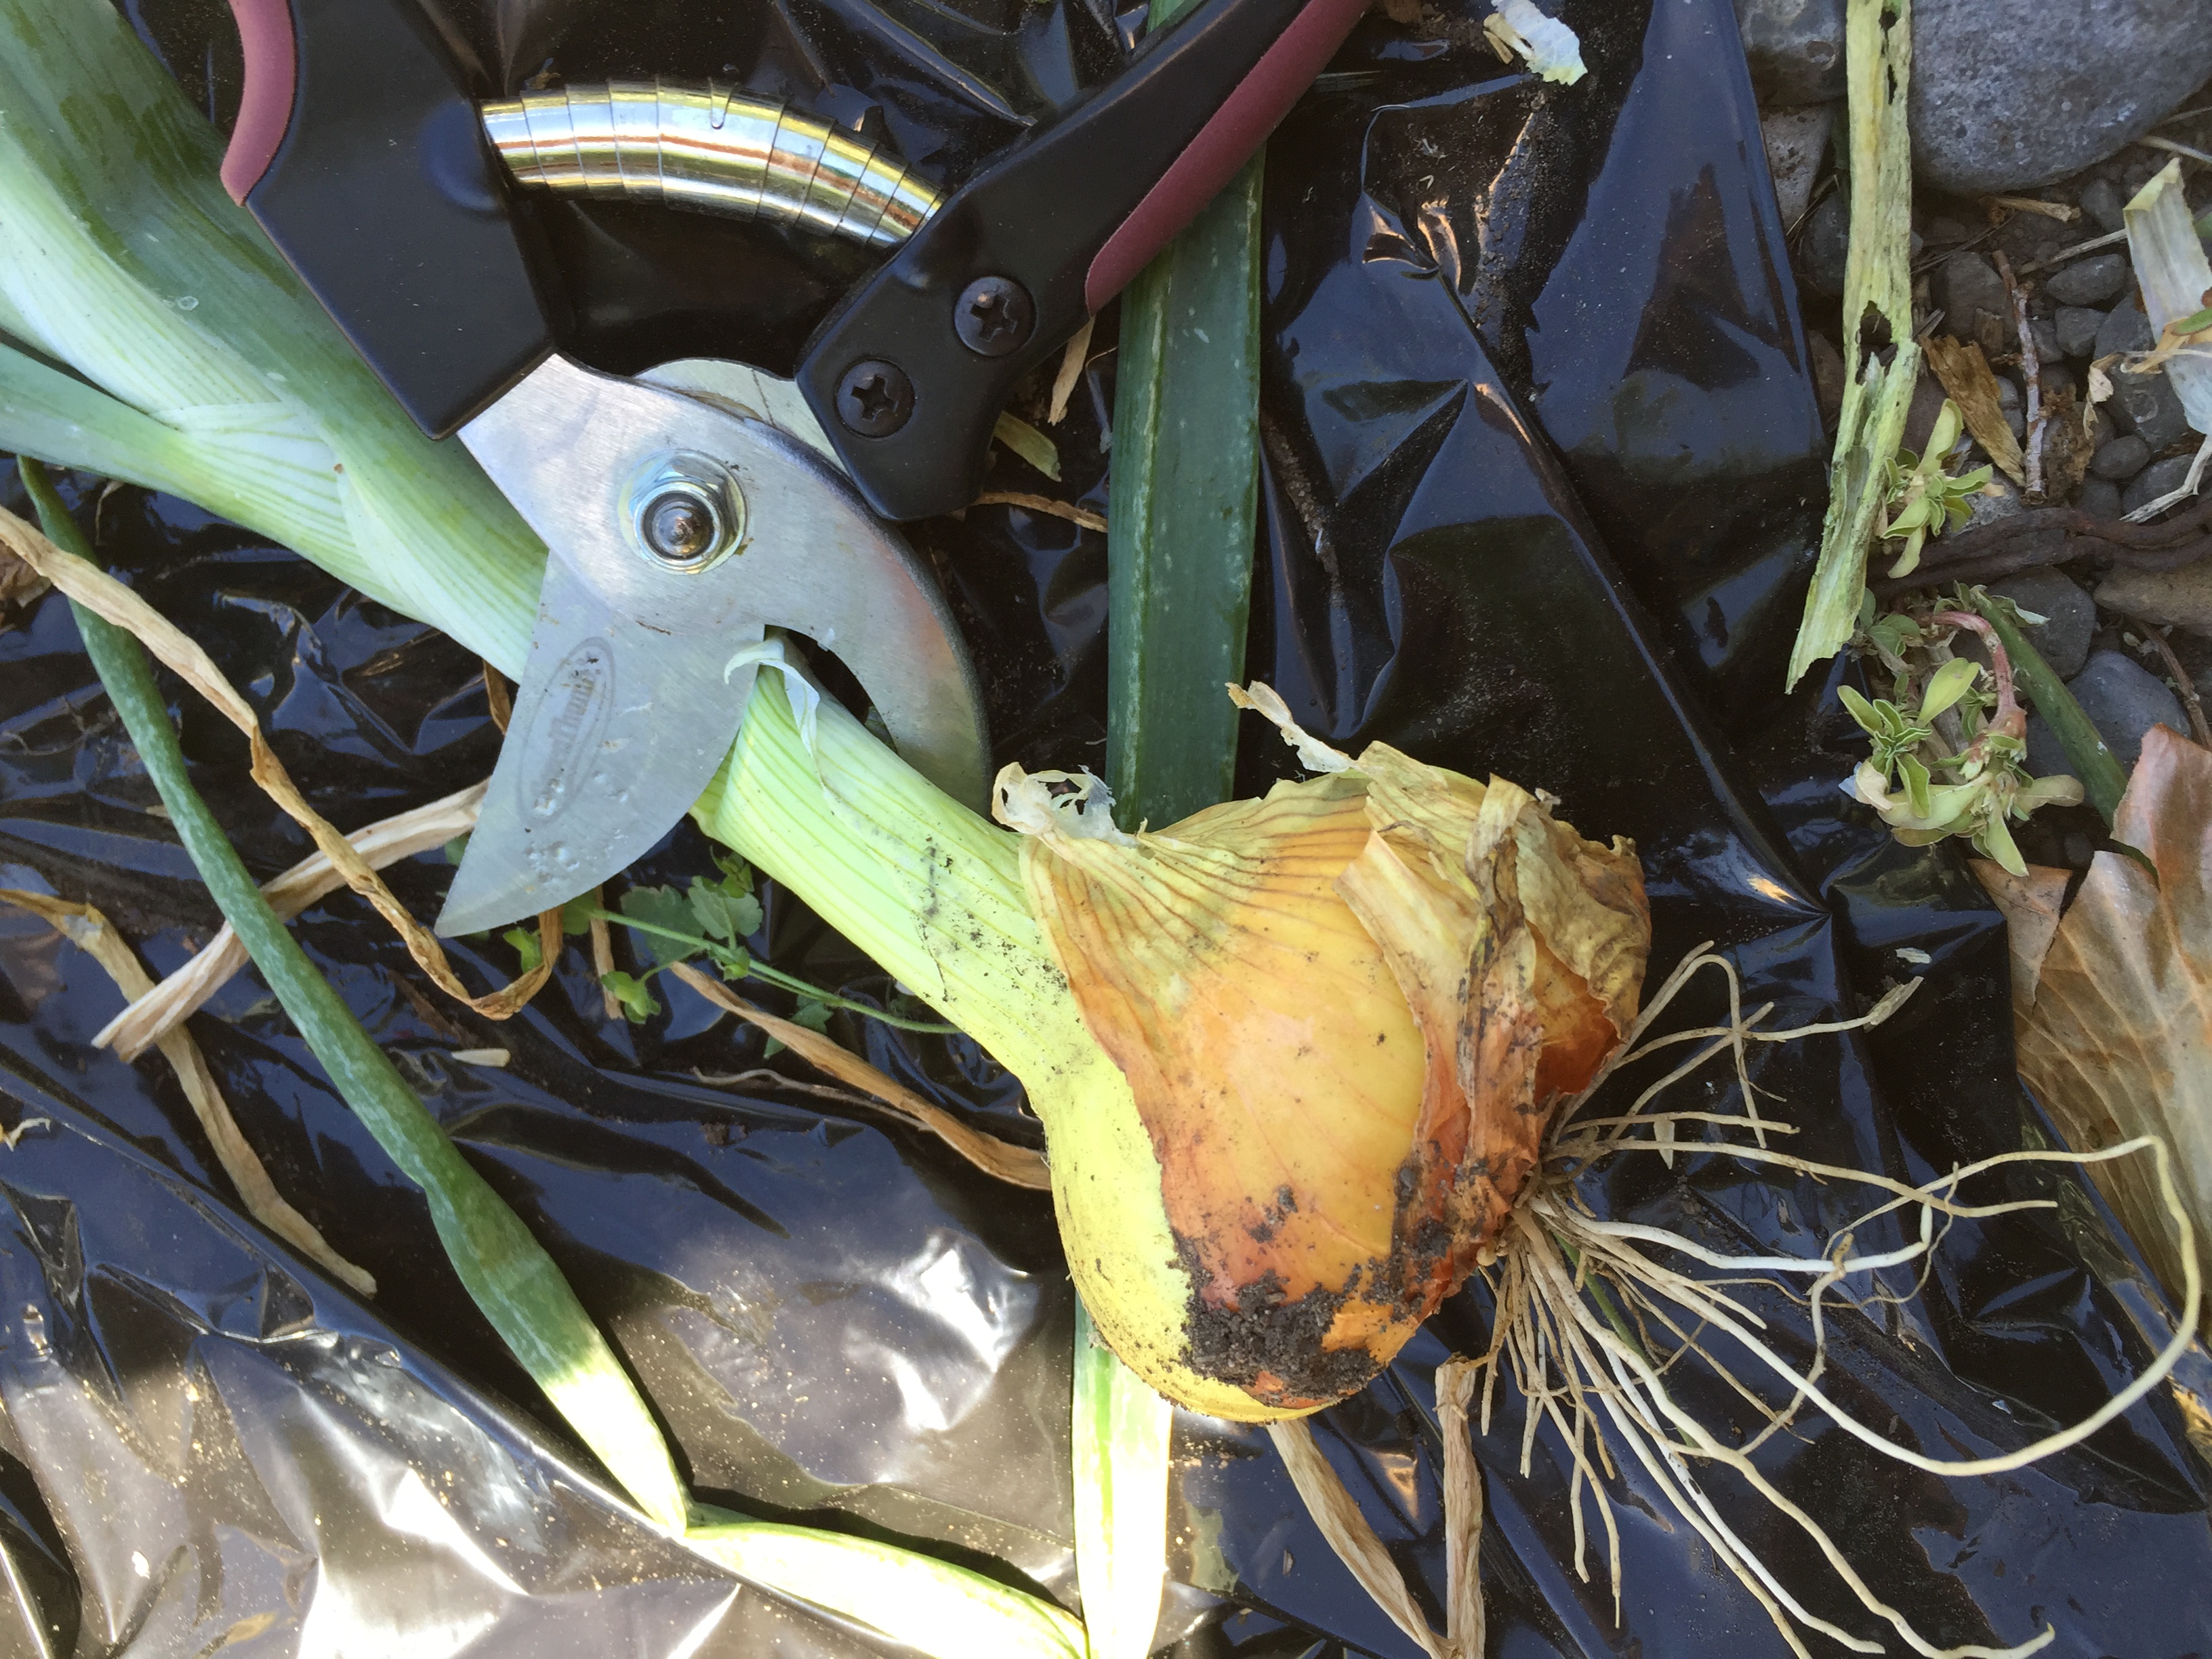
To prep the onions for storage, you're going to cut the tops off. You'll want to cut a few inches above the onion top. Often, if the tops were laying down, there will be a crease right where you should cut.

I just use a pair of garden shears to get the job done, but really anything from regular scissors to a pocket knife would work.
After the onion is cut, you'll lay it somewhere to dry out. A tarp works great for this, I just leave mine out where they will get a good amount of sun. I usually let them dry for a few days and then check to see if they need more time. I don't worry about critters eating them and carrying them off, Maverick tried that with one and was pretty disappointed with the taste!
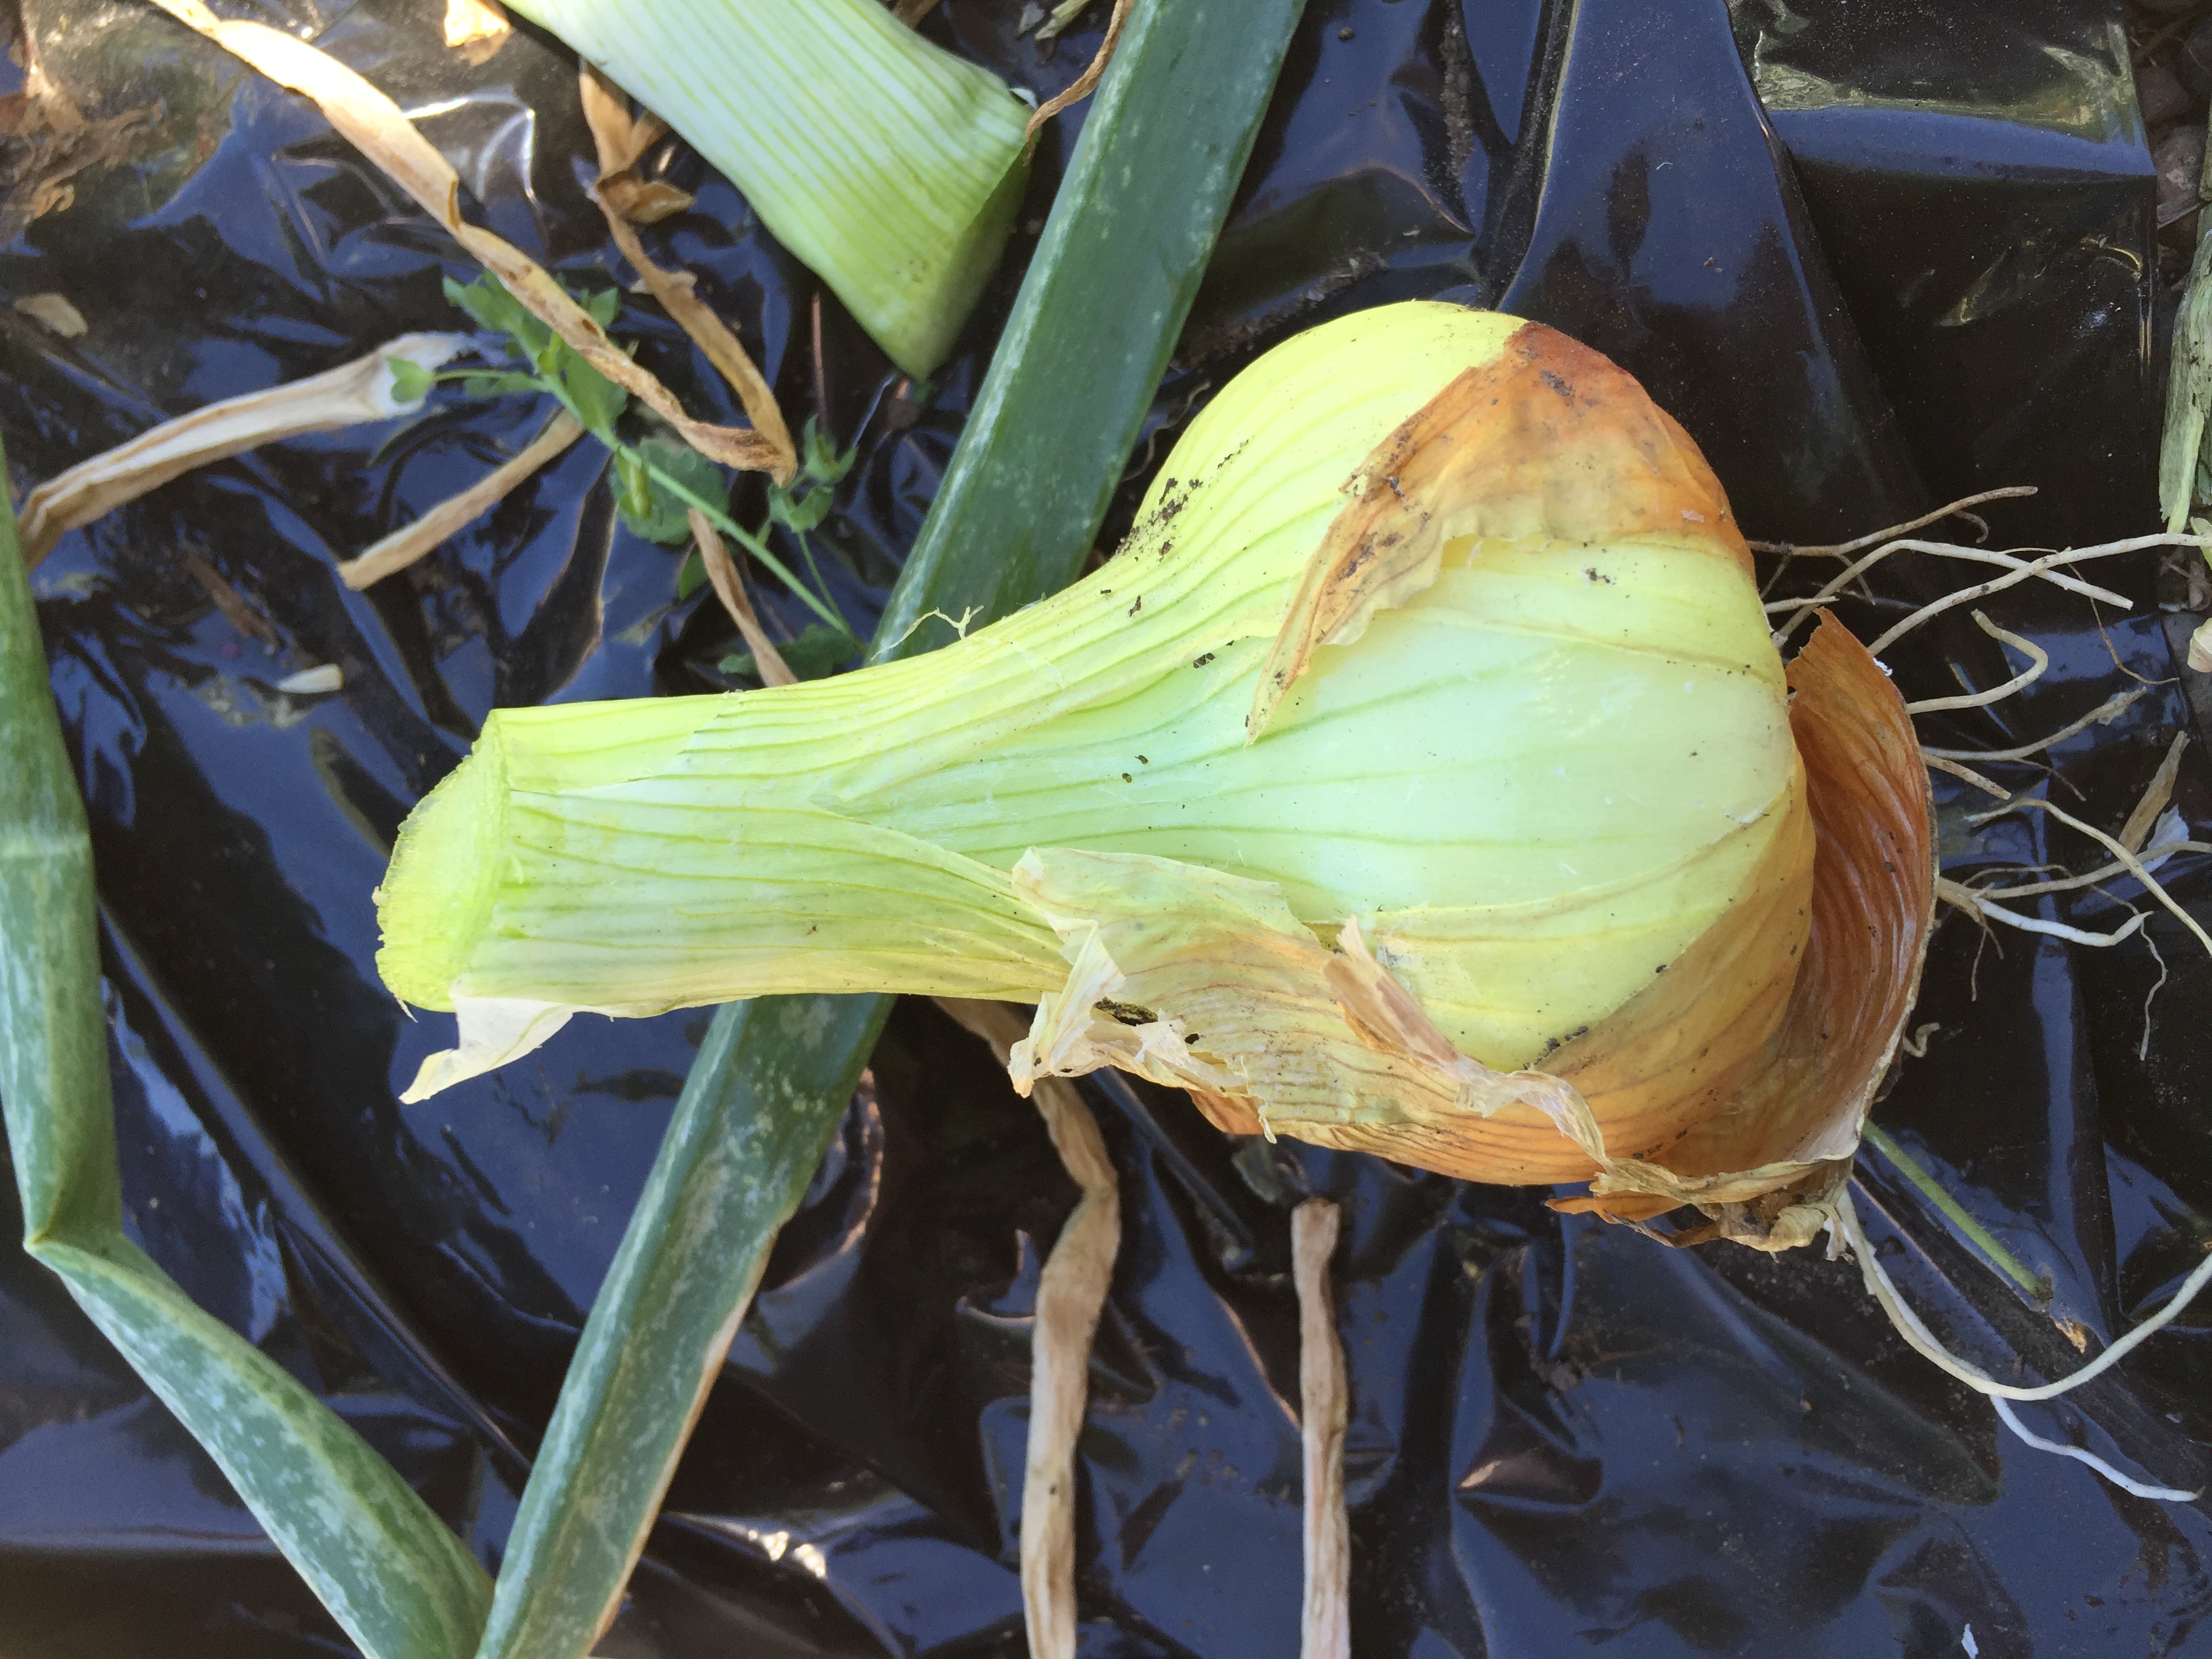
A good way to tell if they are dry enough is by looking at where you cut the top off. In the picture above, I had just cut the top so it is open and moist. After the onion dries sufficiently, the top will be shriveled and dry. You should have to peel a layer or two back to reach the onion.
Once the onions are dry, they are ready to be stored. They should be put in containers or bags that will allow air to circulate around them - I like to use old onion bags I've saved or wire baskets for this. They should be stored in a cool, dry place as well. A dark cold storage is ideal, that's where I keep mine. Light will encourage growth, even if they are cold. If your onions do start to grow from the tops again after a few months, don't worry. Just try and use the growing ones right away.
Another important thing I do when cutting off the tops is throw out any onions with rot on them. You could also use them right away if that's an option, but you don't want to store them. The rot will never dry out, which means storing it with your dried onions will just re-introduce moisture. Moisture in long-term onion storage is bad, it creates opportunities for mold, rot, and decay.
There you have it! Easy onion harvesting and storage. We should make bets on how long mine will last me...I'm guessing three months. I use them all the time! You just can't cook without onions.
How do you store and harvest onions?
Pin this farm tip on your Gardening board to SAVE it for later! Follow Longbourn Farm on Pinterest for more great tips, ideas, and tutorials!
[et_bloom_inline optin_id="optin_4"]


Leave a Reply