

Creating a reliable DIY Chicken Waterer doesn't have to be complicated or expensive. This ingenious bucket-flip design provides continuous fresh water for your chickens while requiring minimal maintenance and costing just a fraction of store-bought alternatives.
WANT TO SAVE THIS RECIPE?
Enter your email below and we'll send it straight to your inbox. Plus you’ll get great new recipes from us every week!
Why Build Your Own Chicken Waterer?
While you can buy a chicken waterer, I prefer to make my own. Inevitably, they will get brittle and break and I like the bucket and feed pan method because it's longer-lasting and cheaper!
At just a fraction of what you'd buy this for, my DIY chicken waterer saves money while offering superior durability and easier maintenance than commercial plastic alternatives. The simple design allows easy customization for any chicken size and eliminates complex mechanisms that frequently break or clog.
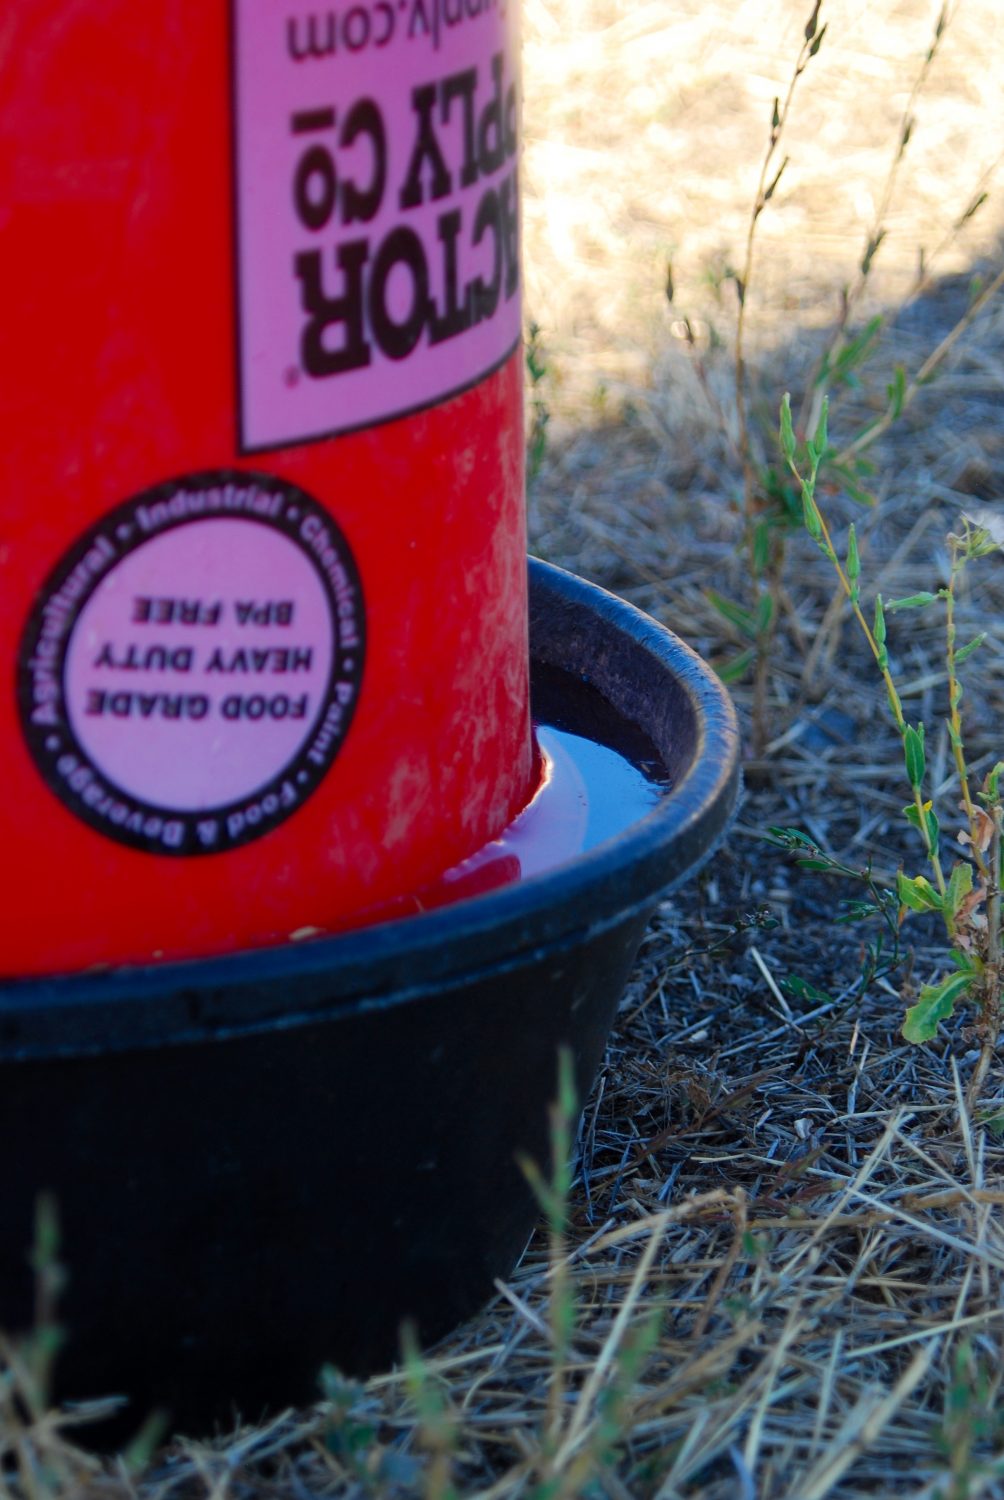
The water in this chicken waterer is the perfect height for the chickens to get a drink and it flows out when it gets below the holes that were drilled. I set it on two cinder blocks to keep it elevated and cleaner.
WANT TO SAVE THIS RECIPE?
Enter your email below and we will send it straight to your inbox. Plus you will get great new recipes from us every week!

DIY Chicken Waterer
Equipment
- 1 Drill
Ingredients
- 1 5 gallon bucket
- 1 5 gallon bucket lid
- 1 feed pan (large enough for the bucket to turn upside down)
Instructions
- Put the lid on the bucket.
- Make sure your bucket fits upside down in the feed pan with at least 2 inches around the edge.
- Leave the bucket upside down in the feed pan and mark on the bucket ½ inch below the top edge of the feed pan so that when the water comes out, there will be ½ inch of space between the water and the top of the pan.
- Take the bucket out of the feed pan and turn it right side up.
- Drill three evenly spaced, ¼ inch holes in the bucket at the level where you marked the bucket.
Notes
How to Make a DIY Chicken Waterer

Step 1: Put the lid on the bucket and ensure it's tightly sealed. This creates the essential vacuum seal that will control the water flow and prevent continuous draining.
Step 2: Make sure your bucket fits upside down in the feed pan with at least 2 inches around the edge. This clearance ensures chickens can comfortably access water from all sides and prevents the bucket from getting stuck during refilling.
Step 3: Leave the bucket upside down in the feed pan and mark on the bucket ½ inch below the top edge of the feed pan. This measurement creates the perfect ½ inch water depth that's safe for chickens to drink from without risk of drowning smaller birds.
Step 4: Take the bucket out of the feed pan, turn it right side up, and drill three evenly spaced, ¼ inch holes at the level where you marked the bucket. The ¼ inch size provides optimal water flow while maintaining the vacuum seal, and three holes ensure consistent refilling from all directions.

Simple Installation and Setup Tips
Optimal Placement in Coop or Run: Place your DIY waterer in a shaded area away from feeding stations to keep water cleaner and prevent chickens from scratching debris into it.
Elevation: Set the waterer on two cinder blocks or a sturdy platform to keep it 6-8 inches off the ground, preventing dirt and droppings from contaminating the water.
Protecting from Freezing in Winter: Move the waterer to a sheltered area or add a heated base underneath during cold weather to prevent the water from freezing solid.
Easy Refilling Process: Simply lift the bucket out, flip it right-side up for easy filling through the top, then replace the lid and flip it back into the pan.
DIY Chicken Waterer FAQs
Yes, for this bucket and lid type, you will need to turn the bucket upside down. This will create the seal and vacuum you need to keep the water in the bucket and pail. It's also much easier to fill and transport the bucket when it's right side up with the holes at the top.
Simply remove the bucket from the pan and use a small wire or toothpick to clear any blockages from the holes. Regular cleaning prevents most clogs, but occasional maintenance keeps water flowing smoothly.
The water-filled bucket provides enough weight to remain stable under normal use. However, if you have particularly large or active birds, consider weighing down the pan with stones around the edges for extra stability.
Keep the waterer in a shaded area and clean it weekly with a bleach solution. Adding a few drops of apple cider vinegar to the water can also help prevent algae while providing health benefits to your chicken.

If you enjoy homestead DIY projects, you might also want to make your chickens a dust bath—they'll love it!
Total Cost for the DIY Chicken Waterer
| Item | Cost |
| Lid | $2.00 |
| Bucket | $8.00 |
| Feed Pan | $6.00 |
| Total Cost | $16.00 |
| Total Savings | $29.00 |
Real Life Experience of Using DIY Chicken Waterer
This DIY chicken waterer has to be one of our favorite homestead projects. It lives up to its reputation for being simple and cost-effective, saving us $29 compared to store-bought options while lasting much longer than brittle plastic waterers.
I find it to be a pretty low-maintenance system, and it doesn't require constant refilling (which is always a plus!). Our chickens took to it immediately, and we've had great success with the consistent water level it maintains.
Overall, our experience with this DIY chicken waterer has been nothing but positive—it's a practical and reliable addition to our coop setup, and seeing our chickens stay well-hydrated is always satisfying!
More Favorites From Longbourn Farm


Did you find this info helpful? If so, please share it on Instagram, Facebook, or Pinterest!


Donald
tried three different bucket vidieos and this one worked the best. i have seven hens and they are quit a bit of work. thanks
Alli
Happy to hear this!
Alyx
I love this DIY! Works great, even use for my dog's outside waterer. Prevents her from splashing it all out.
Making as a gift for one of my chicken-loving friends!
Alli
So glad you loved it Alyx!! You're the best.
Missy
Why does the bucket have to be upside down? Couldn't you do the same thing with the bucket right side up and drill holes at the bottom?
Alli
The buckets I used didn't create a good enough seal being right side up so the water just overflowed and emptied out. When the bucket is upside down, it suctions down tight and creates a seal, making the air stay in the top of the bucket without pushing the water out past the level of the holes you drill.