
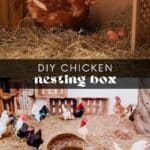


Getting your chicken coop ready for your flock doesn't have to be expensive! These nesting boxes for chickens are cheap, easy to make, and do the job perfectly. Follow my step-by-step guide to create a cozy home for your hens! Or if you're looking for a way to stop Broody Hens, I have the solution(s) for you!
WANT TO SAVE THIS RECIPE?
Enter your email below and we'll send it straight to your inbox. Plus you’ll get great new recipes from us every week!
What is a Nesting Box?
Your chickens need somewhere safe, clean, and private to lay their eggs. This is what a chicken coop nesting box is! It needs to be properly designed to protect the eggs and keep them in one place, making it easier for you to collect them.
You can buy premade nesting boxes, but they can be expensive and not always suitable for your specific coop design. Making your own nesting boxes is a great alternative that won't break the bank!
What do you need inside of a Chicken Coop Nesting Box?
You don't need much inside your chicken nesting box beside a soft material for the eggs to rest on. Something that's easy to clean and change regularly in ideal, such as:
- Straw
- Hay
- Shredded paper
- Pine shavings
These materials will prevent the eggs from cracking as they're being laid. However, hens have a tendency to rearrange these materials or kick them out. To help with this, you can cover the bottom with a nesting pad, like these coconut fiber nesting box liners. They line the bottom of the nesting box and provide a soft surface for your hens to lay their eggs on.
The only other thing I would recommend putting in your chicken nesting box is a fake egg or golf ball. It can be confusing for hens to find a spot to lay their eggs, and they may try laying in other areas. Having a fake egg or golf ball can help guide them to the proper spot.
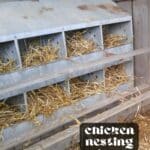
You'll love these Chicken Nesting Box Ideas
Before I tell you how to build your own nesting box (which I promise is super easy!), here are some additional chicken coop nesting box ideas:
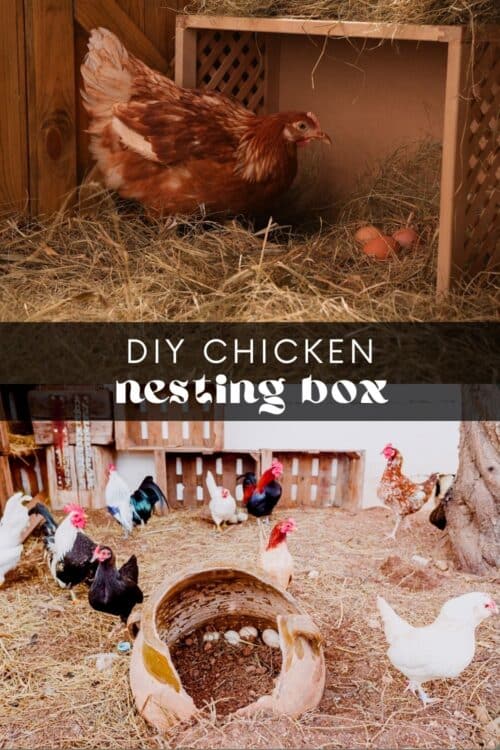
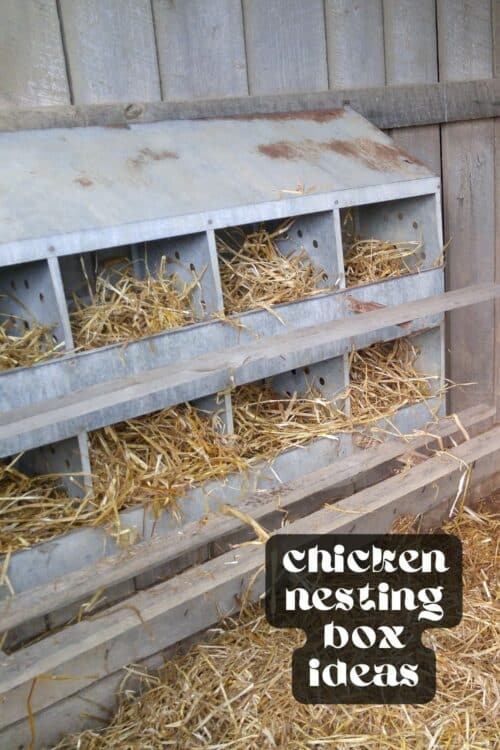
- Shelving Unit Nesting Box
I made some nesting boxes for chickens from an old cabinet years ago, back when I completed my chicken coop project! We had to cut it down because it was too big for our coop, but it worked great. I added dividers and sides to create individual nesting areas. Any shelving unit or cabinet would work for this.

- 5 Gallon Bucket Nesting Box
5-gallon buckets are perfect nesting boxes for chickens! However, you do need to create a foundation to stop the buckets from rolling around. Just measure the height of the bucket and secure a piece of wood (about 5 inches in width; the length depends on the number of buckets you use) the same distance from the wall. This creates a 'lip' or foundation and stops the buckets from rolling around. Then, place each bucket with the opening facing outwards. They should fit securely between the wall and the foundation.
If you like the idea of a 5-gallon bucket nesting box but don't want to make a foundation, you can get the Happy Hen nesting box bucket kit. It includes a perch that clips onto the bucket's rim and stops it from rolling around.
- Custom Nesting Box
If you have some DIY skills, you can create a custom nesting box to fit your specific coop. So long as it has a secure surface for the hens to lay their eggs and plenty of privacy (walls and a roof), it can be any shape or style you desire.
- Wooden Crate Nesting Box
This rustic and budget-friendly option is the DIY nesting box for which I've outlined the instructions below. It's so simple yet so effective, and you don't need any serious carpentry skills to make it happen! Keep reading for the full tutorial.
What you'll need to make a Chicken Nesting Box
- Wooden boxes or crates - wine or fruit crates work well
- Screws
- Electric drill
- Saw
- Measuring tape
- Wood planks - 3 to 4 inches width, length dependent on your space
- Nesting materials
Building Nesting Boxes for Chickens
- Decide how many crates you want to use for your nesting boxes. I recommend using 1 for every 3-4 hens.
- Line up the crates with the opening facing outwards, placing them in a row or stacking them on top of each other.
- Use your electric drill to screw the crates together at their corners for added stability.
- Measure the width of each row of crates. Cut your wood planks to fit this width and use them to create a lip or border at the front of the crates. This will keep nesting materials and eggs from falling out.
- Secure the lip to the bottom of the crate opening using screws.
- Place the nesting box inside your coop, ensuring it is securely attached to the wall or floor to prevent it from tipping over.
- If you want to elevate the nesting box (recommended), you can use additional wooden planks or bricks to create a raised platform. If using a platform, always secure the boxes to the coop wall for added stability.
- Fill the nesting box with the nesting materials of your choice.
Nesting Box FAQ's
I usually recommend 1 nesting box for every 3-4 hens. This is more than enough space for all hens to lay their eggs comfortably.
12 x 12 inches is a good size for most breeds of chicken. Larger breeds (e.g., Jersey Giants) would likely need 12 x 14 inches, and smaller breeds (e.g., bantams) are happy with 10 x 12 inches. You don't want the nesting boxes to be too big, as hens prefer snug spaces to lay their eggs.
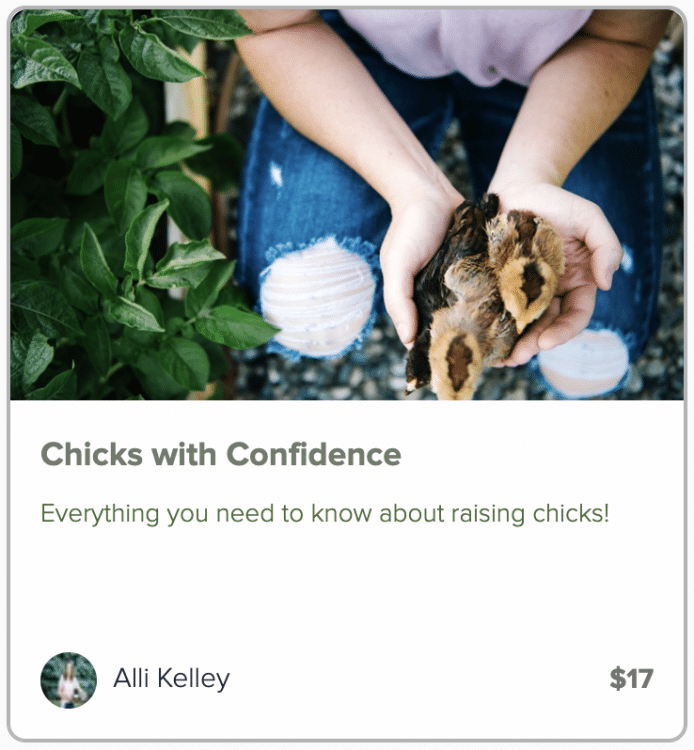
Looking for more in-depth chicken-keeping information? Take my course, Chicks with Confidence!
Chicks with Confidence is a straight to the point, fact based digital course that walks you through exactly what you need to get raising your baby chicks without breaking the bank or causing you to panic everytime they make a weird sounding peep!


Leave a Reply