

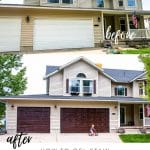
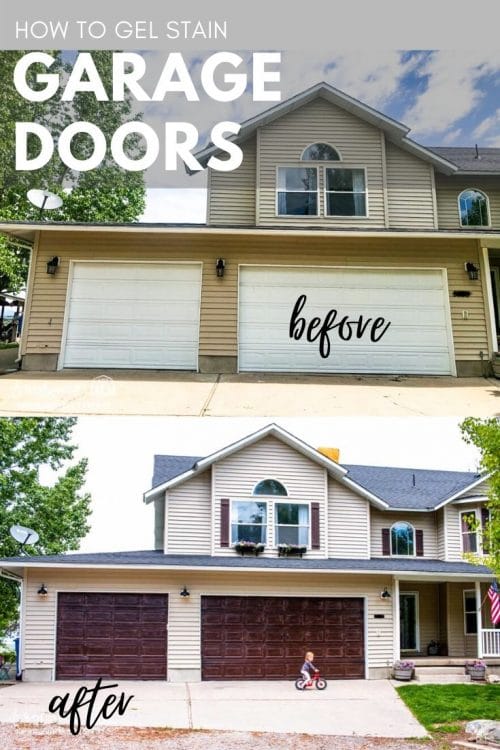
Learning how to gel stain garage doors is so easy and it can add a major impact to your curb appeal in a matter of hours!
WANT TO SAVE THIS RECIPE?
Enter your email below and we'll send it straight to your inbox. Plus you’ll get great new recipes from us every week!
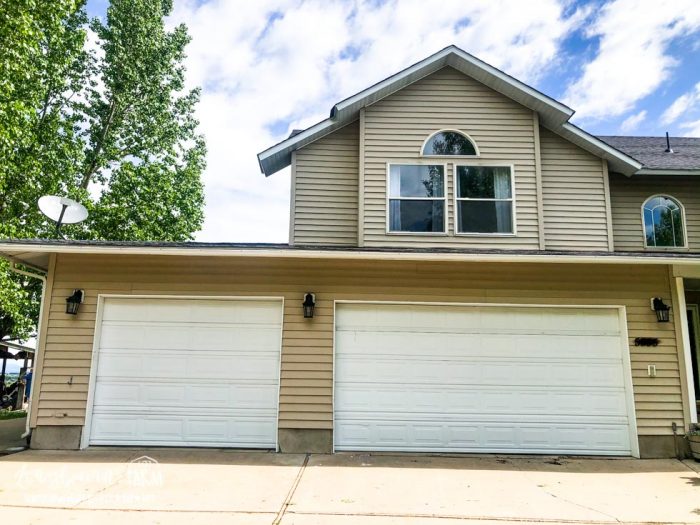
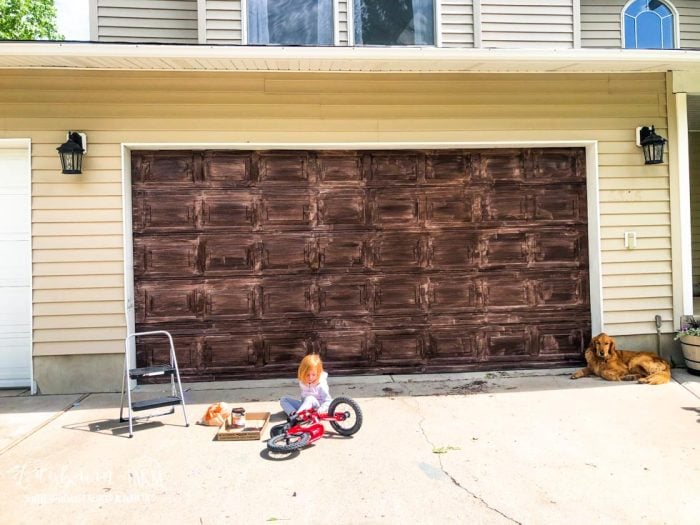
One of the biggest cons on my list when we were purchasing our home was the garage doors. They are huge and right in the front of the house.
The doors were also old and dinged up, but replacing them wasn't in our budget. Especially not with the wood-look doors I had my eye on!
I decided to try gel staining our garage doors. I figured it couldn't make them look worse than they already did and if it worked out, they would look a million times better!
Lucky for me, it did work out! Here is how to do it.
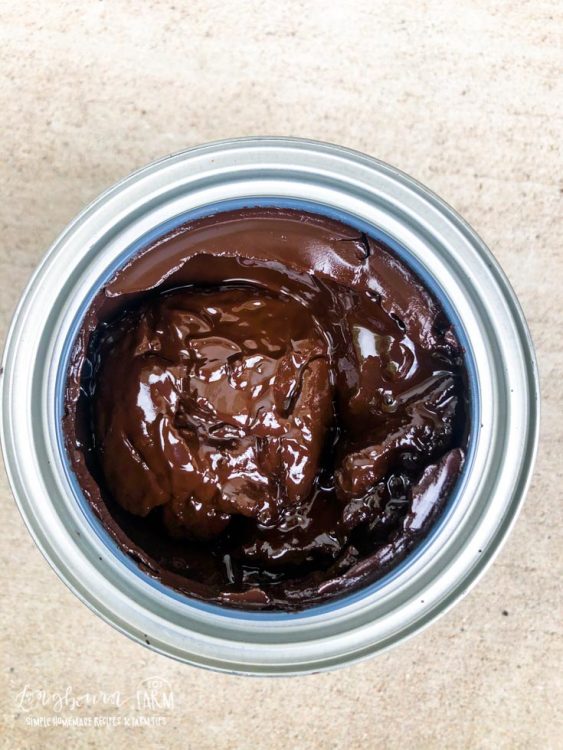
Supplies for Gel Staining Garage Doors
- Gel Stain - I used the color Hickory and needed 1 ½ quarts for my three-car garage.
- Disposable Paintbrush - I used a 2-inch brush and liked that width for getting into all the grooves in the garage door.
- Carriage Garage Door Hardware - obviously this is optional but I like the way it looks.
How to Gel Stain Garage Doors
- Clean your garage doors. I did this by power washing them with a hose nozzle.
- Let the doors dry completely.
- Wait until you have a warm day, between 70ºF and 80ºF.
- If there is time when the garage doors are in the shade, do it during that time.
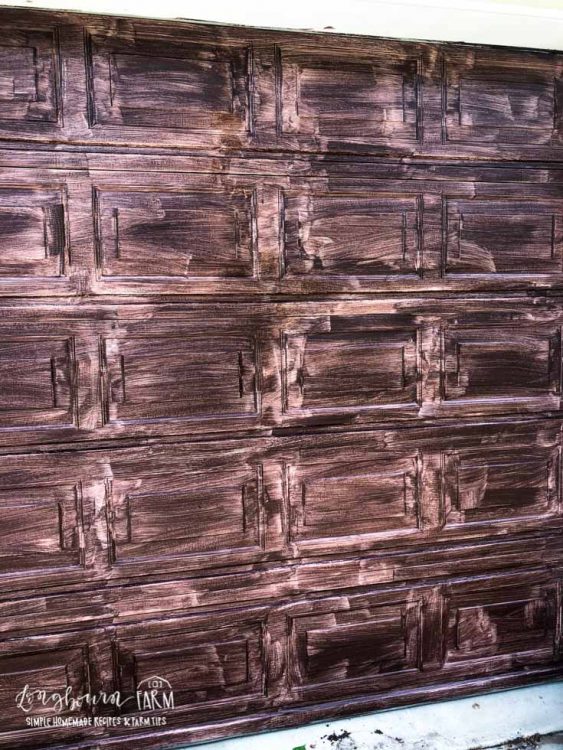
- Start at the top or bottom and work in sections, ending where the square sections end. This allows you to have a stopping point and not create a lot of streaky lines.
- Work your way up or down, just doing the one square-wide section at a time. Move over to the next square section and continue up or down. Try not to re-brush over where you've already brushed the stain on.
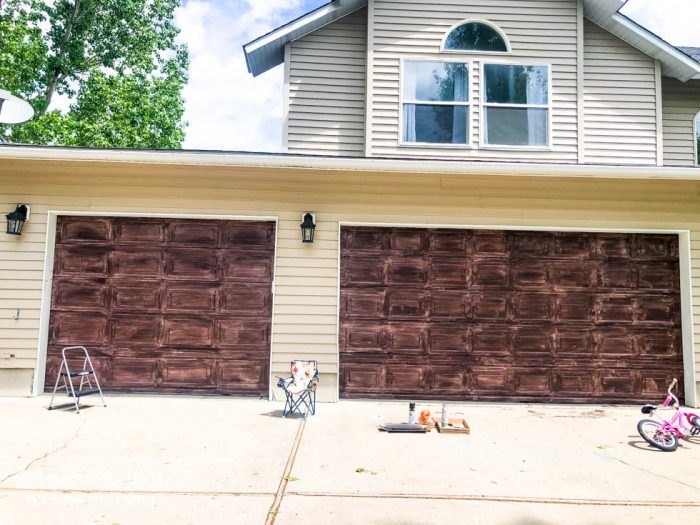
- I did my doors when it was 60ºF out and they took a long time to try, about 8 hours. This was a problem because as they dried, dust and animal fur got on the bottom of the doors. It isn't noticeable, but quicker drying times would avoid that.
- Let the first coat dry completely. If you try to add the second coat while the first coat is still tacky, it will brush off.
- Add a second coat the same way you added the first.
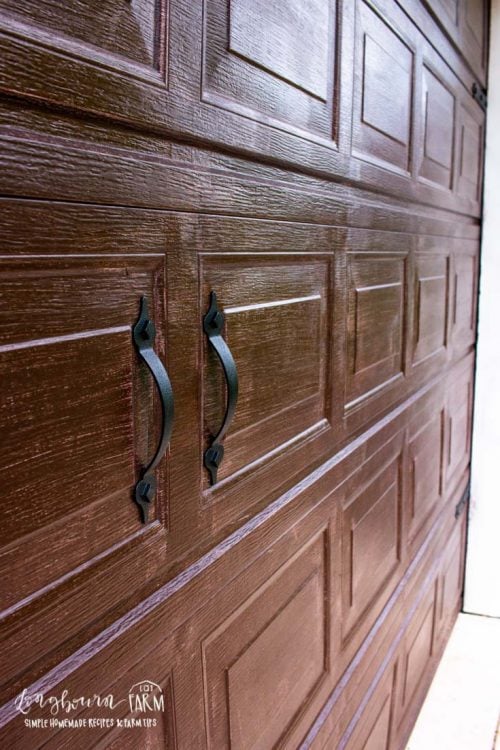
- Once it's dry, add the carriage door hardware.
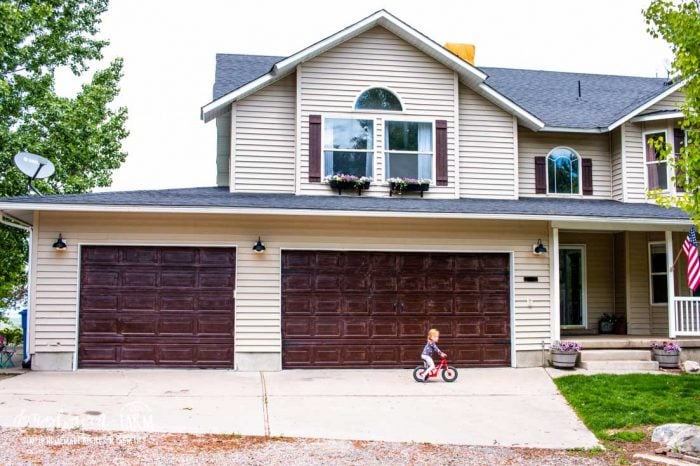
See?? It's so easy! And it's project you can get done super fast in one day. I haven't had any problems with my garage being extra hot, and it even faces southwest.
Make sure you open a back door or window when you're staining the garage doors, otherwise the stain fumes will leak into your home.
Let me know if you decide to gel stain your garage doors!! I'm so happy with how they turned out. It completely changes the look of our home!
WANT TO SAVE THIS RECIPE?
Enter your email below and we will send it straight to your inbox. Plus you will get great new recipes from us every week!

How to Gel Stain Garage Doors
Ingredients
- 1 ½ quarts Gel Stain (I used the color Hickory and needed 1 ½ quarts for my three-car garage.)
- 1 2-inch paintbrush
- 2 packs Carriage Door Hardware (optional)
Instructions
- Clean your garage doors. I did this by power washing them with a hose nozzle.
- Let the doors dry completely.
- Wait until you have a warm day, between 70ºF and 80ºF.
- If there is time when the garage doors are in the shade, do it during that time.
- Start at the top or bottom and work in sections, ending where the square sections end. This allows you to have a stopping point and not create a lot of streaky lines.
- Work your way up or down, just doing the one square-wide section at a time. Move over to the next square section and continue up or down. Try not to re-brush over where you’ve already brushed the stain on.
- I did my doors when it was 60ºF out and they took a long time to try, about 8 hours. This was a problem because as they dried, dust and animal fur got on the bottom of the doors. It isn’t noticeable, but quicker drying times would avoid that.
- Let the first coat dry completely. If you try to add the second coat while the first coat is still tacky, it will brush off.
- Add a second coat the same way you added the first.
- Once it’s dry, add the carriage door hardware.


Jen
Did this to my garage door and it is peeling horribly. I power washed before staining. How are your doors holding up?
Tish
We’re the doors painted first or did you apply to metal with no other surface prep other than washing?
Alli
They were painted first, I think the original paint.