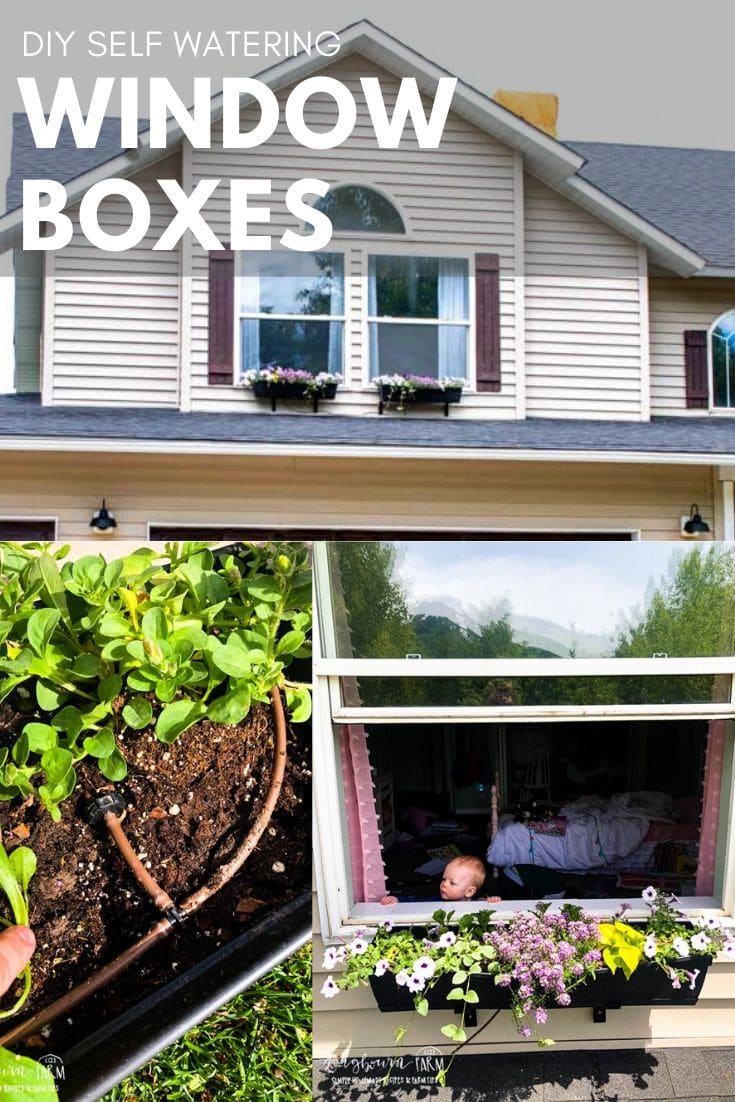
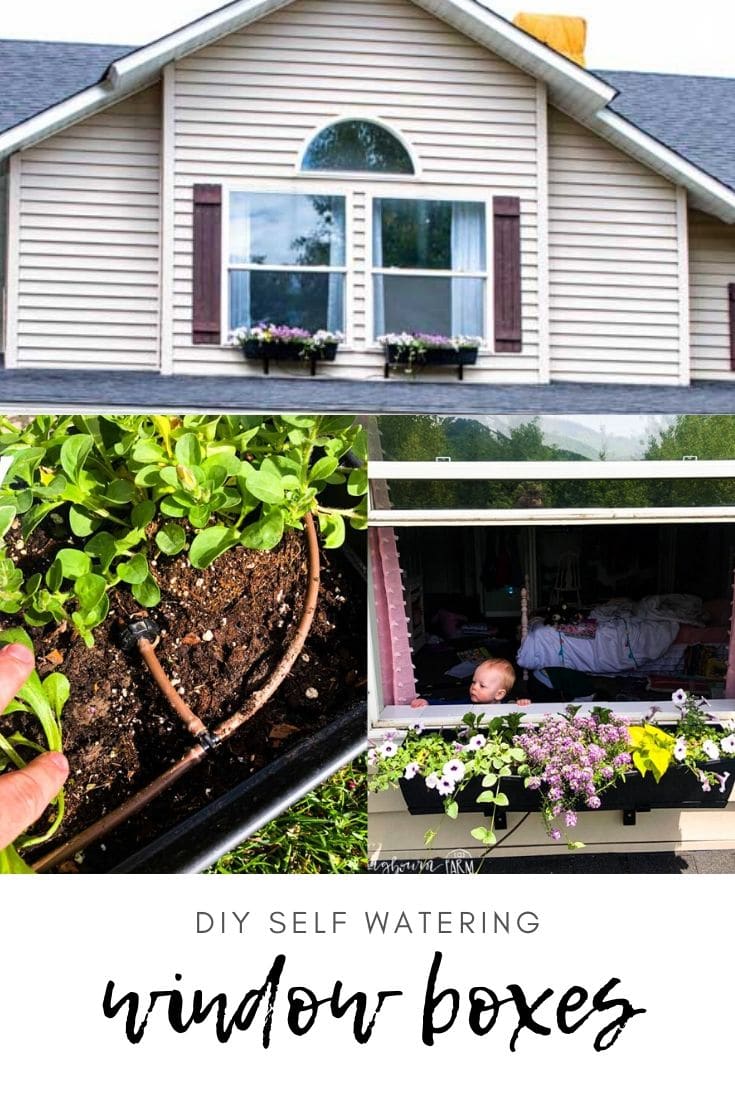
Window boxes are so lovely and a great way to add curb appeal to your home! But how do you water them? With a DIY Self-watering window box drip system!
When we moved into our house, the outside was drab and boring! I spent all winter dreaming of how good it would look with new siding. Once I priced out new siding, I decided that was out of the budget for this year.
Luckily, I had a few great projects that amped up the curb appeal without breaking the bank! These self-watering window boxes are one of them.
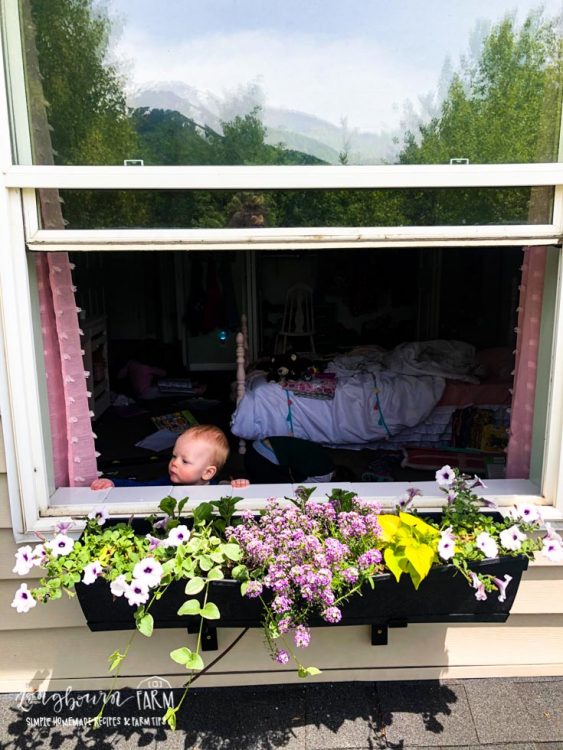
I knew I wanted window boxes on our second story windows. But I also knew that they would get really hot being next to the roof and facing southwest.
I researched and read so much about window boxes and learned that even the most expensive self-watering window boxes aren’t very effective. I decided to make my own window boxes and run drip irrigation up the side of my house to them.
It worked! And they look amazing. I’ll take some follow up images at the end of the summer but even now, 6 weeks in, everything is staying well watered and beautiful.
Supplies for DIY Self-Watering Window Box
- Window Box – See my DIY tutorial here.
- 1/4-inch Micro Tubing Drip Line
- Drip Emitters – I used .5 GPH which is recommended for annuals.
- 1/4-inch Barbed Connection T’s
- 1/4-inch Barbed Connection Elbows
- 1/4-inch Straight Barbed Connectors
- 1/4-inch Coaxial Staples
- 1/4-inch to 3/4-inch Hose Adapter
- 1/4-inch tubing stakes
- 25 PSI Pressure Reducer
- Brass 3/4 inch hose adapter to connect the pressure reducer to the hose or spigot.
- Orbit Single Port Dial Timer so that you can make this a totally hands-free system!
I got all of my supplies at Home Depot except the hose adapter. My store didn’t have one in stock so I had to pick that up at a local sprinkler supply store.
To estimate how much 1/4-inch micro tubing you’ll need, measure the distance you’ll need to take it plus any additional distance in the window boxes for running the emitters.
How to Set Up Drip Irrigation to a Window Box
- Run the 1/4 inch micro tubing drip line up through a drainage hole in the bottom of the window box. Reference this post, DIY Window Boxes, for the window boxes I used.
- Once the drip line is up through the drainage hole, fill the window box with soil if it wasn’t full already.
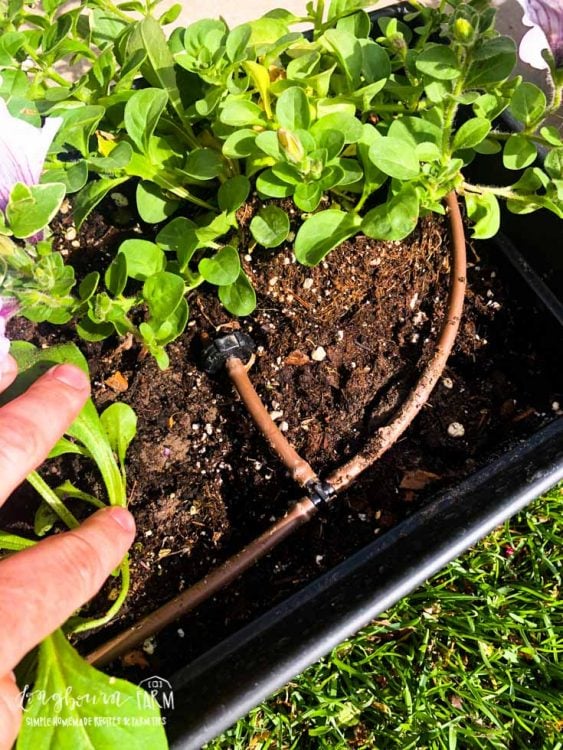
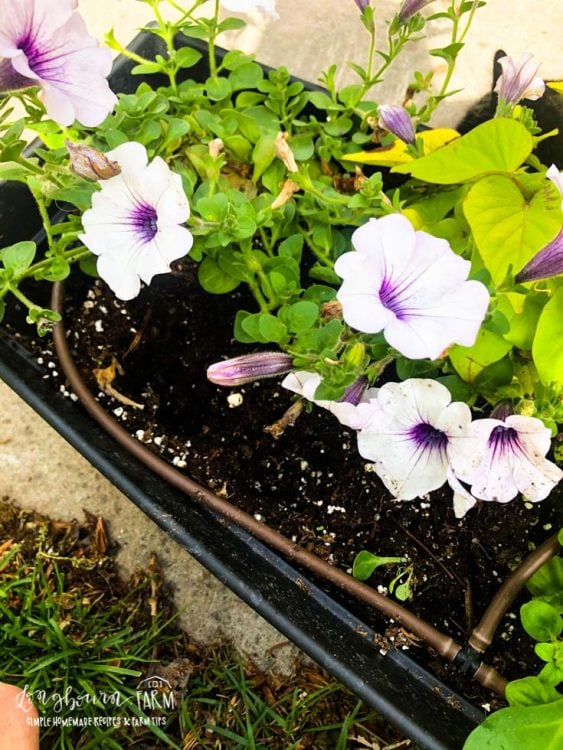
- Add drip emitters (I used .5 GPH) every 3-4 inches across the window box. I like the drip emitters better than the spray emitters for a few reasons. They keep the water near the soil which reduces evaporation. They also won’t spray your windows every time they come on.
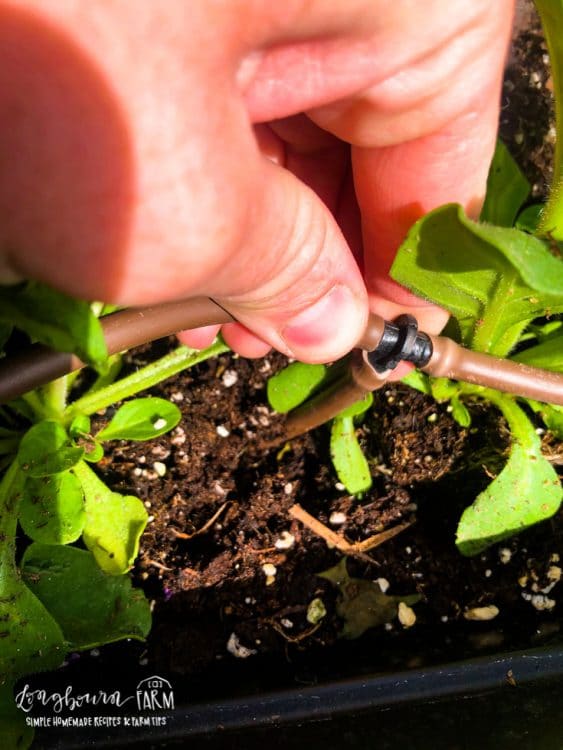
- You will add the drip emitters by attaching more dripline with T’s, elbows, and straight connectors.
- Once the emitters have been run along the top of the box, connect the end of the drip line that is coming out of the bottom of the window box to your main line.
- We ran ours down along the bracket of the window box so you can’t see it and then along the eaves of our house down to the spigot we were using. To keep it in place, we used these coaxial staples.
- Test the drip line to make sure it is working once it is all hooked up. You will need a pressure reducer, 1/4-inch to 3/4-inch hose adapter, and 1/4-inch tubing stakes to keep the micro tubing in place anywhere it is in the soil.


Self-Watering Window Boxes
Equipment
Ingredients
- 4 window boxes see note
- 25 1/4-inch Micro Tubing Drip Line Drip Emitters I used .5 GPH which is recommended for annuals
- 25 1/4-inch Barbed Connection T's
- 25 1/4-inch Barbed Connection Elbows
- 25 1/4-inch Straight Barbed Connectors
- 25 1/4-inch Coaxial Staples
- 1 1/4-inch to 3/4-inch Hose Adapter
- 25 1/4-inch tubing stakes
- 1 25 PSI Pressure Reducer
- 1 Brass 3/4 inch hose adapter to connect the pressure reducer to the hose or spigot.
- 1 Orbit Single Port Dial Timer so that you can make this a totally hands-free system!
Instructions
- Run the 1/4 inch micro tubing drip line up through a drainage hole in the bottom of the window box. Reference this post, DIY Window Boxes, for the window boxes I used.
- Once the drip line is up through the drainage hole, fill the window box with soil if it wasn't full already.
- Add drip emitters (I used .5 GPH) every 3-4 inches across the window box. I like the drip emitters better than the spray emitters for a few reasons. They keep the water near the soil which reduces evaporation. They also won't spray your windows every time they come on.
- You will add the drip emitters by attaching more dripline with T's, elbows, and straight connectors.
- Once the emitters have been run along the top of the box, connect the end of the drip line that is coming out of the bottom of the window box to your main line.
- We ran ours down along the bracket of the window box so you can't see it and then along the eaves of our house down to the spigot we were using. To keep it in place, we used these coaxial staples.
- Test the drip line to make sure it is working once it is all hooked up.
- You will need a pressure reducer, 1/4-inch to 3/4-inch hose adapter, and 1/4-inch tubing stakes to keep the micro tubing in place anywhere it is in the soil.
Video
Notes
Check out these Gardening Posts:
- DIY Tall Planter Box
- DIY Self-Watering Window Boxes
- When to Plant?
- How to Set Up a Garden Drip System
- Gardening Tips for Beginners
- Winter Squash Storage
- Tips for Growing Herbs Indoors
- Building Raised Wooden Planter Boxes
- Starting Plants from Seed Indoors
- How to Make Hummingbird Food
- How Long Do Potatoes Take to Grow?
- How to Grow and Harvest Lettuce
- The 5 Best Soil Moisture Meters
- How to Grow Jalapenos
- How to Grow Green Onions
- How to Grow Big Tomatoes in Pots
- How to Grow Broccoli
- How to Grow a Corn Plant


Technofizi says
Your blog is a very great.