


Garlic is just one of those irresistible flavors - it's intense yet sweet and earthy all at the same time. And when roasted, it takes on a fantastic flavor that is simply irresistible. Plus, when you know how to roast garlic at home, you can add this delicious ingredient to all sorts of recipes.
WANT TO SAVE THIS RECIPE?
Enter your email below and we'll send it straight to your inbox. Plus you’ll get great new recipes from us every week!
This guide will teach you everything you need to know about roasting garlic - from discovering the various methods to how long to roast it. By the end, you'll be an expert at roasting garlic, and your recipes will be all the better for it!
Why You Should Learn How to Roast Garlic
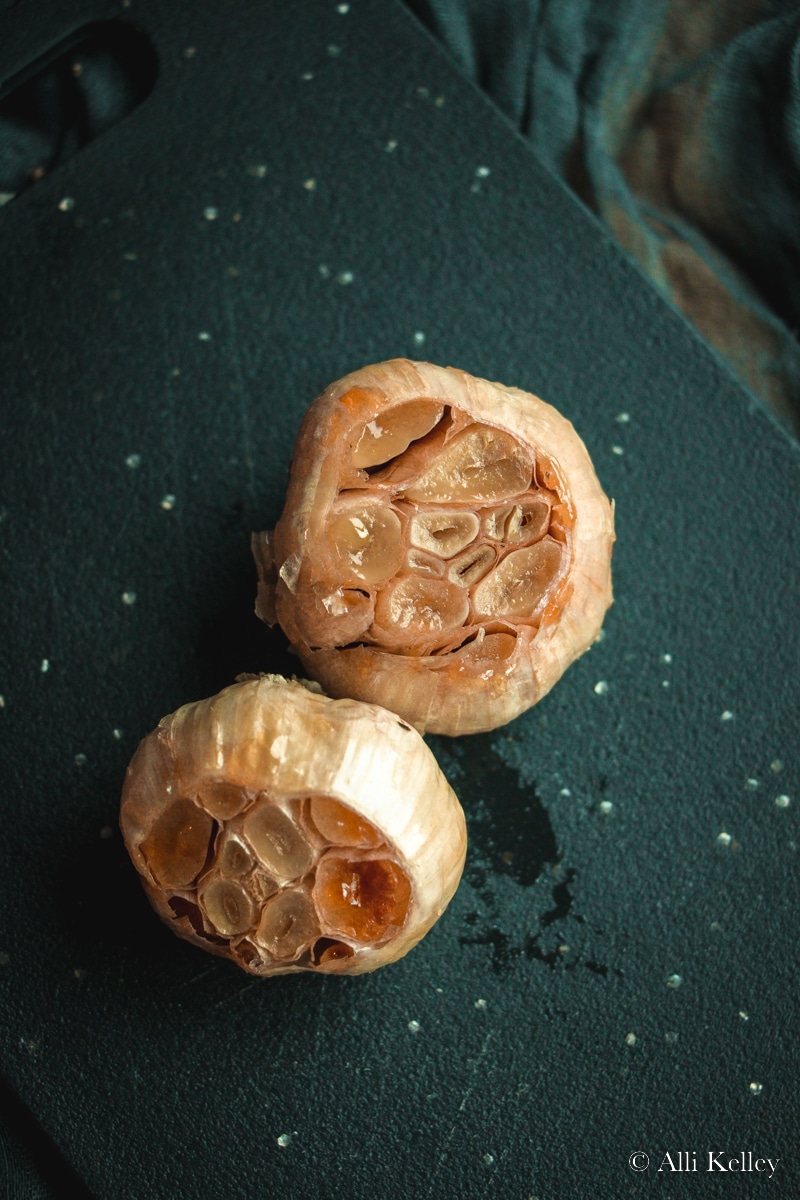
If you have never tried roasted garlic before, then you are in for a treat! Anyone that has ever eaten raw garlic knows it can be pretty pungent and overwhelming. However, the flavor becomes much more mellow, sweet, and creamy when garlic is roasted. The roasting process slightly caramelizes the garlics' natural sugars, resulting in a delightfully yummy flavor.
Plus, roasted garlic is incredibly versatile and can be used in various recipes - from pasta and pizzas to soups and sandwiches. So once you know how to roast garlic, the culinary possibilities are endless!
Not only is roasted garlic delicious, but it also has some great health benefits. Garlic is known for being an immune booster, so it can be perfect for warding off colds and flu. It's also thought to help lower cholesterol and blood pressure! So when you know how to make roasted garlic, alongside making some tasty recipes, you'll also welcome a bunch of potential health benefits.
How Long Does It Take To Roast Garlic?
When you hear the word 'roasted,' you might think it takes a long time, but it isn't the case when learning how to roast garlic cloves. Roasting garlic is not complicated or time-consuming! So if you're wondering how long to roast garlic - just know it doesn't take long at all, especially if you learn how to pan roast garlic.
Understanding how long to roast garlic for does depend on your chosen method (more on this in a moment!), but here is a general outline
- Pan roasted garlic: around 10 minutes
- Oven roasted garlic: around 40-45 minutes
- Garlic roaster method: around 30-45 minutes, depending on the amount of garlic
Now you know how long to roast garlic, you might already know which method you want to use. But if not, read on for a more in-depth look at the different ways to roast garlic!
How to Pan Roast Garlic
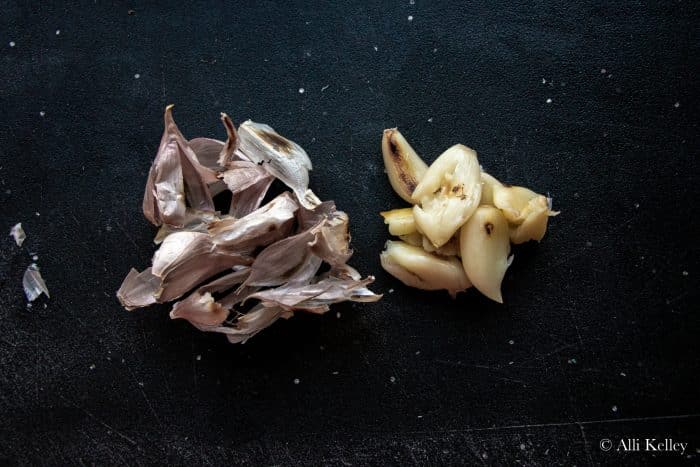
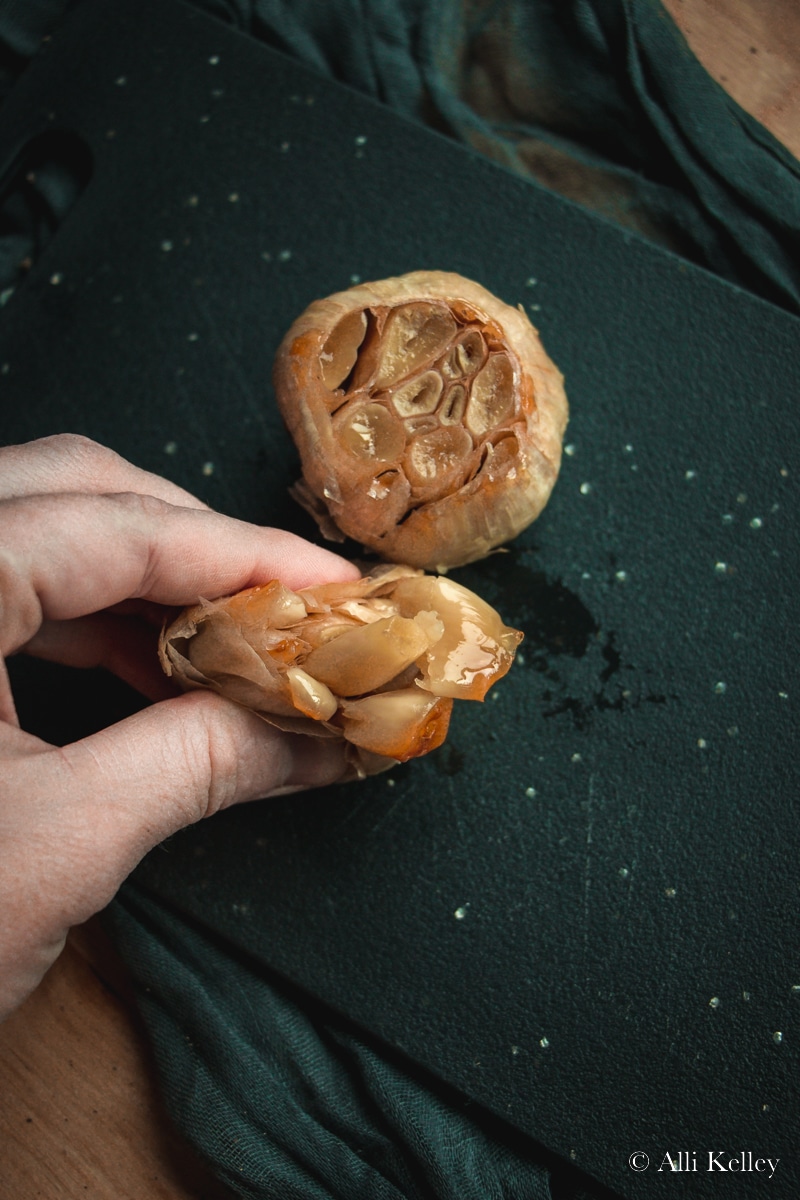
Learning how to pan roast garlic is by far the quickest method. It is perfect if you only need a few cloves or want to add roasted garlic to a recipe that is already underway. When discovering how to roast garlic cloves, you'll notice all my methods require you to leave the skin on the cloves.
Why? Because the skin helps to protect the cloves from burning during the roasting process. But don't worry, once the garlic is roasted, you can squeeze the roasted cloves out of their skins - it's really easy!
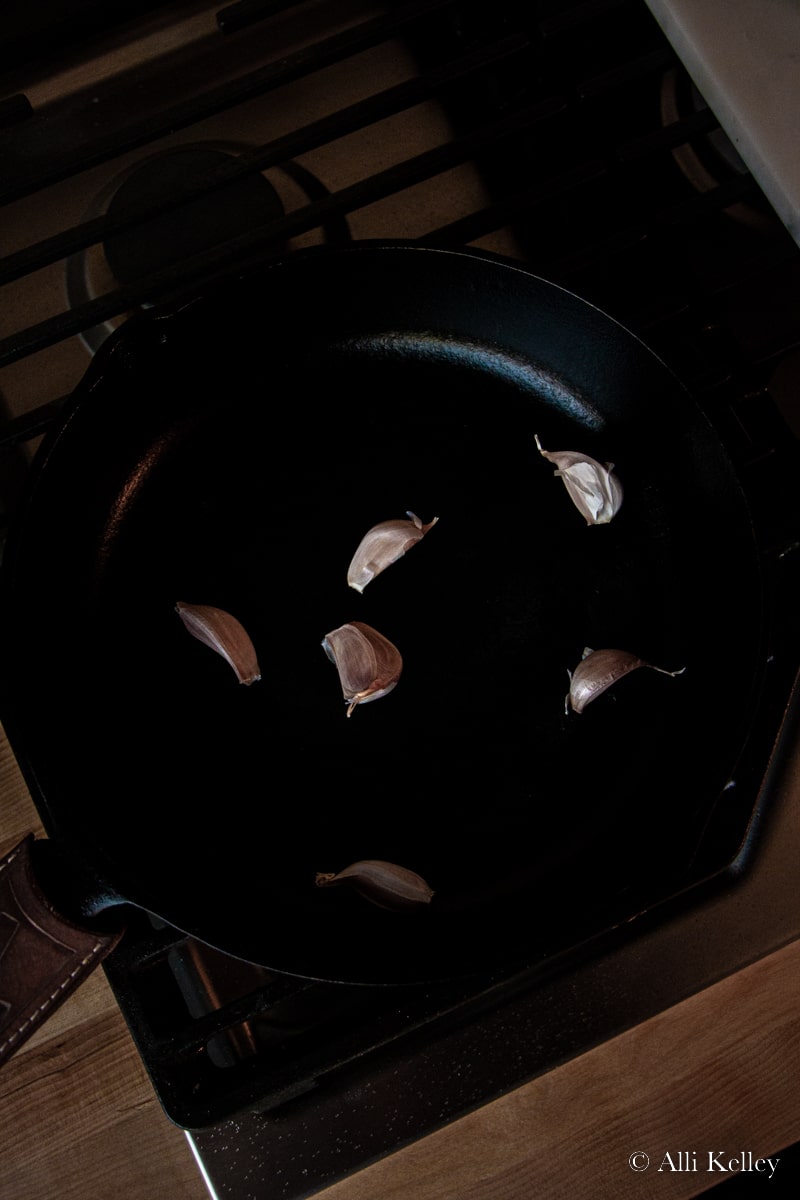
Here is what you need to do when learning how to pan roast garlic:
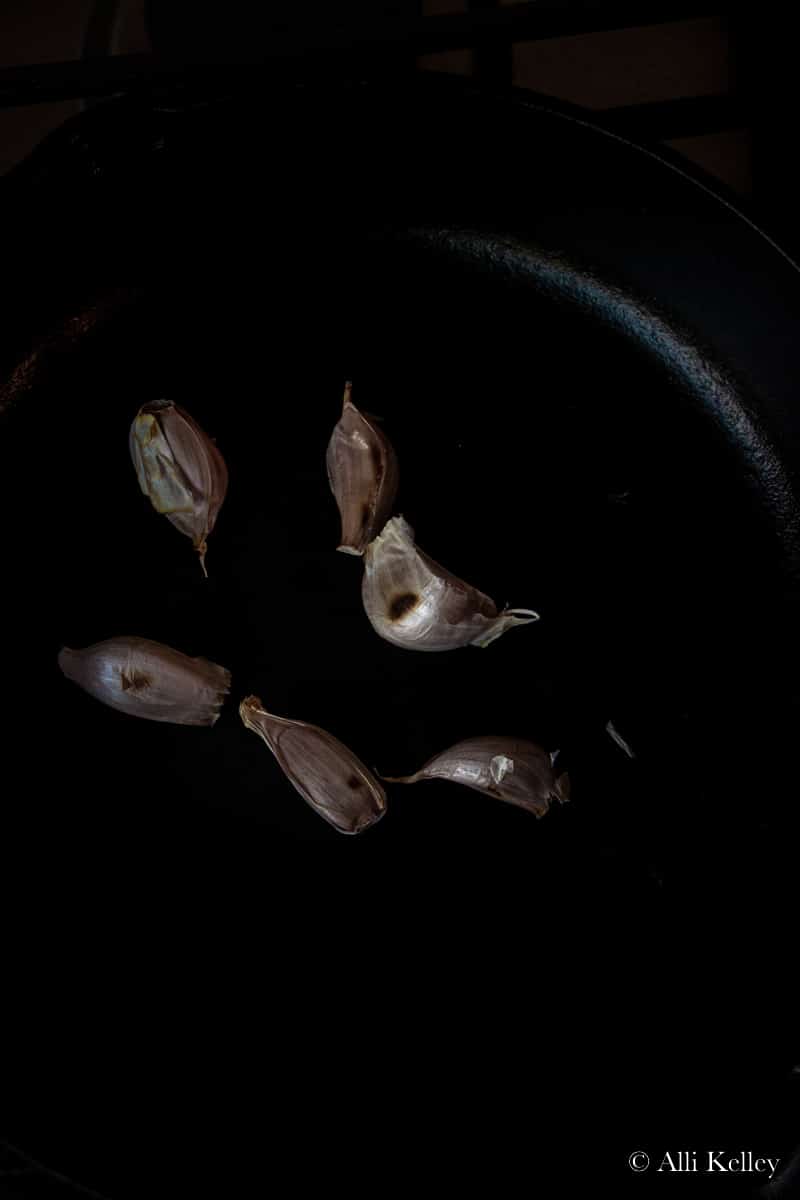
- Heat a skillet over medium heat.
- Place 2-3 separate cloves of garlic with the skin on in the pan.
- Turn periodically, until the skin is dark brown and fragrant, this takes about 10 mintutes.
- Remove and let cool before peeling.
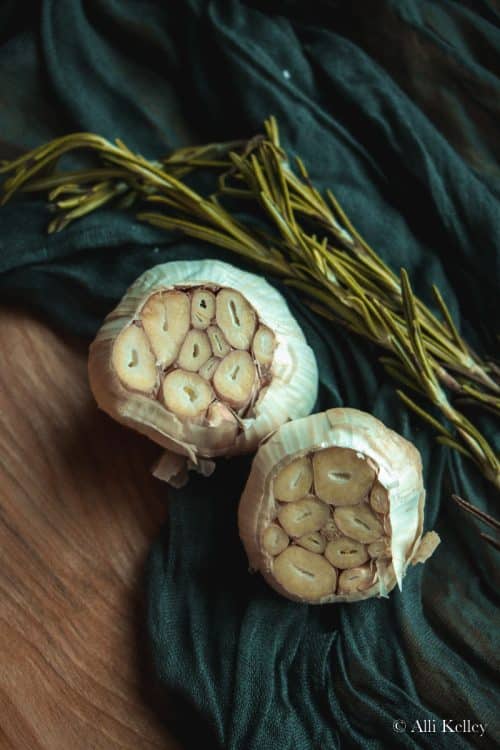
How to Roast Garlic in the Oven
This method of how to roast garlic is my personal favorite, as it results in the most flavourful and creamy cloves. And although it does take a little longer than when learning how to pan roast garlic, it's still very simple and only requires a small amount of prep.
The best part about roasting garlic in the oven? You can roast a whole head (or multiples heads) of garlic at once, meaning you'll have plenty of roasted garlic cloves to use in all sorts of recipes!
To roast garlic in the oven, follow this super simple process:
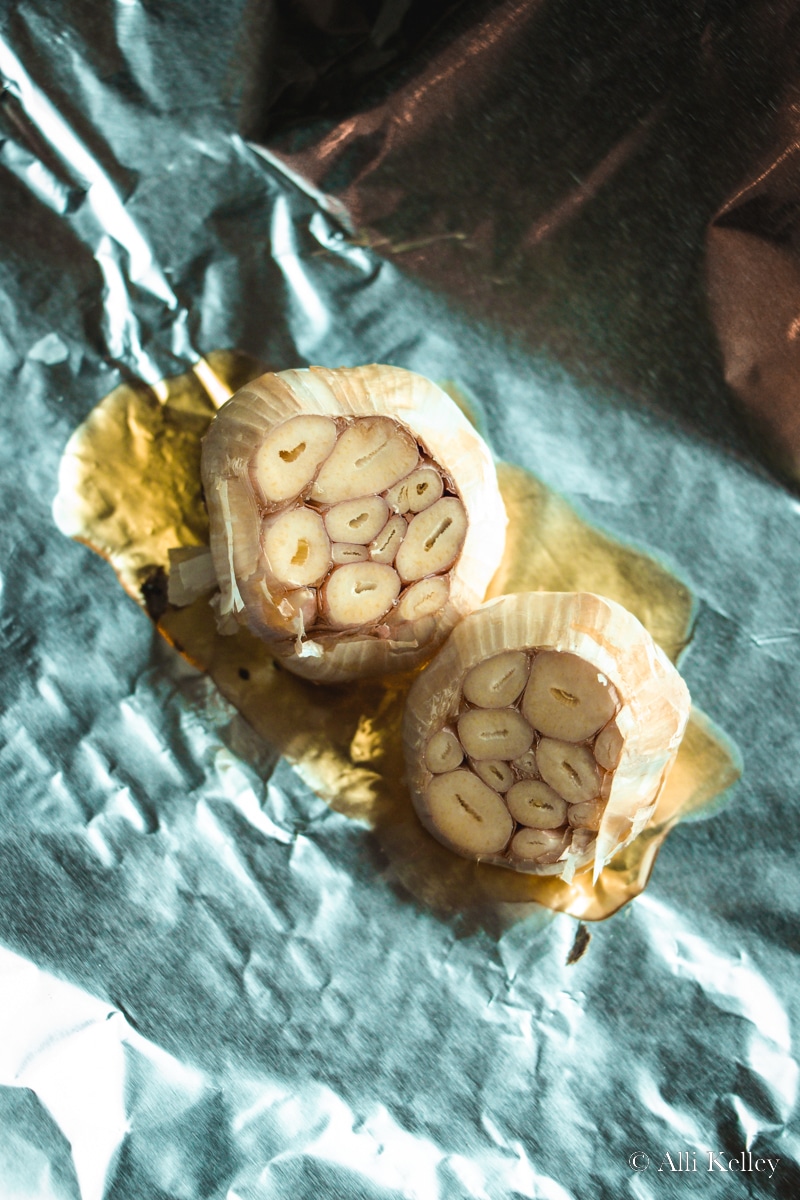
- Cut ¼ inch off the top of the head of garlic, leaving all the cloves connected at the root end.
- Drizzle the olive oil over the exposed garlic.
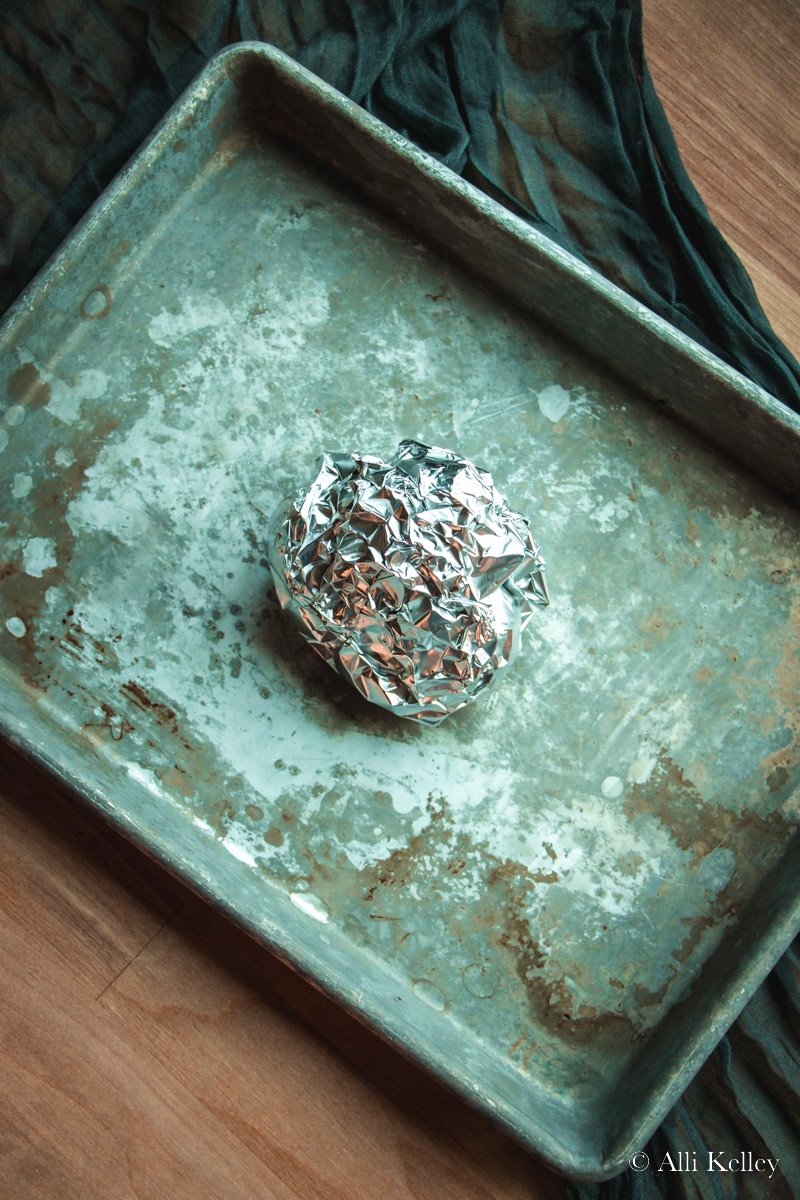
- Wrap tightly in foil and place on a baking sheet.
- Bake for 40-45 minutes, until fork tender and fragrant.
What is a Garlic Roaster?
There are specific garlic roasters that you can buy, which are small pots designed for roasting garlic. If you love roasted garlic and use it frequently when cooking, this is a worthwhile investment.
A garlic roaster is often made of terracotta, which helps to retain heat and produces some beautifully roasted garlic. I love the Fox Run garlic roaster - it can fit multiple heads of garlic, is easy to use, and also looks super cute! Plus, you can use this pot to store raw garlic when not in use and even to warm tortillas.
Using a garlic roaster is comparable to oven roasting garlic, with the main difference being that the garlic heads roast in a specific garlic roaster pot. This is great if you're roasting garlic for a dinner party, as you can serve the garlic roaster on the table for your guests to help themselves!
How to Use a Garlic Roaster
When understanding how to roast garlic cloves, using a garlic roaster couldn't be simpler. The outcome is similar to oven roasted garlic, as shown above, but having a garlic roaster definitely makes the process a little more fun. Also, a garlic roaster would make a sweet gift for any garlic lover in your life!
To use a garlic roaster, follow these steps:
- Soak the terracotta garlic roaster in water for 10-15 minutes - the garlic roaster will absorb the water and help to produce softer cloves.
- Cut ¼ inch off the top of the head of garlic, leaving all the cloves connected at the root end.
- Place in the garlic roaster and drizzle the olive oil over the exposed garlic.
- Add the lid and bake for at 375f 30-45 minutes (do not preheat the oven)
How to Make Garlic Paste
Once you have followed one of my methods and know how to make roasted garlic, what now? Whether you want to utilize your roasted garlic or have some raw garlic you want to use up - garlic paste is a great way to do it!
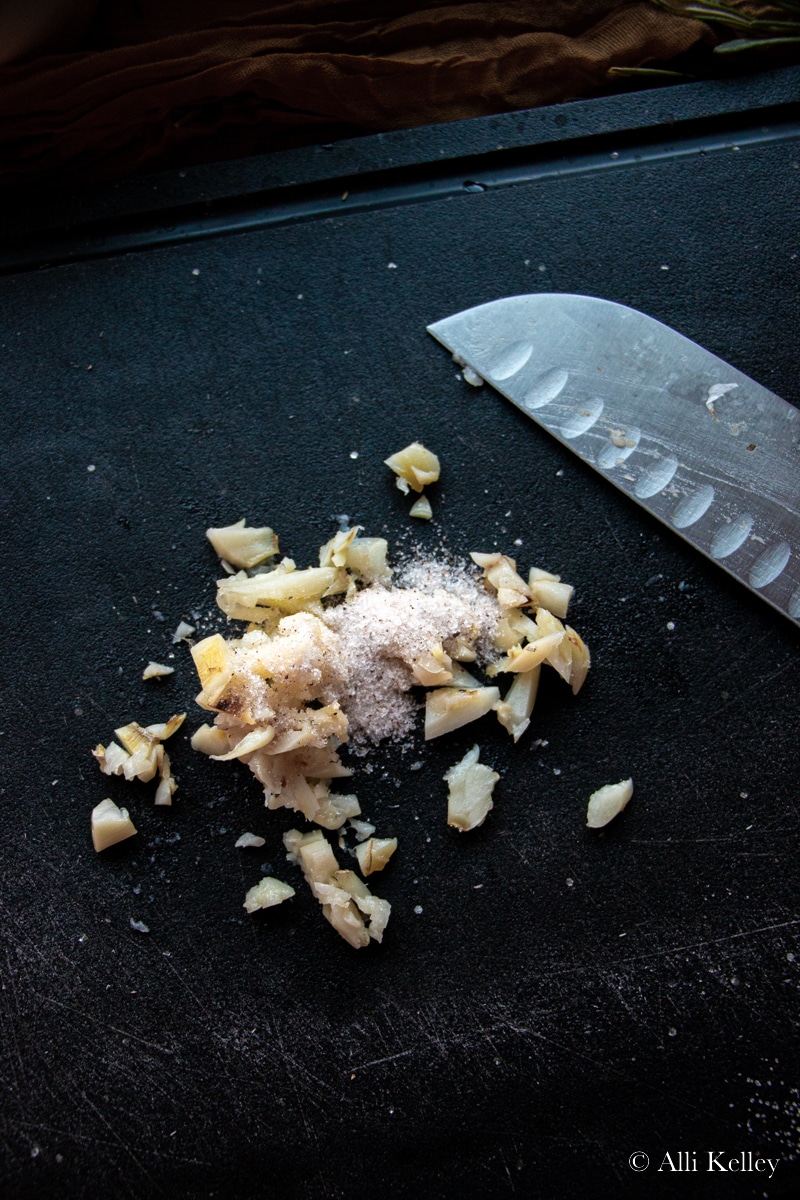
Garlic paste is roasted or raw garlic mashed with salt. We use salt because it is abrasive and will help to break down the garlic cloves and create a paste.
Here is how to make garlic paste:
- Chop your garlic and sprinkle salt over the top. Use ½ teaspoon of salt for every 3 garlic cloves.
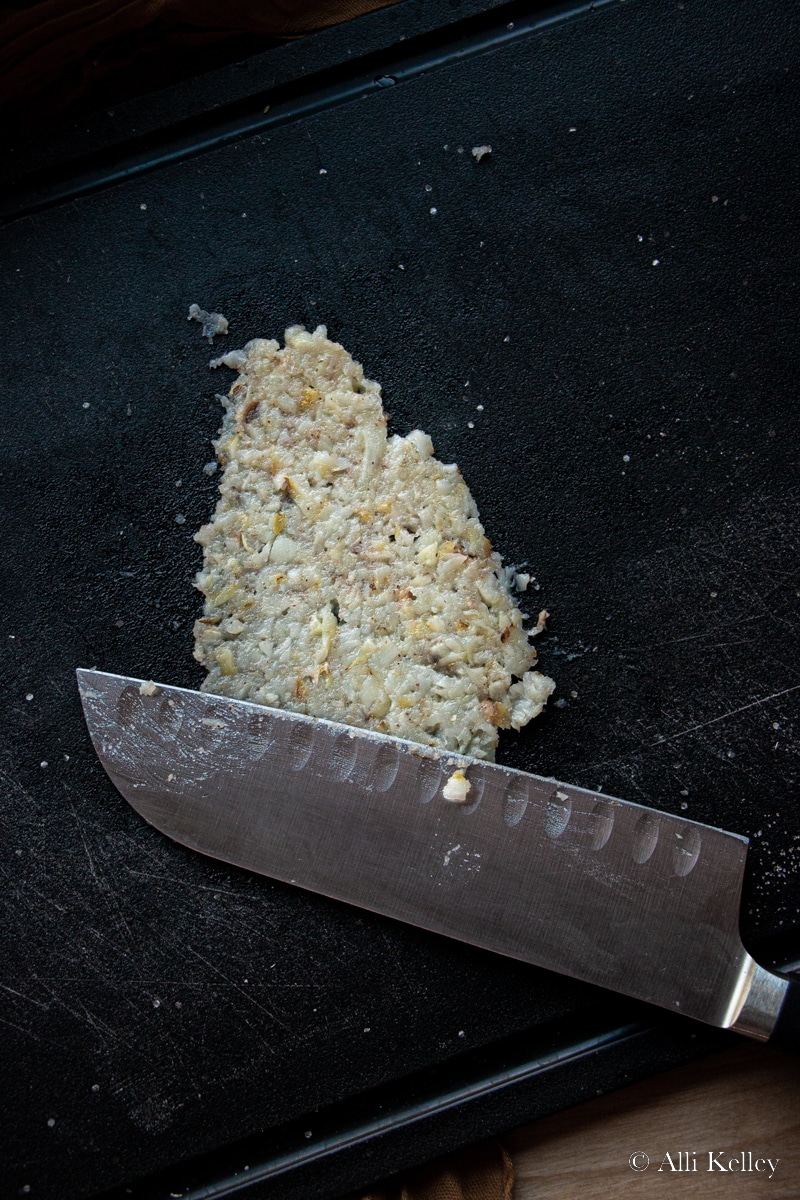
- Mash with the side of your knife, dragging it along the cutting board until the garlic is smooth and the salt is dissolved.
- This is also how you can create crushed garlic without a garlic press.
Now that you know how to roast garlic and make garlic paste, you're ready to start using this flavorful ingredient in your cooking. Give it a go and see just how delicious roasted garlic can be!
Anytime you want to add garlic flavor to a dish, you can use roasted garlic or garlic paste - just remember roasted garlic has a different flavor profile to raw garlic, which can add a lovely sweetness to a dish.
Some of my favorite ways to use roasted garlic or garlic paste are:
-Added to pasta dishes, like my white bean pasta
-Mixed into homemade hummus
-Used as a pizza topping or to make cheesy garlic bread
-As a spread on toast, dinner rolls, or sandwiches
-In homemade salad dressings
-Added to soup recipes
-Mixed into steakhouse mashed potatoes
-Over roasted potatoes and veggies
-Spread over meat, like chicken or grilled flank steak
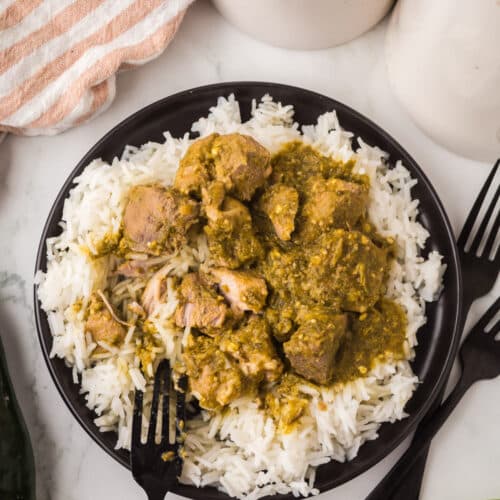
-Stirred into rice or quinoa dishes
If you have any leftover roasted garlic, simply store it in an airtight container in the fridge, which will last up to 1 week. If you want your roasted garlic to last longer, squeeze the cloves out of the skin and store them in a jar of olive oil - this will last for around 2 weeks.
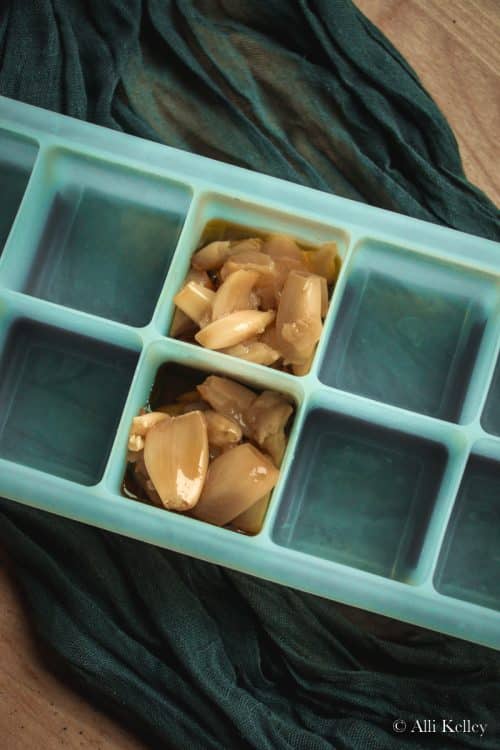
You can also freeze roasted garlic cloves! I prefer to create a garlic paste first (as described above) and then freeze this in an ice cube tray. Once frozen, pop the garlic paste cubes out and store them in a freezer bag - they will last for around 3 months. You can then add these cubes of roasted garlic to soups, stews, etc., as you cook.
WANT TO SAVE THIS RECIPE?
Enter your email below and we will send it straight to your inbox. Plus you will get great new recipes from us every week!

How to Roast Garlic in the Oven
Equipment
Ingredients
- 1 head garlic (see note)
- 2 tablesopons olive oil
Instructions
- Preheat oven to 400ºF.
- Cut ¼ inch off the top of the head of garlic, leaving all the cloves connected at the root end.
- Drizzle the olive oil over the exposed garlic.
- Wrap tightly in foil and place on a baking sheet.
- Bake for 40-45 minutes, until fork tender and fragrant.
Alli
Great guide!