

Read how my garden went this year! It will help you make your own garden improvements, save time in your garden and save money in your garden!
For today's Farm Tip Friday, I'm going a review of my garden! At the end of every summer since we've moved here, I've tried to write a little bit about how my gardening went and what I would do next year. This is in part to save you time and money, but also so I can remember what I did year to year! This is the third summer we have lived here, and therefore the third garden I have attempted to grow.
Every year has basically been a big experiment. I grew up helping with my family's impressive garden about 100 miles south of where I live now, but I've been surprised by how different even that short distance makes! I've learned a lot as I've tried new things, and this year was no different. I'm excited for some of the garden improvements I already have planned for next year!
WANT TO SAVE THIS RECIPE?
Enter your email below and we'll send it straight to your inbox. Plus you’ll get great new recipes from us every week!
This year was better than last year.
Garden improvements from year to year are always good news! There were three main takeaways from the 2016 garden season for me:
- I hate morning glory {field bindweed} and choose not to deal with it in the future. Because it can't be dealt with. It will always win. I think this was the first weed God created when he banished Adam and Eve from the garden of Eden.
- Prepping the ground underneath garden boxes is important. Don't skip that step. This would have been a handy insight to have last year.
- I'm really over bending and squatting down while pregnant or while holding a child. Translation: Being a mom and ground gardening is not my thing. I prefer boxes. If you think I'm being dramatic about this, I probably am. But things also get smashed by running dogs, tiny toddler feet, and if I wanna squat I'll do a workout, mmkay? K. I like garden boxes. On a more practical note, running water to boxes would be easier.
All of these takeaways has led me to a new experimental idea for garden improvements for next year: I'm going to build an 8 foot by 4 foot box that is 3 feet tall and see how a small variety of the things I like to plant grow in it. If they grow well, I'll gradually build enough of these larger and taller boxes to fill my entire garden area. This eliminates issues #1 and #3, and issue #2 is something I will be sure to address as I build them. Building these boxes is going to be a big investment, which is why I am essentially "wasting" a whole season on an experiment. But I don't see it as a waste, I see it as a learning experience! Stay tuned.
Here is a brief recap of what I changed from last year:
- I did rearrange my existing garden boxes a bit. I liked the larger sizing much better.
- I also amended the soil pretty heavily in the boxes. This helped things grow much better. I used a mix of chicken poop compost that I made, composted cow manure that I purchased, an iron soil supplement, and garden fertilizer.
- I kept my chickens out of the garden so they didn't destroy it. Ha.
- We tilled up an additional 20 square feet next to my boxed areas so I could experiment with planting in the ground. I also amended this soil with my chicken compost, iron, and garden fertilizer but skipped the composted cow manure since nothing has been grown in this area for quite some time. Well, aside from weeds.
So, how did my garden grow this year?
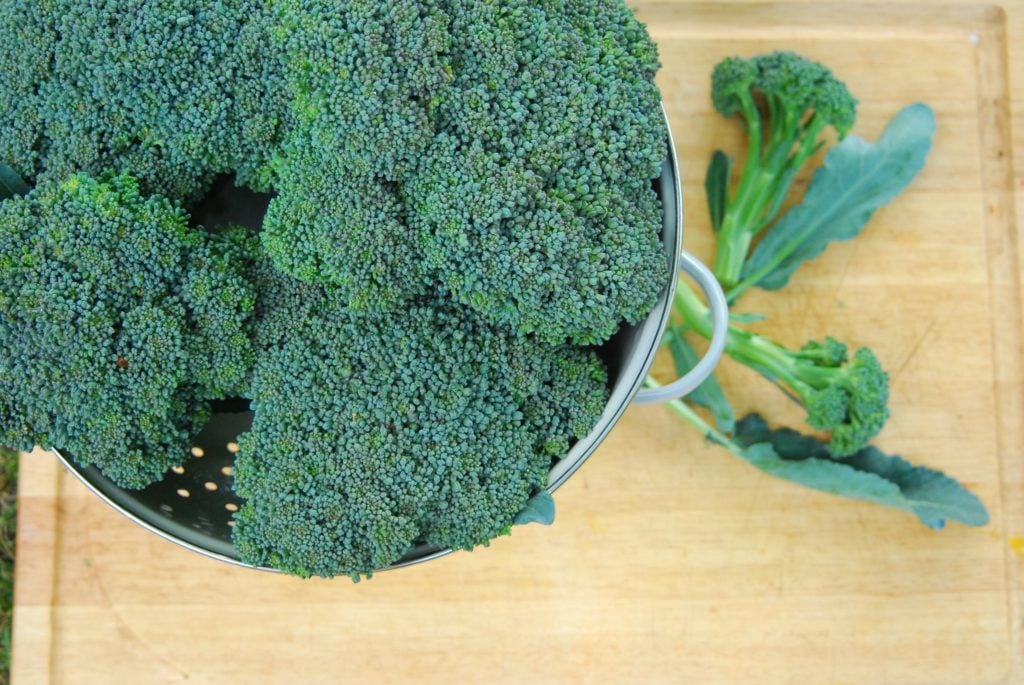
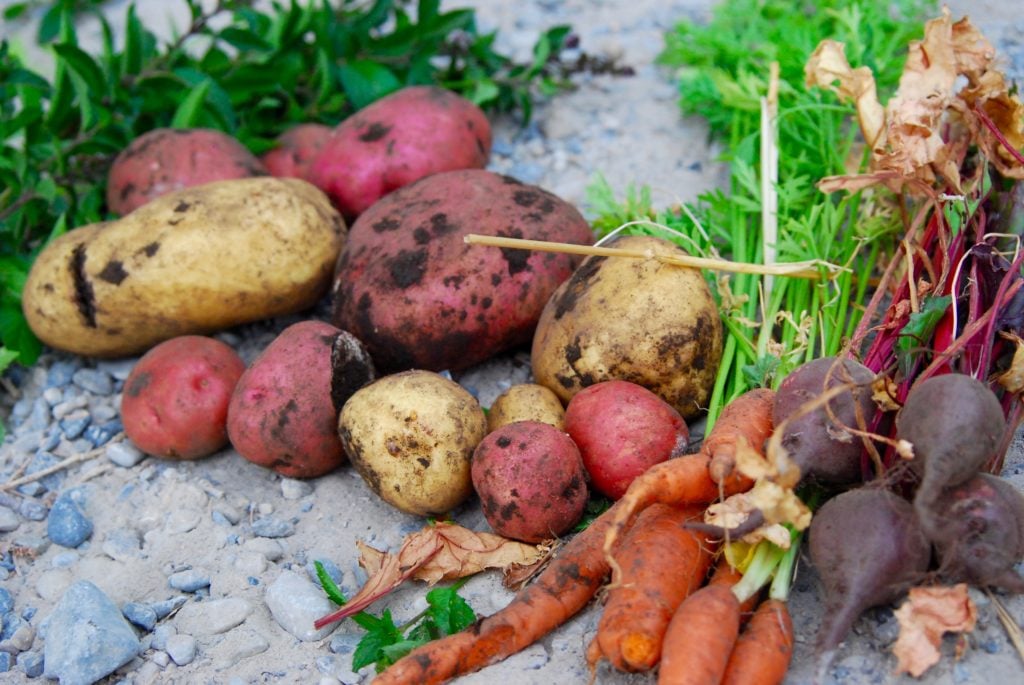
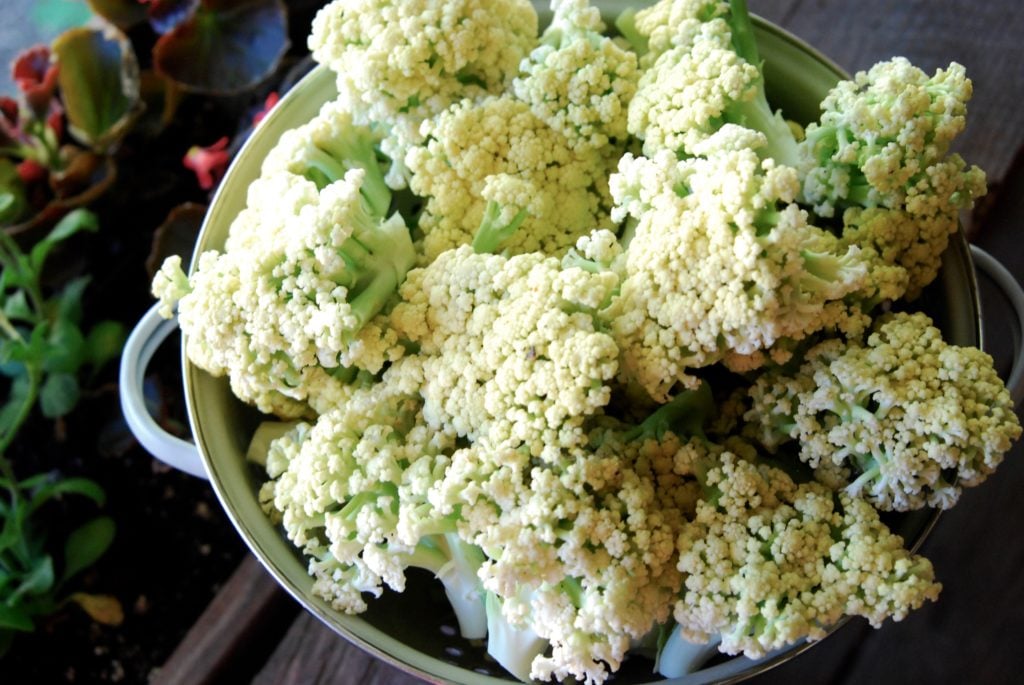
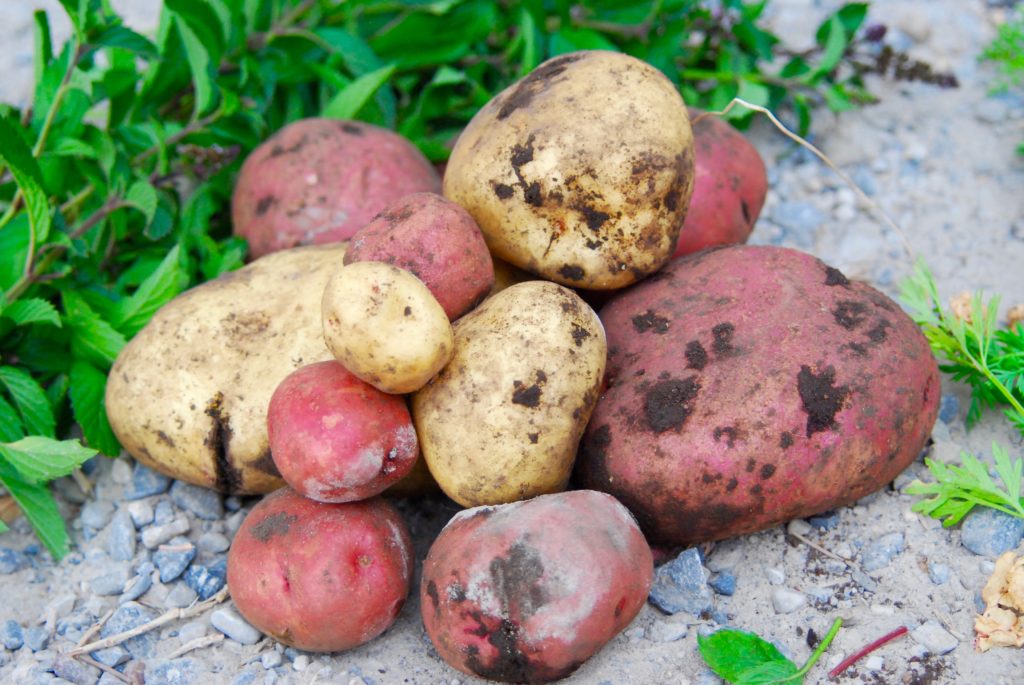
Overall, I was pleased with how well everything I planted in the boxes grew. I knew what plants did well in certain areas of my garden so I kept them there or moved them according to what I learned last year. Everything in the boxes turned out great - broccoli, cauliflower, greens, herbs, onions, and green beans. In the area nearest my boxes, I planted red and gold potatoes and they definitely exceeded my expectations - especially the red potatoes! They were prolific and I got fantastic size variety, which is what I prefer. Some extra large ones and some smaller ones. My onions did well too, I planted some in a box and some out of a box as an experiment and there wasn't too big of a difference between the two areas, probably since I amended the soil similarly. They could have been larger, but I'm happy with the improvements I made. Overall, my boxes grew well but they are gradually going to be overrun by weeds too. I didn't do anything to prep the ground underneath them when I built them a couple years ago and that was a huge mistake.
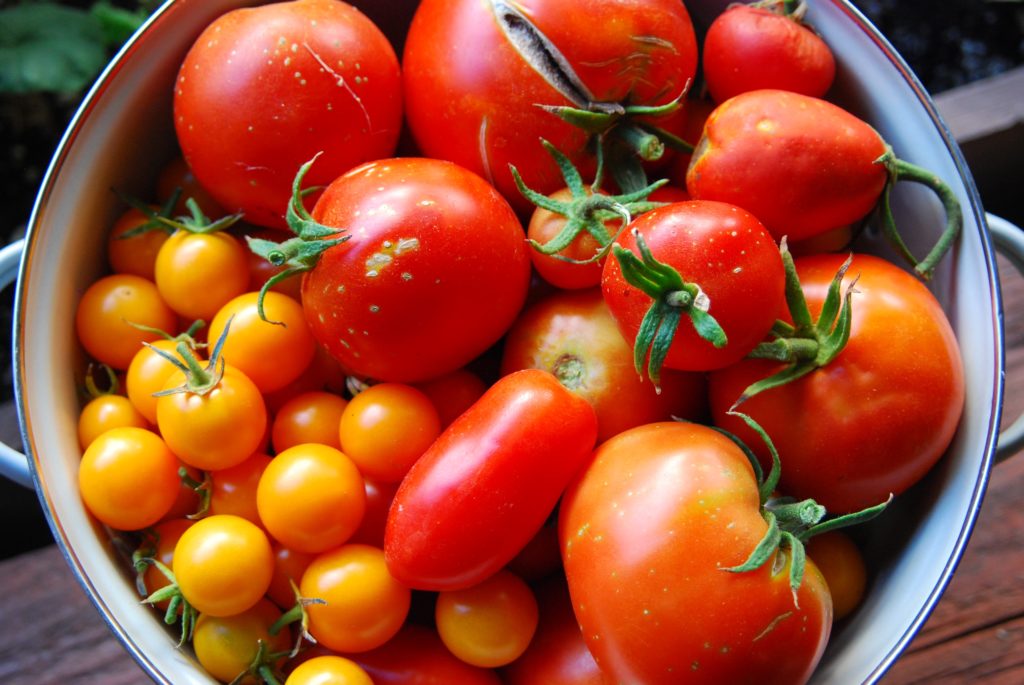
The tilled area next to my garden didn't turn out as well. After we tilled it, I put down an 8-inch straw layer over the top. The theory behind this was that it would keep the weeds out. It did - all except the field bindweed. Which tried to totally take over and basically succeeded the more pregnant I became. I knew I would have limited energy this summer so the straw was my attempt to avoid weeding this area. I had tomatoes, peppers, zucchini, squash, pumpkins, beets, carrots, and parsnips planted here.
I abandoned the carrot, beet and parsnip patch pretty early on once I realized what was happening with the field bindweed. It just wasn't worth my time or energy. Additionally, I realized that since our ground is so rocky, it's quite difficult for carrots and parsnips to grow successfully! That should have been obvious, but I didn't even think about it being an issue until I dug a few up.
The zucchini, squash, and pumpkins started off strong but kept getting a fungus I had to repeatedly treat. I think this weakened the plants overall and they were pretty unthrifty. I harvested a bit off of each of them, but they could have produced much more. This probably would be less of an issue if I had taken care of field bindweed and some of the weeds on the other side of my garden. Weeds spread disease!
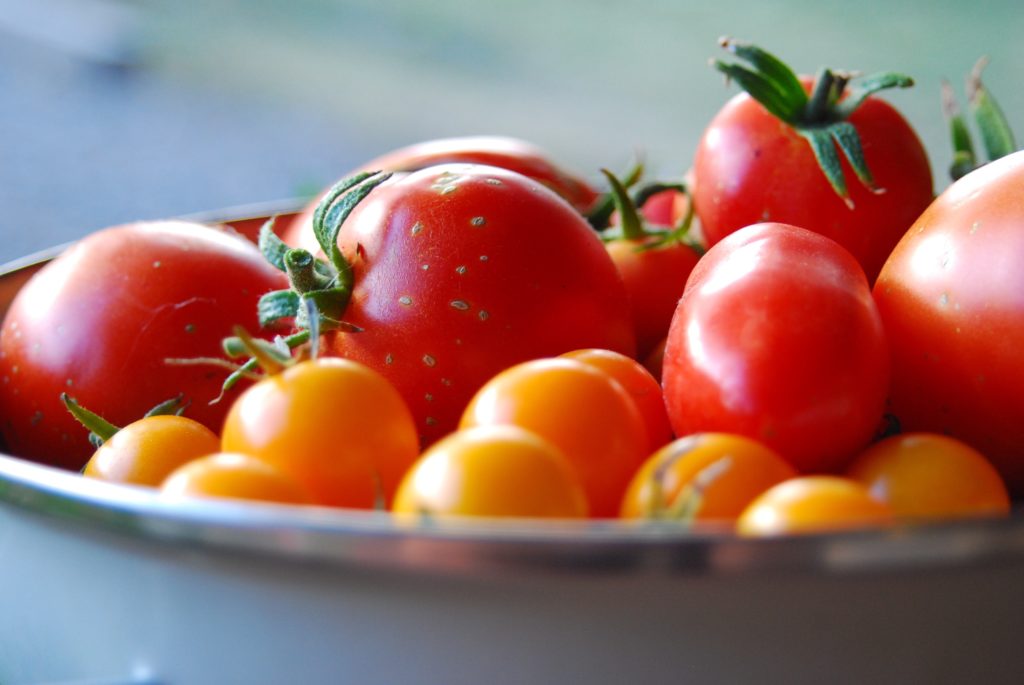
The tomatoes did as well as can be expected with field bindweed trying to overtake them. I also planted them longways across the area, but I think they would have done better in a different arrangement so they could get more sun. I also tried to tie them instead of using tomato cages {cages just get blown over here, even the heavy duty ones} but that is definitely something that takes practice so I didn't do a great job there either.
The peppers didn't grow at all, I think the area I had them in was too shady. I moved them from where they were the year before and it was a mistake. Peppers continue to be my most challenging plant to grow.
This year I also installed soaker hoses that I was pretty excited about.
I have mixed feelings about how it turned out. I had the box portion of my garden use a push and lock system and the tilled portion use large hoses that just ran under the ground. I loved a few things about them:
- Very easy and fast to set up and install.
- Very accurate water application, I saved a lot of water this summer!
- Things grew much better because the watering was consistently applied.

Here's what I didn't like:
- Wore down quickly. The push and lock hoses kept breaking because of wear from our extremely hard water. While easy to fix, this became obnoxious and happened more and more frequently as the summer came to a close.
- Time-consuming to take out. If you ever change how your garden is configured, these can be a nightmare to remove and rearrange.
- Tear easily. The large hoses tear easily if you have a husband who is trying to help you quickly remove them and is unfamiliar with how you laid them out underneath 8 inches of straw and just gives them a mighty tug. 🙂
I'm not sure what I'm going to try next year for watering. I am leaning towards building a custom system for my experimental box out of PVC, that would be cheaper and it wouldn't be hard in a box like I have planned. I hesitated to do that this year because I wasn't sure how this would all play out - I'm more of a hands-on learner and envisioning how to build something out of PVC was a little daunting when I wasn't sure where things would be exactly.
All in all, I'd say this was a success over last year - and that's always my over-arching goal. Keep the garden improvements coming, year after year! I do have a few options for taking care of the field bindweed - one of which would be to Round-Up my whole garden area. While I'm not opposed to using herbicides and pesticides on our property, I think in this situation it wouldn't be a solution that made sense in the long run because I'd need to reapply yearly. {And yes, that is a true statement when dealing with field bindweed.
I promise - bindweed seeds can persist in the environment for up to 40 years - yikes!}. By building taller garden boxes, my hope is to be able to use weed barrier in the bottom, eliminating the possibility of any bindweed {or other weeds} coming up through the bottom of the boxes. I've always wanted to lay weed barrier and rocks or wood chips around my garden boxes, so that would still be the plan for the surrounding areas. We will see how things go with my experimental box next year.
Let me know if you have any suggestions for my future garden plans! Here's to more garden improvements next year!
Pin this farm tip on your Gardening board to SAVE it for later! Follow Longbourn Farm on Pinterest for more great tips, ideas, and tutorials!
[et_bloom_inline optin_id="optin_4"]


Cosette
Hi Ally,
Thanks for this review. I am planning on starting a garden with garden boxes next year and I was wondering how I should prep the soil beforehand. Any help would be amazing!
Alli
Hey Cosette! Thanks for reading, I'm glad it was helpful! How you prep the ground under the boxes depends on deep the boxes are. If they are going to be tall and deep with enough room for plant roots to grow down, you can just use weed barrier or black trash bags in the bottom - this is what I'd like to try. If the boxes aren't going to be that deep {which is more normal} your plants are going to need to grow down into the soil below. In that case, I recommend turning over the soil or tilling it to make sure it isn't too compacted. You could skip this step if the soil is already loose in your garden area, but if it's lawn or something similar, you'll need to break it up a bit.
All the research I've done this summer indicates that about two layers of cardboard, two to three layers of newspaper on top of that, and then about 3-4 inches of bark chips {or leaves or straw or something else really fibrous} on top of the newspaper creates a good weed barrier. You would just put your garden soil on top of those three layers and plant into it like normal. The cardboard and newspaper will break down slowly, killing any weeds that are trying to come up but also allowing your plants to get through if they need it. Does that make sense? If you have a heavy problem with field bindweed {morning glory} I've also heard that it gets through all of that in 2-3 season, which is why I'm just trying to avoid it. But I hope you don't have to deal with that! Let me know if you have further questions.