
How to install drip or soaker irrigation in your garden. Its an easy and fast garden watering system that you can set up yourself and a great way to conserve water.
WANT TO SAVE THIS RECIPE?
Enter your email below and we'll send it straight to your inbox. Plus you’ll get great new recipes from us every week!
Confession: I am terrible at watering my garden, even with a sprinkler. Like so so so bad. Like I let things die because I can't remember. Pathetic right? I also know that my production is lower because of my inability to water. Sooooooo I fixed that problem! I installed a soaker/drip irrigation system this year WITH a timer for the hose. Brilliant, I know {not really}. I haven't done this in the past because this is only the third summer we have been on our property and prior to this, I was still settling on a perfect spot, the right layout and format, and how exactly I wanted everything to be.
Finally, I think I have the right layout and we cut down some overgrown shrubs and trees to make it light enough back there as well. Don't be sad, our property has serious issues with over-crowding because of poor landscape design. Not good for anyone or any plant!
I have a mix of boxes and traditional in-the-ground area for my garden, and I varied how I arranged the watering system between each part. I'll run through the supplies I used and then how I used a variation on the method for each area.
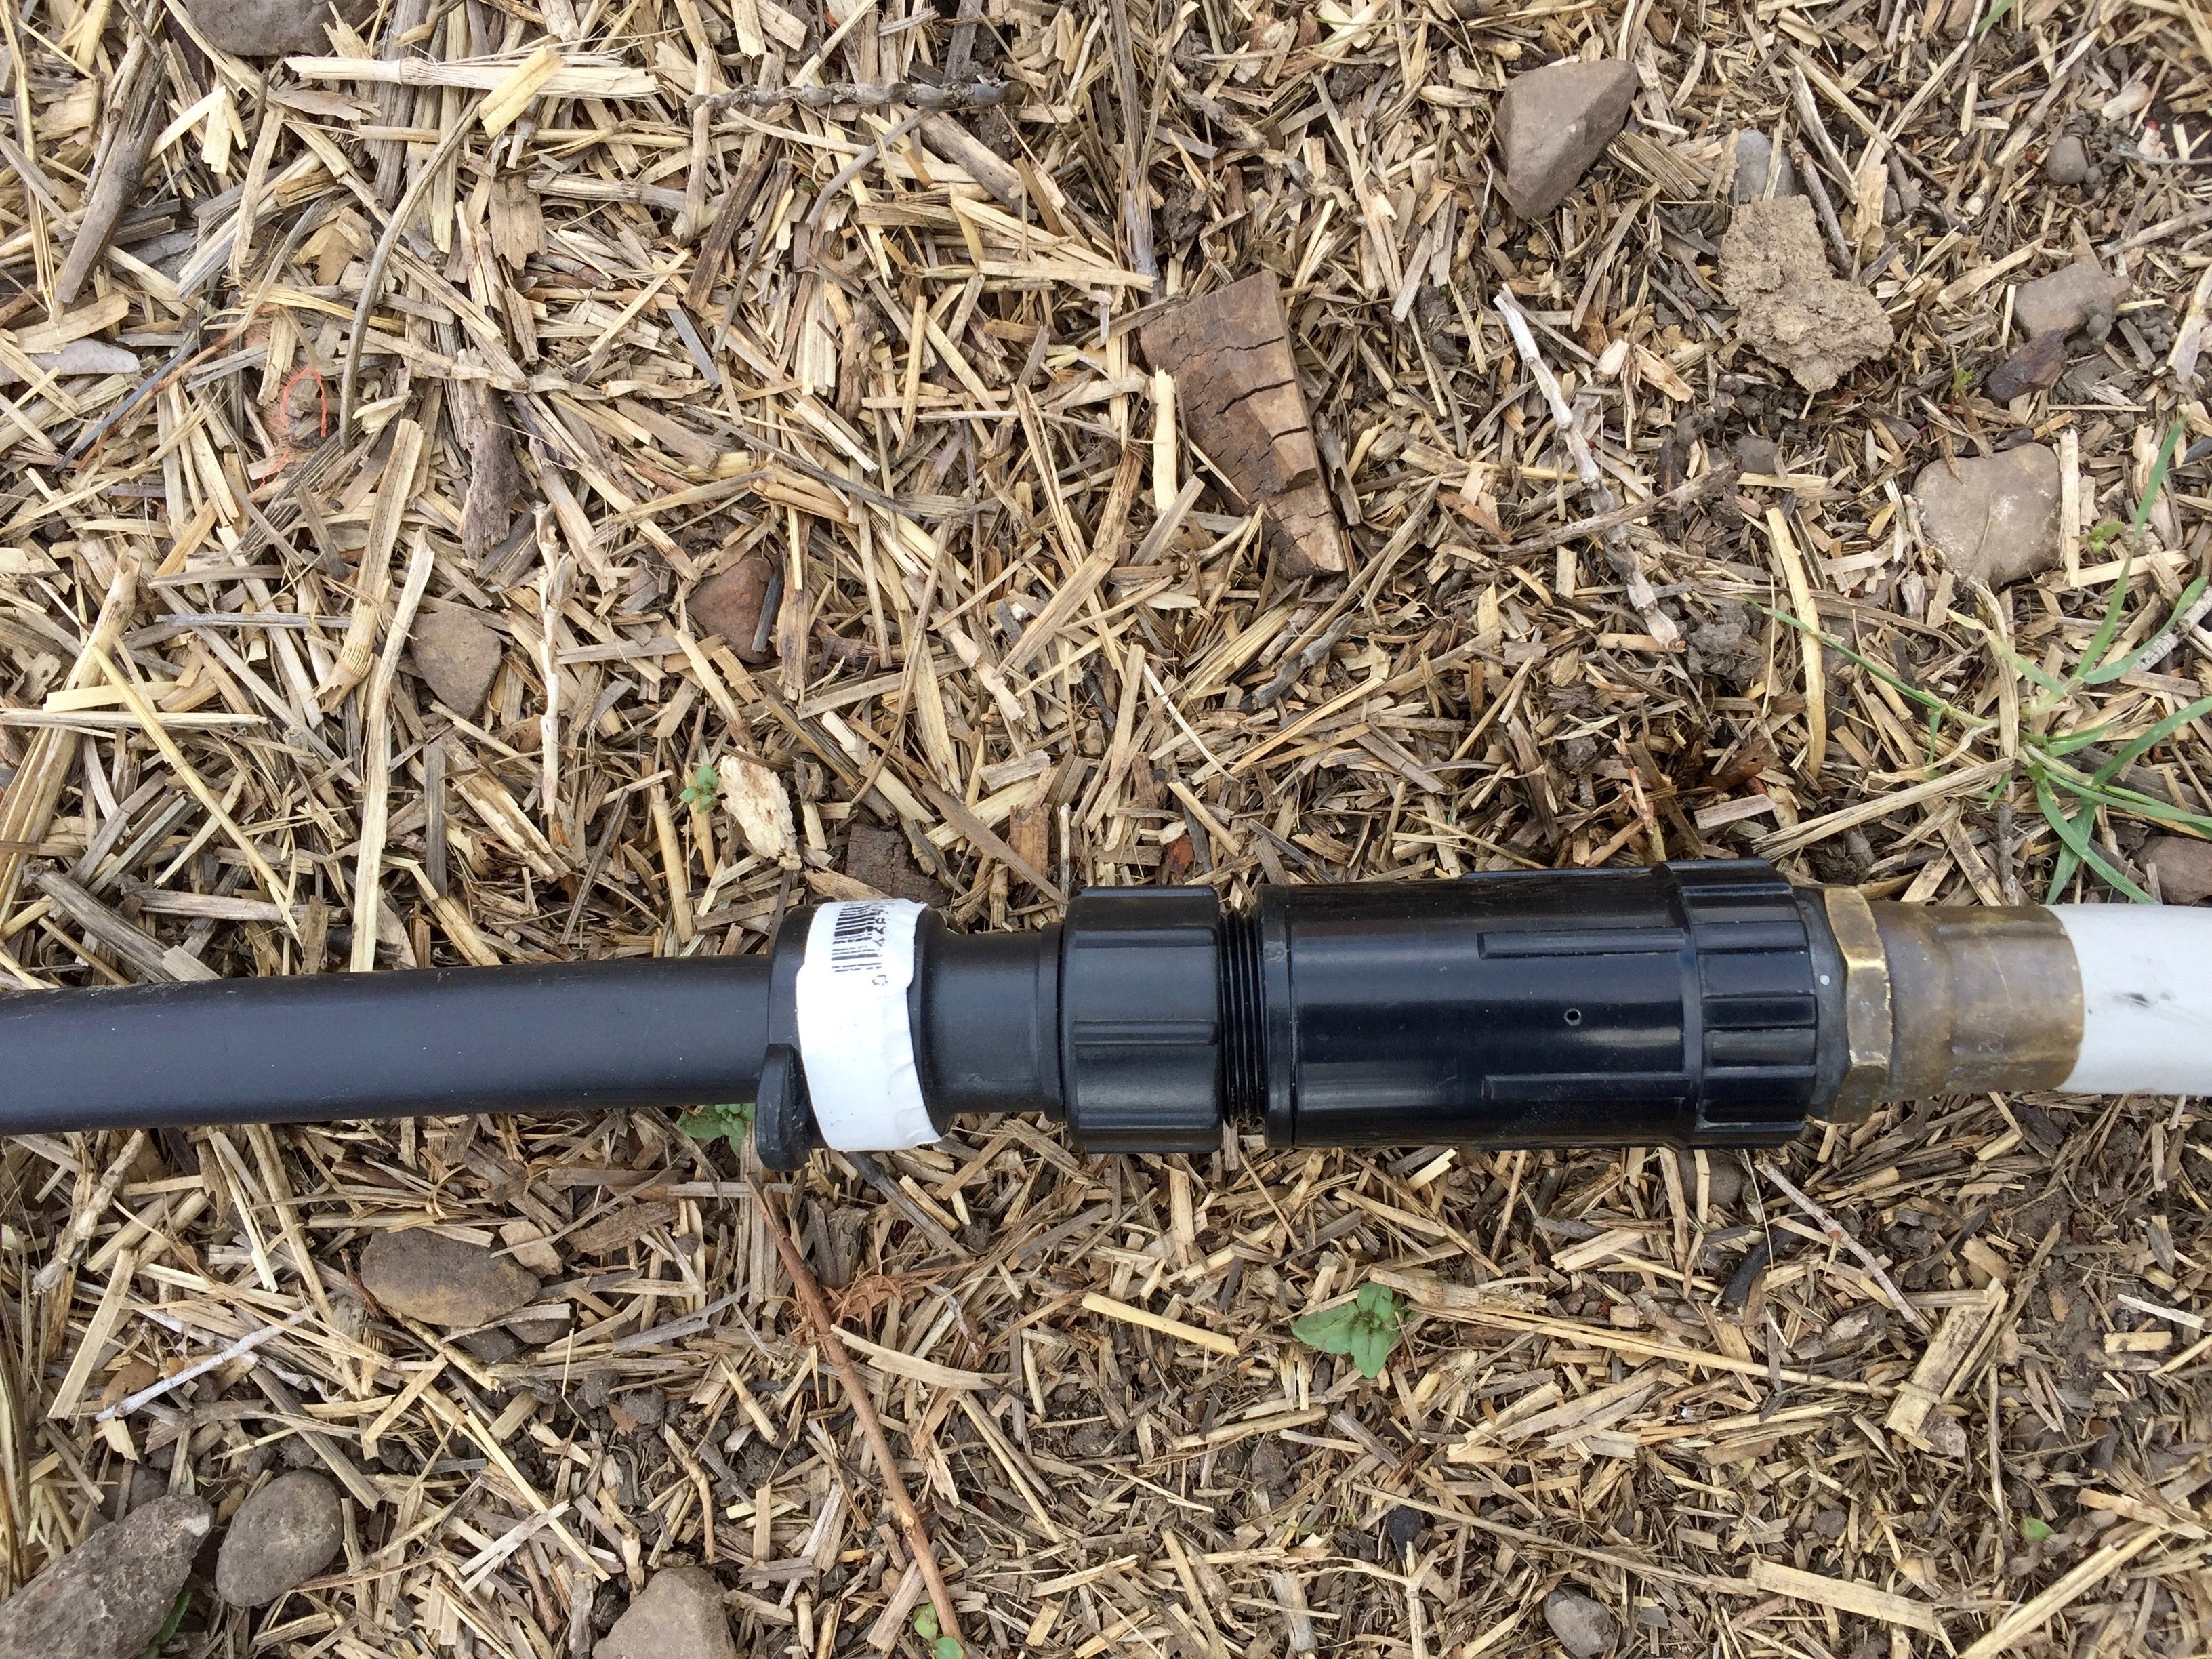
The first thing you'll need when installing a drip/soaker system is a pressure reducer. This connects to your water source {or a hose connecting to the water source} and makes the pressure around 20 PSI. If it's higher than that, you'll just blow your fittings apart. While the water pressure in our house and out of our riser is terrible, the water pressure in the outside faucets is pretty dang good so this was very necessary. The main line will be the line that hooks into the pressure reducer. For the main line, I used the ½ inch size, which is pretty typical. I went with standard black but you can get a brown tone as well.
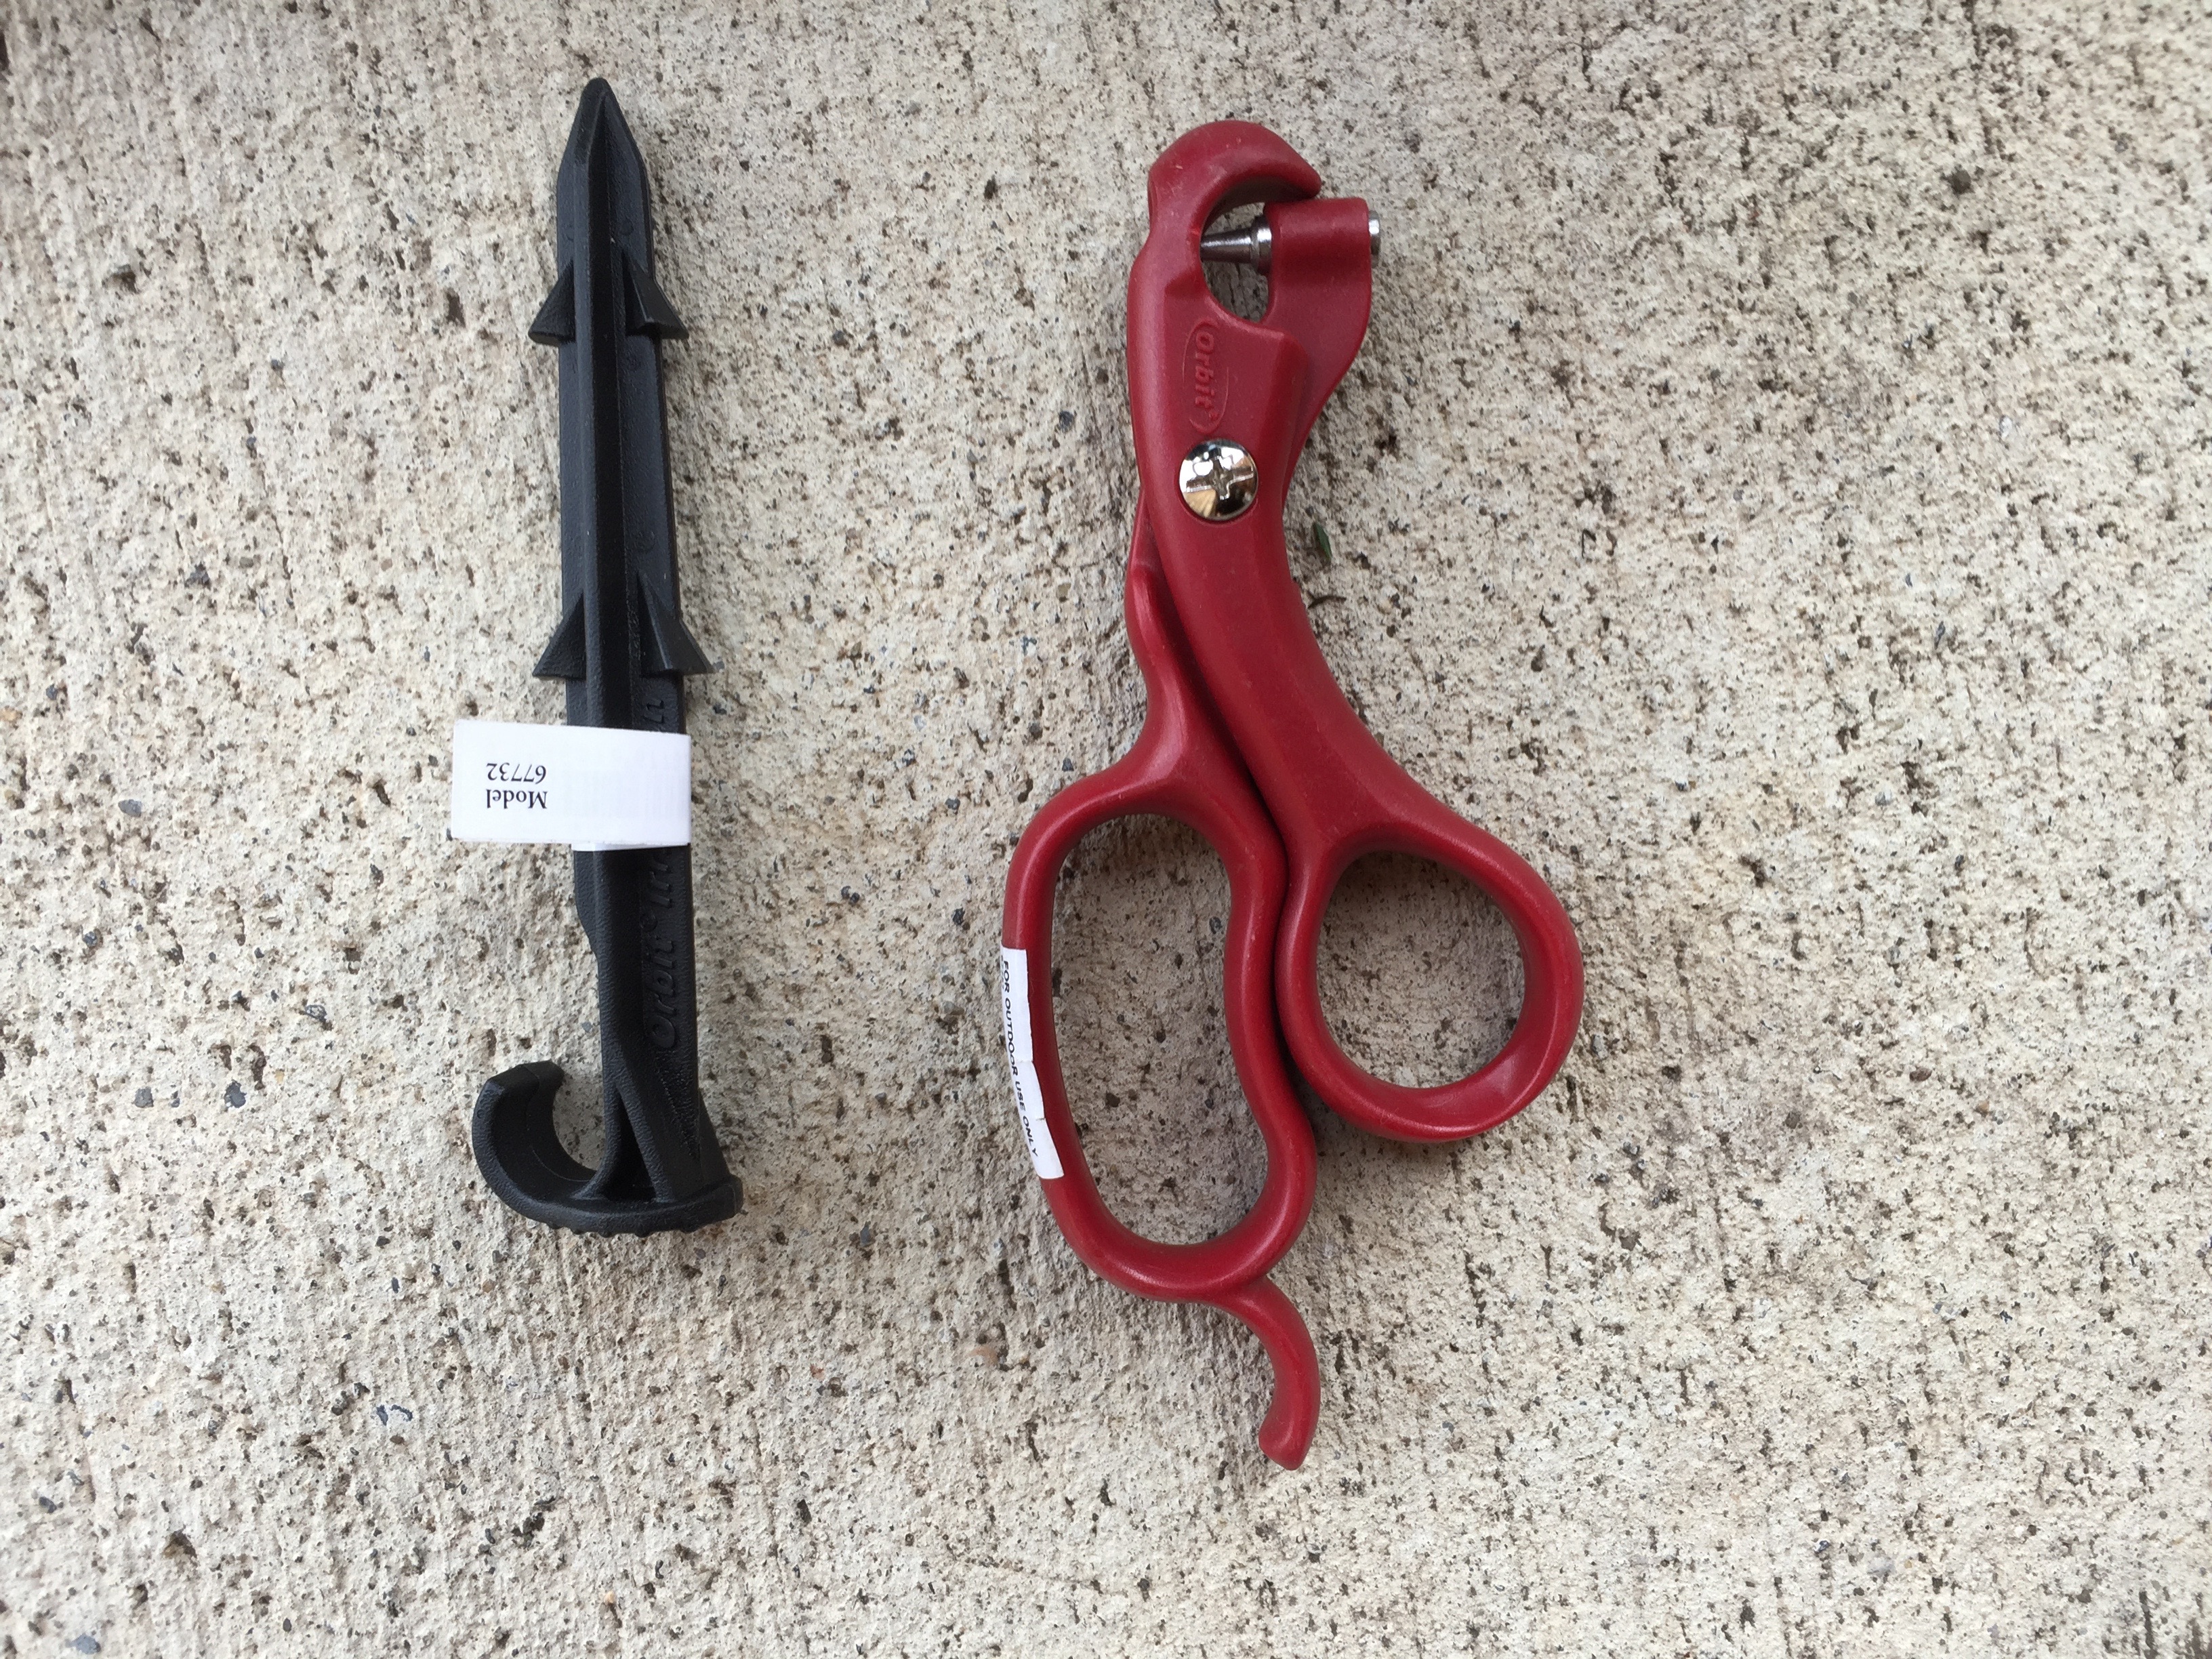
To hold my main line in place, I used these stakes that go pretty far into the ground. This was great security that allowed me to really wind my tubing around corners without having to cut it and use and elbow joint or T joint. I figure the less places for leaking, the better. The red thing is the hole punch. You simple clamp it down on your main line where you want to have a soaker {or smaller line} run. So easy! And really, just pay the $4 for this tool. It was so worth it.
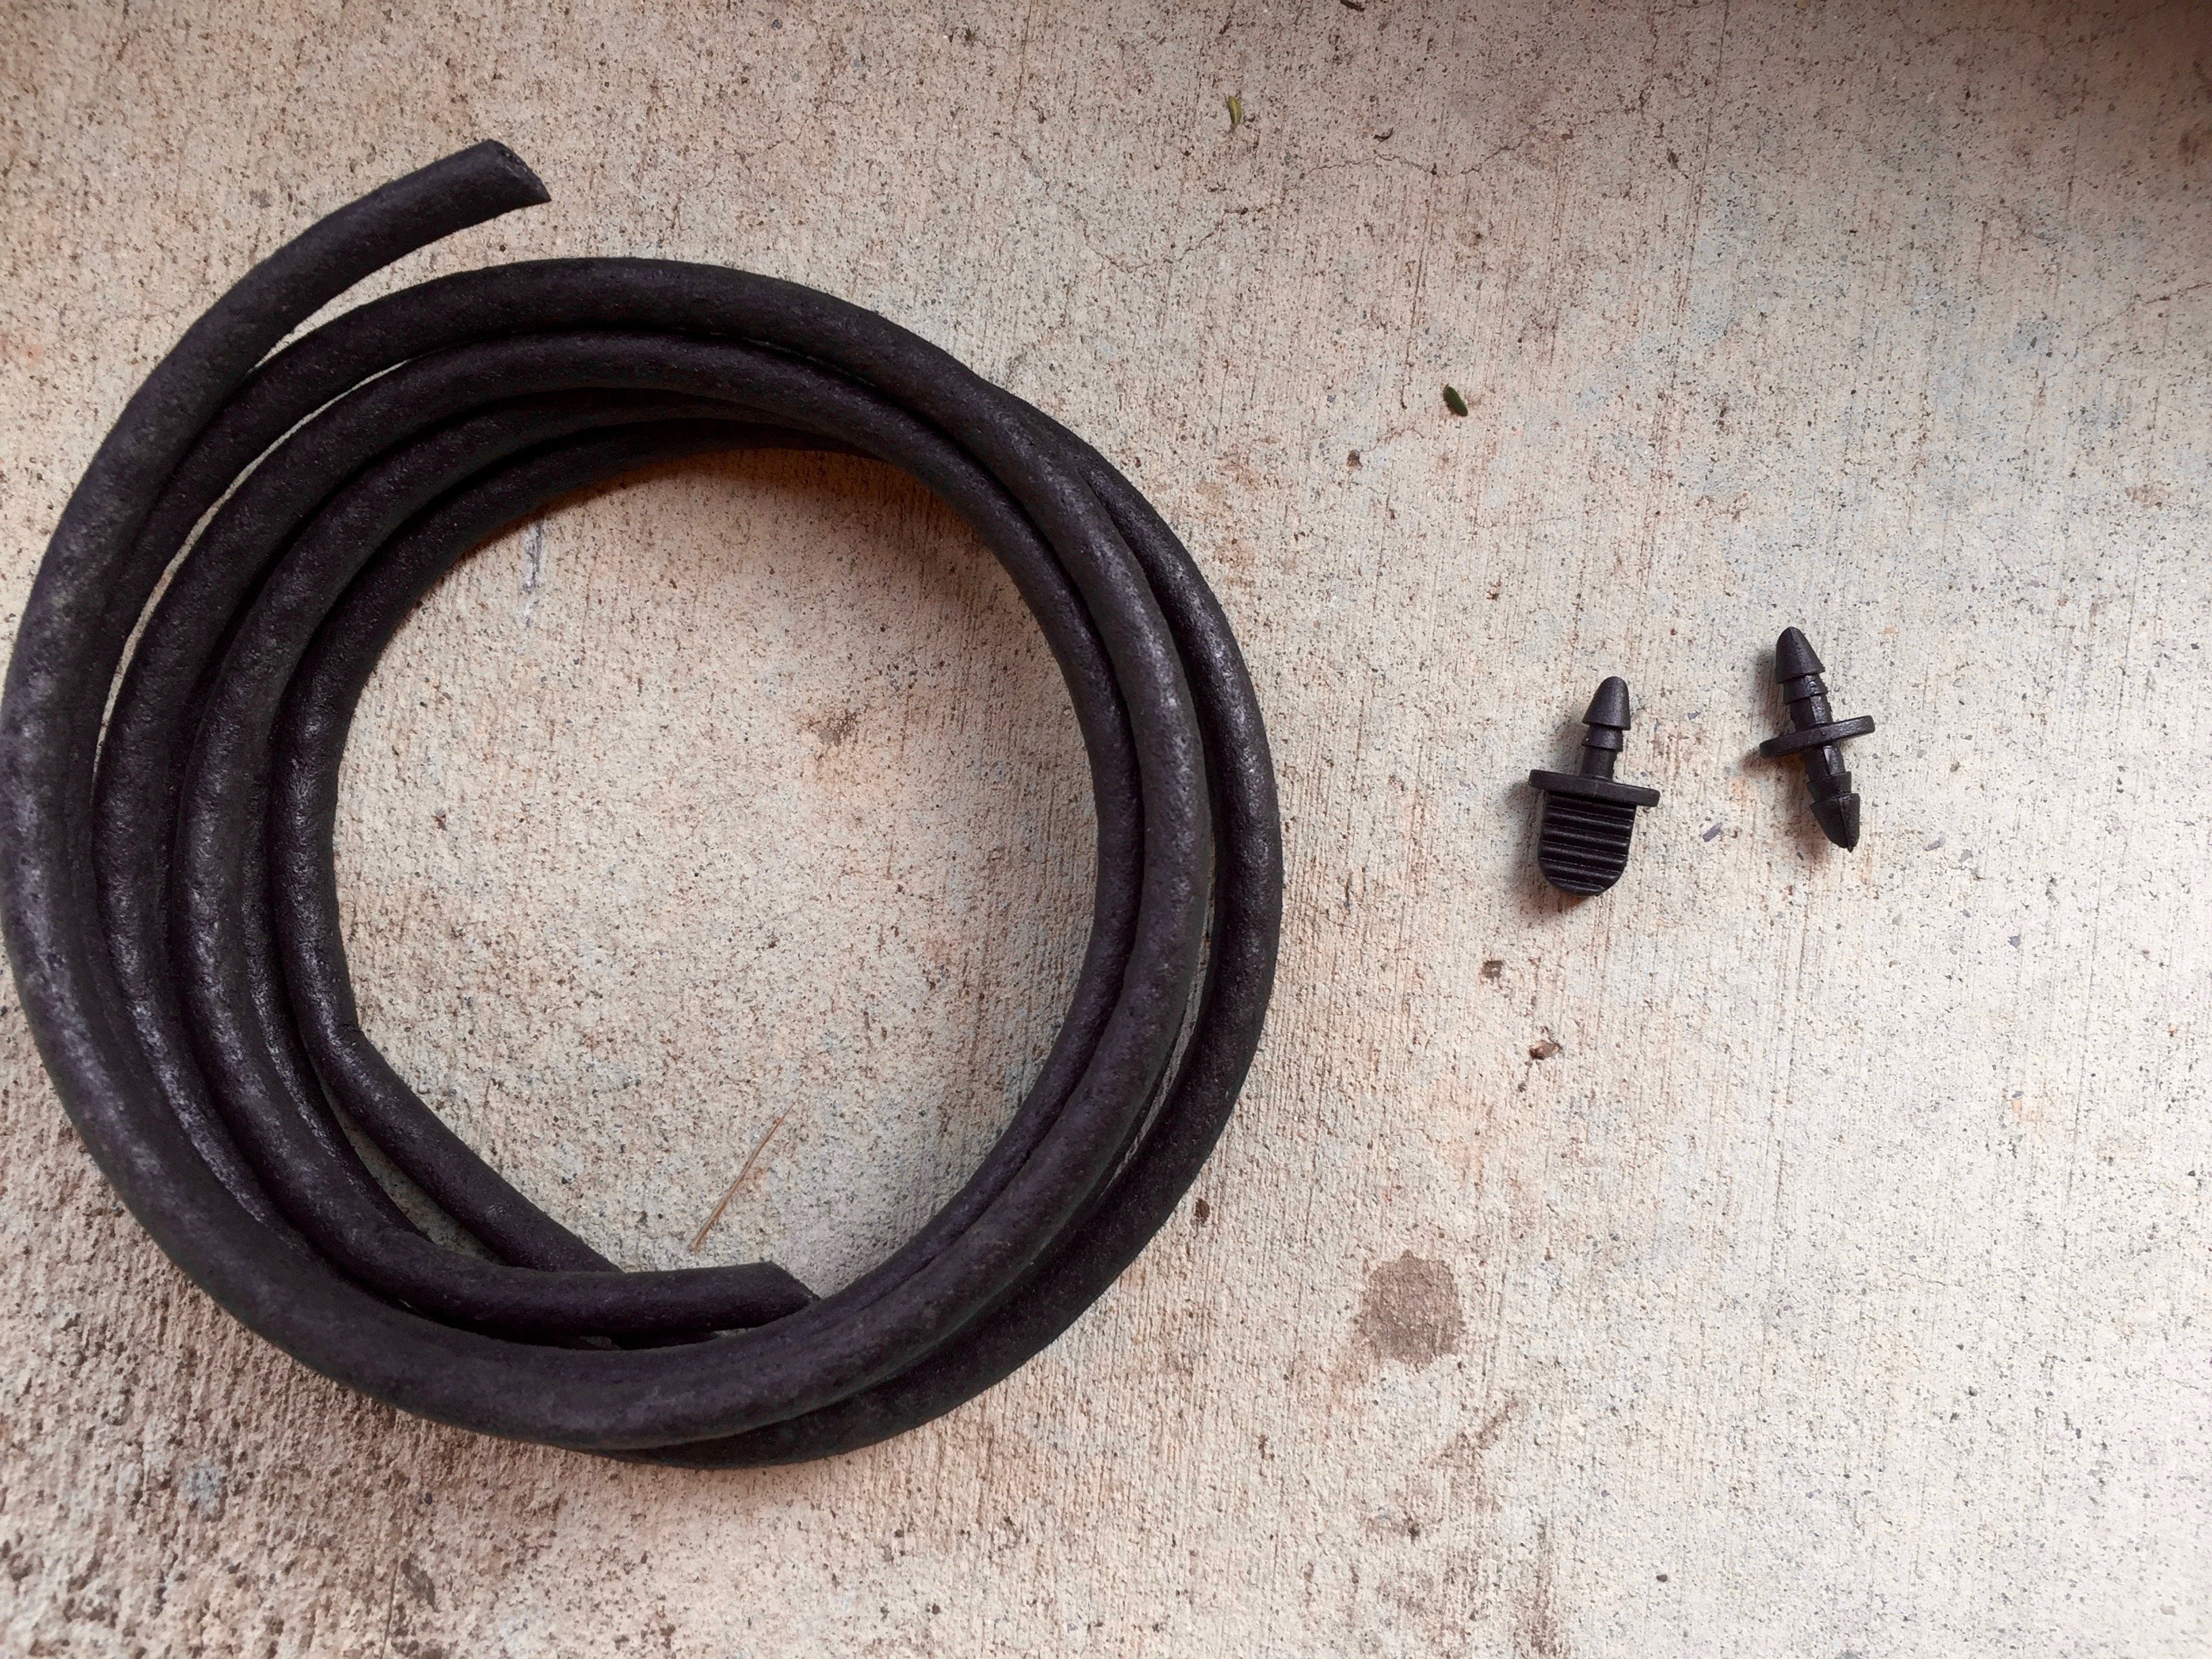
Then, to run into each box, I used ¼ inch soaker hose. You attach it to the main line by 1} Punching your hole 2} pushing in a ¼ inch tubing connector {far right}
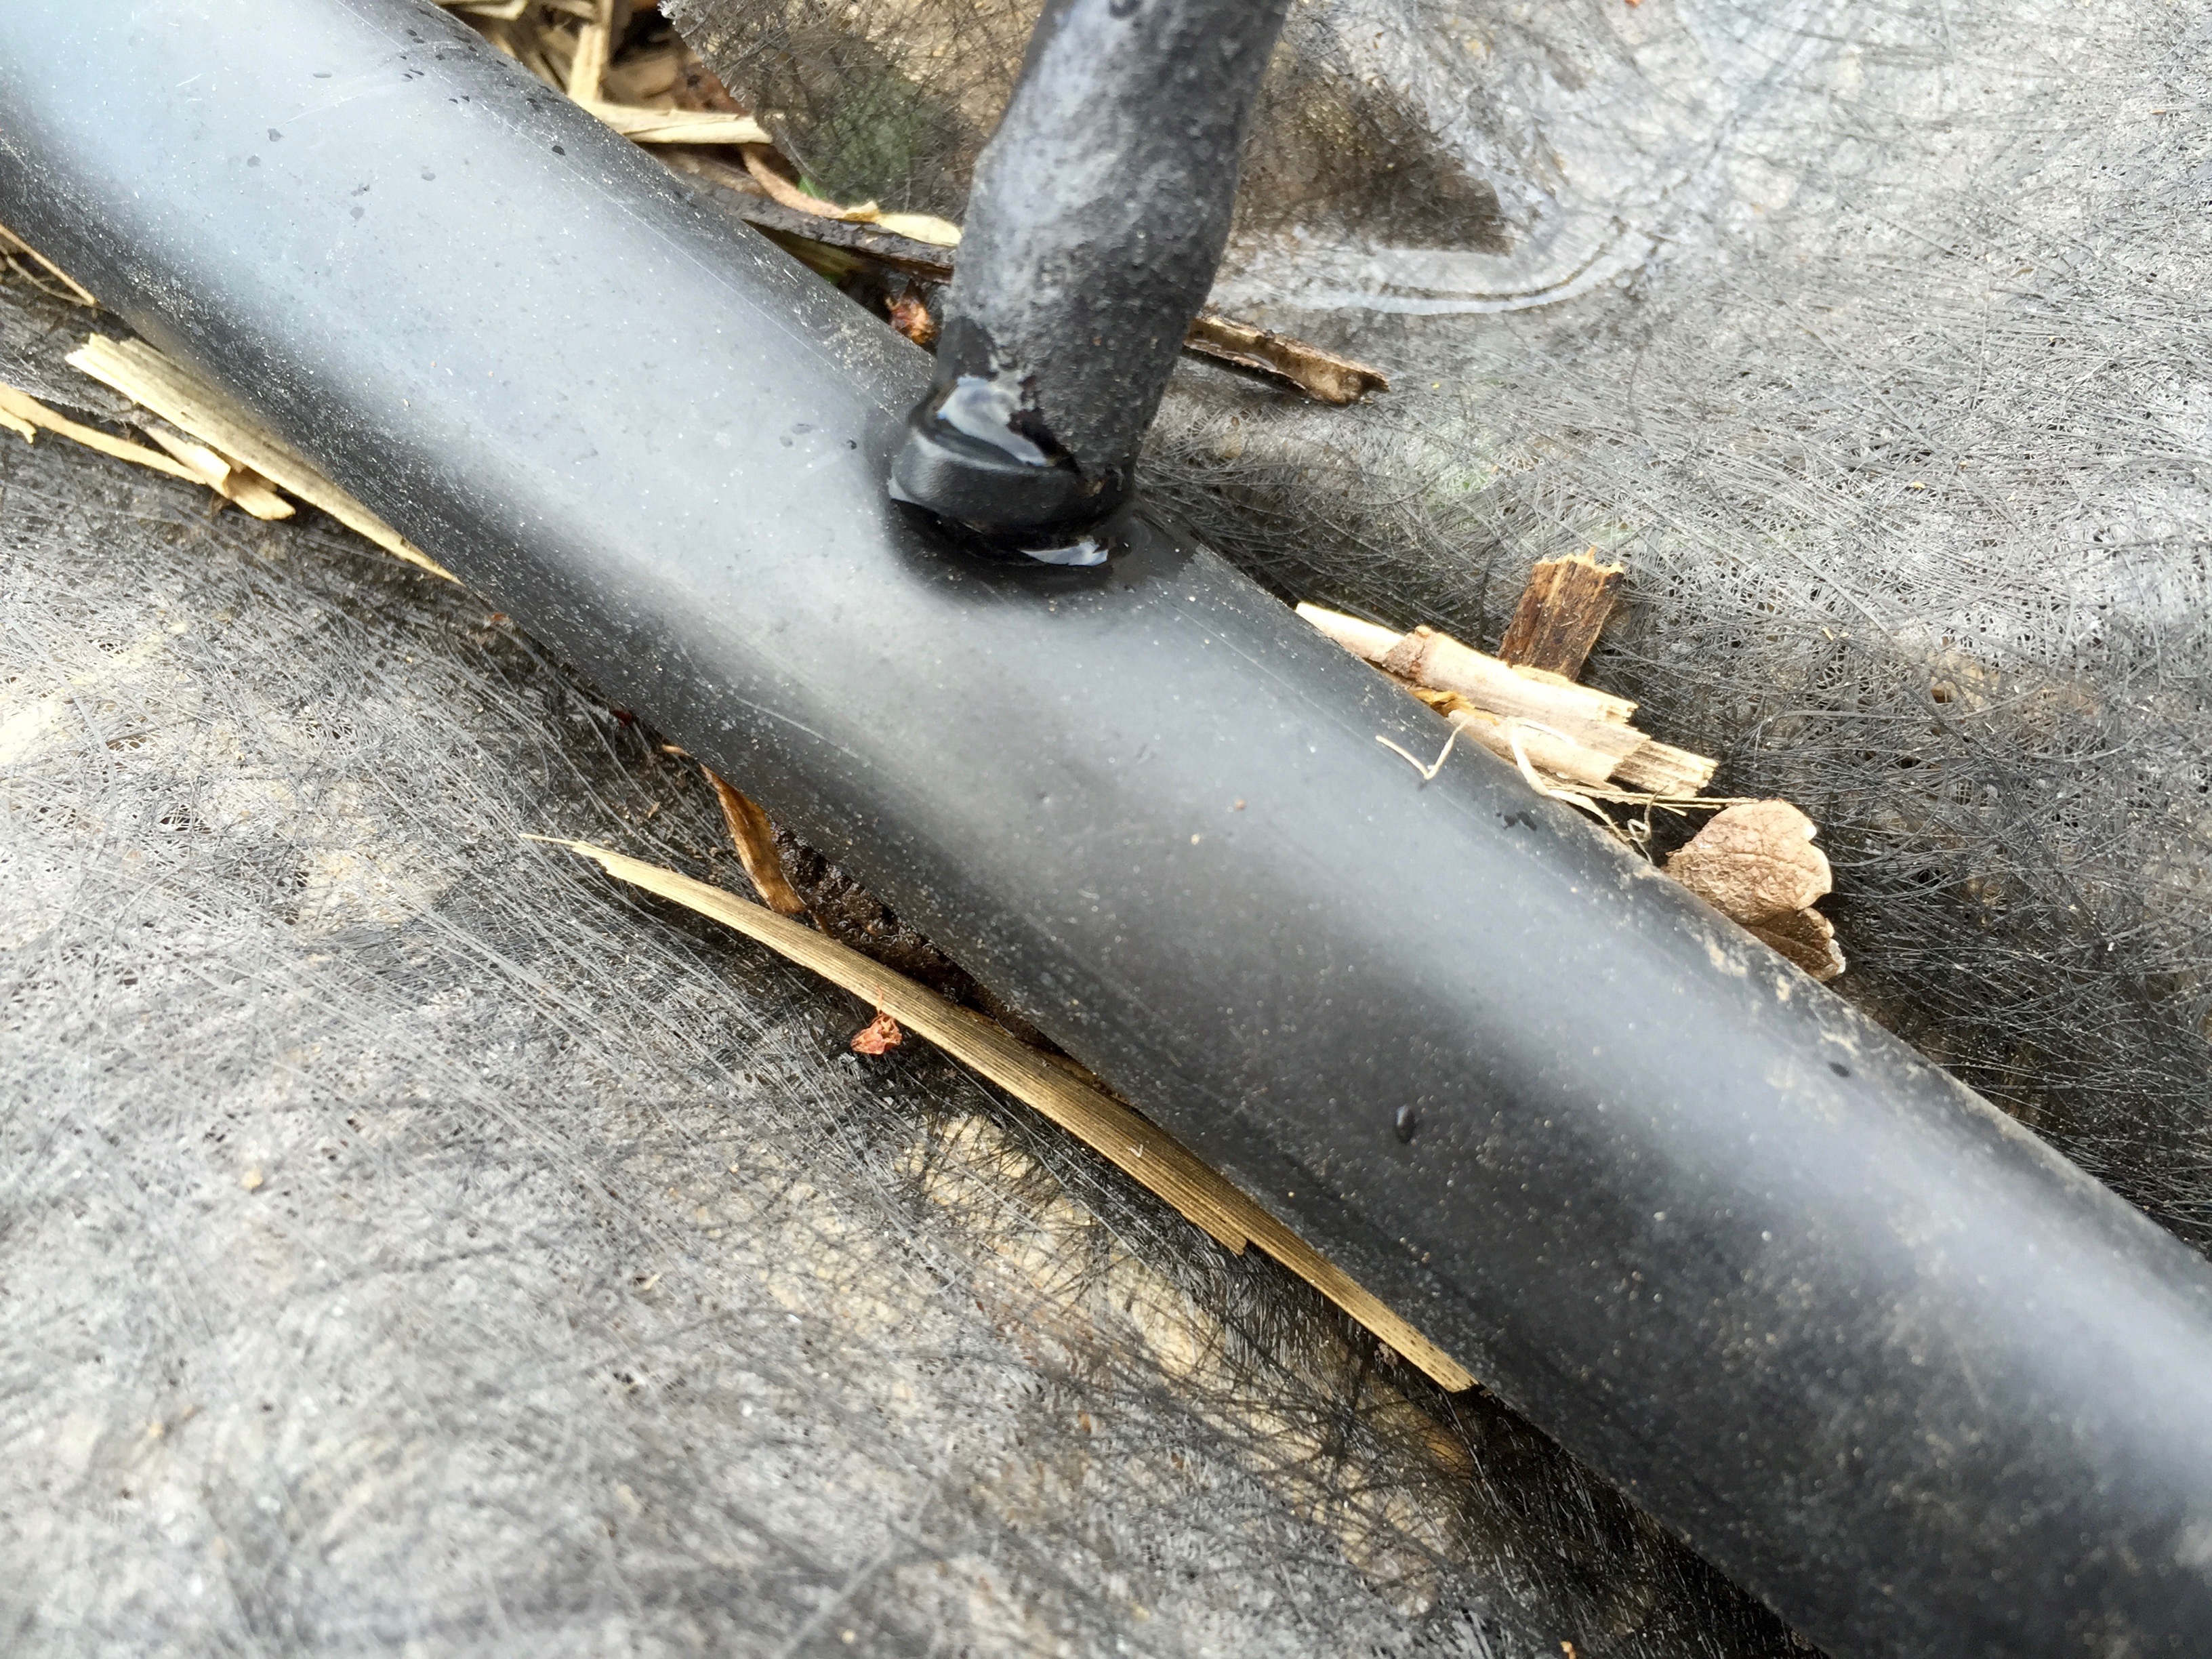
3} end your line by pushing in a plug {middle}. It is way easier than I thought it would be! It was also super fast. Didn't take long at all once I had all the right stuff.

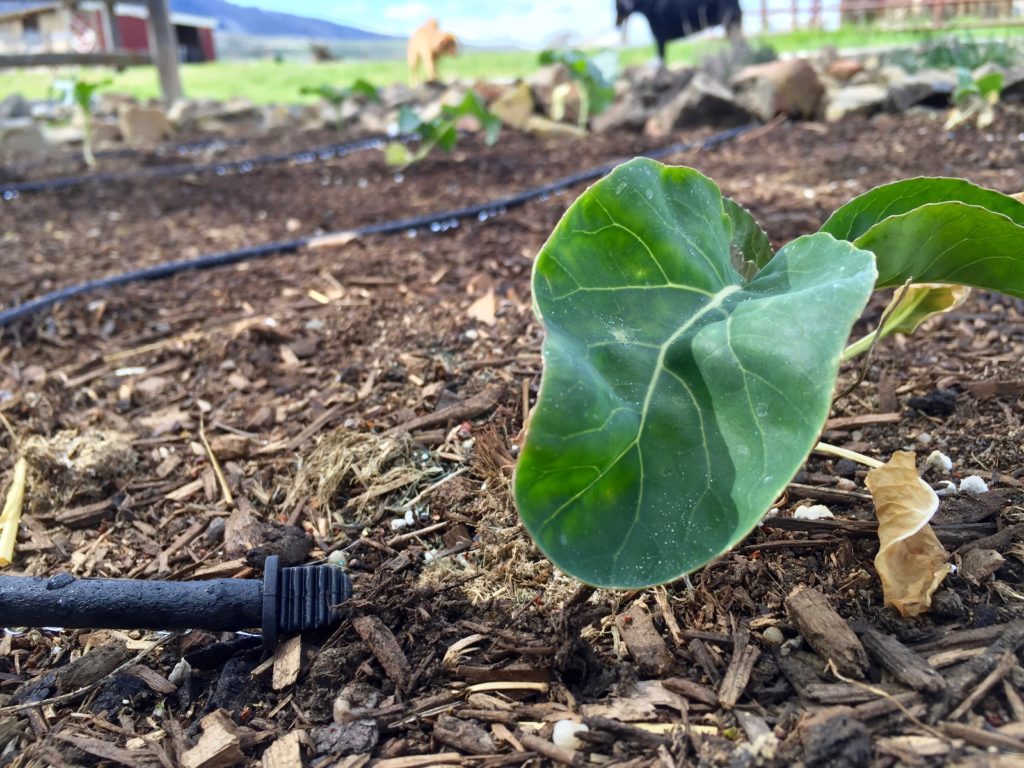
I decided to go with soaker hoses instead of drip plugs or small sprinklers for each box for a few reasons. I like to rotate some of my boxes, just to see what works best where, and because of that they wouldn't have a permeant enough layout for a drip plug that is meant to water one specific plant. {I will be using these when I plant my berry bushes and install irrigation there}. The reason I didn't go with a sprinkler in a few corners of the box is because it's so dang windy here! The closer I can get the water to the roots, the more effective it will be at watering the plant. So many times the wind would just totally blow the water I was trying to sprinkle on my garden in the opposite direction. Also, reducing the amount of time leaves are wet reduces disease as well. Additionally, in my ground garden, I use a thick straw cover. The soaker lines can go underneath the straw and be super effective that way because there will be very little evaporation.
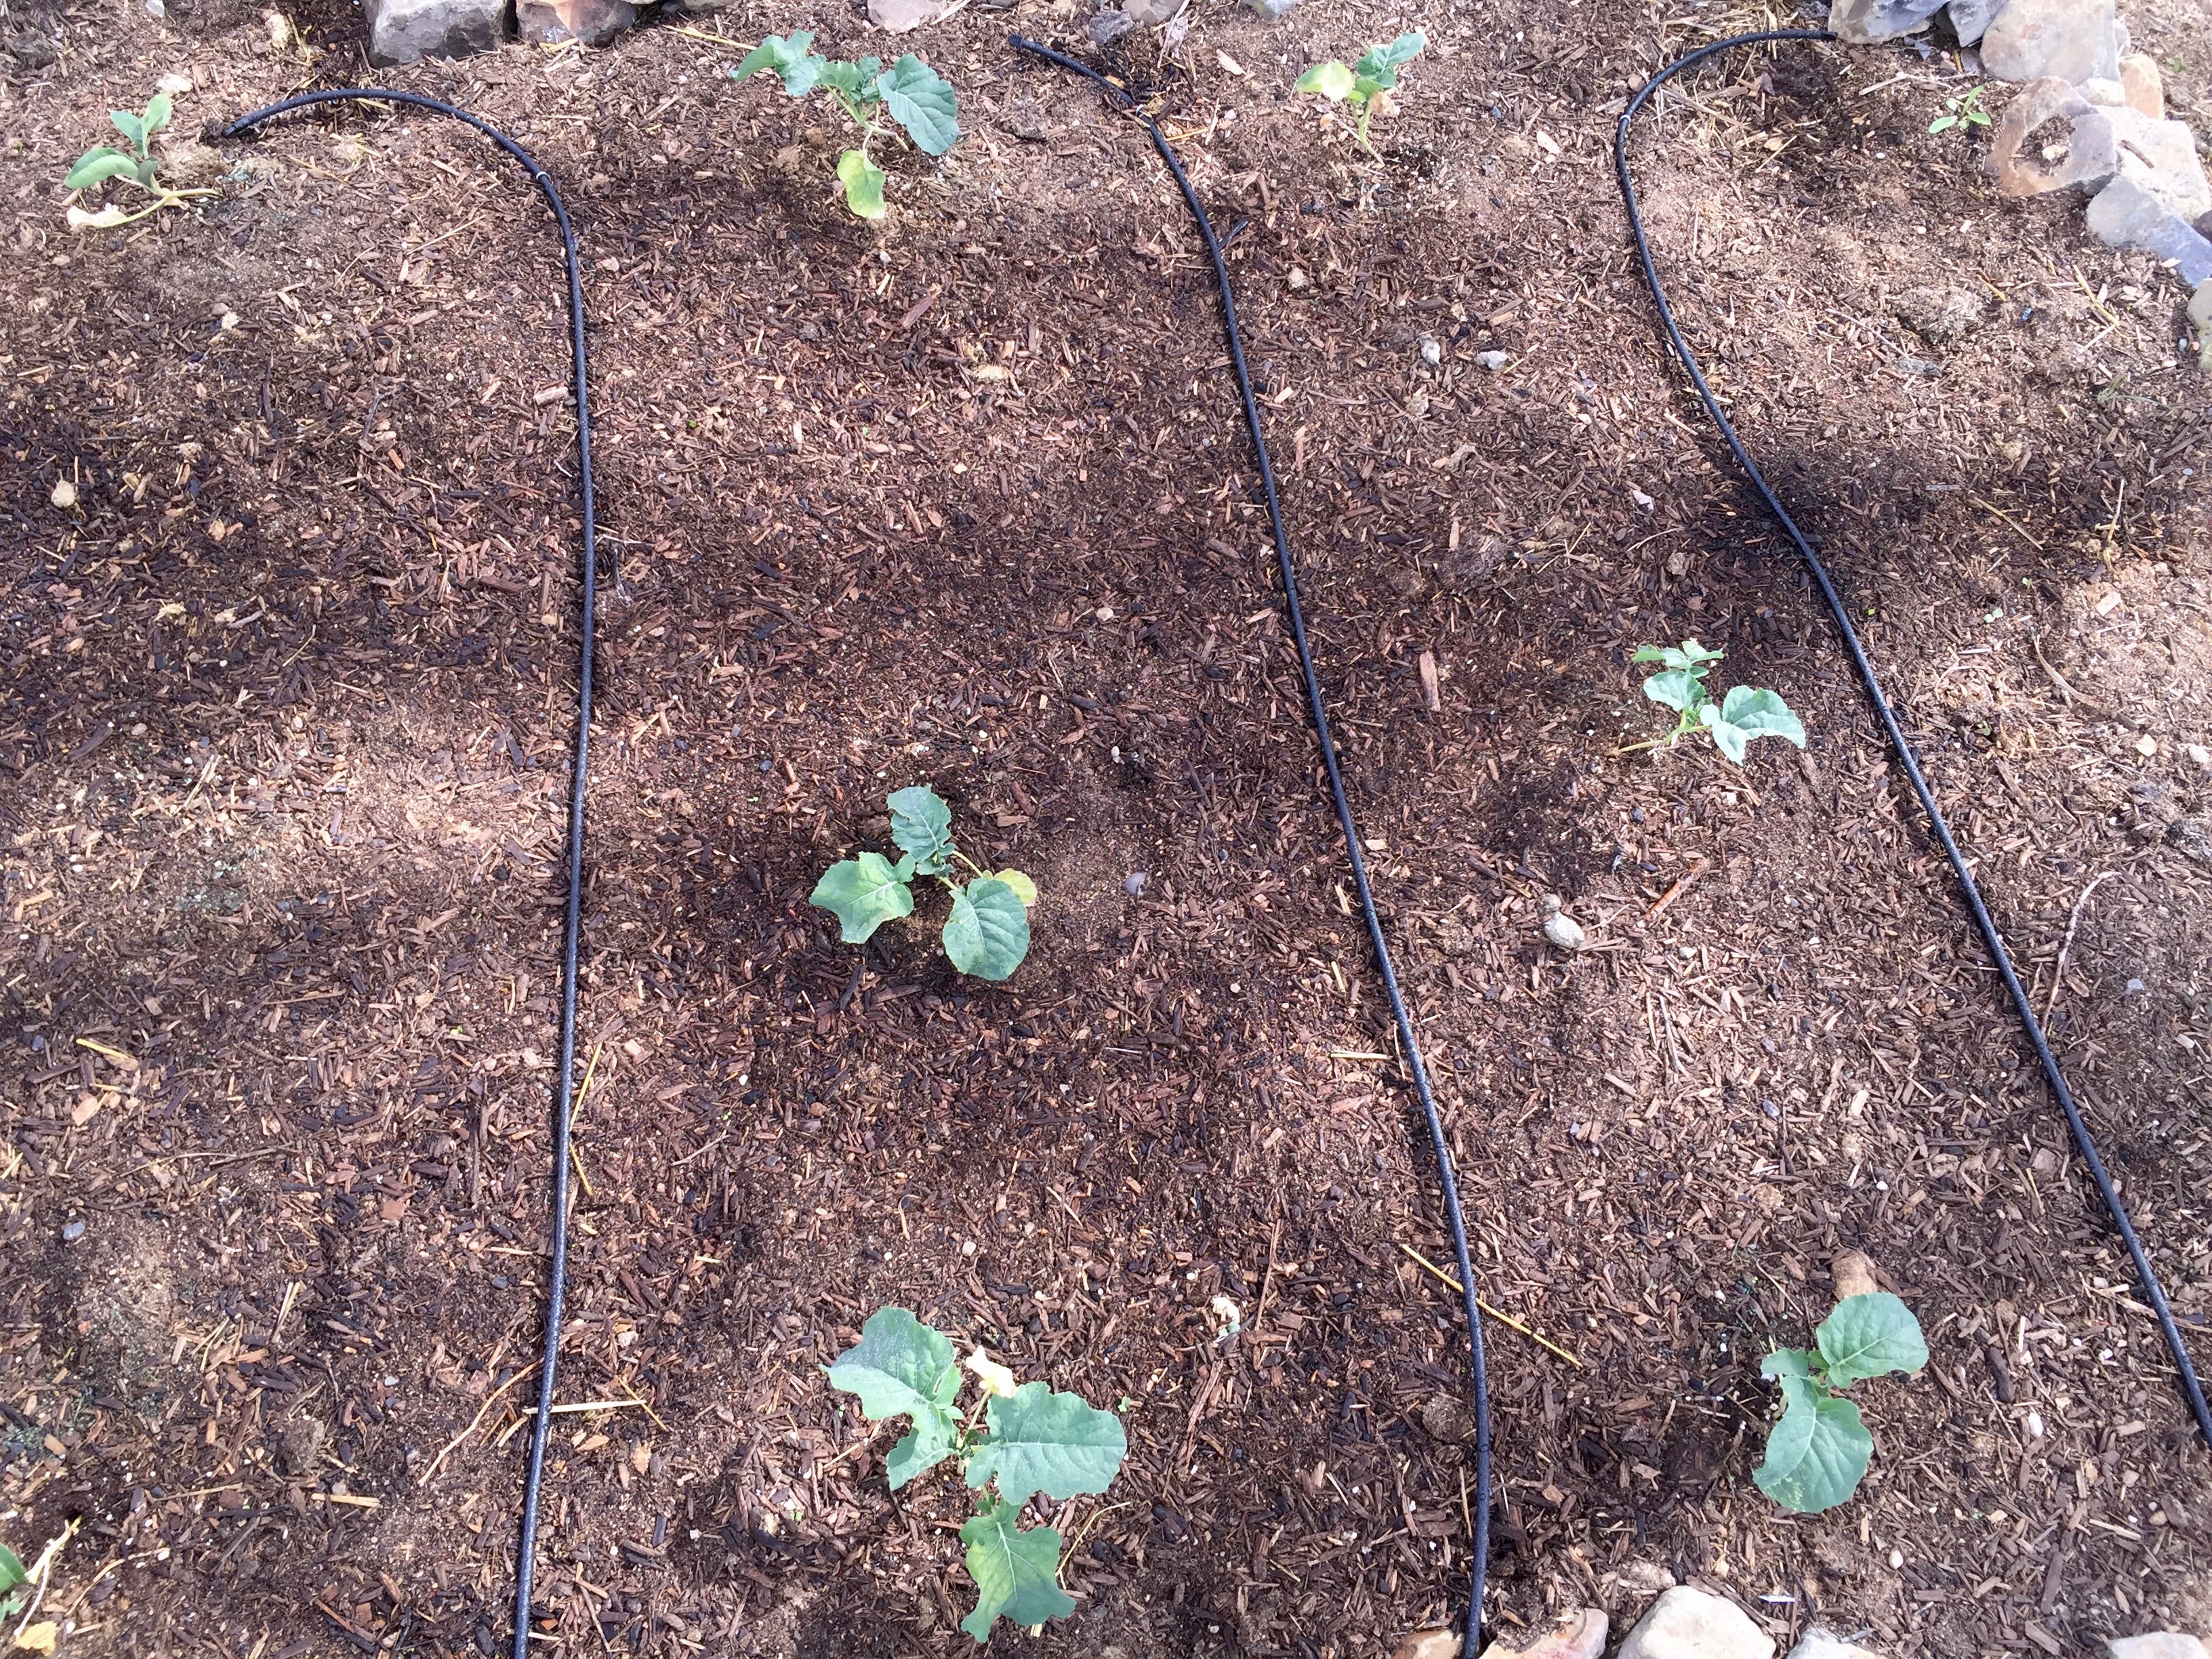
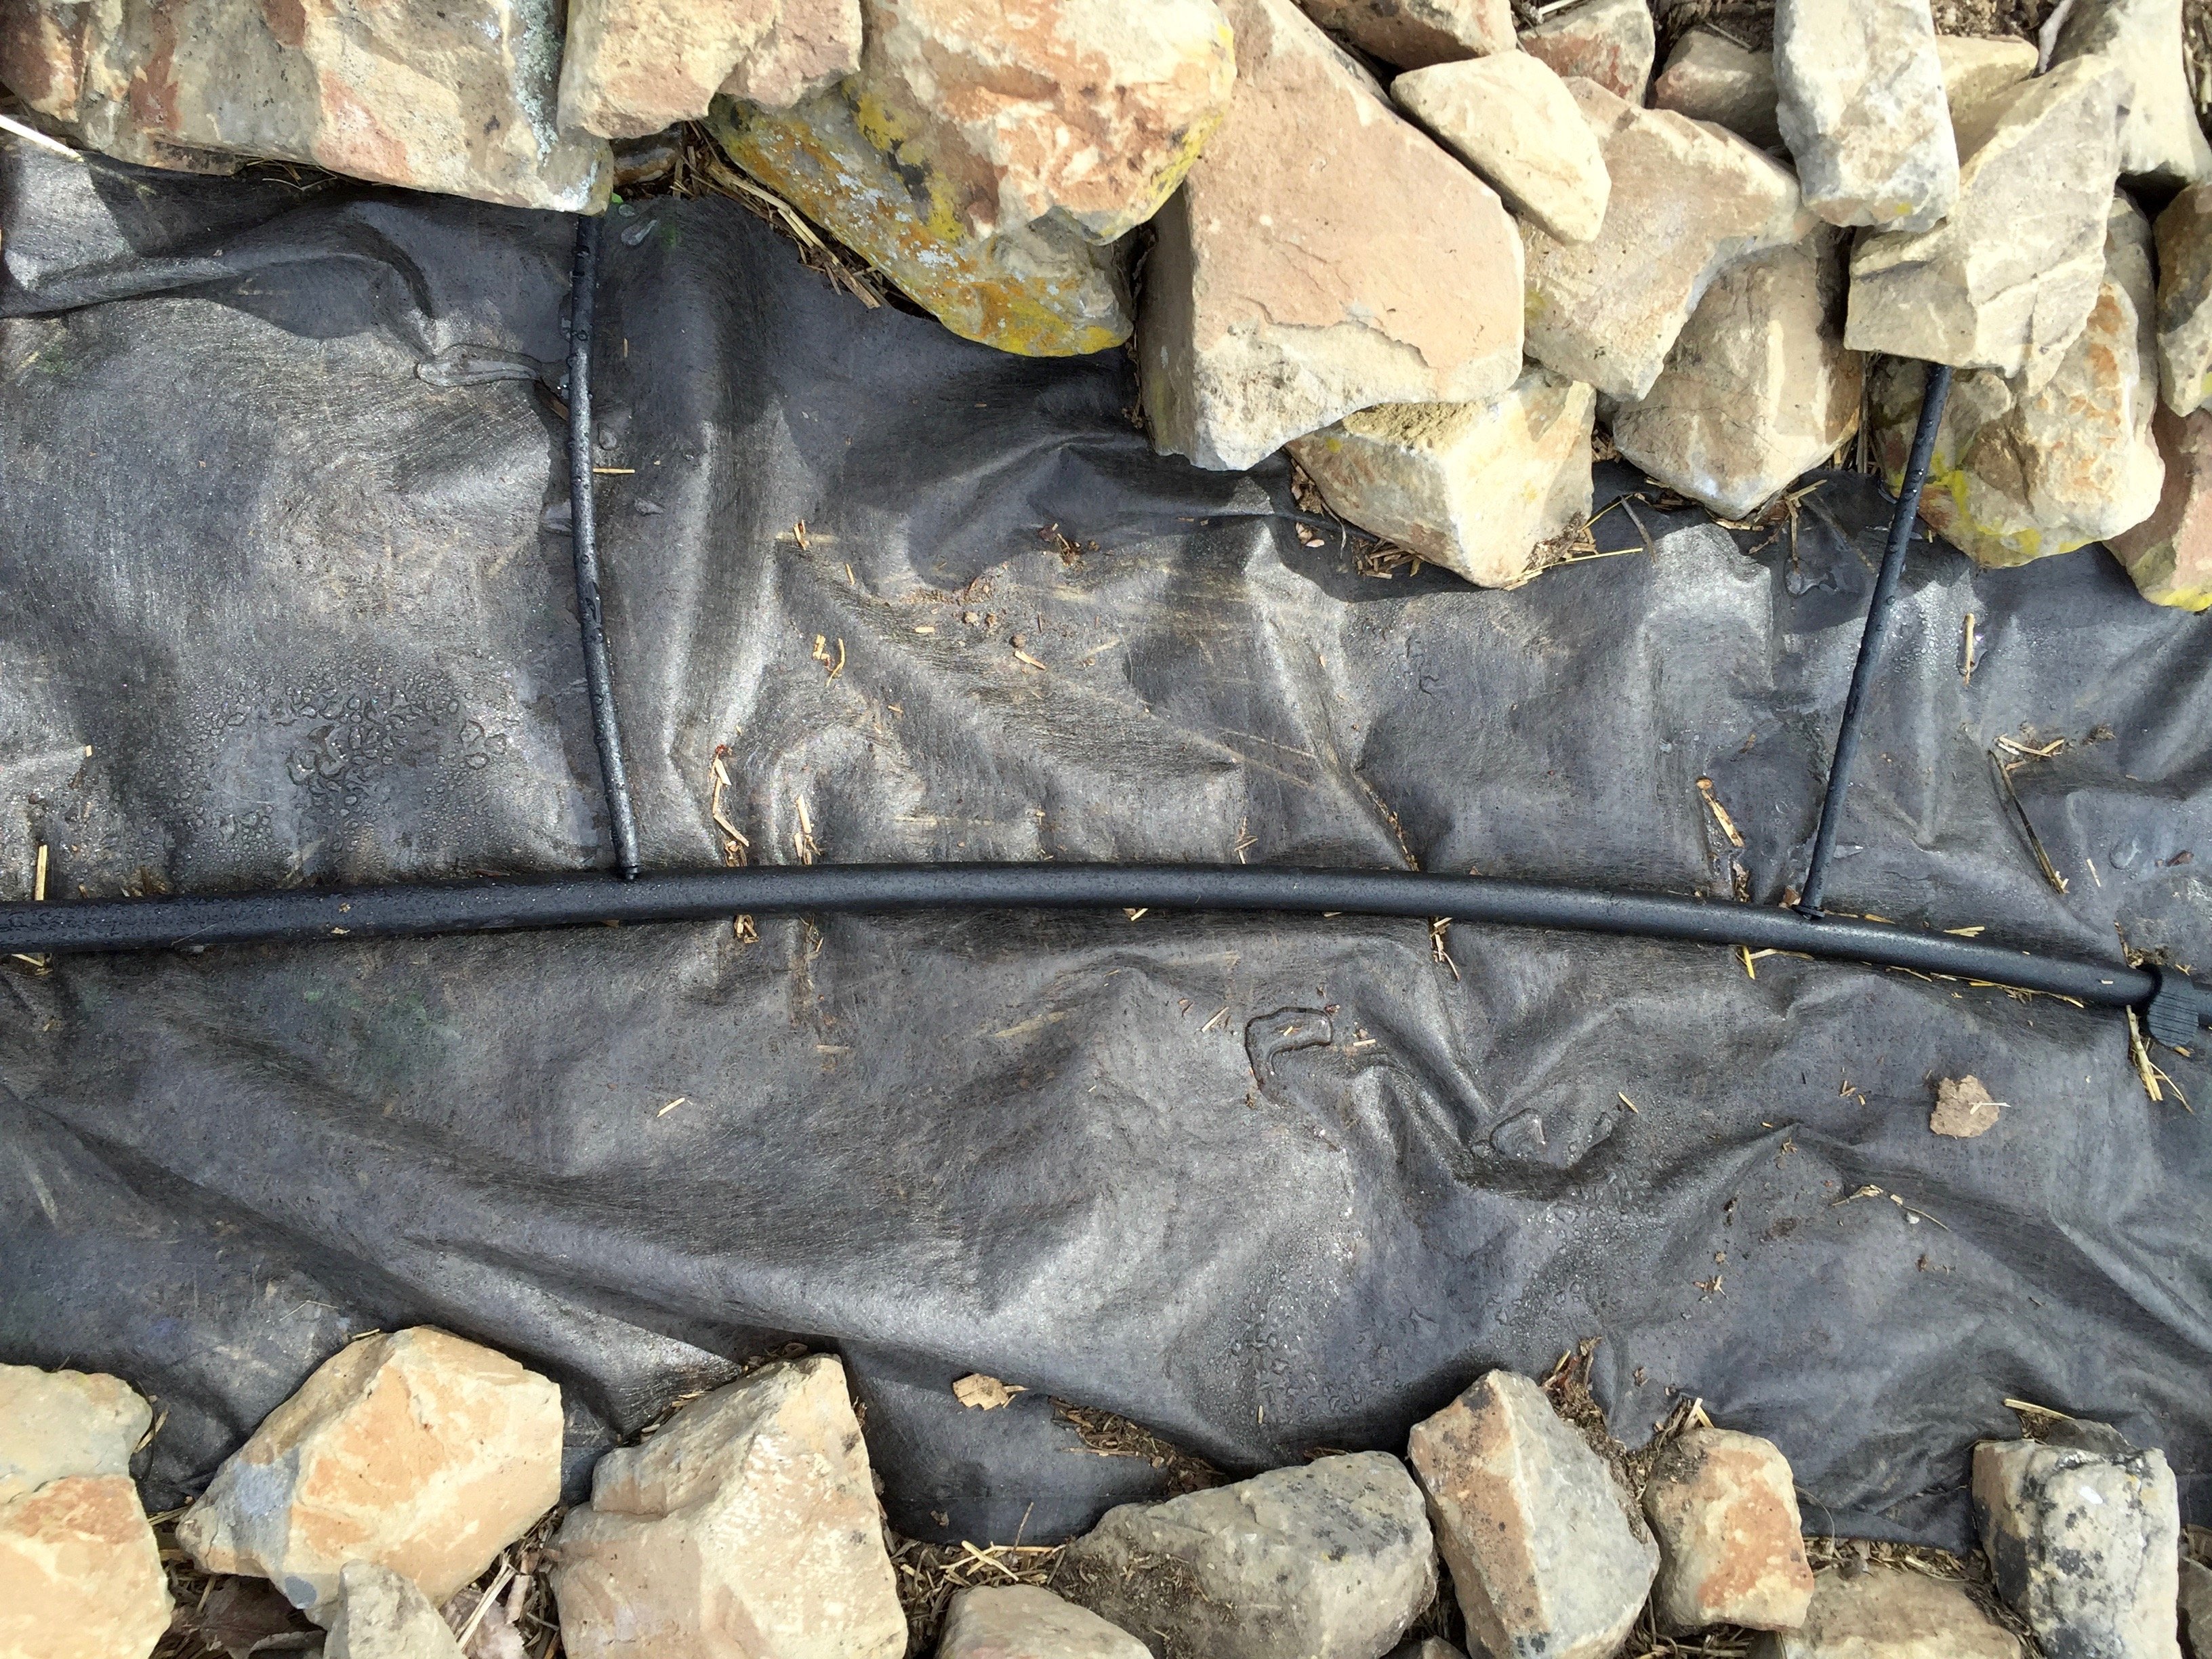
I ran the lines in the middle of rows of plants and they definitely get wet enough to water the plants on either side effectively. Ok, now for what I would change. I ran individual lines and ended each one in the boxes. My thought process on this was that if I wound them through the box, the plant layout could change and I may not have enough hose for the plants in the box in the future. In retrospect, I think it would have been fine to just wind the hose through and only have one longer line per box. Oh well, live and learn.
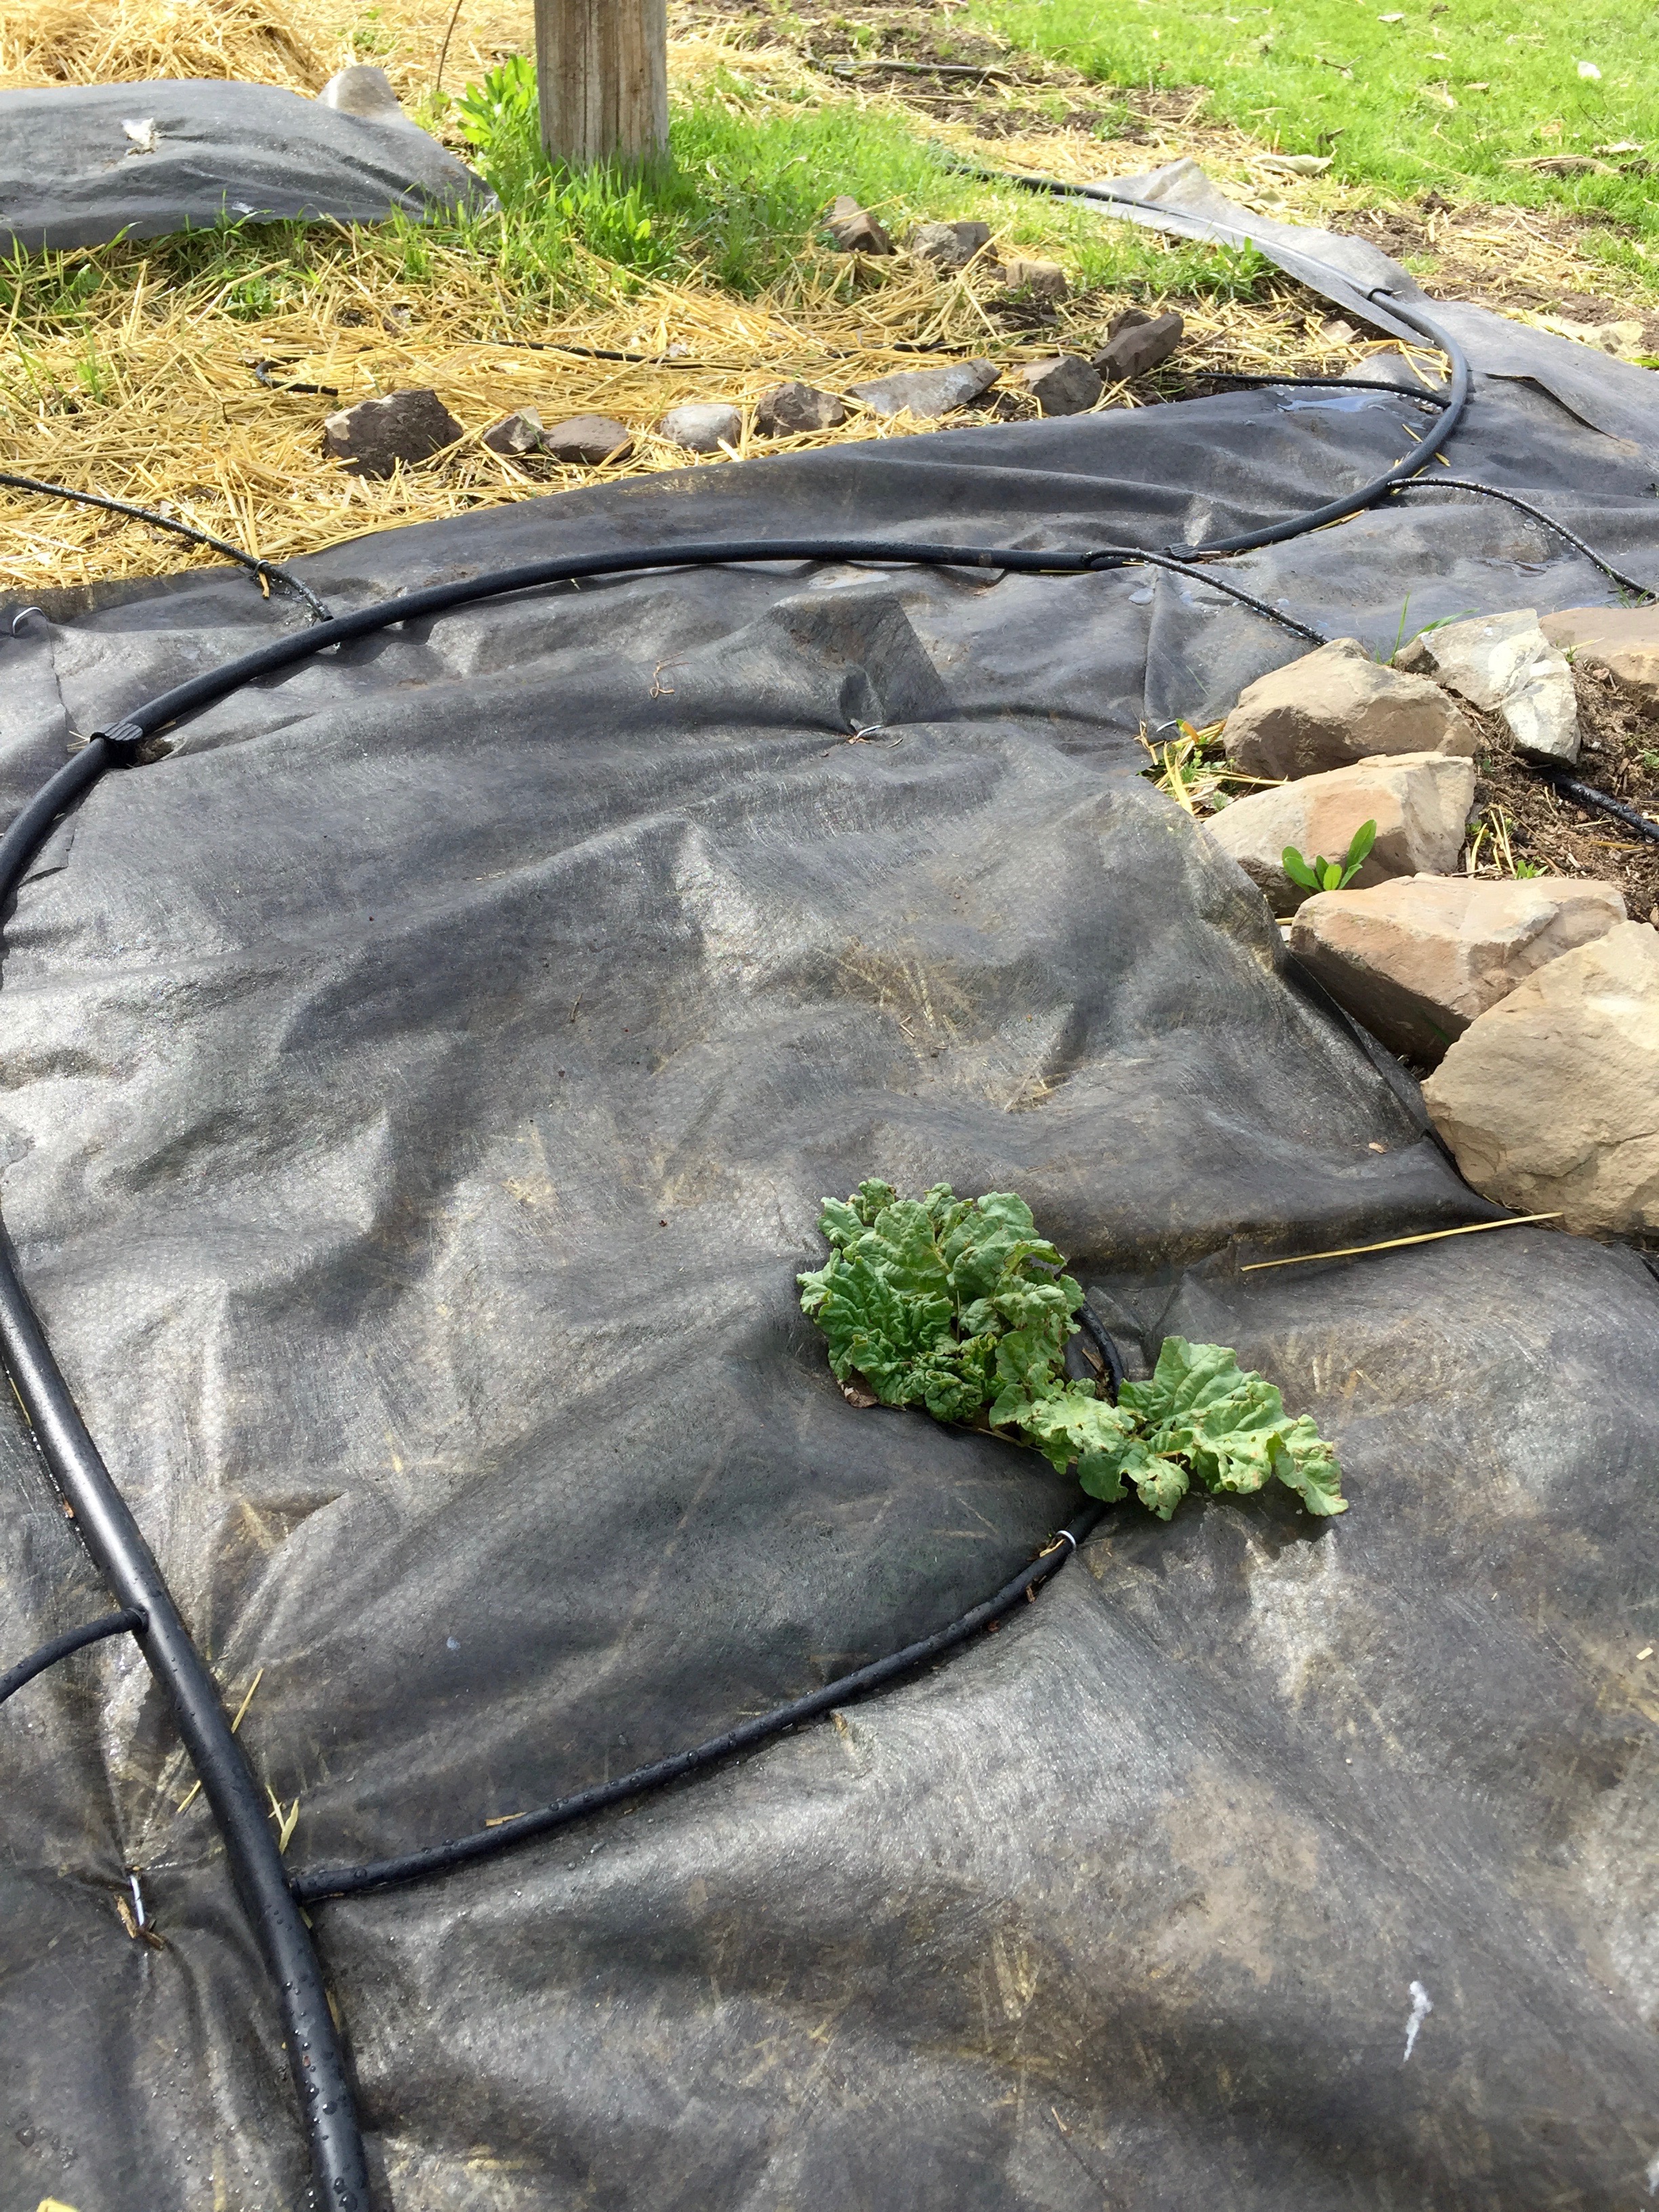
You can see how it all is working together here. I am in the process of putting down weed barrier between my boxes and we will be making some wood chips with all the trees we have to cut down this summer that I'll lay on top.
Do you need help just getting started with your garden? Well, it turns out we made a guide for that!! Check out our FREE Garden Starter Guide here!

In some areas, I did just wind the hose through, like my strawberry patch and my potatoes. Oh, and in the experimental onion plot {hey, I can't just not experiment with things, ok? It's the scientist in me!}. This provides great water coverage here as well and I'll be covering up these areas with more straw once the plants are a little larger to help with evaporation and weeds. My chickens also escaped {wings are getting clipped!!} and dug around the strawberries, which is why this looks like such a mess! Luckily they only lost/ate one little plant. They can literally decimate a garden in minutes.
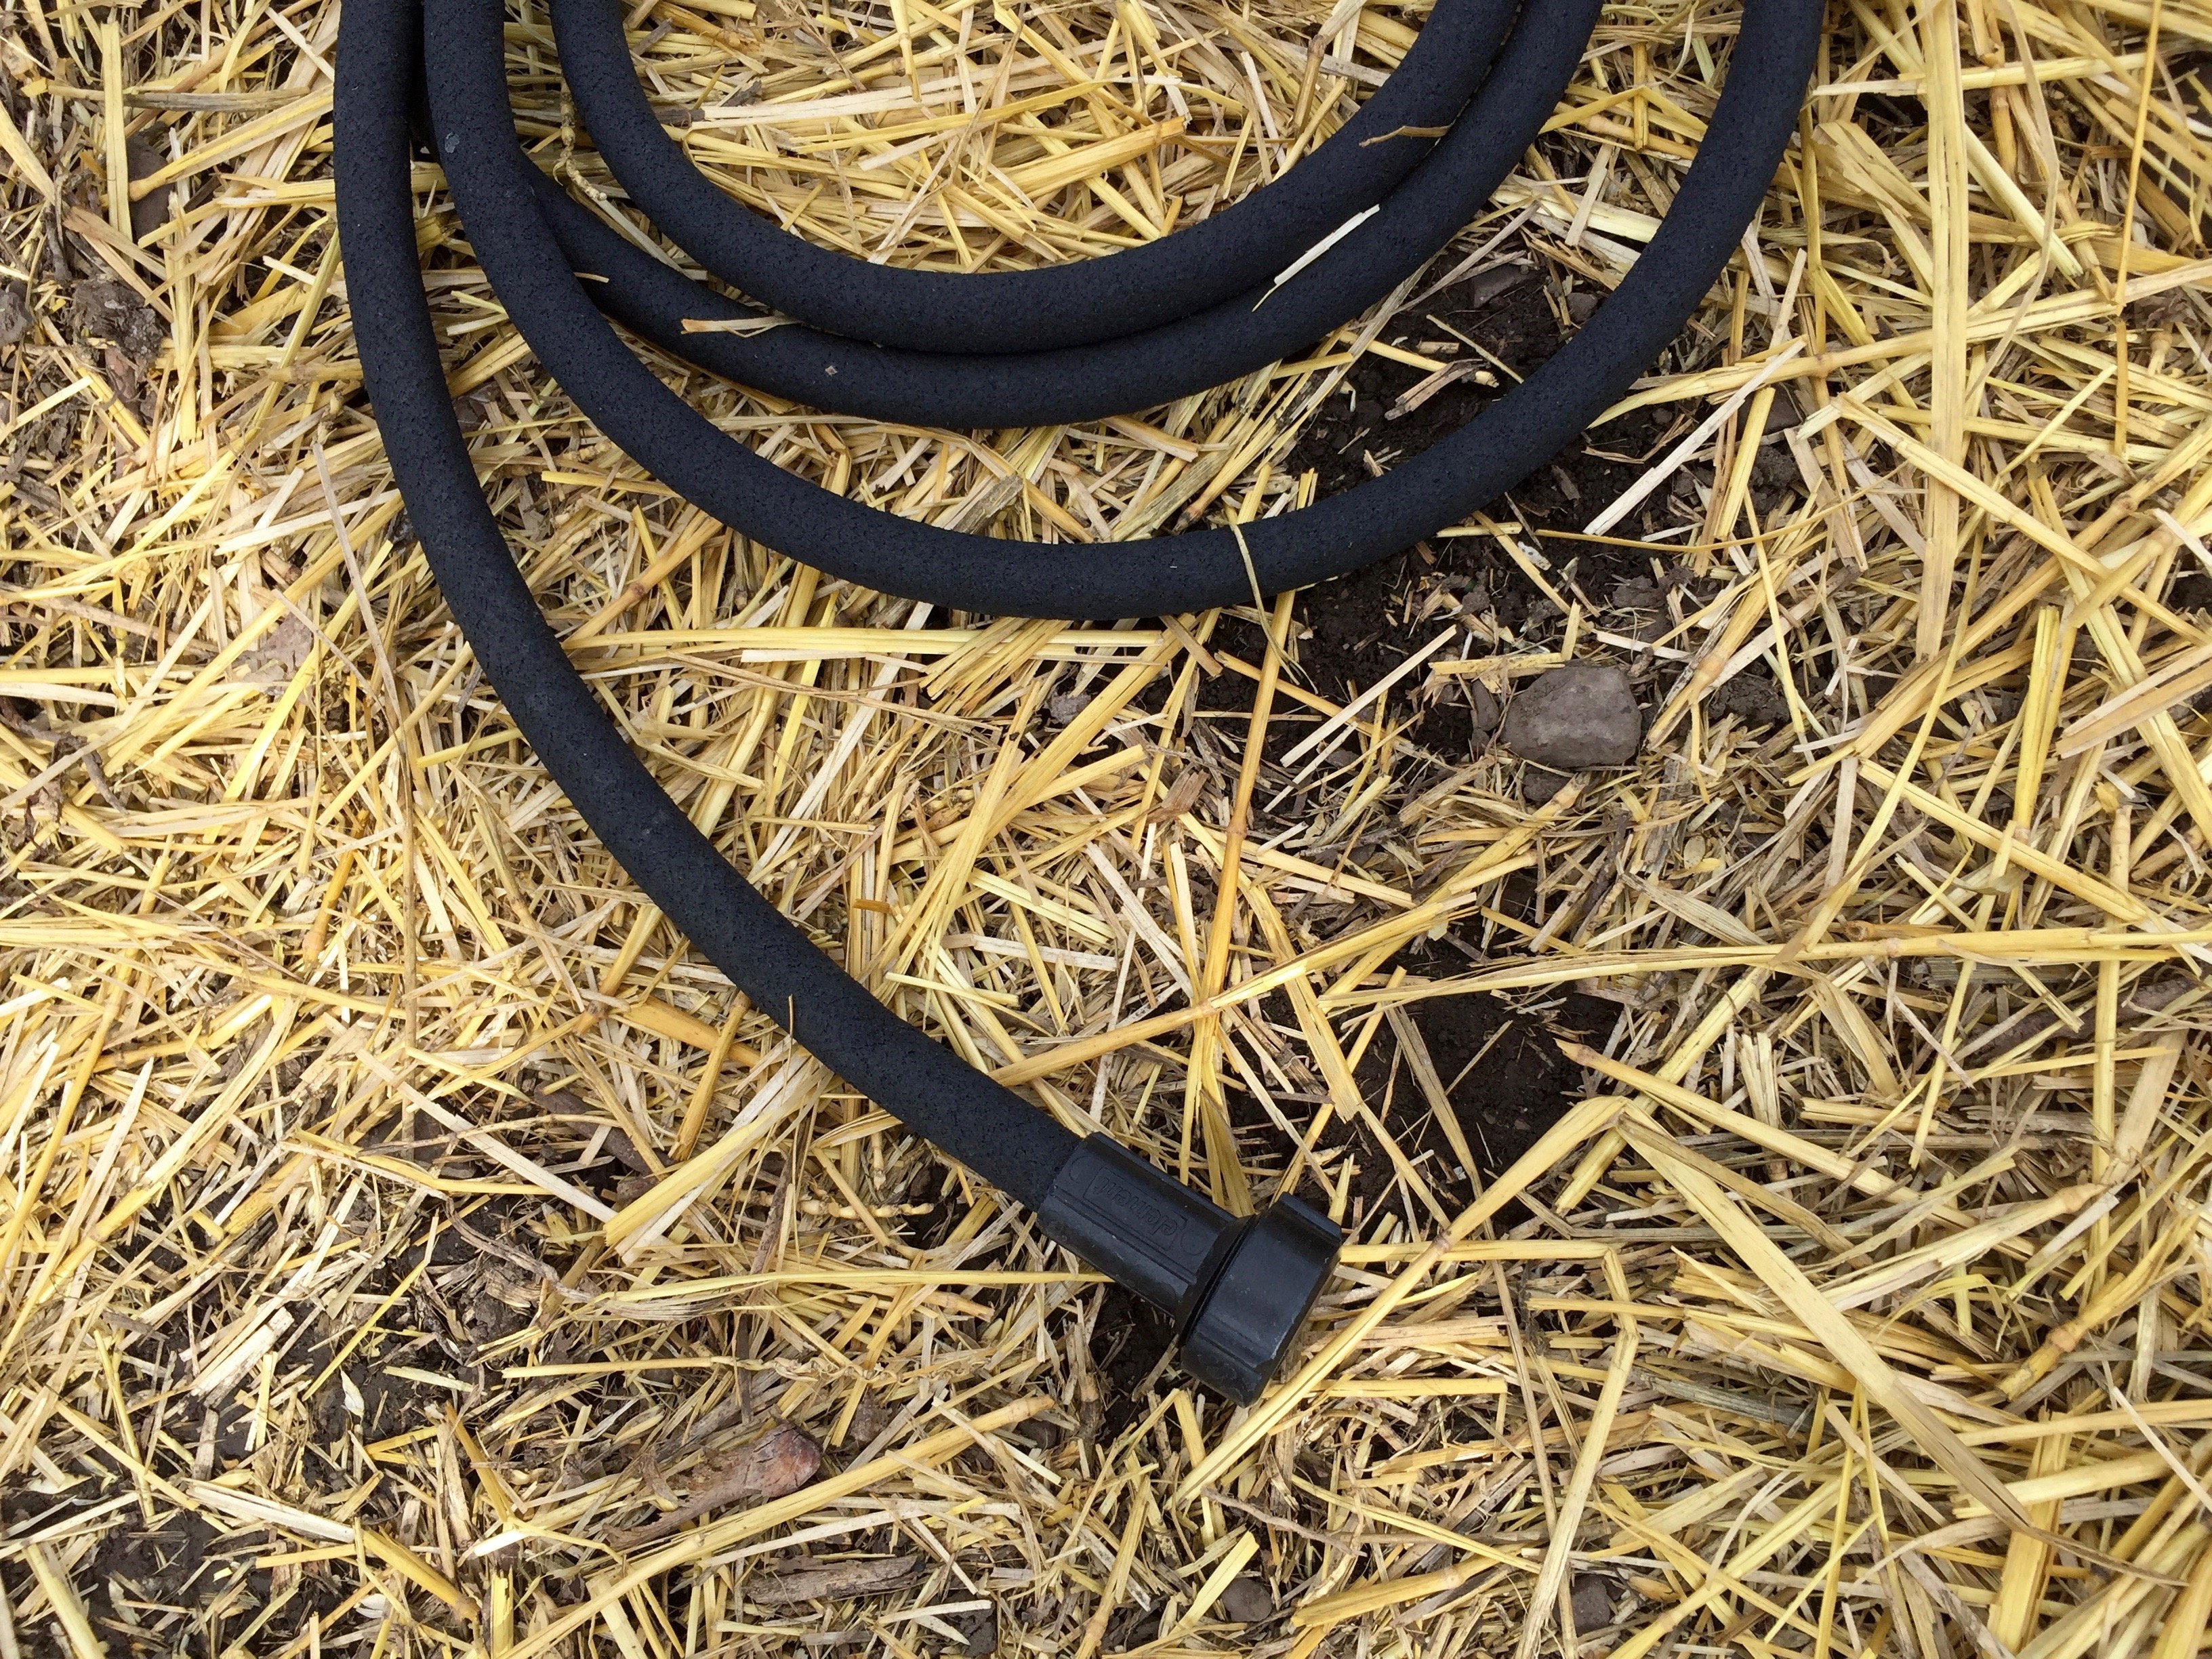
In my ground garden, I have these longer ½ inch soaker hoses. I actually don't have this connected to a pressure reducer or the other irrigation system at all. I have a hose splitter on my outside faucet and one short hose that goes to the box irrigation and one longer hose that goes to the main garden irritation. With these larger soaker hoses, one end connects to your hose and the other end has a screw on plug that you can just remove and attach to another soaker hose if needed. These will be going through my ground garden area, which only has carrot and beet and parsnip seeds planted in it right now so it's boring to look at. These are expensive, $17 for 75 feet, but they do have a 7 year warranty so I'm hopeful they will last for a long time.
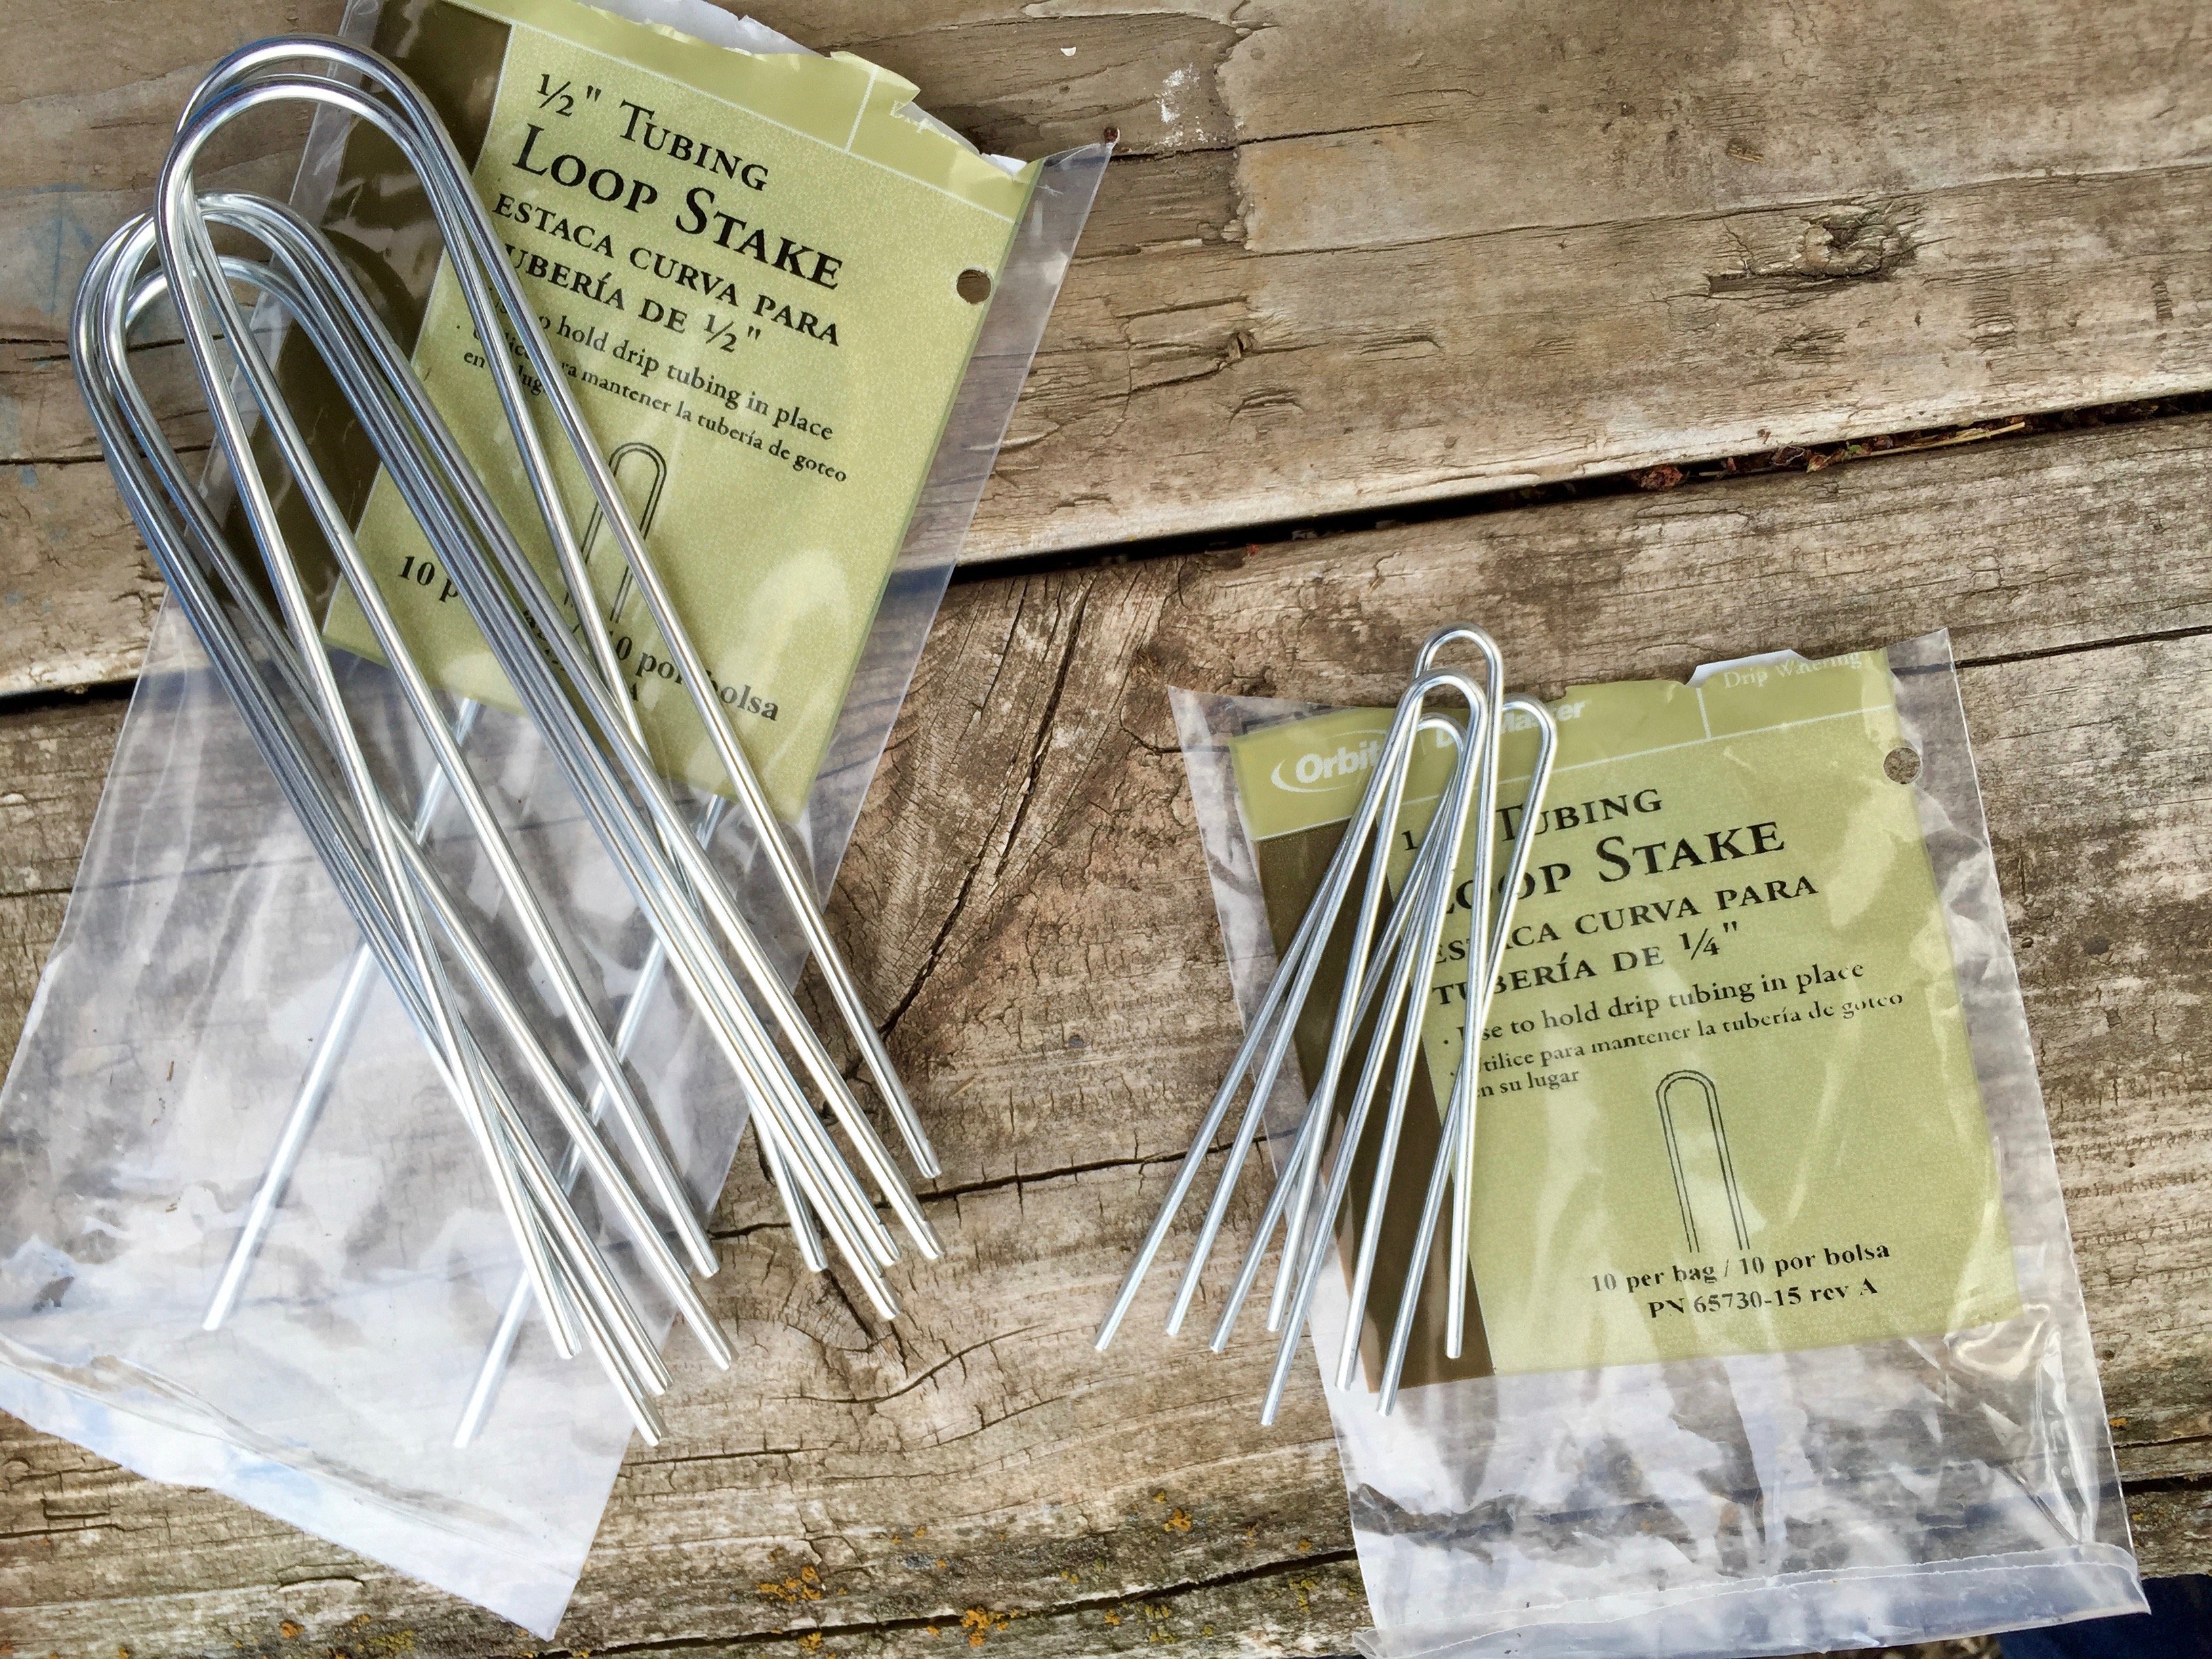
I didn't have these little babies at first and boy do you need them! I used the smaller ones for the ¼ inch soaker hose in the boxes and the larger ones for the ½ inch soaker hose in my ground garden {remember I used the heavy duty stakes for my main line}. The soaker hose can be stiff and want to curl back when you first install it so these were a must for smooth installation. They also keep it from being moved around by rouge birds and cats who like to hunt in the garden area. Oh, and currently ram lamb that has no boundaries. Ha!
Hopefully this was helpful! I'll be posting garden updates all summer as well as any updates I make to the irrigation systems. I'm excited to see how this system works for me this year! Overall, I have spent about $150 so far. However, I still have to purchase at least 4 more large soaker hoses ($17) to finish up my ground garden area. Keep in mind though, my garden is on the large side. It's about 55 feet long by 20 feet wide {1,100 square feet}. I'm also hoping this will be an investment that lasts!
Pin this farm tip on your Gardening board to SAVE it for later! Follow Longbourn Farm on Pinterest for more great tips, ideas, and tutorials!
[et_bloom_inline optin_id="optin_4"]


Leave a Reply