

This dreamy No Bake Strawberry Cheesecake combines creamy texture with fresh berries and an Oreo cookie crust for a show-stopping dessert without turning on your oven. Perfect for summer gatherings or any occasion when you crave something sweet yet refreshing!

WANT TO SAVE THIS RECIPE?
Enter your email below and we'll send it straight to your inbox. Plus you’ll get great new recipes from us every week!
🍓 You can prepare this cheesecake up to 24 hours in advance, making it perfect for entertaining or planning ahead for special occasions.!
My 2 Best Tips For This No Bake Strawberry Cheesecake Recipe
- Room Temperature Cream Cheese: Using cream cheese at room temperature ensures it will blend smoothly without lumps. Take it out of the refrigerator at least 1-2 hours before starting your recipe.
- Perfectly Whipped Filling: The filling should be light and fluffy with medium peaks forming when you lift your beater or whisk. This means the peaks will stand up but the tips will curl over slightly. Be careful not to over-whip, as this can make the filling too stiff and difficult to spread.

No-bake cheesecakes are easy to make, requiring minimal ingredients and no need for baking. This makes them perfect for beginner bakers or anyone short on time.
The absence of baking results in a rich, creamy texture that many find more appealing than traditional baked cheesecakes. Just like traditional cheesecakes, no-bake cheesecakes can be customized with various flavors, toppings, and crusts, making them a great dessert option for any occasion.
With minimal effort and no oven required, it’s the perfect treat for warm days or whenever you crave something light and refreshing. Serve it at a picnic or a simple weeknight dessert, this no-bake cheesecake is sure to be a hit!
🩷 Melissa
WANT TO SAVE THIS RECIPE?
Enter your email below and we will send it straight to your inbox. Plus you will get great new recipes from us every week!

No Bake Strawberry Cheesecake With Oreo Crust
Equipment
Ingredients
- 25 Oreo cookies
- 2 tablespoons butter (melted)
- 16 ounces cream cheese (2 packs, room temperature)
- 1 ¼ cups powdered sugar
- ½ cup greek yogurt (see note)
- 2 teaspoons vanilla extract
- ¼ teaspoon almond extract
- 3 teaspoons lemon juice (fresh squeezed, about ½ a lemon)
- 1 cup heavy whipping cream
- 1 ½ cups fresh strawberries (sliced, amount can be altered to your taste)
Instructions
For the Crust:
- Crush Oreos in a bag with a rolling pin or in a food processor until they are medium and fine crumbs.

- Add melted butter and stir until combined.
- Press into the bottom and slightly up the sides of a standard size pie plate or springform pan.

- Refrigerate until ready to fill.


For the Cheesecake Filling:
- In a large bowl, beat or whisk the cream cheese until smooth.
- Add the powdered sugar and beat or whisk until smooth.
- Add the greek yogurt, lemon juice, vanilla extract, and almond extract. Beat or whisk until smooth.
- Add the cream and whisk or beat on high until light and fluffy and medium peaks form about 2 minutes.


For Assembly:
- Pour the prepared filling into the prepared crust. Smooth out.
- Place sliced strawberries on top in a circular design or however you desire.
- Refrigerate for at least 1 hour, up to overnight (see note).


Notes
- Use ripe, sweet strawberries for the best flavor.
- For an extra burst of strawberry flavor, toss your sliced strawberries with a tablespoon of sugar and let them sit for 30 minutes before topping the cheesecake. This draws out the juices and intensifies the flavor.
- It will keep in the fridge (covered) for up to a week, but after a few days, the strawberries start to bleed red onto the filling and dry out slightly. If you're planning to store it for several days, I suggest storing it without the berries and adding them when ready to serve.
- While you can chill this cheesecake for as little as an hour before serving, it's best with at least 4 hours of chill time before cutting.
- The longer the cheesecake is refrigerated before slicing, the crisper the sliced edges and crust will be.
- If you're using a springform pan, remember to carefully run a knife around the edges of the pan before removing it.
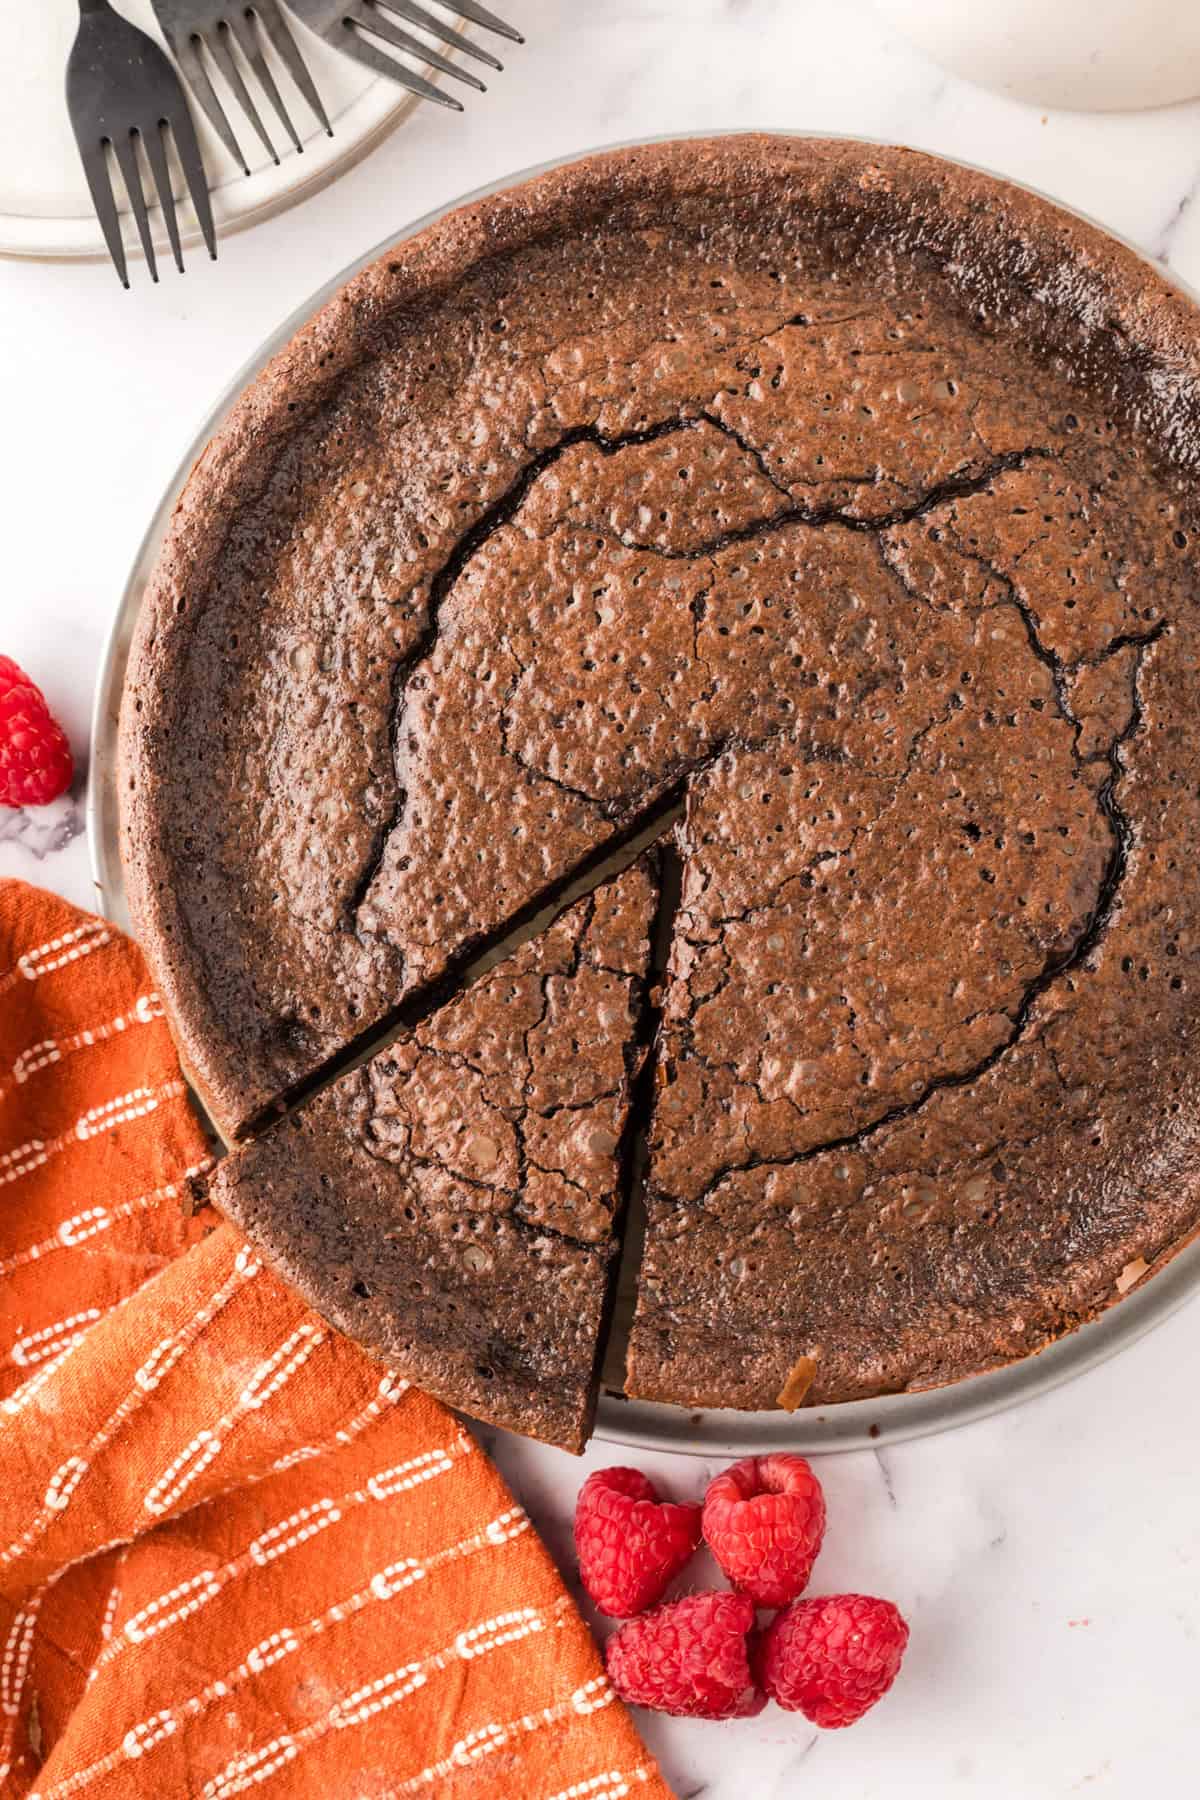
- For picture-perfect slices, dip your knife in hot water and wipe it clean between each cut. This prevents the filling from sticking to the knife and creates beautiful, clean edges.
- Slicing will be much easier and will make cleaner cuts if the cheesecake has chilled for 24 hours.
Nutrition
Recipe FAQs
Use heavy whipping cream and beat it to stiff peaks. Chilling the cheesecake for several hours (or overnight) helps it set properly. If you plan to serve this cheesecake in an outdoor setting, you can add 1 tablespoon of gelatin bloomed in 3 tablespoons of water to the filling for extra stability.
Use full-fat cream cheese for the best texture and flavor. Make sure it’s softened at room temperature for easy mixing.
This cheesecake will keep well in the refrigerator for up to a week when properly covered. However, the strawberries will begin to release moisture and lose their fresh appearance after 2-3 days, so it's best enjoyed within the first few days of preparation.
Yes, you can freeze this cheesecake for up to 3 months. For best results, freeze it without the strawberry topping, as fresh strawberries don't freeze well. Wrap the cheesecake tightly in plastic wrap and then aluminum foil. Thaw overnight in the refrigerator and add fresh strawberries before serving.
More Favorites From Longbourn Farm

Did you make this recipe? Leave a ⭐️ review and share it on Instagram, Facebook, or Pinterest!


Donna Smith
I made this and it would not thicken! I followed directions and the cream mixture was blended thoroughly through each step. I continued to mix it after adding the heavy cream but it would not thicken. After 15 minutes of blending, I tried adding cream of tartar. Did not work. It was a soupy mess.
Alli
Hi Donna, I'm sorry for your frustration! I've made this recipe many times and have never had that issue. Even if the whipping cream doesn't firm up (which it should if it is in fact heavy whipping cream) the mixture won't be soupy because of the proportion of cream cheese, powdered sugar, and greek yogurt. All of those combined would not become soupy with the addition of 1 cup of whipping cream. Did you add the exact amounts of the other ingredients and use the ingredients asked for?
Monica
I made this Beautiful delightful Cheesecake. I had guests over and it was perfect finish to a great evening. I had strawberry Oreos left over and used it for the base and the filling was lovely and light and not heavy at all. It was a hit with everyone. My hubby was very happy too. Definitely recipe to keep.
Alli
I'm so glad to hear you liked this recipe Monica! Thank you for letting me know.
Alli
DELICIOUS!