
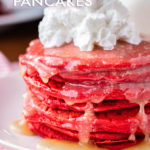

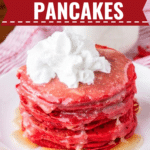
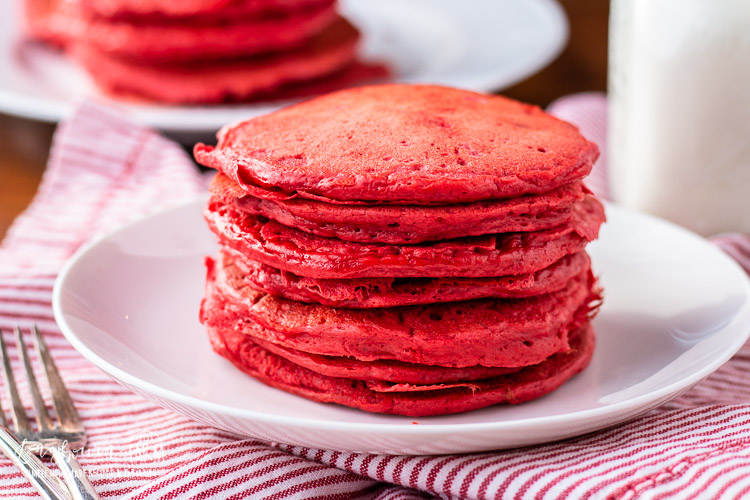
Make fluffy Red Velvet Pancakes with cocoa and buttermilk, topped with sweet cream cheese glaze. Perfect for Valentine's Day breakfast or any special morning!
WANT TO SAVE THIS RECIPE?
Enter your email below and we'll send it straight to your inbox. Plus you’ll get great new recipes from us every week!
Quick Recipe Overview
WHAT: Tender, cocoa-flavored pancakes with a hint of tang from buttermilk, colored a stunning red and topped with cream cheese glaze.
WHY: They turn a simple breakfast into something special—festive, impressive, and surprisingly easy to make with everyday ingredients.
HOW: Whisk dry ingredients, add wet ingredients until just combined, cook on a griddle, and top with homemade cream cheese icing.
Jump to:
- Quick Recipe Overview
- Why I Love Making Red Velvet Pancakes
- Ingredient Notes
- Simple Homemade Red Velvet Pancakes Perfect for Valentine's Day
- How To Make Red Velvet Pancakes
- FAQs for Red Velvet Pancakes
- My Best Tips for Making Red Velvet Pancakes
- What to Serve With Red Velvet Pancakes
- Storage & Reheating Tips
- Similar Recipes to Try
- More Favorites From Longbourn Farm
Why I Love Making Red Velvet Pancakes
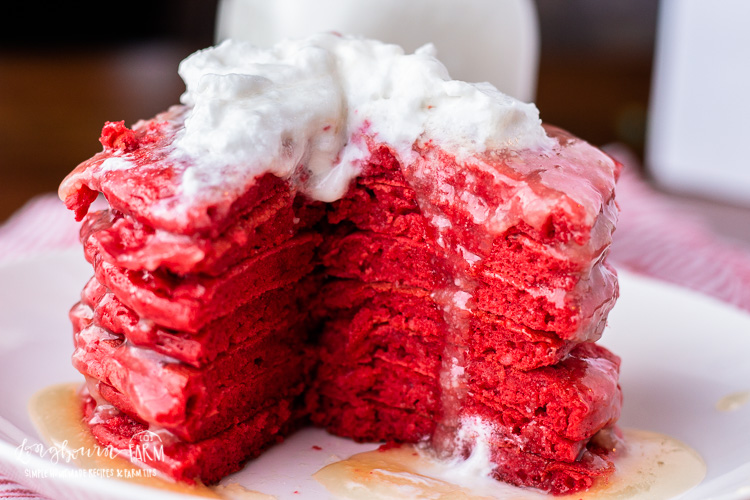
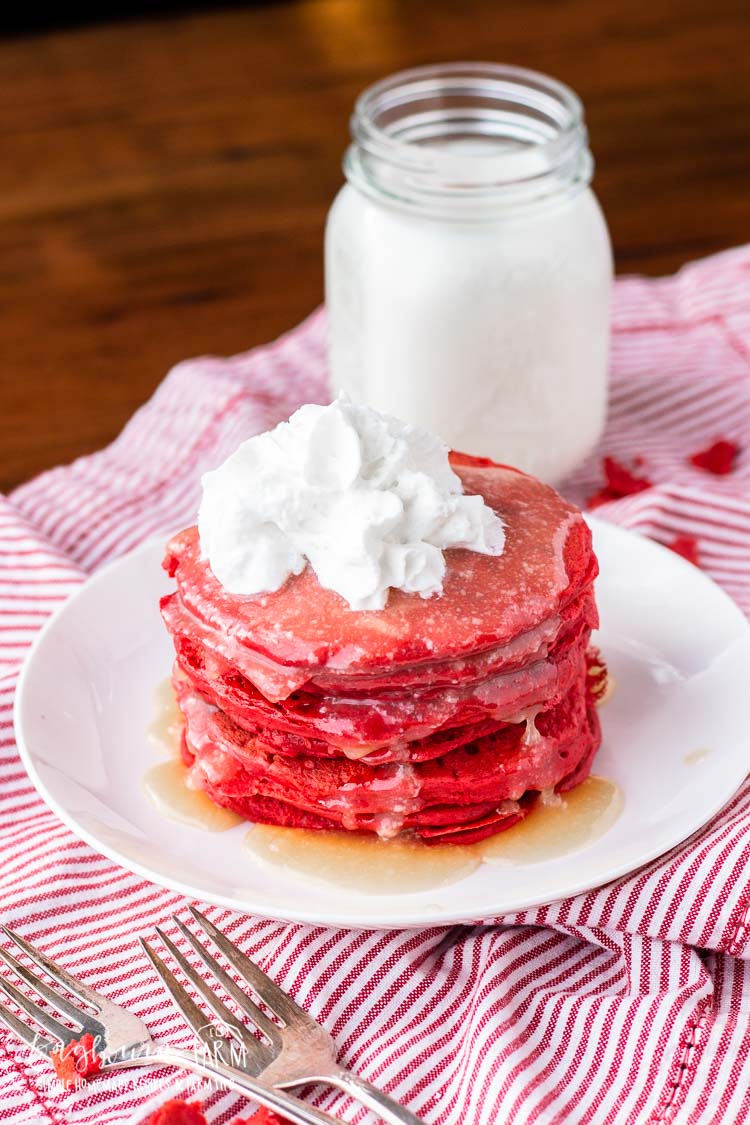
These pancakes hold a special place in my breakfast rotation, especially around Valentine's Day and Christmas morning. There's something about that vibrant red color paired with fluffy, tender texture that makes everyone at the table smile.celebration.
The recipe itself is wonderfully forgiving—you don't need any fancy ingredients or special equipment. Just your regular pancake mix essentials with the addition of cocoa powder and red food coloring. The buttermilk gives them that signature red velvet tang, while the cocoa adds depth without making them taste like chocolate pancakes.
Serve them for a romantic breakfast in bed, make them the star of a holiday brunch, or turn Tuesday morning into something memorable. The cream cheese glaze takes them over the top, but they're delicious with butter syrup or even plain maple syrup too.
🩷 Melissa
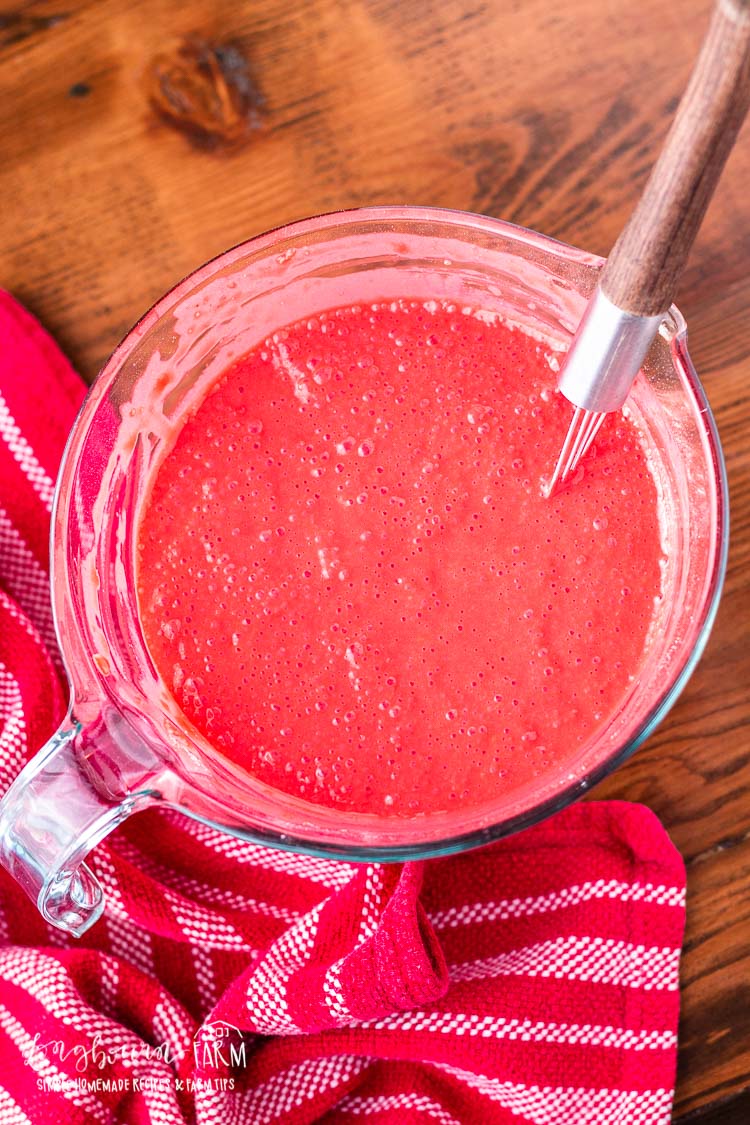
To make the pancakes red, use red food coloring. When you mix up the batter, it will look more pink than red. Don't stress, the color will darken as the pancakes cook. In order to get an even color throughout the pancakes and on the outsides, cook them low and slow!
If you try to crank up the heat to medium-high heat, you'll get brown on the outside, which is beautiful and delicious on traditional pancakes but the idea here is to maintain that nice red color on the tops.
Adding the cocoa powder also contributes to the classic red velvet color.
Ingredient Notes
Buttermilk: This is crucial for authentic red velvet flavor. The tanginess balances the sweetness and reacts with the baking soda for extra lift. Don't substitute regular milk without adding acid (see FAQ above).
Red Food Coloring: Liquid works perfectly fine for this recipe. You'll need a full 2 tablespoons for that vibrant red color. If you're concerned about artificial colors, natural alternatives like beet powder can be used, though the color will be more muted.
Cocoa Powder: Use unsweetened cocoa powder, either Dutch-processed or natural. You only need 1 teaspoon—just enough for that subtle chocolate note without overpowering the other flavors.
Vinegar: Just 1 teaspoon helps activate the baking soda and adds to the tanginess. White vinegar or apple cider vinegar both work well.
Vanilla Extract (optional): Add 1 teaspoon vanilla extract to enhance the flavor depth and complement the cream cheese glaze.
For the exact amounts needed, please see the recipe card below.
WANT TO SAVE THIS RECIPE?
Enter your email below and we will send it straight to your inbox. Plus you will get great new recipes from us every week!

Simple Homemade Red Velvet Pancakes Perfect for Valentine's Day
Equipment
Ingredients
- 2 cups all-purpose flour
- 1 teaspoon cocoa powder
- 2 tablespoons sugar
- 2 teaspoons baking powder
- ½ teaspoon baking soda
- ½ teaspoon salt
- 2 cups buttermilk (see note)
- 1 egg (large)
- 3 tablespoons butter (melted)
- 1 teaspoon vinegar
- 2 tablespoons red food coloring
Instructions
- Whisk together dry ingredients.2 cups all-purpose flour, 1 teaspoon cocoa powder, 2 tablespoons sugar, 2 teaspoons baking powder, ½ teaspoon baking soda, ½ teaspoon salt
- Create a well in the dry ingredients and whisk in the wet ingredients until just combined. The batter may be lumpy and that is ok.2 cups buttermilk, 1 egg, 3 tablespoons butter, 1 teaspoon vinegar, 2 tablespoons red food coloring
- Heat a griddle on medium low.
- Brush griddle with butter or lightly spray with cooking spray.
- Pour about ⅓-cup portions onto the griddle, or make the pancakes any size you choose.
- When the edges are set and the bubbles in the center don't fill quickly, flip the pancake. Cook for 1-2 minutes on the next side until cooked through.
Notes
- These are sweeter than regular pancakes: Thanks to the sugar and cream cheese glaze, so they pair wonderfully with savory sides like bacon or sausage to balance the meal.
- Your first pancake is always a test: Use it to adjust your heat. If it burns quickly, lower the temperature; if it takes forever to cook, turn it up slightly.
- The color intensifies as they cook: Don't worry if the batter looks brighter than the finished pancakes. The red deepens and mellows during cooking.
- Let the butter cool slightly before adding to the batter: If it's too hot, it can cook the egg and create lumps you don't want.
Nutrition
How To Make Red Velvet Pancakes

- Step 1: In a large mixing bowl, whisk together 2 cups all-purpose flour, 1 teaspoon cocoa powder, 2 tablespoon sugar, 2 teaspoons baking powder, ½ teaspoon baking soda, and ½ teaspoon salt. Whisking ensures everything is evenly distributed.
- Step 2: Create a well in the center of your dry ingredients. Add 2 cups buttermilk, 1 large egg, 3 tablespoons melted butter, 1 teaspoon vinegar, and 2 tablespoons red food coloring. Whisk together until just combined—the batter should be lumpy, not smooth.
- Step 3: Preheat a griddle or large pan over medium-low heat. Test the temperature by sprinkling a few drops of water on the surface—they should sizzle gently. Brush with butter or spray lightly with cooking spray.
- Step 4: Pour about ⅓ cup batter onto the hot griddle for each pancake. Cook until you see bubbles forming on the surface and the edges look set and dry, about 2-3 minutes. The bubbles in the center should pop and not fill back in.
- Step 5: Use a spatula to flip each pancake gently. Cook on the second side for 1-2 minutes until cooked through. The second side cooks faster than the first, so watch carefully to avoid burning.
- Step 6: Stack the pancakes on plates and top with cream cheese glaze, butter syrup, or your favorite pancake toppings. Serve immediately while hot and fluffy.
FAQs for Red Velvet Pancakes
Yes! If you don't have buttermilk, make your own by adding 2 tablespoons of white vinegar or lemon juice to 2 cups of regular milk. Let it sit for 5 minutes before using. This creates the same tangy flavor that's essential to authentic red velvet. The acid also reacts with the baking soda to create extra fluffy pancakes.
Either works! Liquid food coloring is more common and readily available. Gel food coloring is more concentrated, so you'll use less and it won't thin out your batter as much. If using gel, start with about 1-2 teaspoons instead of 2 tablespoons, then add more until you reach your desired shade.
How much red food coloring should I use?
The recipe calls for 2 tablespoons, which creates that classic vibrant red color. If you prefer a more subtle pink, start with 1 tablespoon. Gel food coloring is more concentrated, so you'll need less—start with 1-2 teaspoons and add more if needed. The color will look brighter in the batter than in the finished pancakes.
Red velvet pancakes have just a hint of cocoa—only 1 teaspoon compared to the chocolate-heavy amount in chocolate pancakes. This gives them a subtle cocoa flavor without being overpowering. The buttermilk and vinegar add tanginess that's signature to red velvet, and the cream cheese glaze completes the authentic red velvet cake flavor profile.
My Best Tips for Making Red Velvet Pancakes
☞Don't Overmix the Batter: Lumps are actually your friend here! Overmixing develops the gluten in the flour, which makes pancakes tough and dense. Stir until the wet and dry ingredients are just combined—some small lumps are perfectly fine and will cook out.
☞Use Medium-Low Heat: These pancakes contain sugar and red food coloring, which can burn more easily than plain pancakes. A lower temperature gives them time to cook through without scorching the outside. Your griddle should be hot enough that a drop of water sizzles but doesn't immediately evaporate.
☞Wait for The Bubbles: The pancakes are ready to flip when you see bubbles forming on the surface and the edges look set and slightly dry. If you flip too early, they'll tear. The bubbles in the center should pop and not fill back in quickly—that's your signal.
☞Keep Them Warm in The Oven: If you're making a large batch, heat your oven to 200°F and place finished pancakes on a baking sheet inside. This keeps them warm and fluffy without drying them out while you finish cooking the rest.
What to Serve With Red Velvet Pancakes
These festive pancakes pair beautifully with cream cheese glaze for that authentic red velvet experience—just beat softened cream cheese with powdered sugar and milk until drizzle-able. Homemade butter syrup is another favorite in our house, with its rich, sweet flavor that complements the subtle cocoa.
For a balanced breakfast, serve alongside crispy bacon or breakfast sausage. The savory, salty flavors contrast perfectly with the sweet pancakes. Scrambled eggs or a simple fruit salad with strawberries and whipped cream add freshness and complete the meal.
Fresh berries like strawberries, raspberries, or blueberries not only look beautiful against the red pancakes but add a bright, tart element. A dollop of whipped cream never hurts either! For a holiday brunch, set out a pancake bar with multiple toppings and let everyone customize their stack.
Don't forget the beverages—hot coffee, fresh orange juice, or milk round out a perfect pancake breakfast. For Valentine's Day, add champagne or mimosas for the adults.
Storage & Reheating Tips
Room Temperature
These pancakes are best enjoyed fresh and hot off the griddle. If you have leftovers, they can sit at room temperature for up to 2 hours, but the texture won't be quite as fluffy.
Refrigerator
Store cooled pancakes in an airtight container or zip-top bag with parchment paper between layers to prevent sticking. They'll keep for 3-4 days in the fridge. Reheat in the microwave for 20-30 seconds or in a 350°F oven for 5 minutes.
Freezer
These pancakes freeze beautifully! Let them cool completely, then place on a baking sheet in a single layer and freeze for 1-2 hours until solid. Transfer to a freezer bag with parchment paper between layers. They'll keep for up to 2 months. Reheat from frozen in the toaster, microwave, or oven.
Reheating Tips
The toaster works surprisingly well for frozen pancakes—it crisps up the outside while warming the inside. For the microwave, place pancakes on a microwave-safe plate and cover with a damp paper towel to keep them moist. For the oven method, wrap in foil to prevent drying out.
Make-Ahead
I don't recommend it for these pancakes. The baking powder and baking soda start working as soon as they hit the wet ingredients, creating those fluffy air pockets. For best results, mix the batter right before cooking. However, you can measure out your dry ingredients the night before to save time in the morning. You can also make the cream cheese glaze up to 3 days ahead and store it covered in the refrigerator.
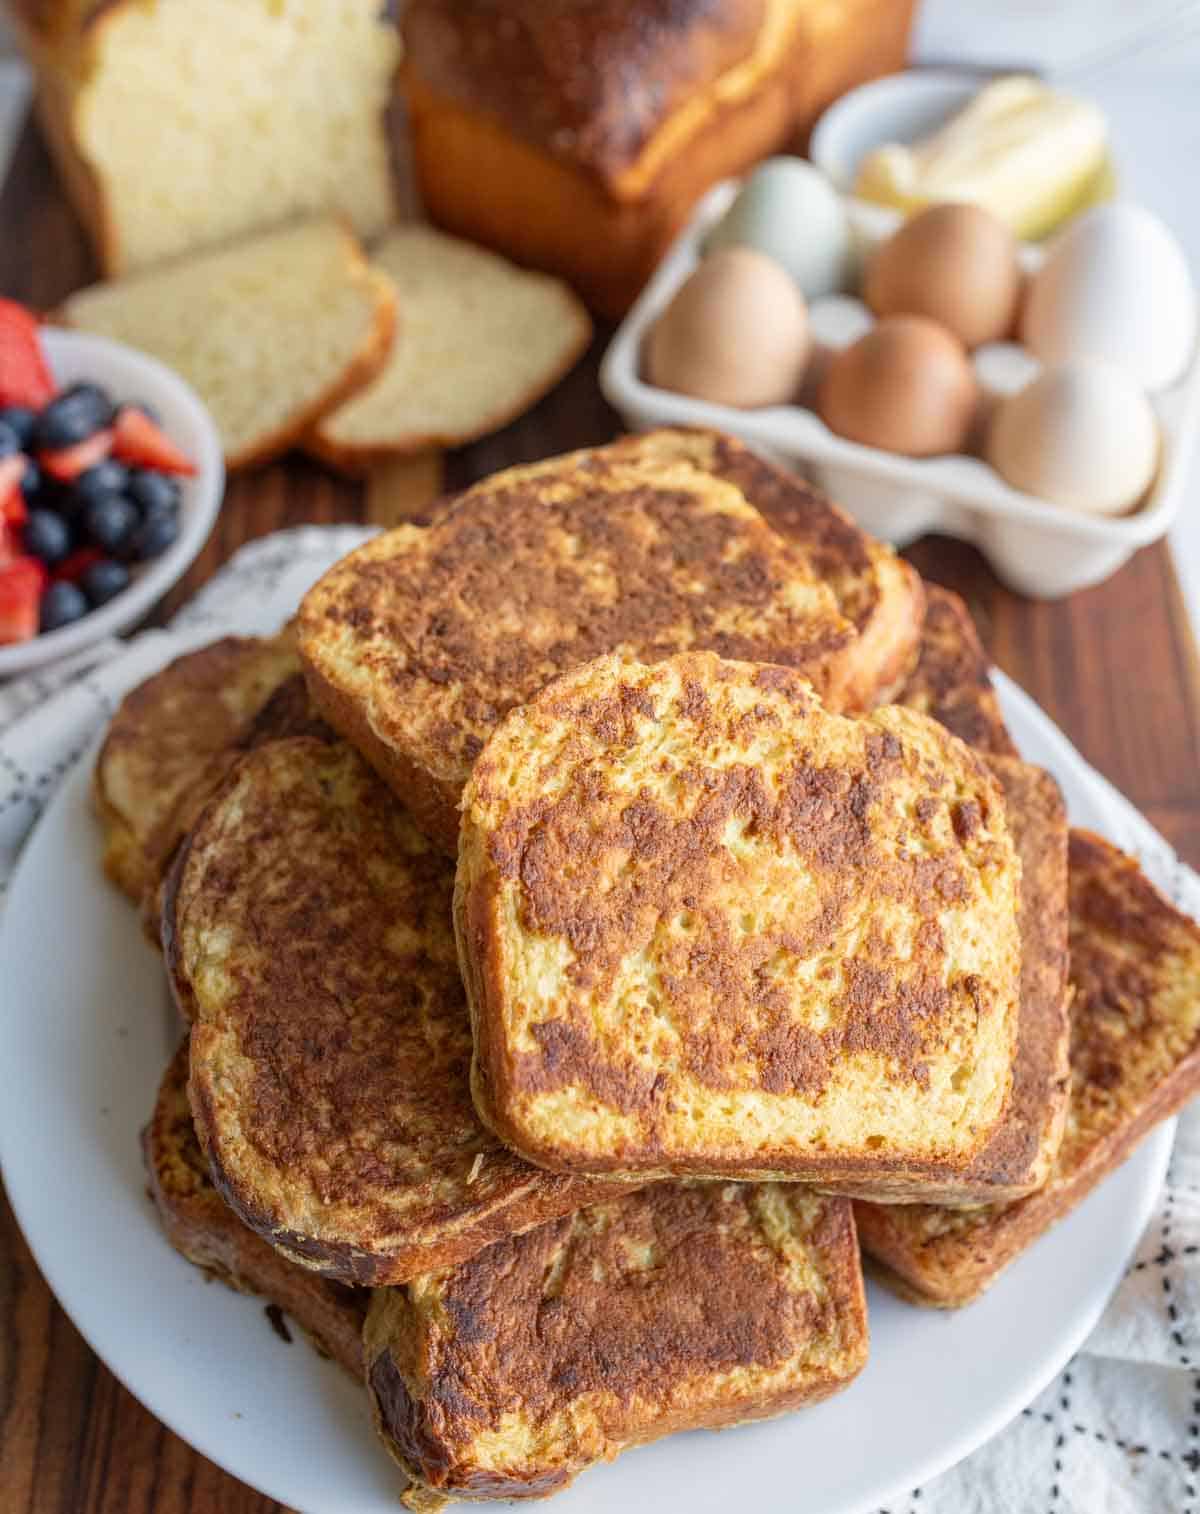
Similar Recipes to Try
- Classic Buttermilk Pancakes - Master the basic recipe that's the foundation for these
- Whole wheat pancakes - Delicious recipe to get your morning started
- Blueberry Pancakes - Fresh berries in fluffy buttermilk pancakes
- Pumpkin Spice Pancakes - Perfect for fall mornings
- Lemon Ricotta Pancakes - Light, fluffy, and tangy

More Favorites From Longbourn Farm

Did you make this recipe? Leave a ⭐️ review and share it on Instagram, Facebook, or Pinterest!


Alli
Such a fun recipe!