

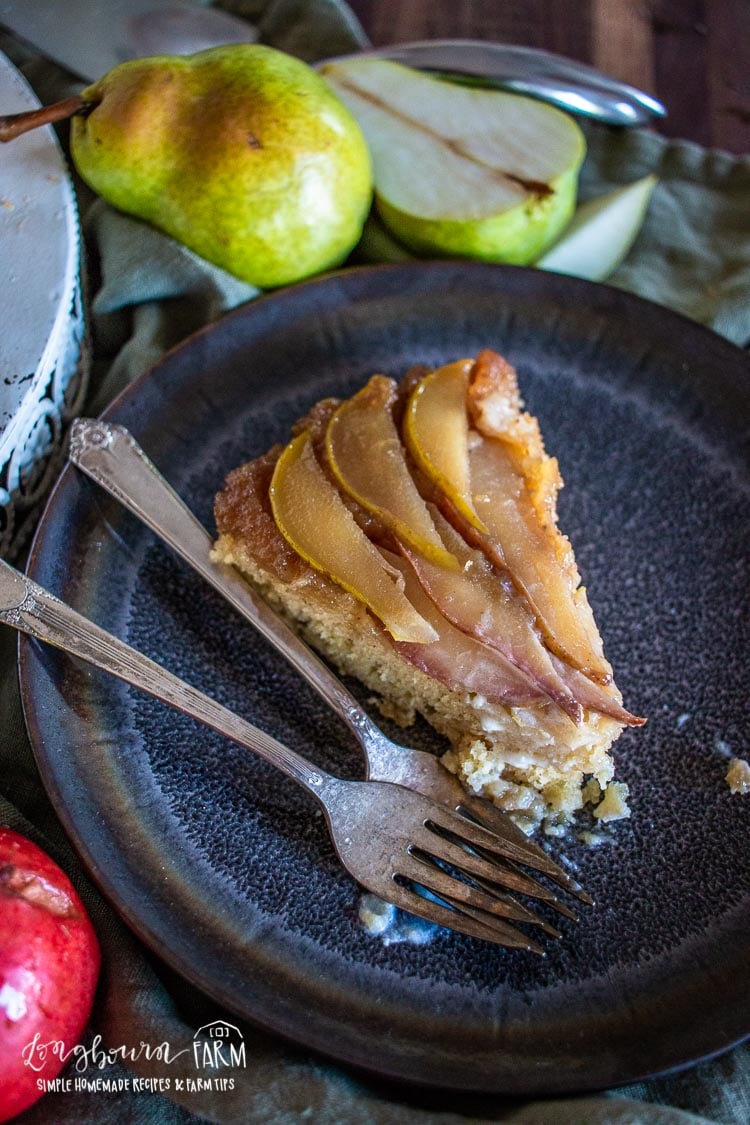
Homemade upside-down pear cake is a stunning Fall dessert that is easy to make! Sweet with a little bit of spice, this cake is a show-stopper.
WANT TO SAVE THIS RECIPE?
Enter your email below and we'll send it straight to your inbox. Plus you’ll get great new recipes from us every week!
If you’re looking for a festive or unique fall dessert, look no further than this upside-down pear cake. Giving you a savory-sweet delicious treat that looks as good as it tastes.
With a homemade caramelized brown sugar glaze created as it bakes, there’s no doubt that this pear cake is awesome.
How to make this pear cake recipe
In the microwave, or on the stovetop, melt your butter and brown sugar until the brown sugar is dissolved. Then take a cake pan and line the bottom with parchment paper and grease it.
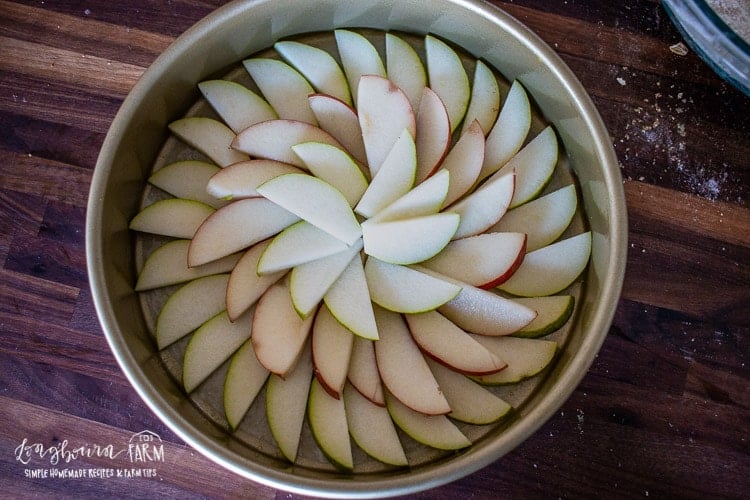
Then take your thin pear slices and arrange them around the bottom in a nice even layer, it’s okay to allow a little overlap.
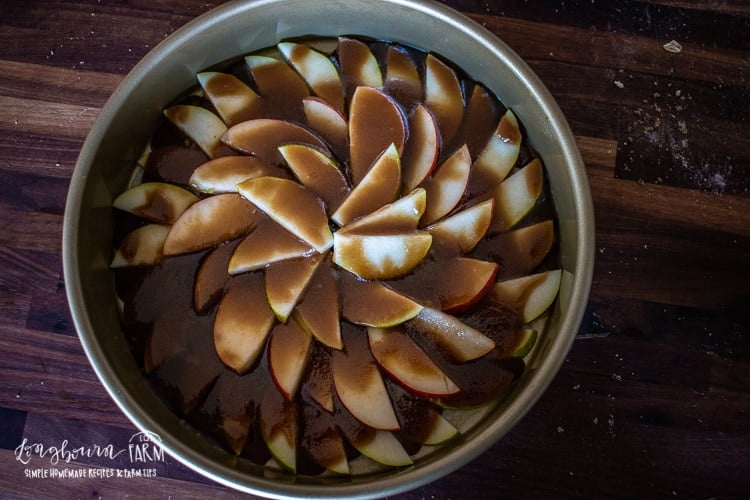
Pour your brown sugar mix over the top of the pears.
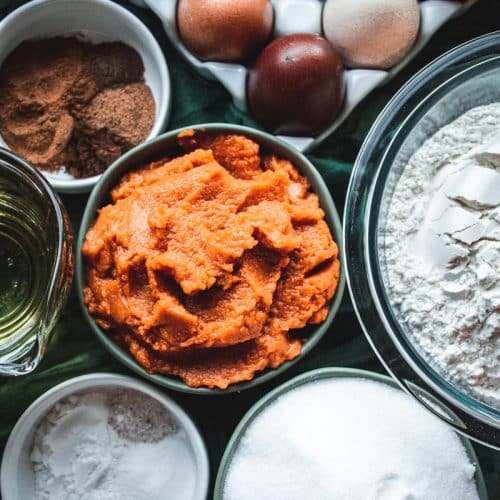
In a separate bowl, sift together the flour, baking powder, and salt. Add the brown sugar and the white sugar and whisk it until it’s evenly distributed.
Create a well in the dry ingredients by using your hand and creating a little hole or crater.
In that hole, add the eggs, sour cream, melted butter, and vanilla. Mix until it is well combined and there are no more dry pockets of flour.
Pour the batter over the top of the pears and gently tap the sides of the pan to make sure that the batter is evenly distributed. This also helps to remove some of the air bubbles.
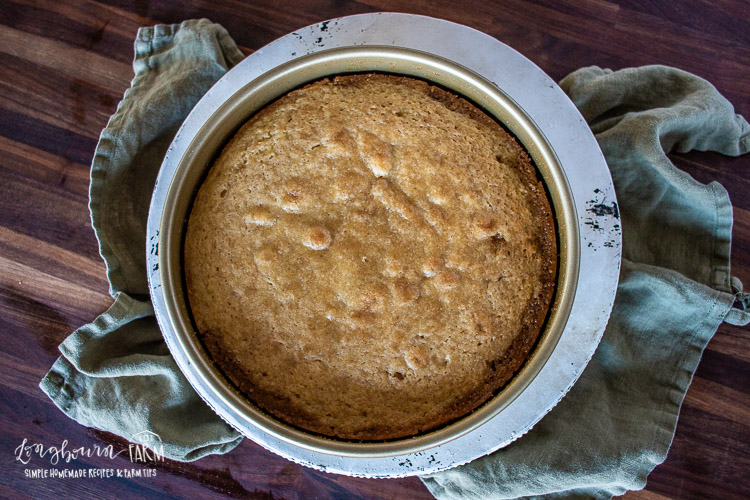
Bake for 35-40 minutes until the top of the cake is set and a toothpick can come out clean. Then let it cool in the pan for 20 minutes. This is an incredibly important step, do not skip it.
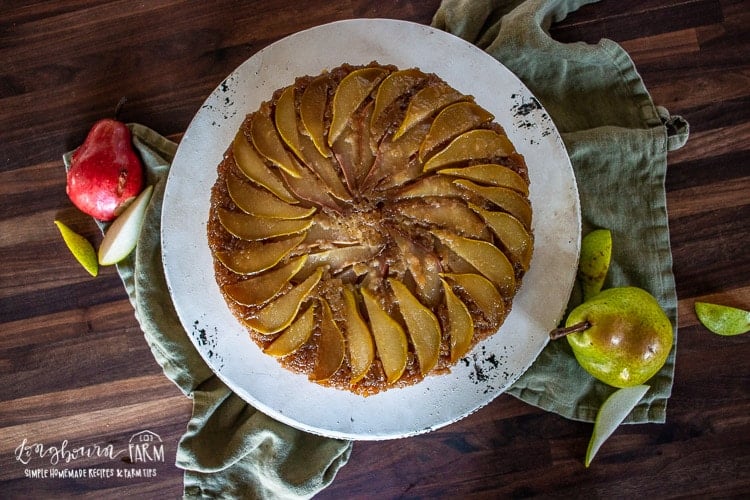
After that time is up, the pears should be set and you can place a serving plate over the top of the cake so that it’s upside down. Meaning that when you flip the cake, it’s on the correct side of the plate. After that, hold the plate and the pan tightly and quickly flip them over.
Very gently remove the cake pan from around the cake and remove the parchment paper.
What goes well with upside-down pear cake?
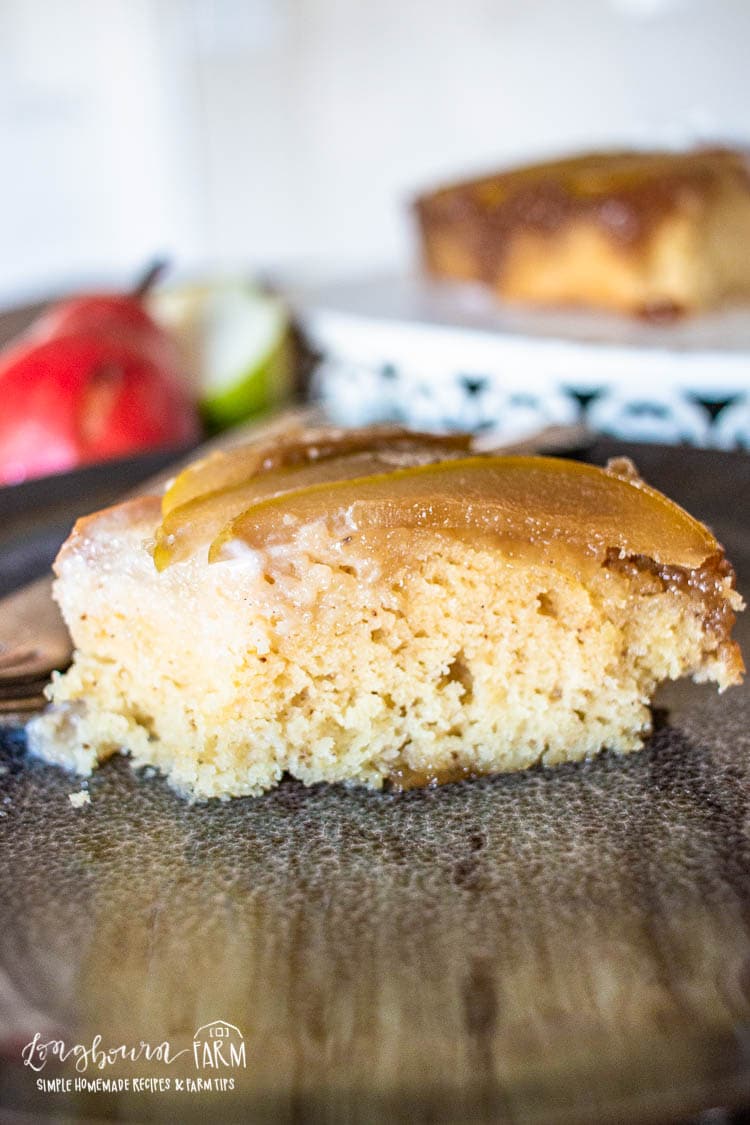
Picture this- a warm slice of this “magazine-worthy” pear upside-down cake sitting on a plate looking as mouthwatering as it is. Now picture a heavy scoop of french vanilla bean ice cream over the top. Heck, go nuts and drizzle some caramel syrup over this mental image.
The best answer to what goes well with this pear cake= a fork and a good appetite.
WANT TO SAVE THIS RECIPE?
Enter your email below and we will send it straight to your inbox. Plus you will get great new recipes from us every week!

Upside Down Pear Cake
Equipment
Ingredients
For the Pears
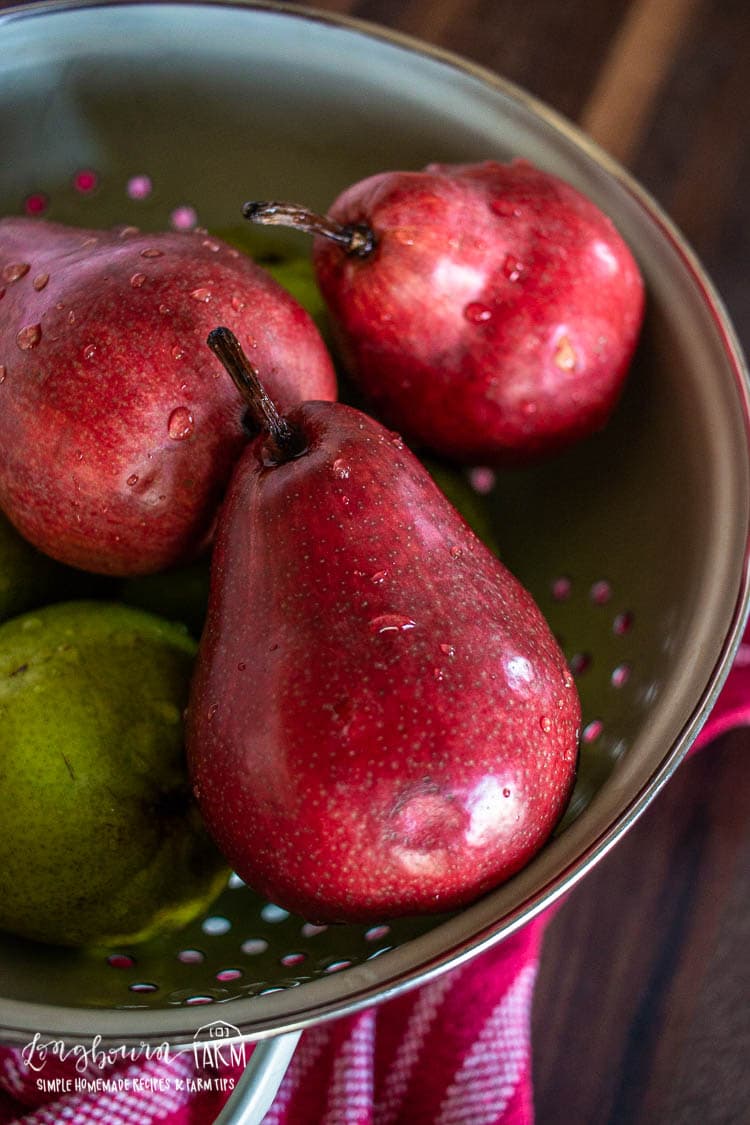
- 4 pears (medium-sized, sliced thin, see note)
- 4 tablespoons butter
- ⅔ cup brown sugar
For the Cake Batter
- 1 cup flour (all-purpose)
- 1 teaspoon baking powder
- 1 teaspoon salt
- ¼ cup brown sugar
- ¾ cup white sugar
- 2 eggs
- ½ cup sour cream
- 1 teaspoon vanilla extract
- 6 tablespoons melted butter
Instructions
For the Pears
- In the microwave or on the stovetop, melt together butter and brown sugar just until the brown sugar is dissolved.
- In a greased pan that is lined on the bottom with parchment, arrange the pear slices in an even layer. There may be some overlap.
- Pour brown sugar mixture over the top and gently spread it out evenly over the pear slices.
For the Cake Batter
- Preheat the oven to 350ºF.
- Sift together the flour, baking powder, and salt.
- Add the brown and white sugar and whisk until evenly distributed.
- Create a well in the dry ingredients and add the eggs, sour cream, melted butter, and vanilla.
- Mix until just combined and there are no dry patches of flour.
- Pour over the pears. Gently tap the pan to evenly distribute the batter.
- Bake for 35-40 minutes until the top is set and a toothpick comes out clean.
- Let cool in the pan for 20 minutes. DO NOT SKIP THIS STEP! This is what allows the caramelized pears to set up.
- Place a serving plate upside down on the top of the cake plate. Quickly invert the cake plate and a let the cake come out on the serving plate.
- Gently remove the cake plate and the parchment. The cake is ready to serve.

Alli
Such a pretty cake!