
Beehive assembly is easy and can actually be cheaper than buying a pre-assembled hive. Step by step instructions and photos and easy to follow explanations of everything you will need!

WANT TO SAVE THIS RECIPE?
Enter your email below and we'll send it straight to your inbox. Plus you’ll get great new recipes from us every week!
About a week ago we got our 3 lbs of bees and installed them inside our hive! It was a fun experience and we felt like we prepared well and know what we would change for next time. Part 1 will be the setup and what you'll need to do to prepare for your bees. Part two will be actually installing your bees. I'll also be putting together a downloadable tutorial on ordering and assembling your hive kit/pieces, what you need to know, what you don't need to worry about, and what will help you succeed in the long run! Click here to download our FREE beekeeping starter guide!
First, when we ordered our hive, we ordered unassembled pieces and assembled them and painted them ourselves {we purchased from Mann Lake Ldt.}. You can do this or you can just purchase already assembled kits. These can be purchased with your bees or separately from wherever you choose. There is really no right answer here - its' just what you prefer! I am super happy with the quality of the supplies we ordered. They were sturdy, well made, easy to assemble, and quality wood. I used an outdoor paint and did about 2 coats, which was plenty. The idea of the painting is to seal the wood because it will be out in the weather. Color isn't important, you can go with whatever you choose. I went with classic white!
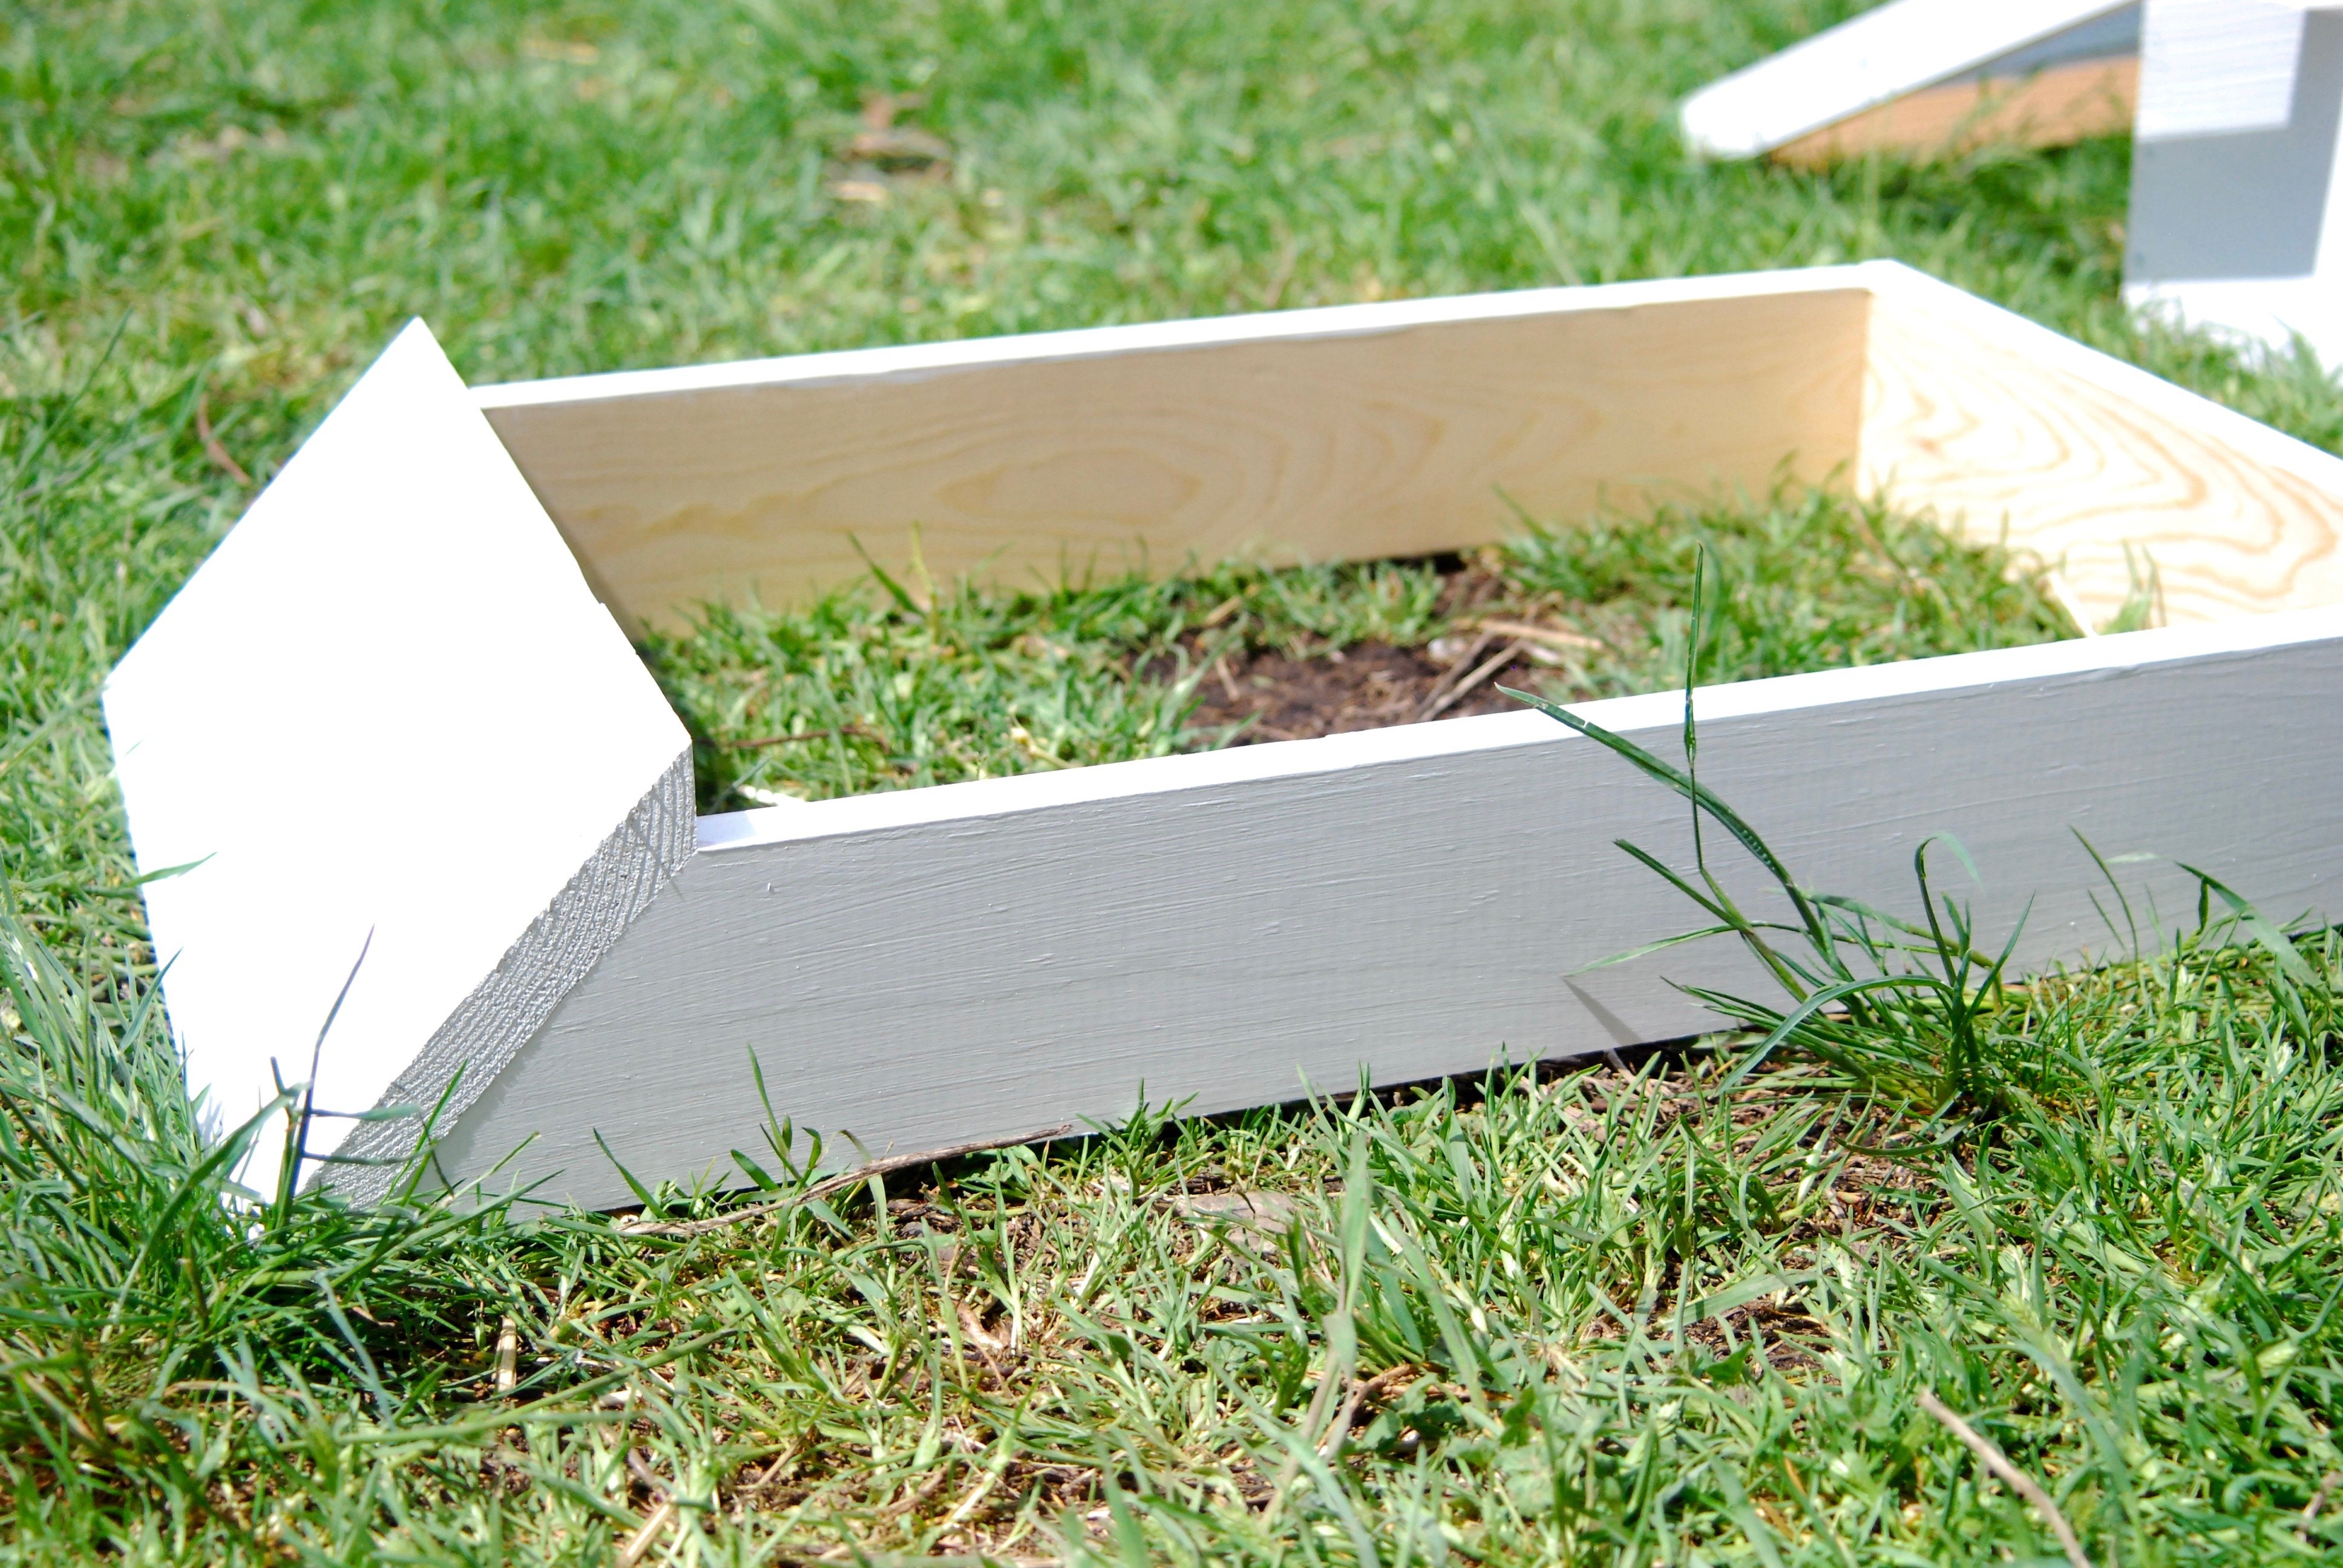
When you're setting up your hive, you'll start with the hive base. This demo set up isn't where we permanently set up our hive - you'll want to put it somewhere level. We have ours on a 3x3 slab we made from cement pieces we found on our property. It's really nice to keep the hive level, a little elevated, and gives us room to put our tools or for another hive in the future.
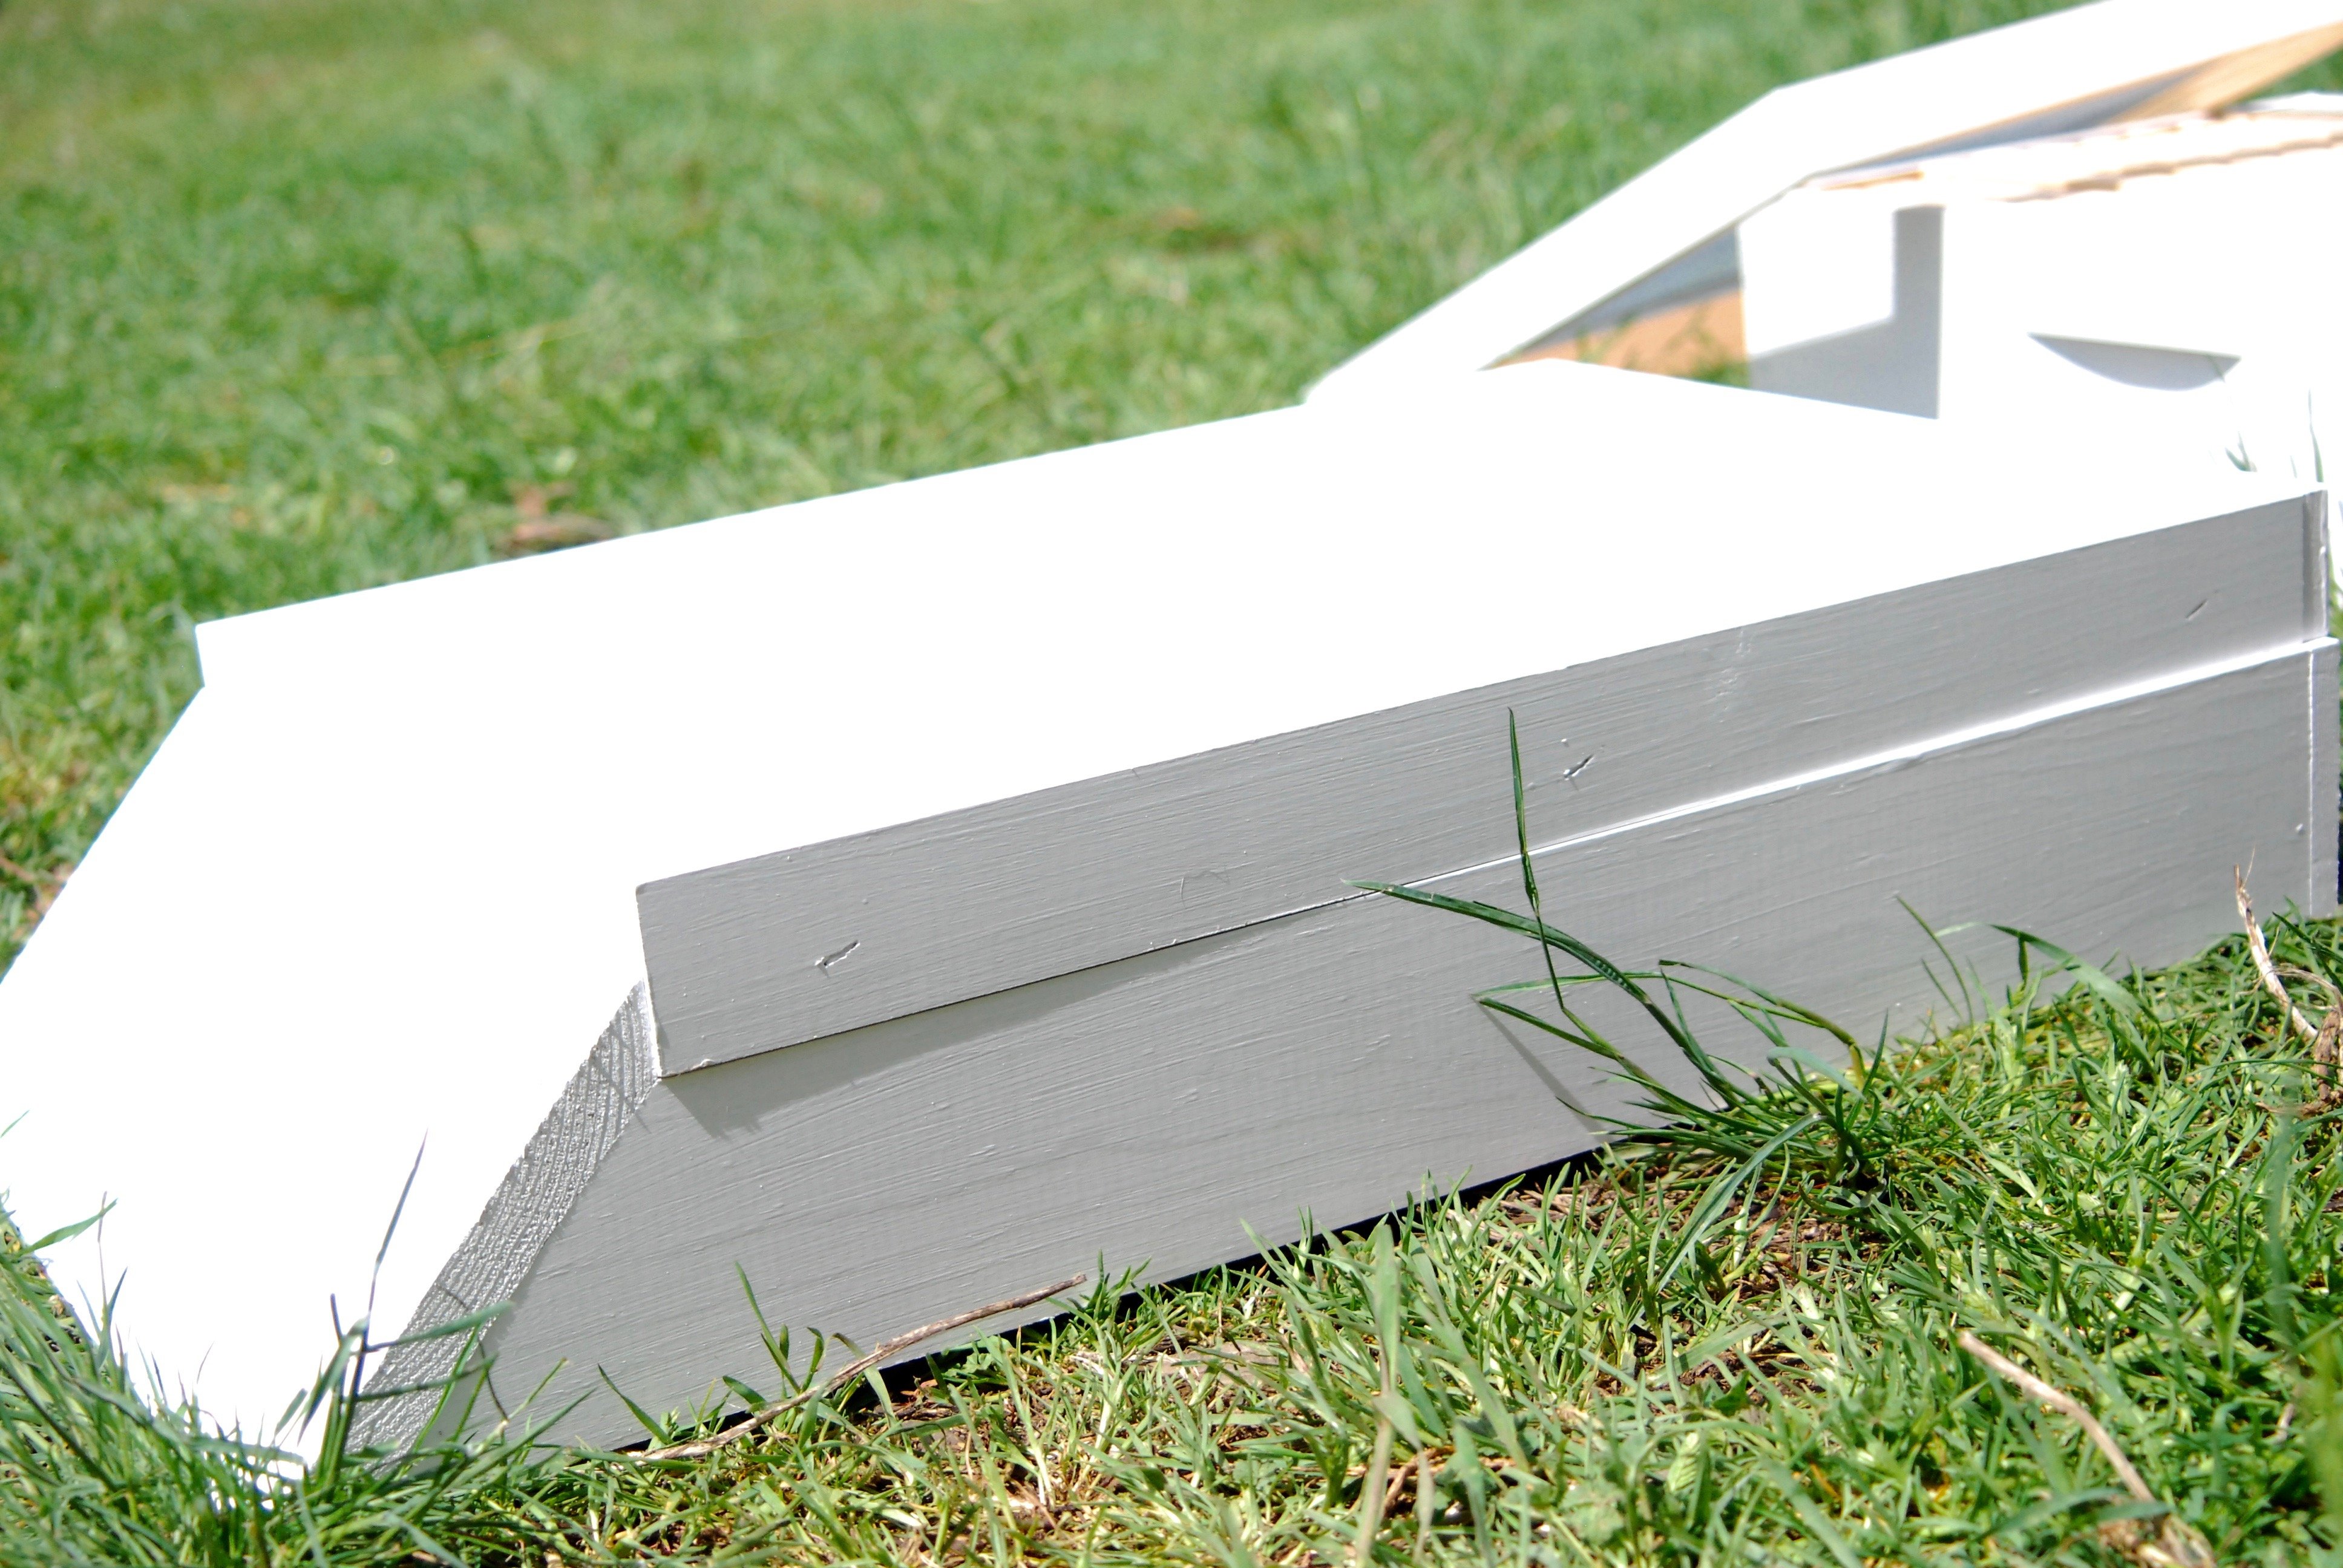
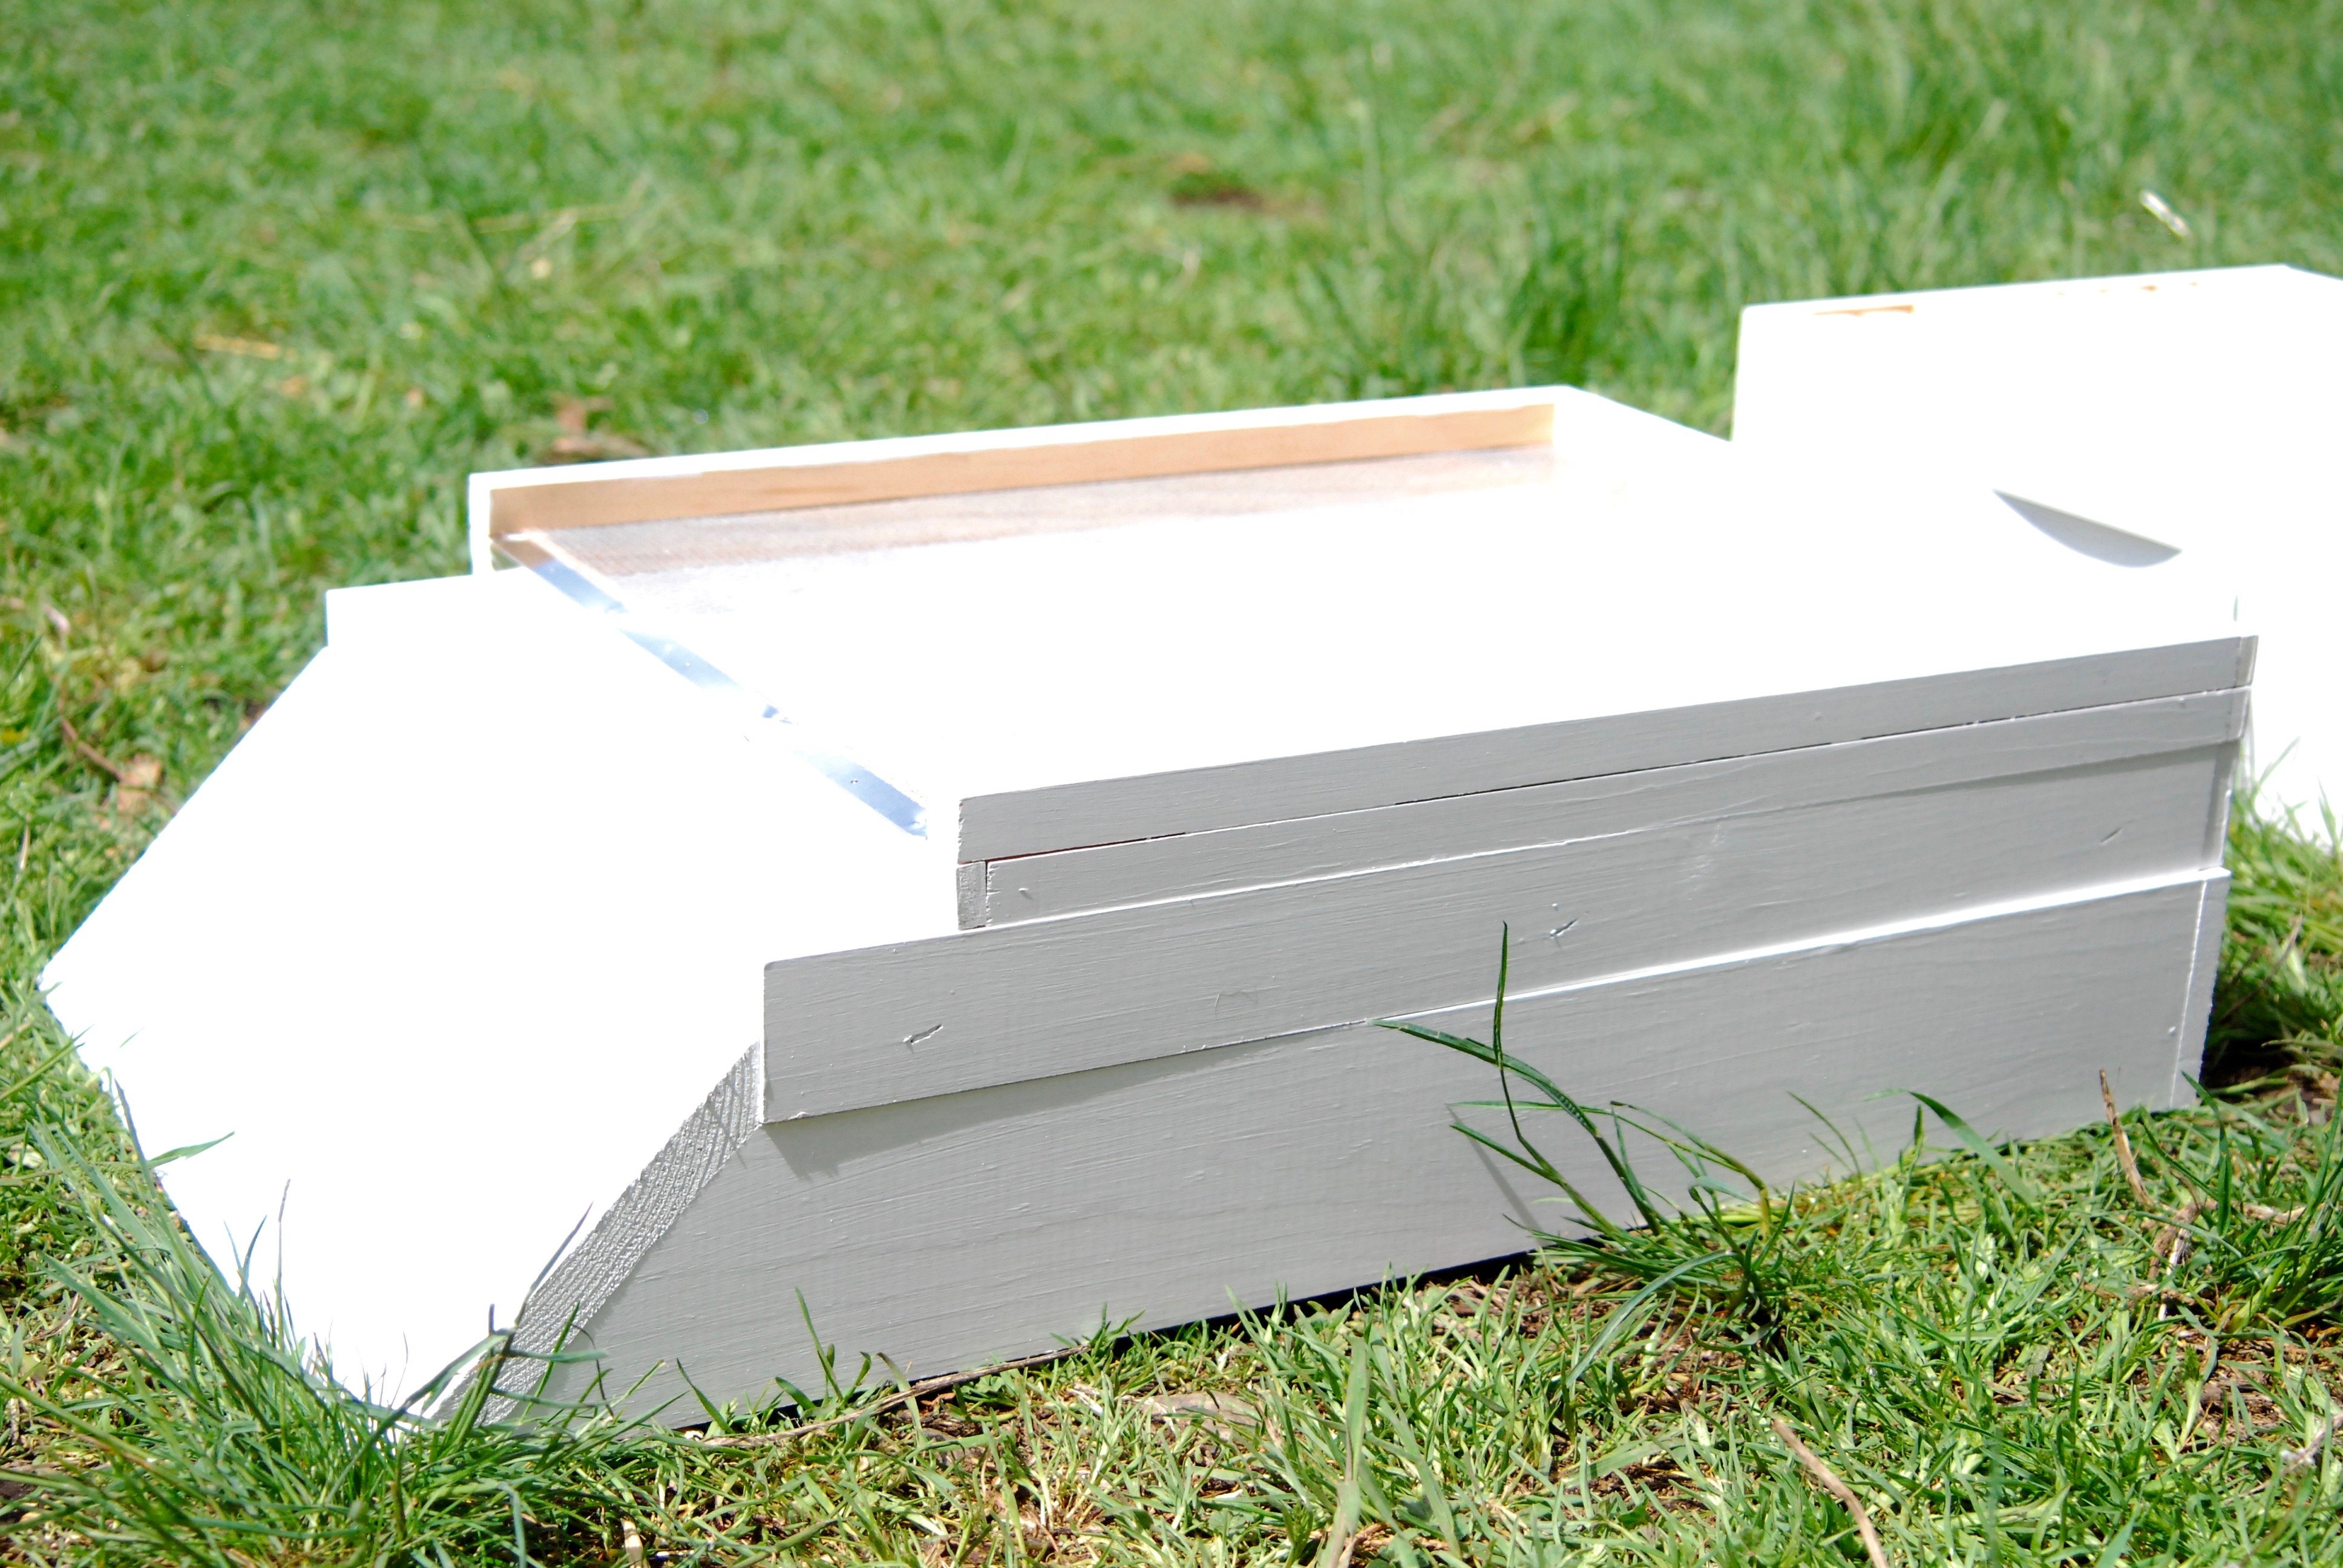
Next you'll put the bottom board on top of the base. This is just what is says it is - the bottom of the hive.
This next part is optional, and it's actually not on our hive right now because it would be a little too cold.
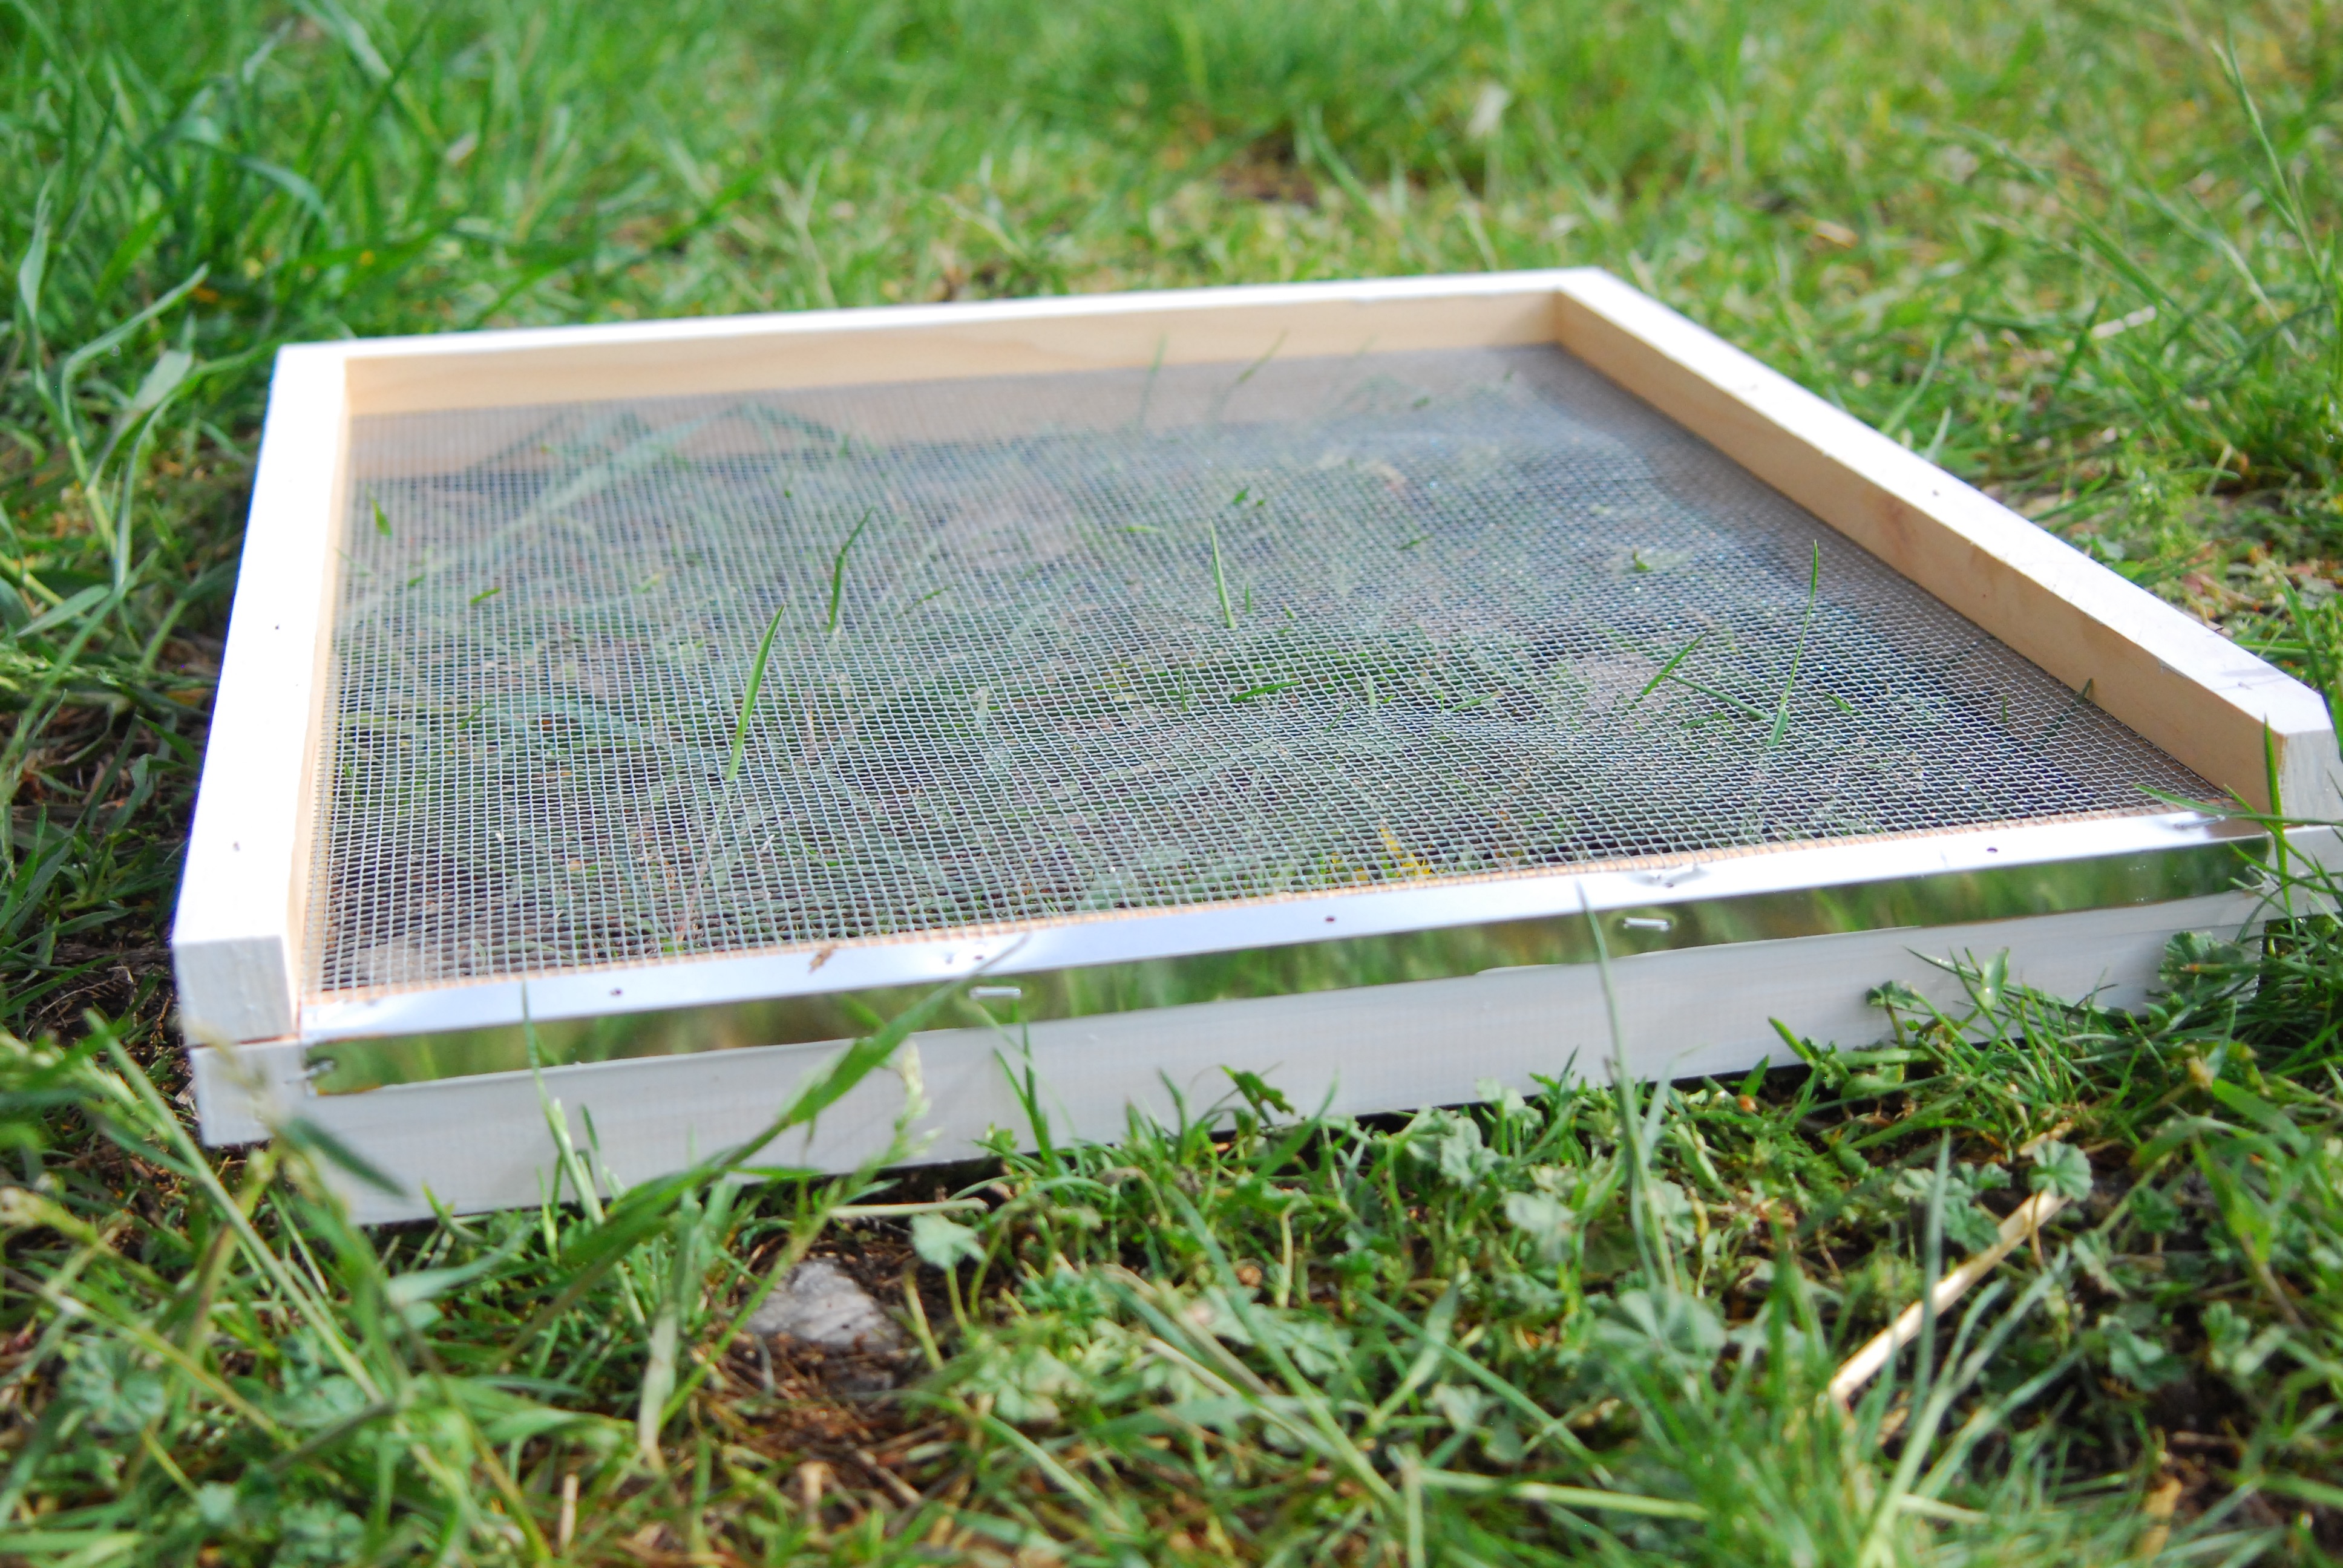
This is a screen board, it sits on the bottom board and makes checking for mites easy because they will fall through the screen onto you bottom board and not be able to climb back up into the hive.
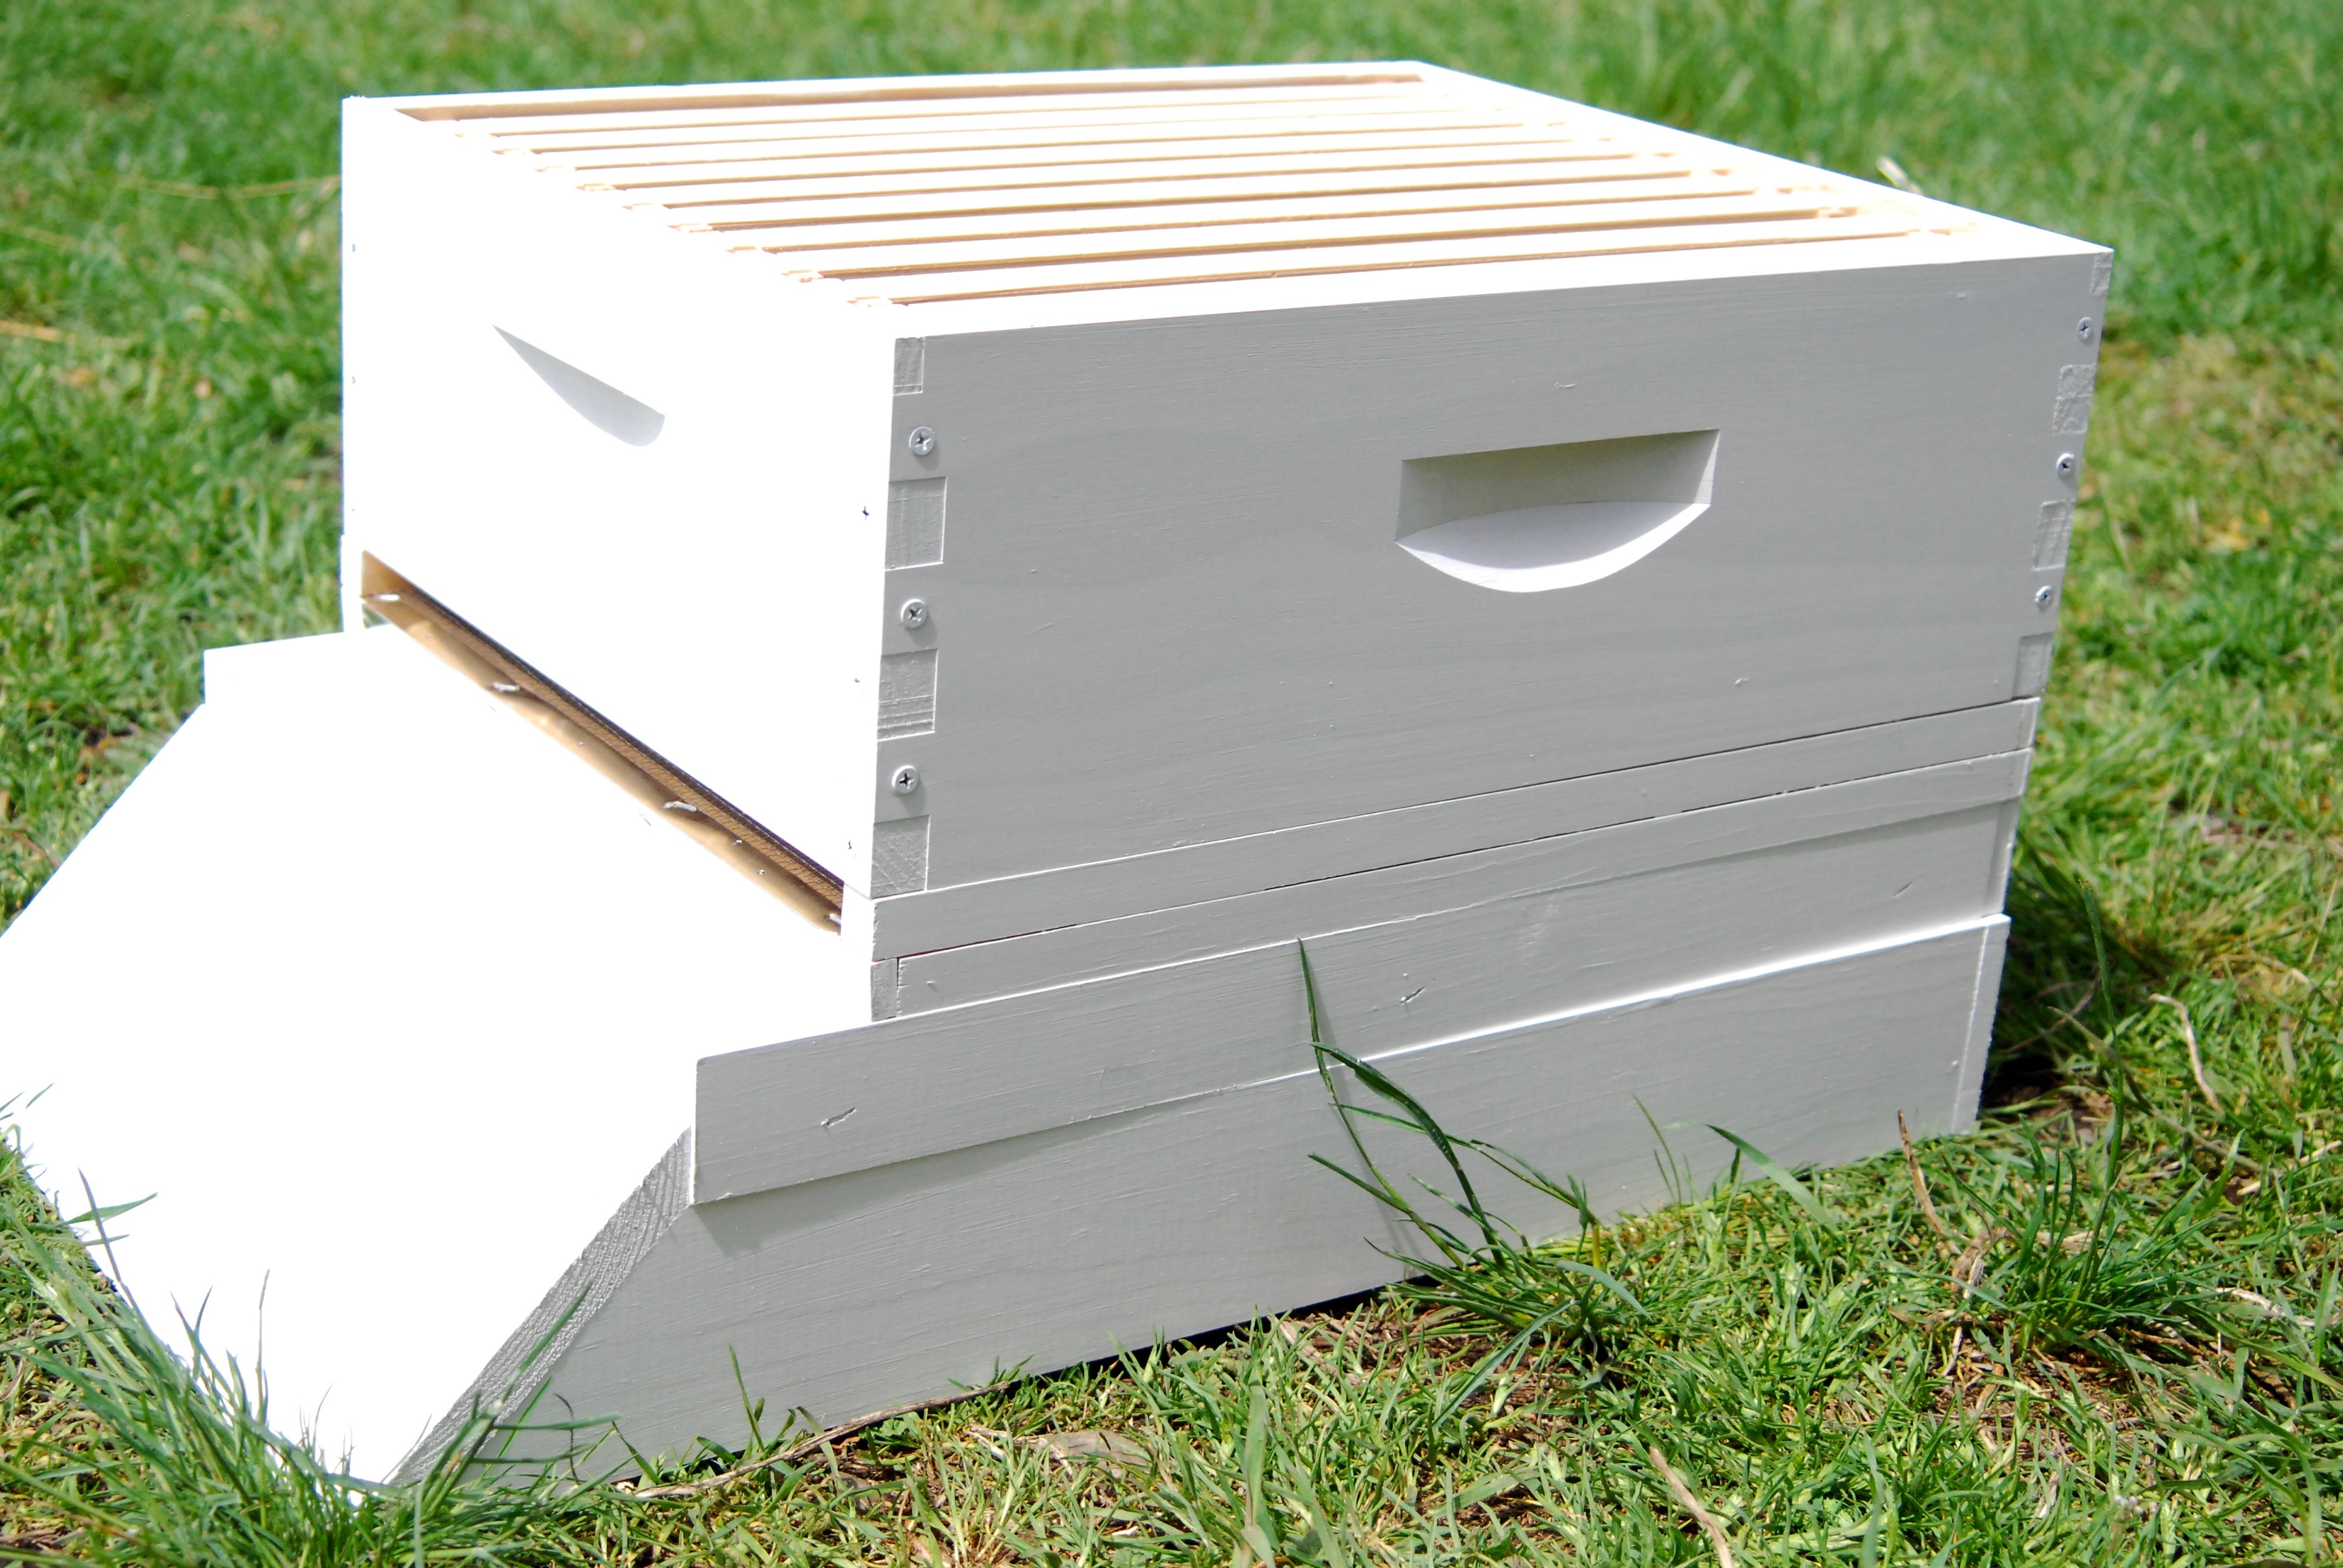
The next thing to go on the hive is a super. This is basically just the box that holds your frames. When your bees first arrive, you'll only need one super. If your feeder is a little large, or you're using a feeder on top of the frames, you'll add an empty super up top. We will talk more about this in a bit.
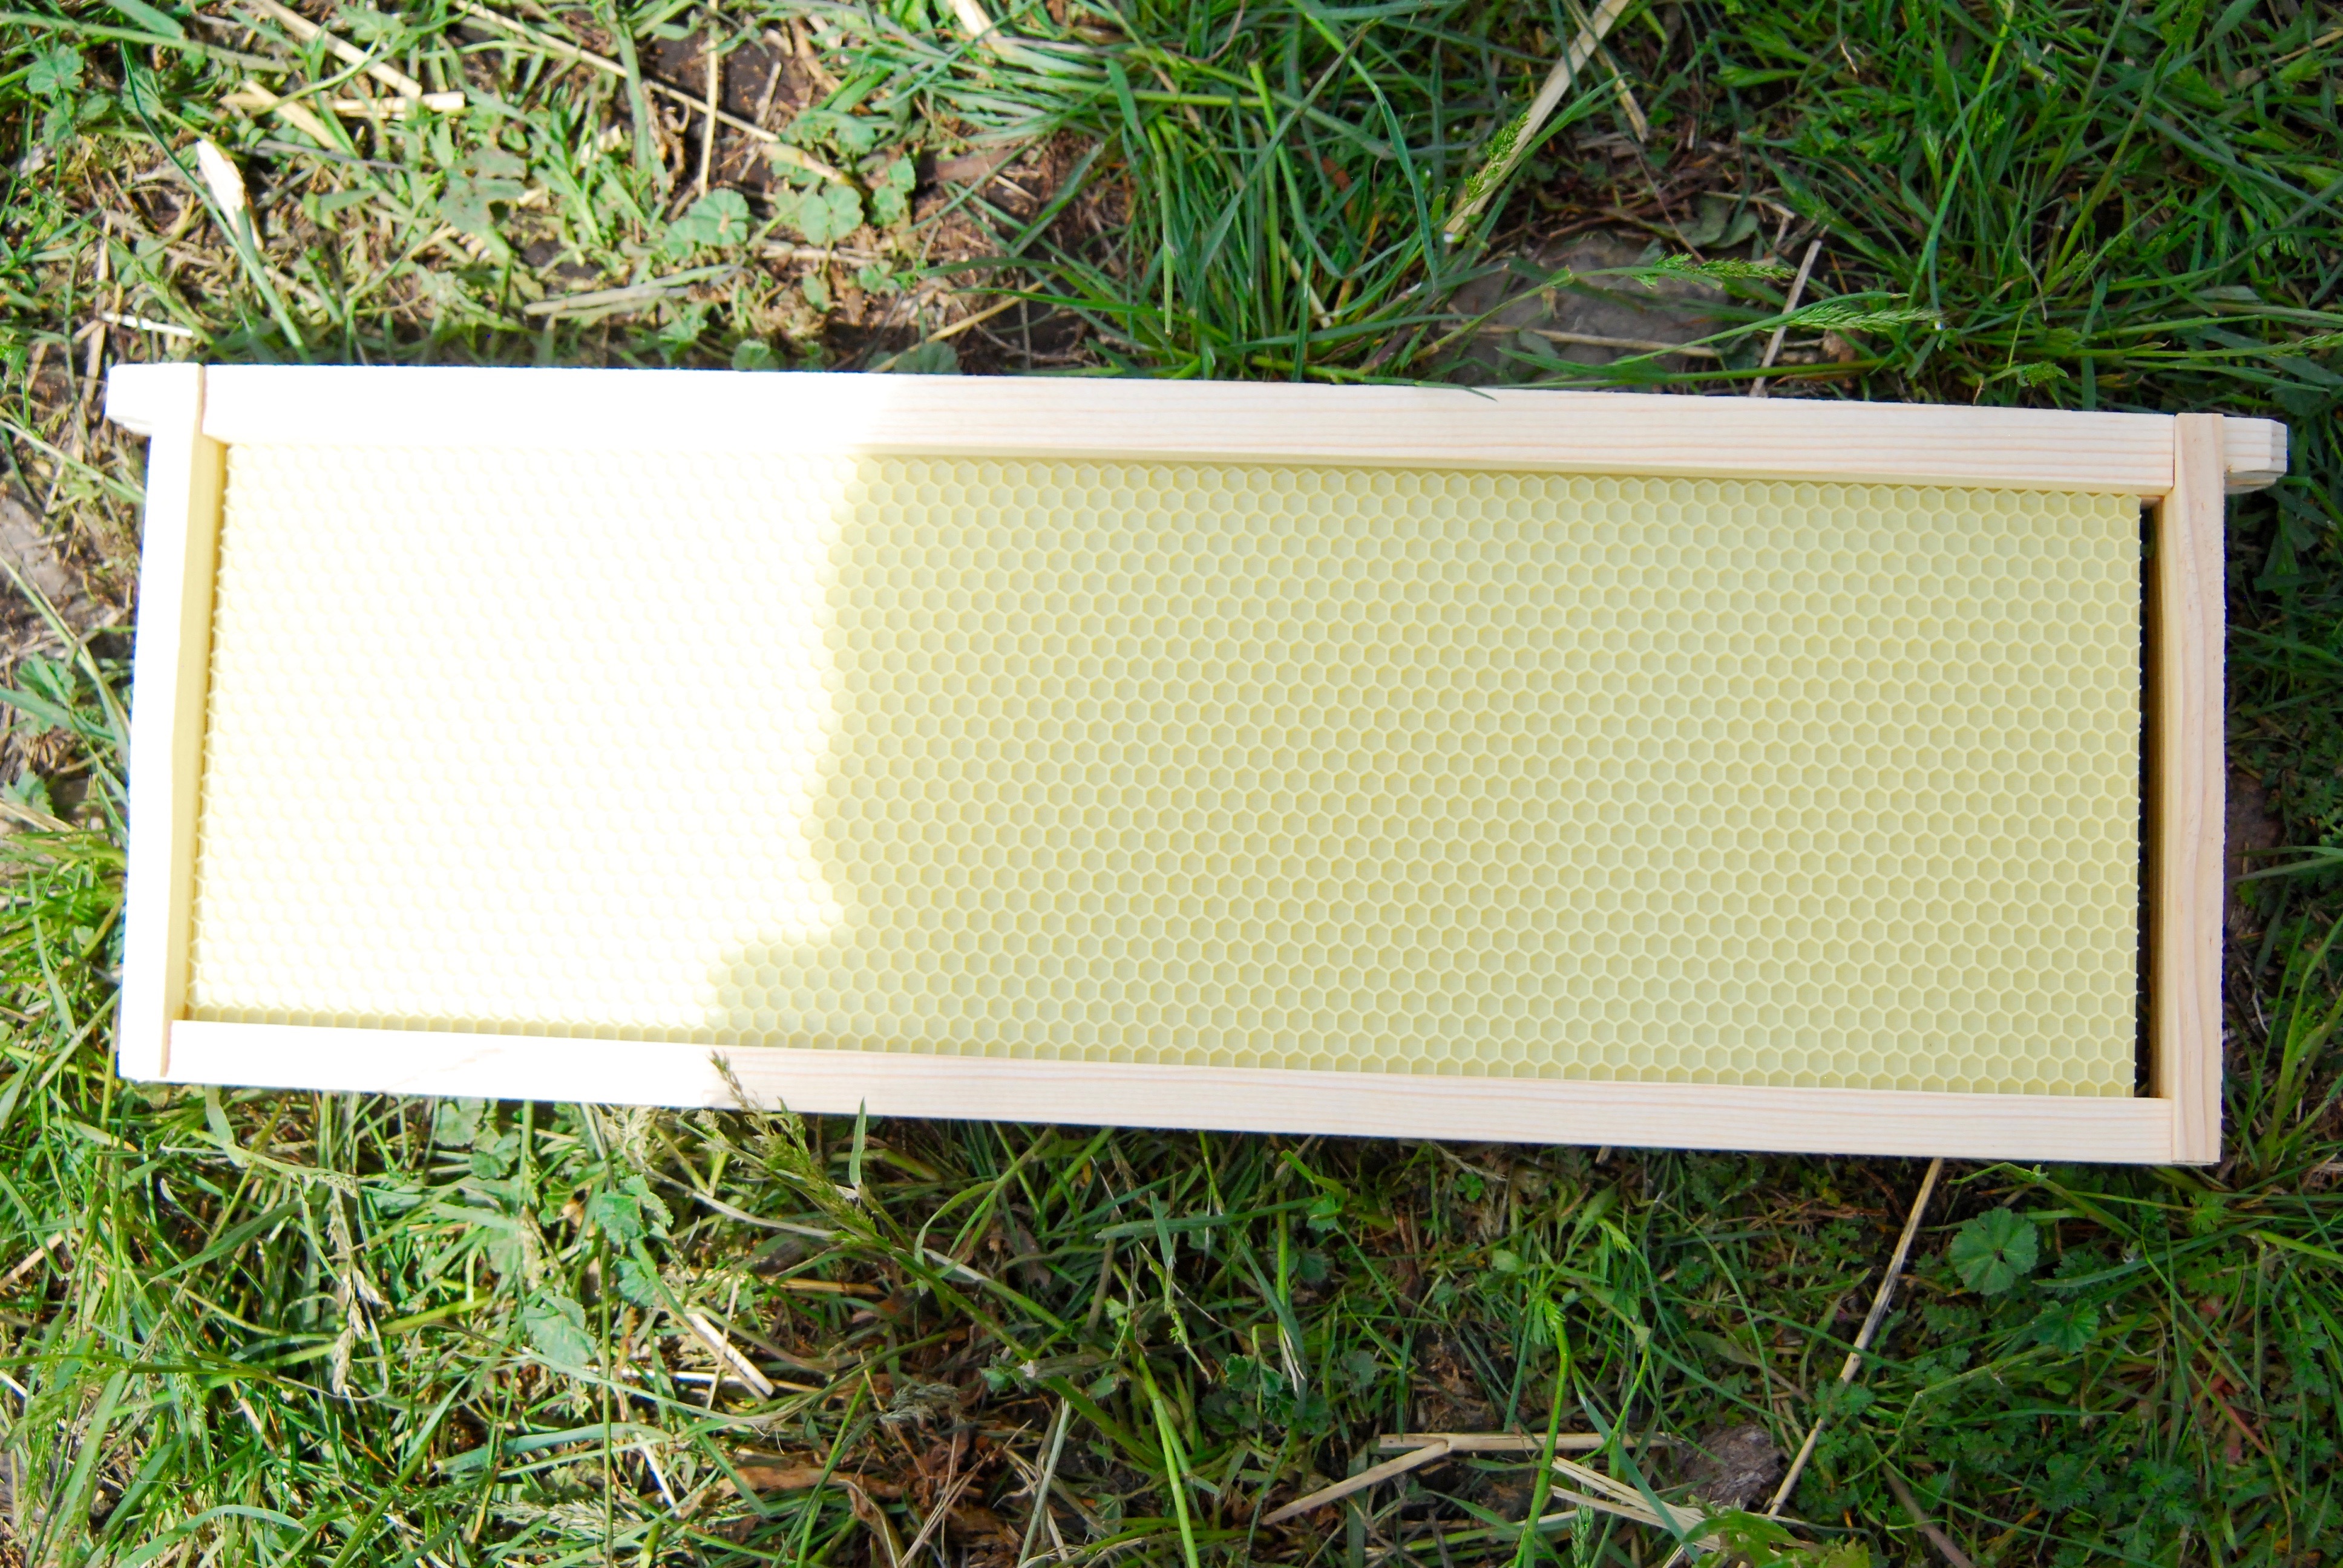
These are the frames that go inside the supers. Ours holds ten frames per super and we bought the frames with substrate already in them. You can purchase them empty and let the bees do all the work too if you prefer. If you choose this method, you just have to remember that they may not be as orderly about it as you'd like. The wax foundation gives them a bit of a guideline to follow.
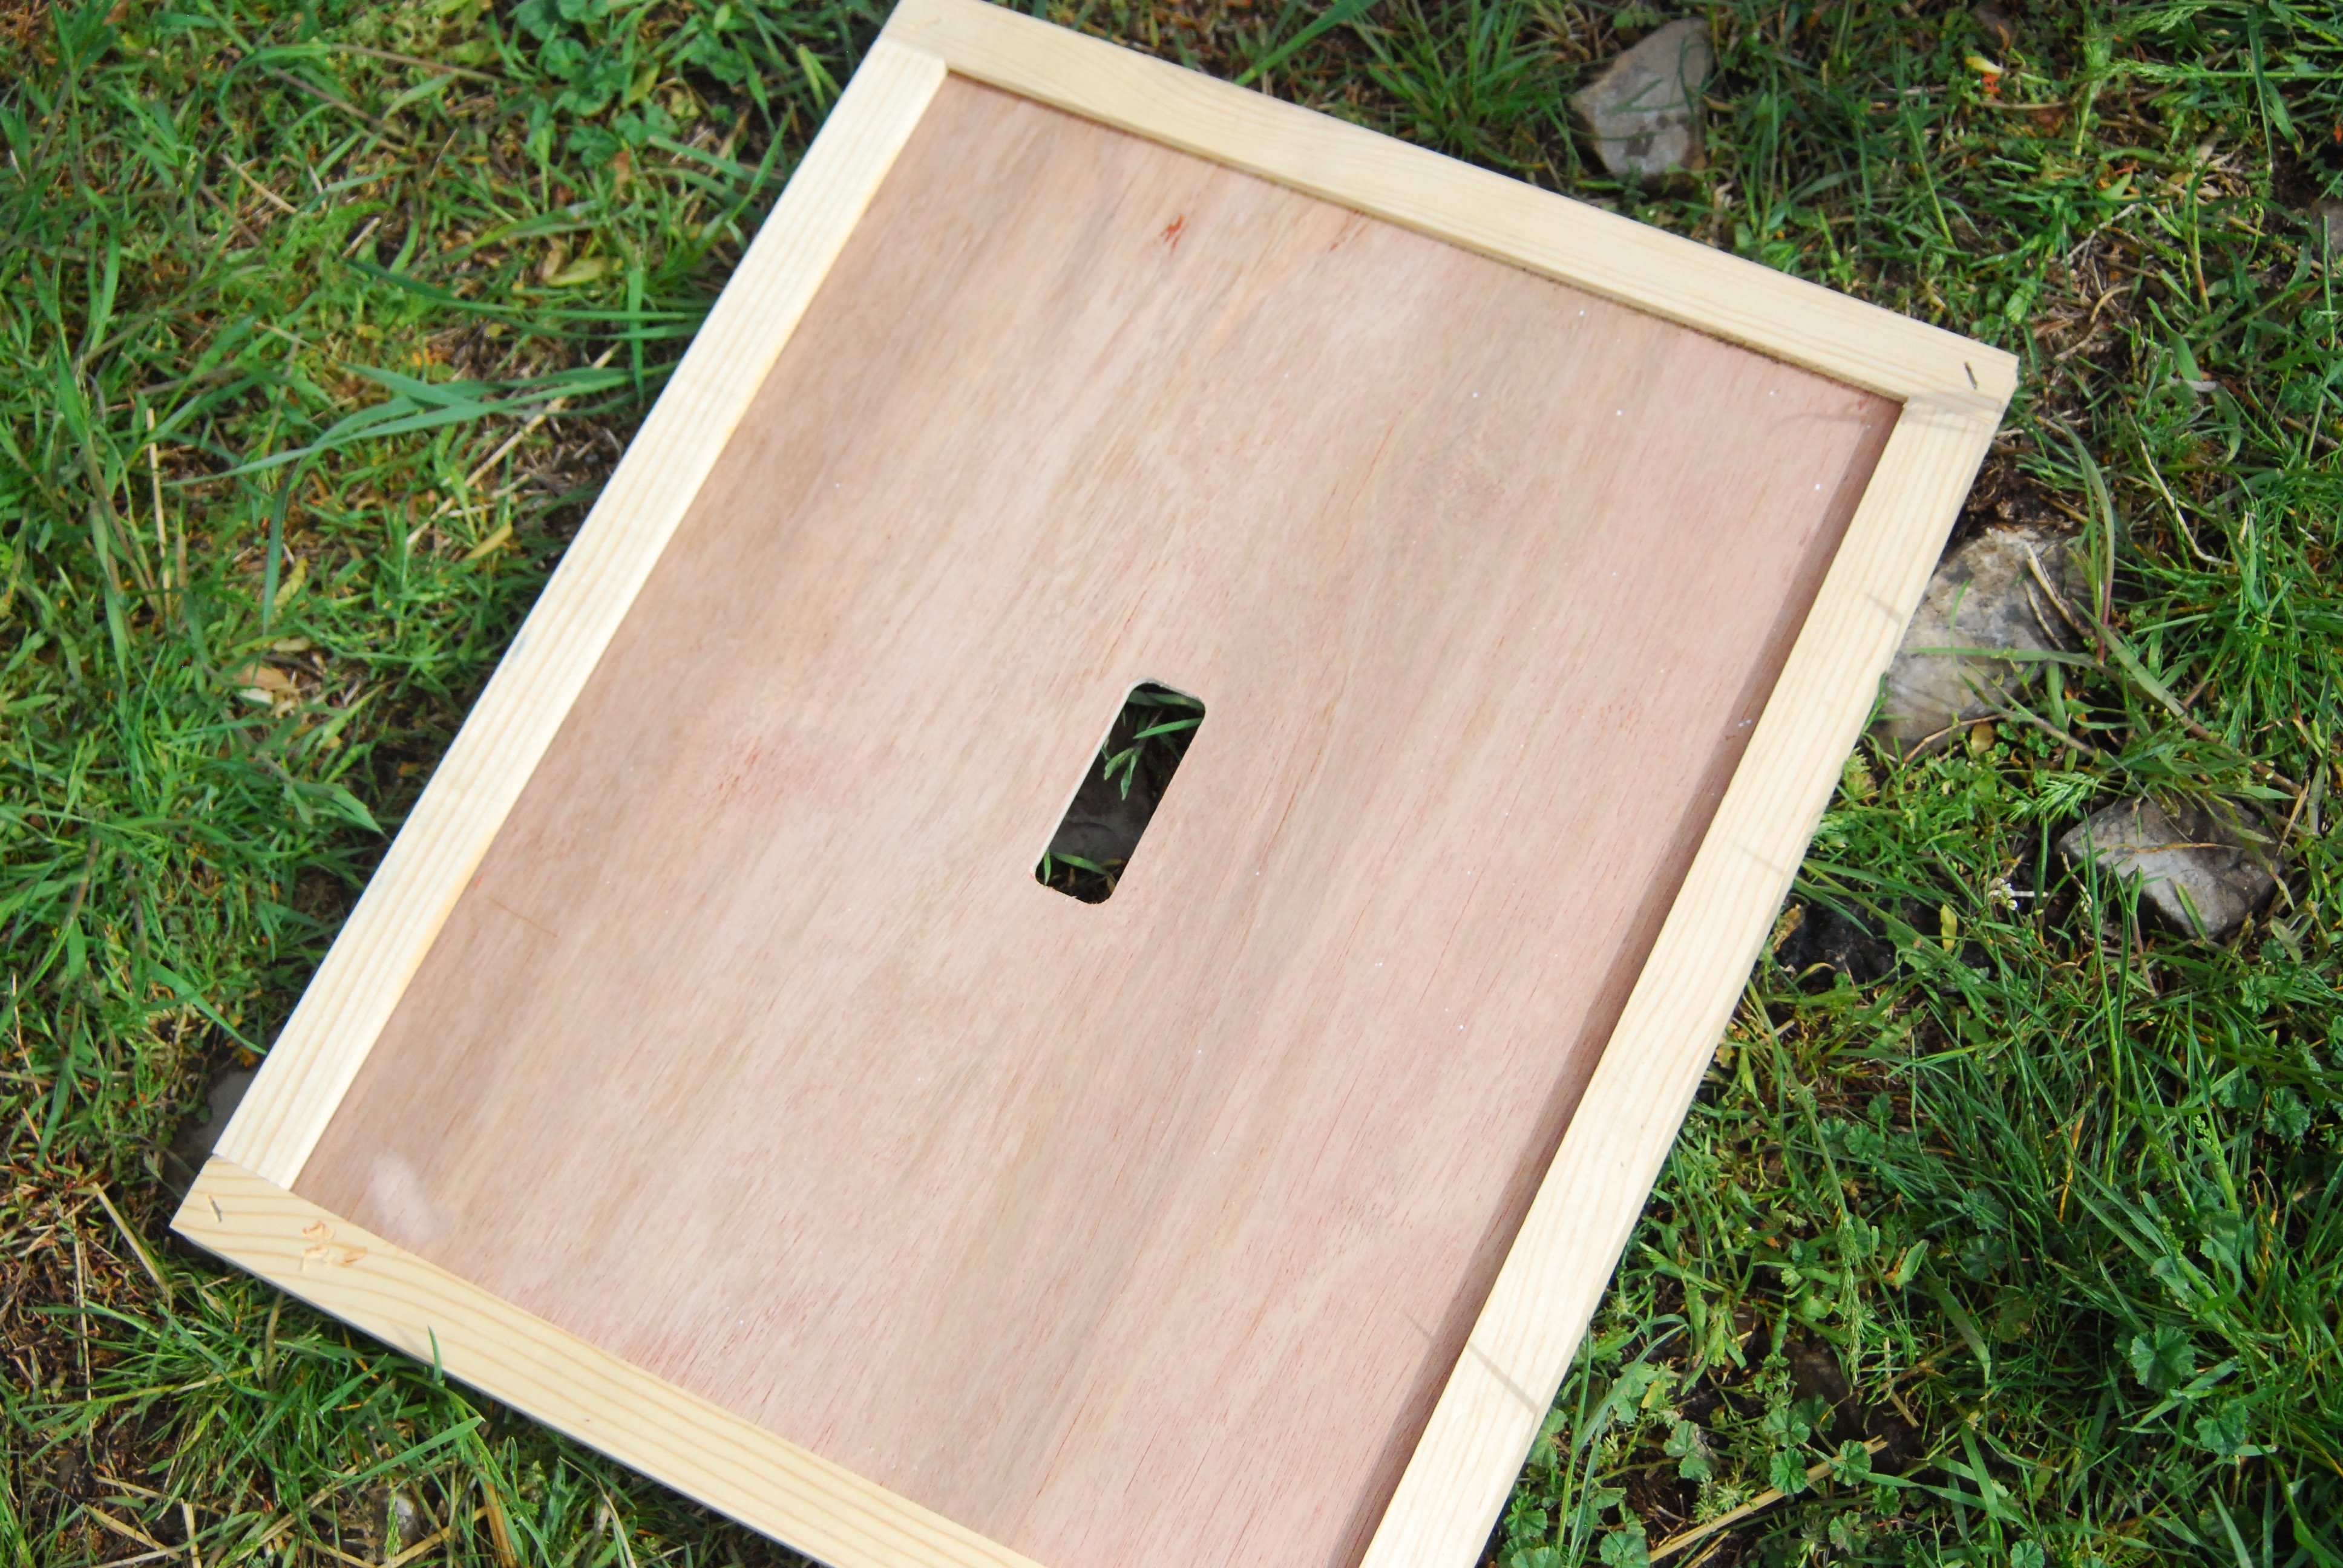
Once you have all the super's on your hive that you need, you'll put the inner cover on. This just fits right over the supers.
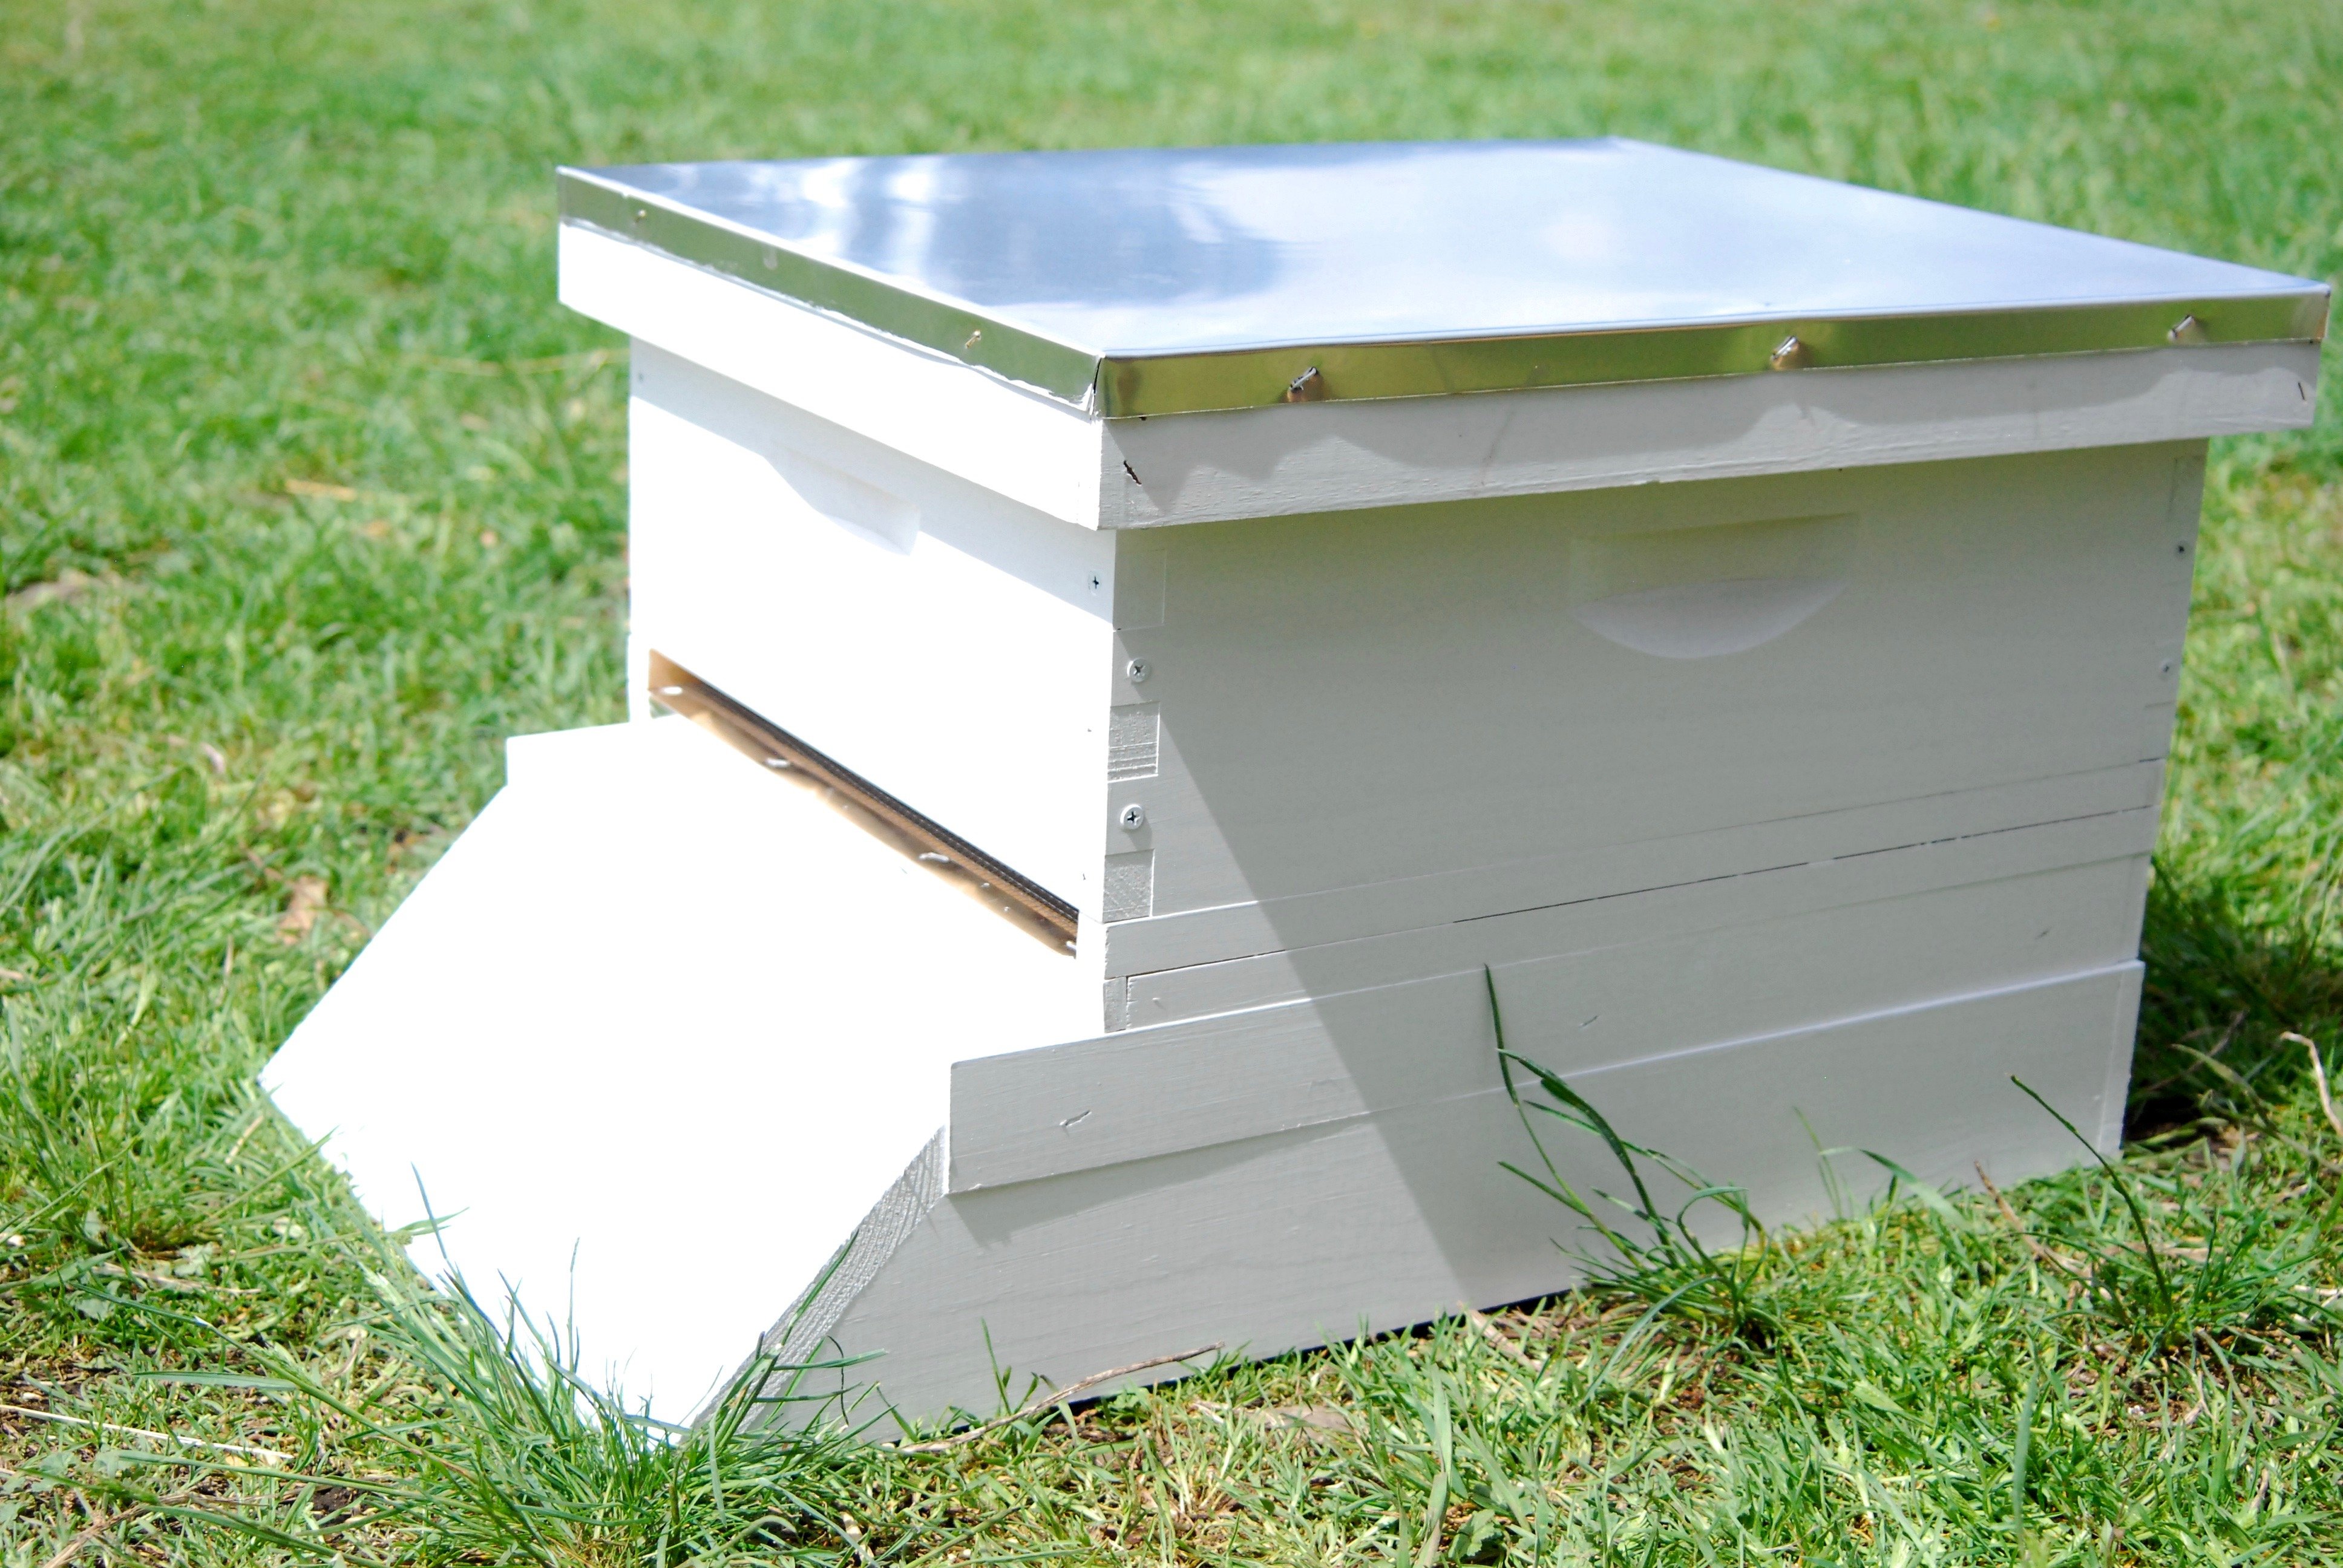
After the inner cover is on, you'll put on the telescoping cover. This acts like the roof to your hive and usually has something more durable on the top than just wood. Ours has aluminum - this is pretty common.
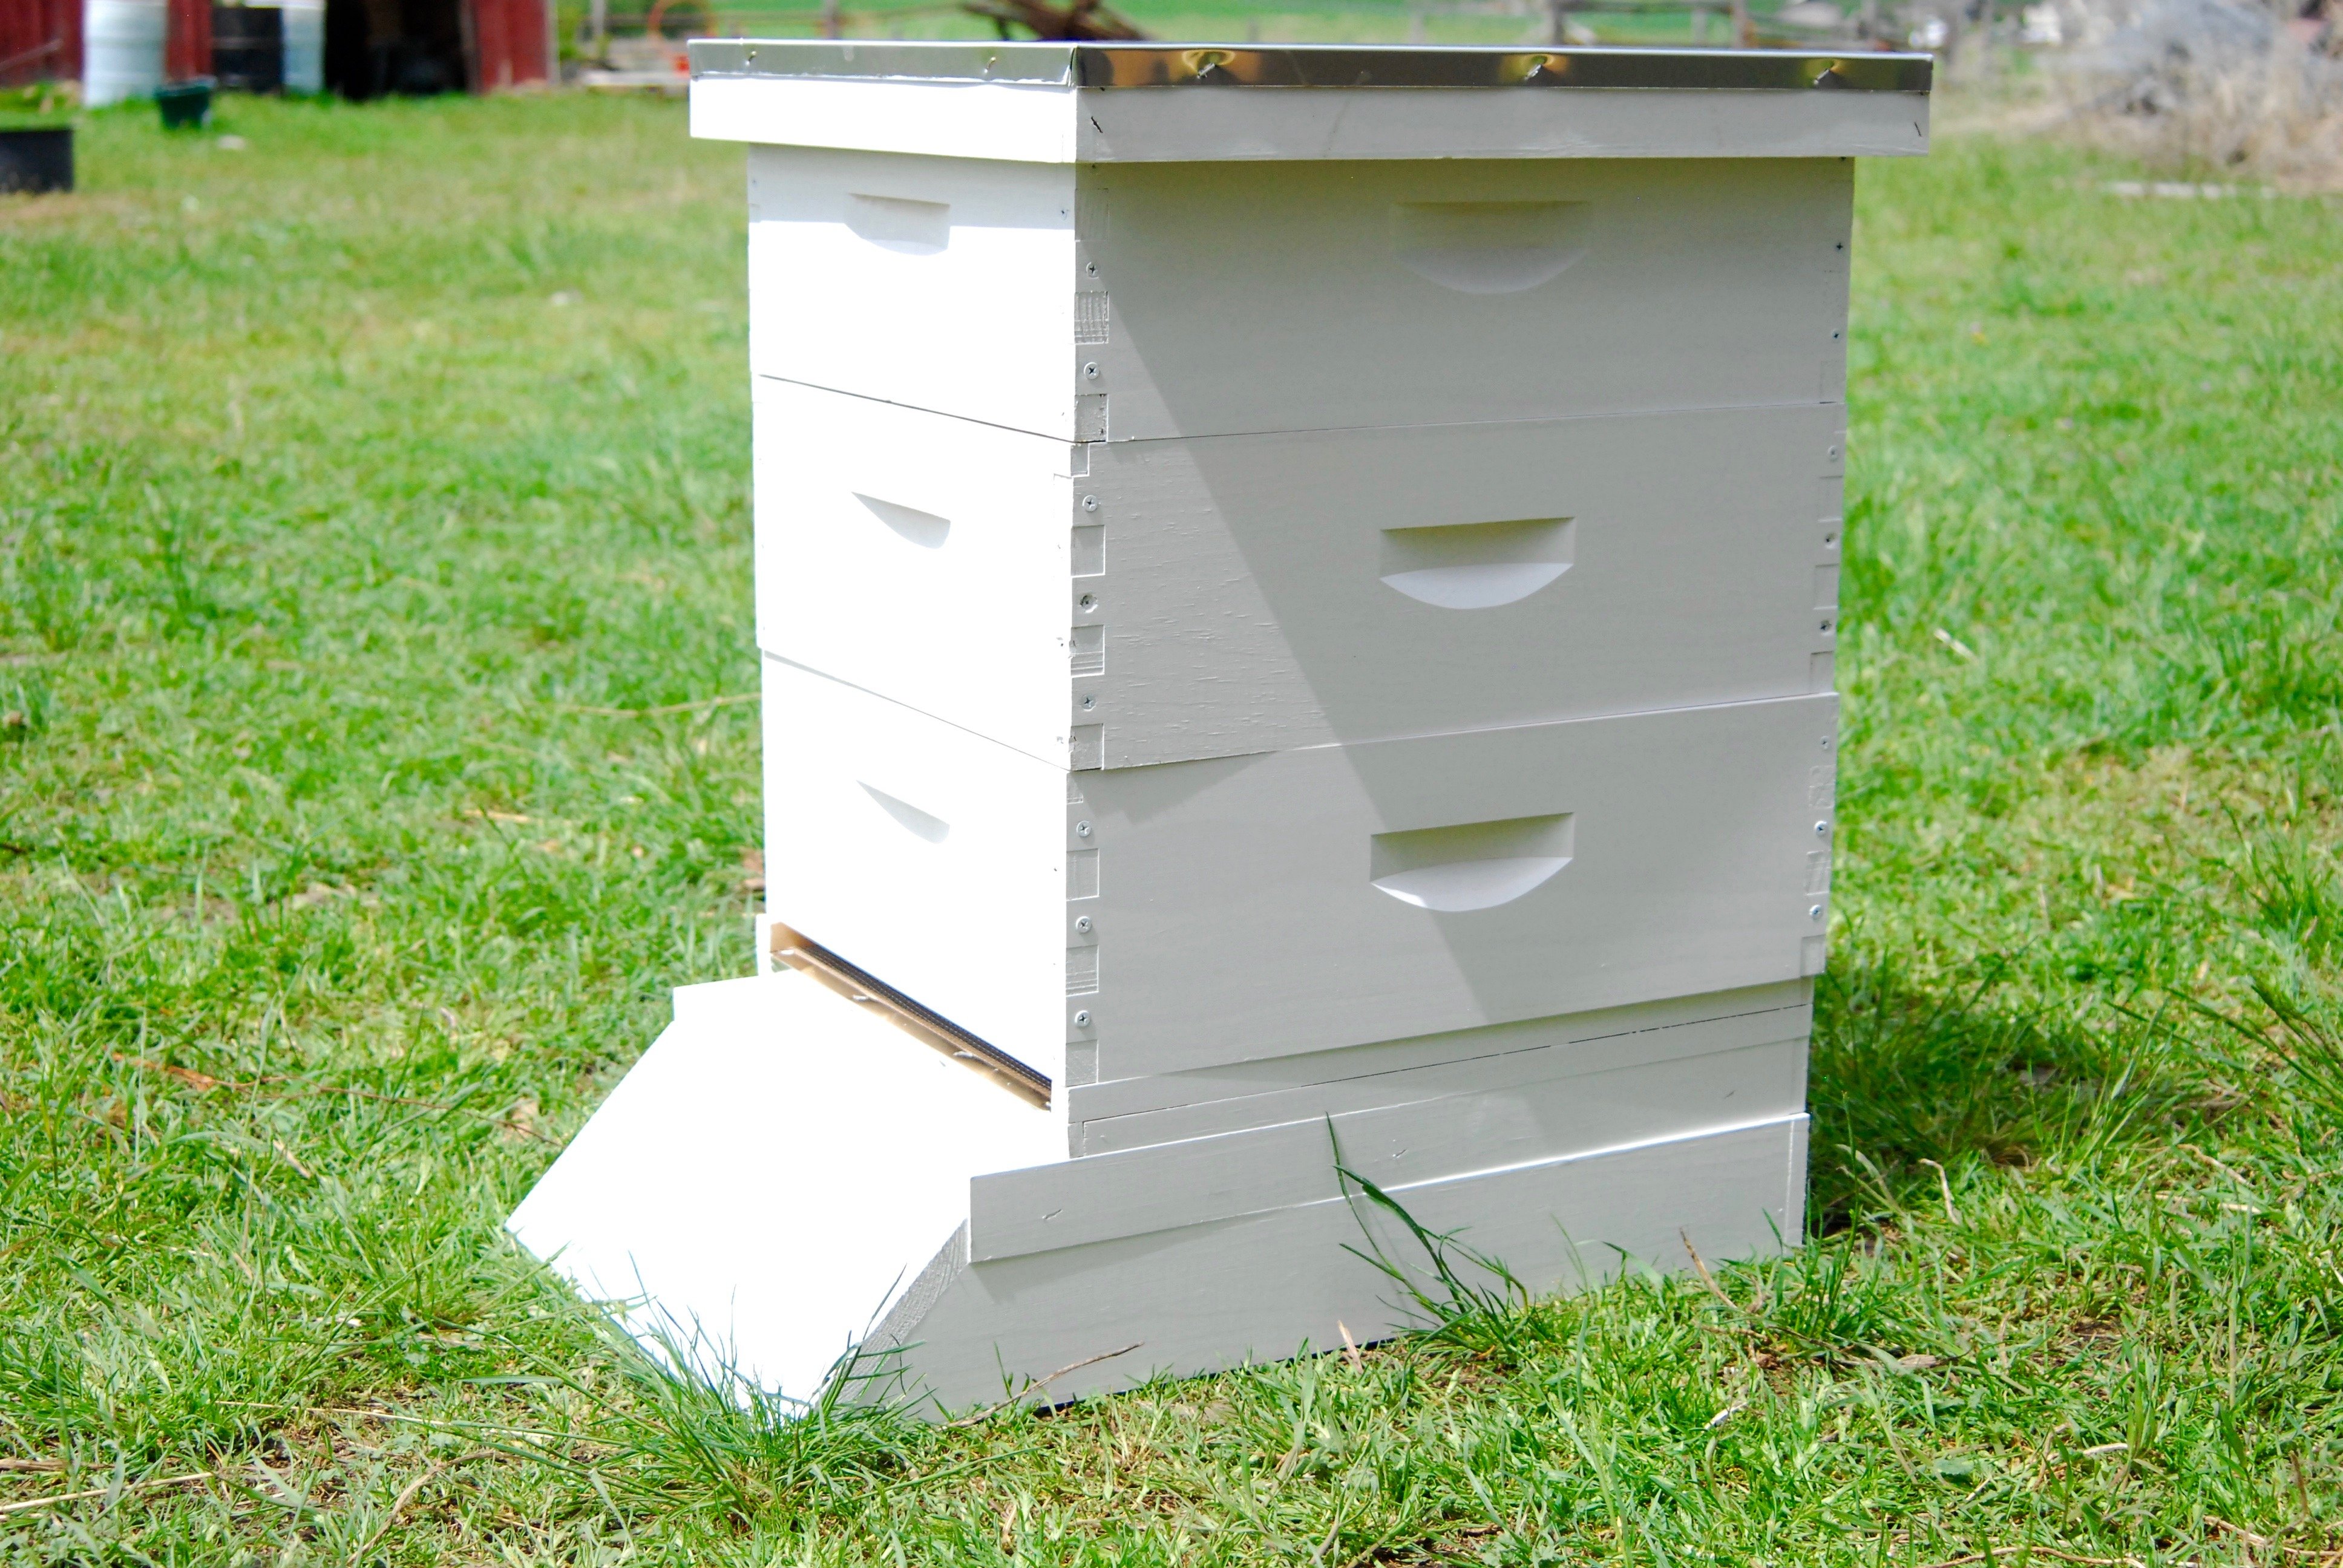 From there, you'll be able to just build up your hive with additional frame-filled supers as your bees need more room to expand!
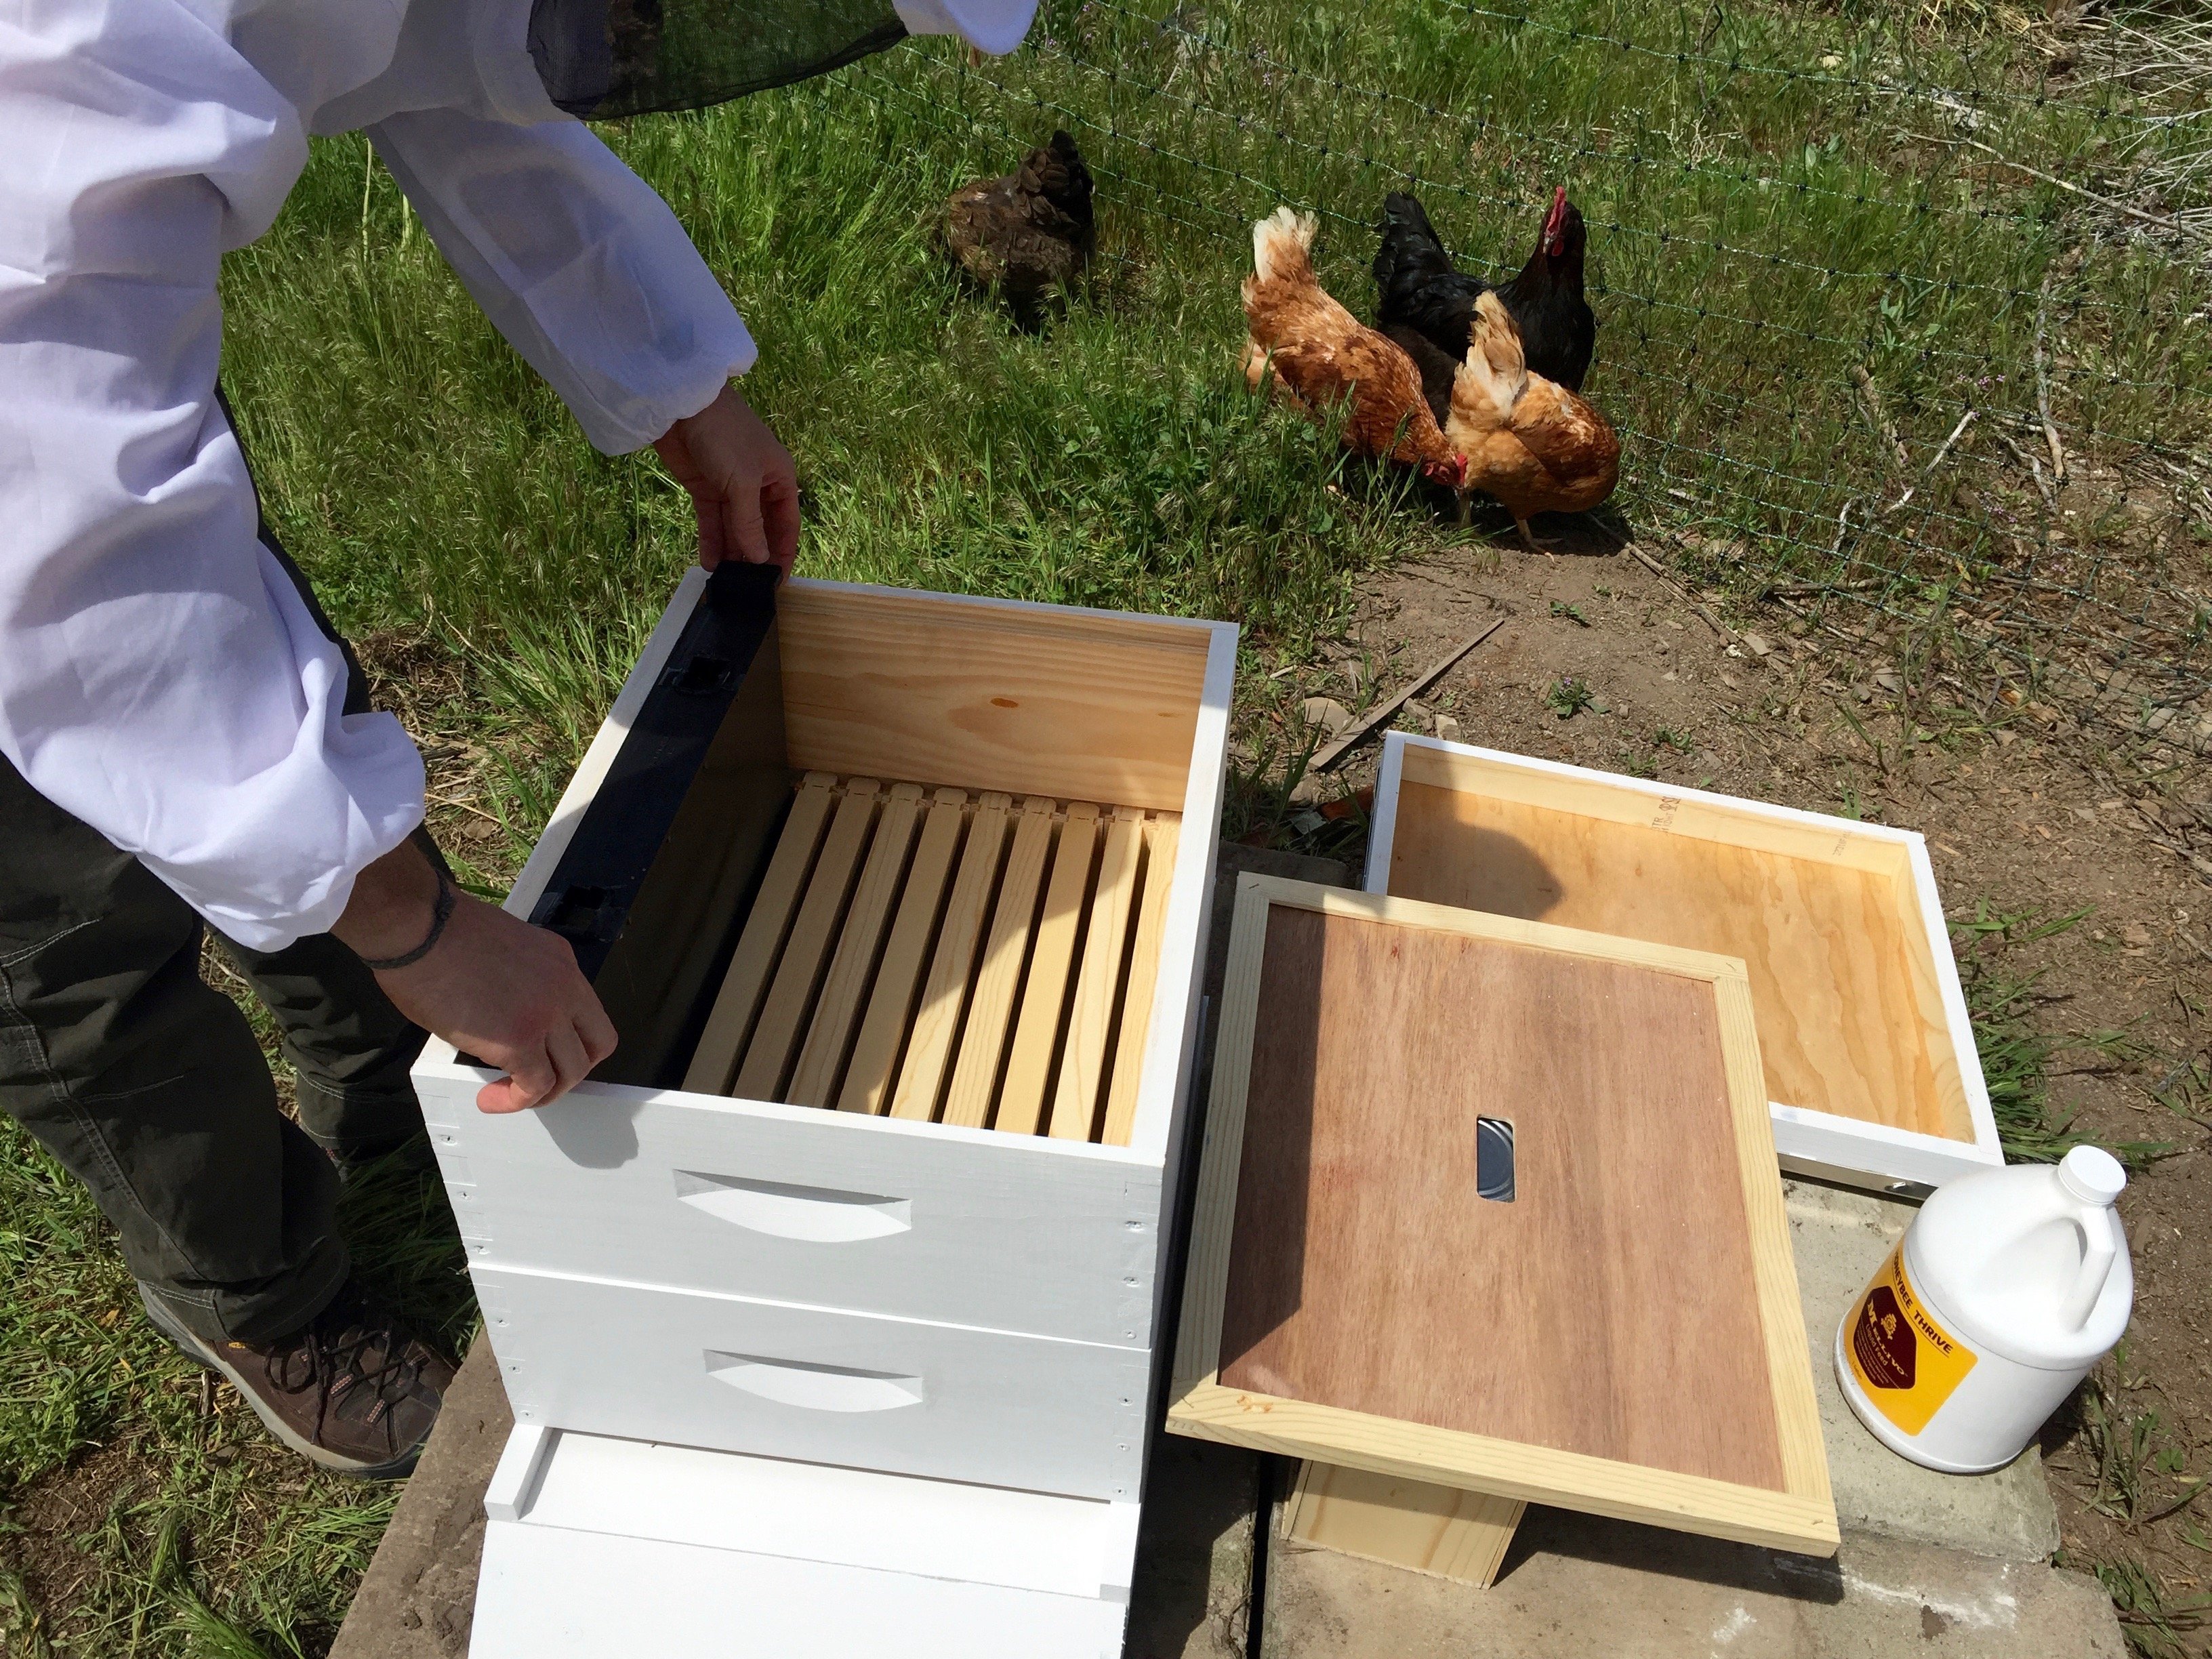
Before we installed our bees, we ended up having to add an additional empty super to make room for our feeder. The feeder we purchased was for the deeper supers, and we have the shallower ones. I do like the design, but we will need to get one that is the right size.
Stay tuned for Part 2 - the actual installation coming later this week! I have lots of video for that, so hopefully, it will be really helpful and informative. And you can see awesome Andy in action :).
Leave questions in the comments below!
Pin this farm tip on your Bee Keeping board to SAVE it for later! Follow Longbourn Farm on Pinterest for more great tips, ideas, and tutorials!
[et_bloom_inline optin_id="optin_4"]


Phil Windley
Another big benefit of frames with plastic foundation is that the foundation gives the comb some support when you spin the frames to remove the honey. I only use frames without foundation when I want to keep the honeycomb (great with cheese and crackers).
Alli
Great point, thanks for adding that! Your wisdom is always appreciated 🙂 Also, cheese and honeycomb sounds mighty good right now!