

Read a very detailed review on setting up an electric fence. Check out information on cost, how we set it up, and durability!
WANT TO SAVE THIS RECIPE?
Enter your email below and we'll send it straight to your inbox. Plus you’ll get great new recipes from us every week!
I heard from a few of you on Instagram that you'd like a review of my electric fence and how I set it up. I have been pleasantly surprised at how easy and durable this fence has been. To me, electric fencing is semi-temporary. One day we will install a permanent fence but until we are 100% sure where we want that to always be, we will stick with the electric fence. I prefer electric fence over any other type of temporary fencing. Barbed wire is so dangerous and just asking for vet bills. I also dislike wire fencing because it is difficult to maintain and also a hazard.
Originally, our pasture was covered in a GIANT tangle of barbed wire, regular wire, and 14 gauge wire fencing.
Ew. Ew. Ew.
We spent a couple days {and a pair of gloves each} getting rid of that disaster and were left with a bunch of t-posts. Because we already had the t-posts and only a few needed to be re-pounded, we opted to go for electric fencing. I was set on using polytape because I was concerned about visibility for the animals. But Andy, in his infinite wisdom, continually pointed out how polytape would loosen and look sloppy every time we passed it in a field. While I am sure there are those who can maintain it beautifully, we opted to go with .3 mm polywire. It was more expensive but I am glad we used it instead. It is really simple to tighten and repair. My animals also had no problems with visibility, which was my main concern with the wire.

Some of the supplies we used are pictured above, I'll include pictures of everything we didn't have leftover as well. Our field is about 3 acres so I just converted that perimeter into feet and calculated how many rolls of poly wire we would need {you can estimate the size of your field on Google Earth Free with the "measure" tool - I highly recommend doing this so you know for sure how big it is!}. I estimated the number of t-post insulators we would need as well, pictured below. Everything else we actually went back into town for after we were ready to set up because we didn't know for sure how our corners would work.
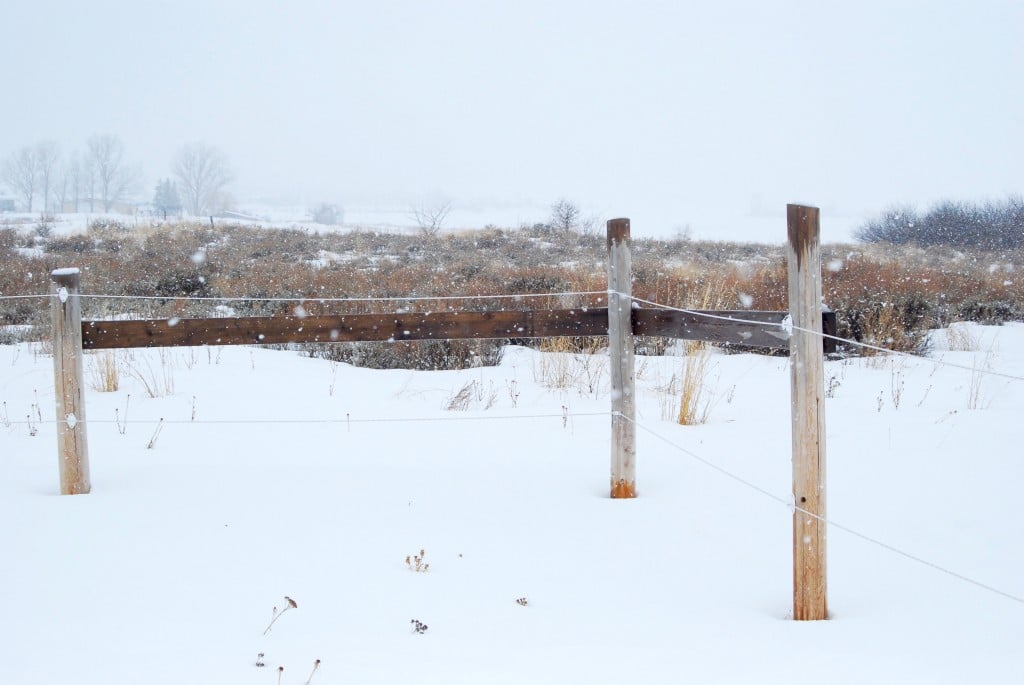
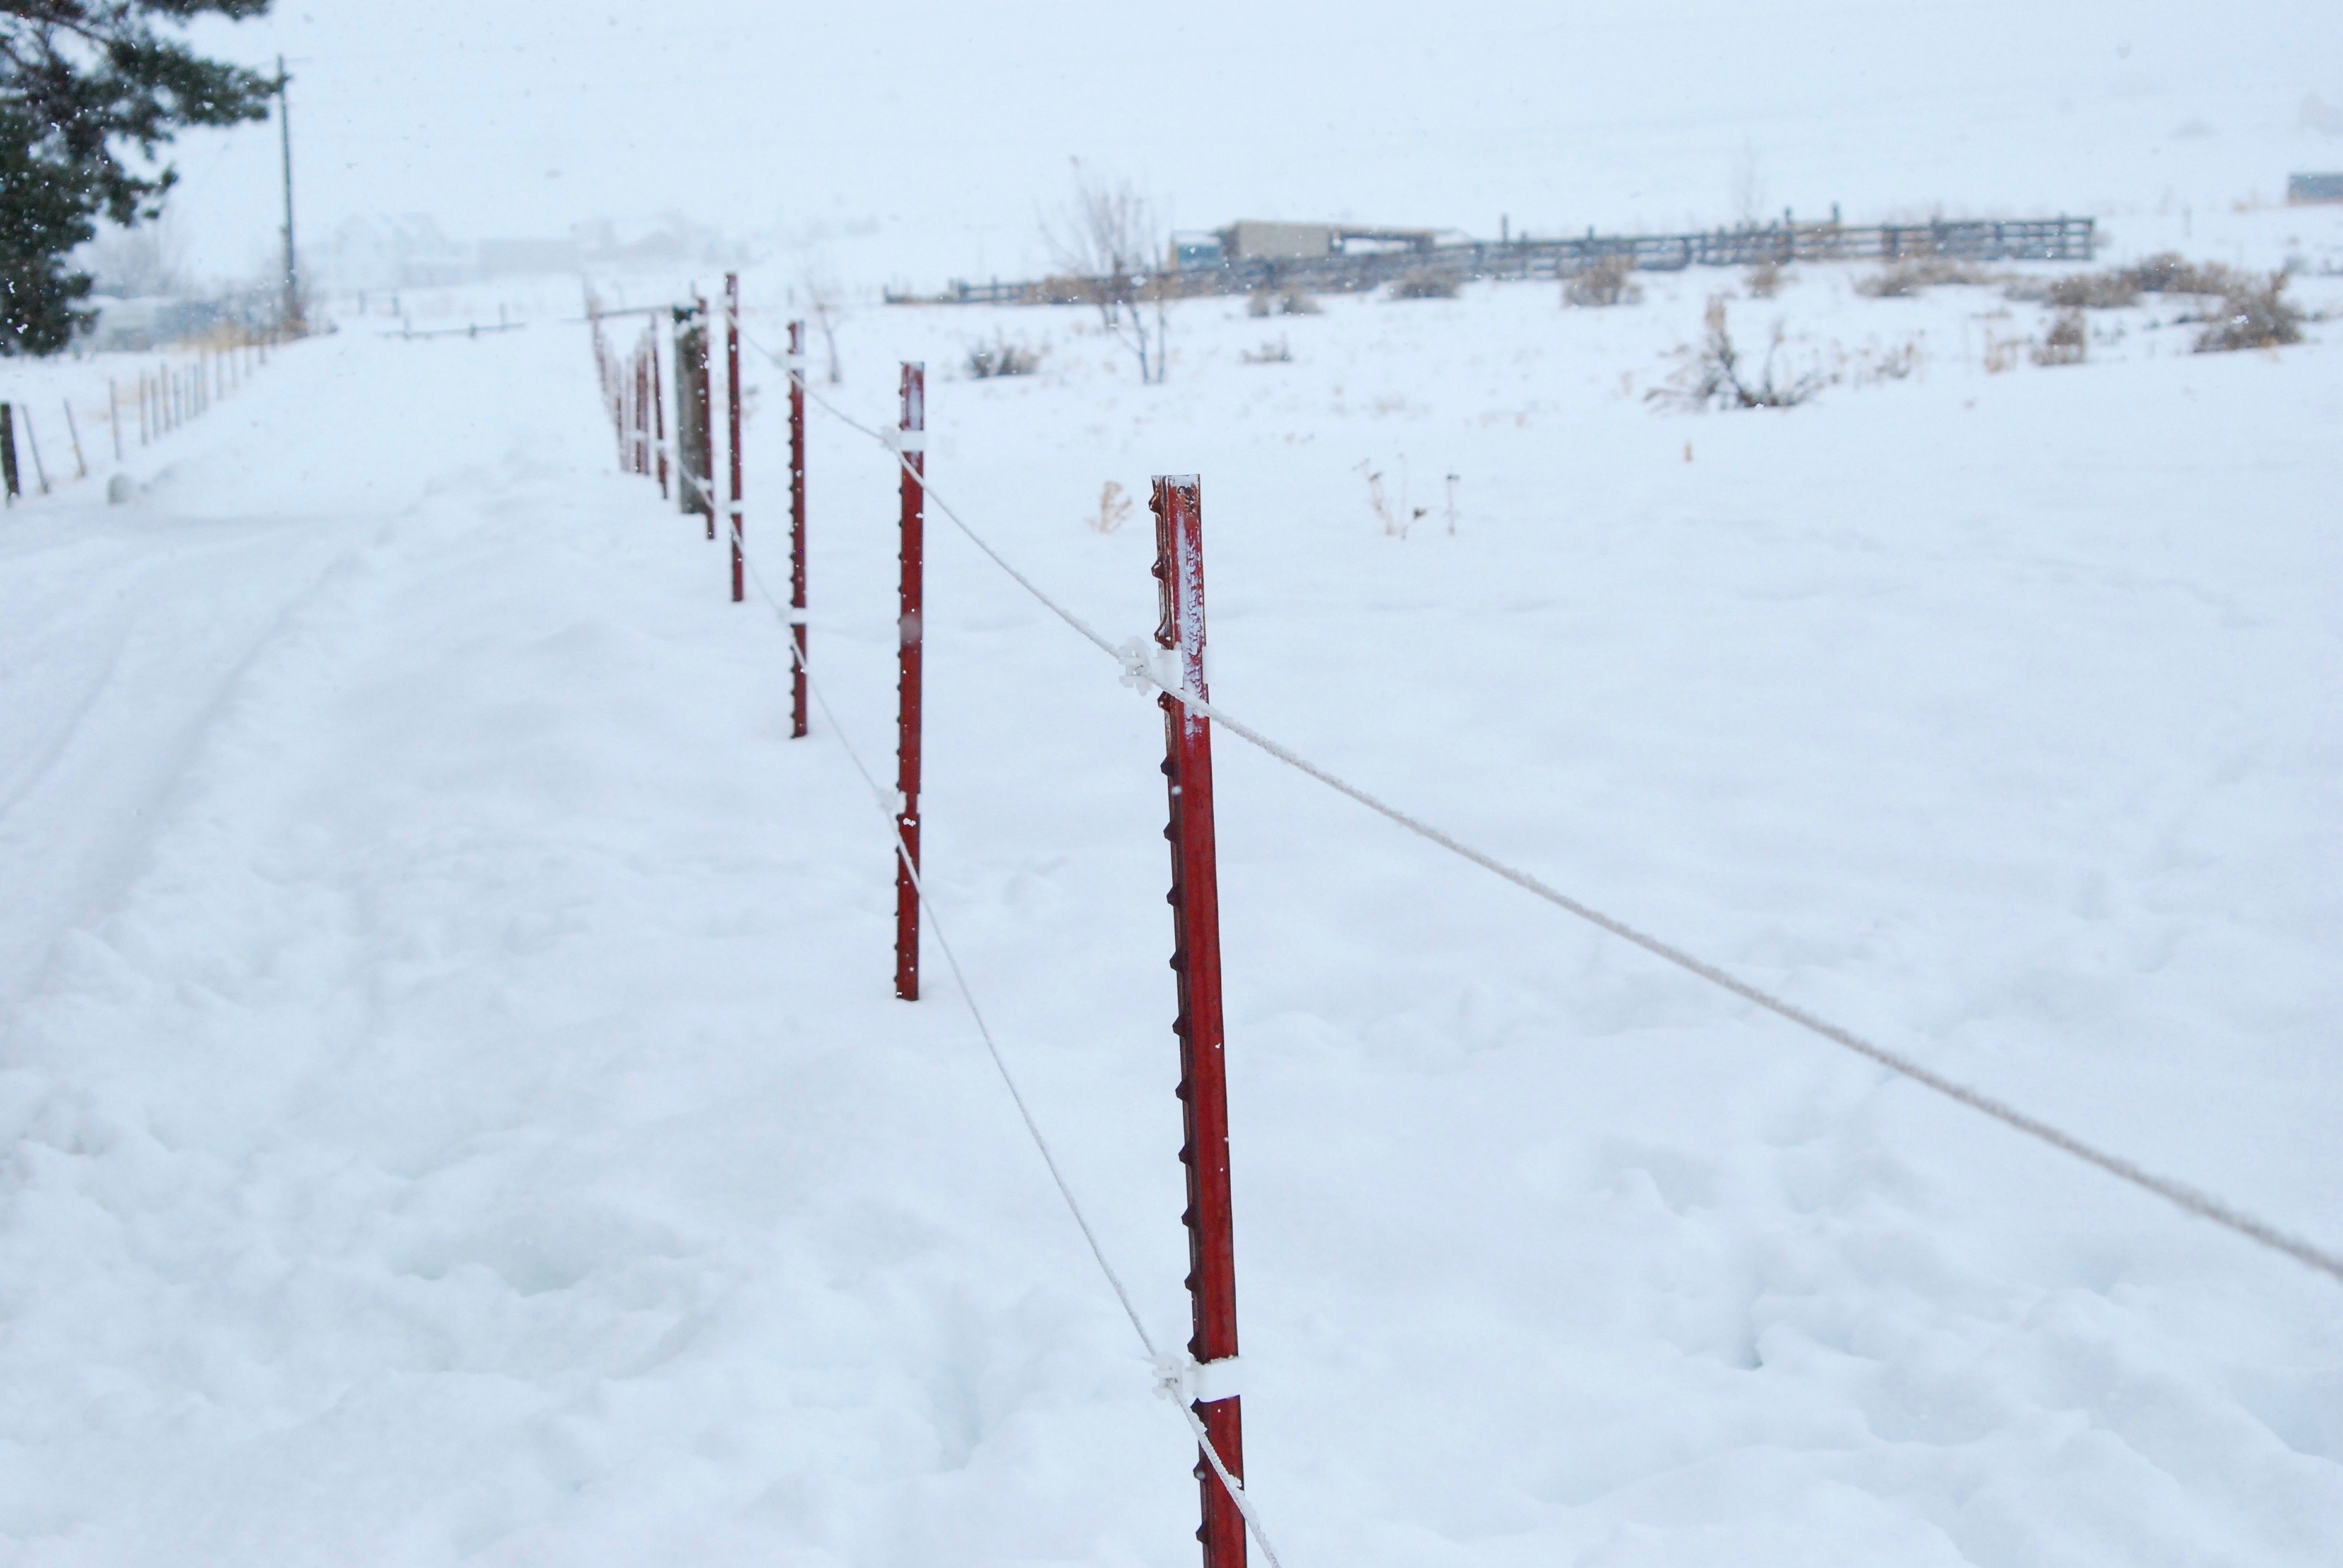
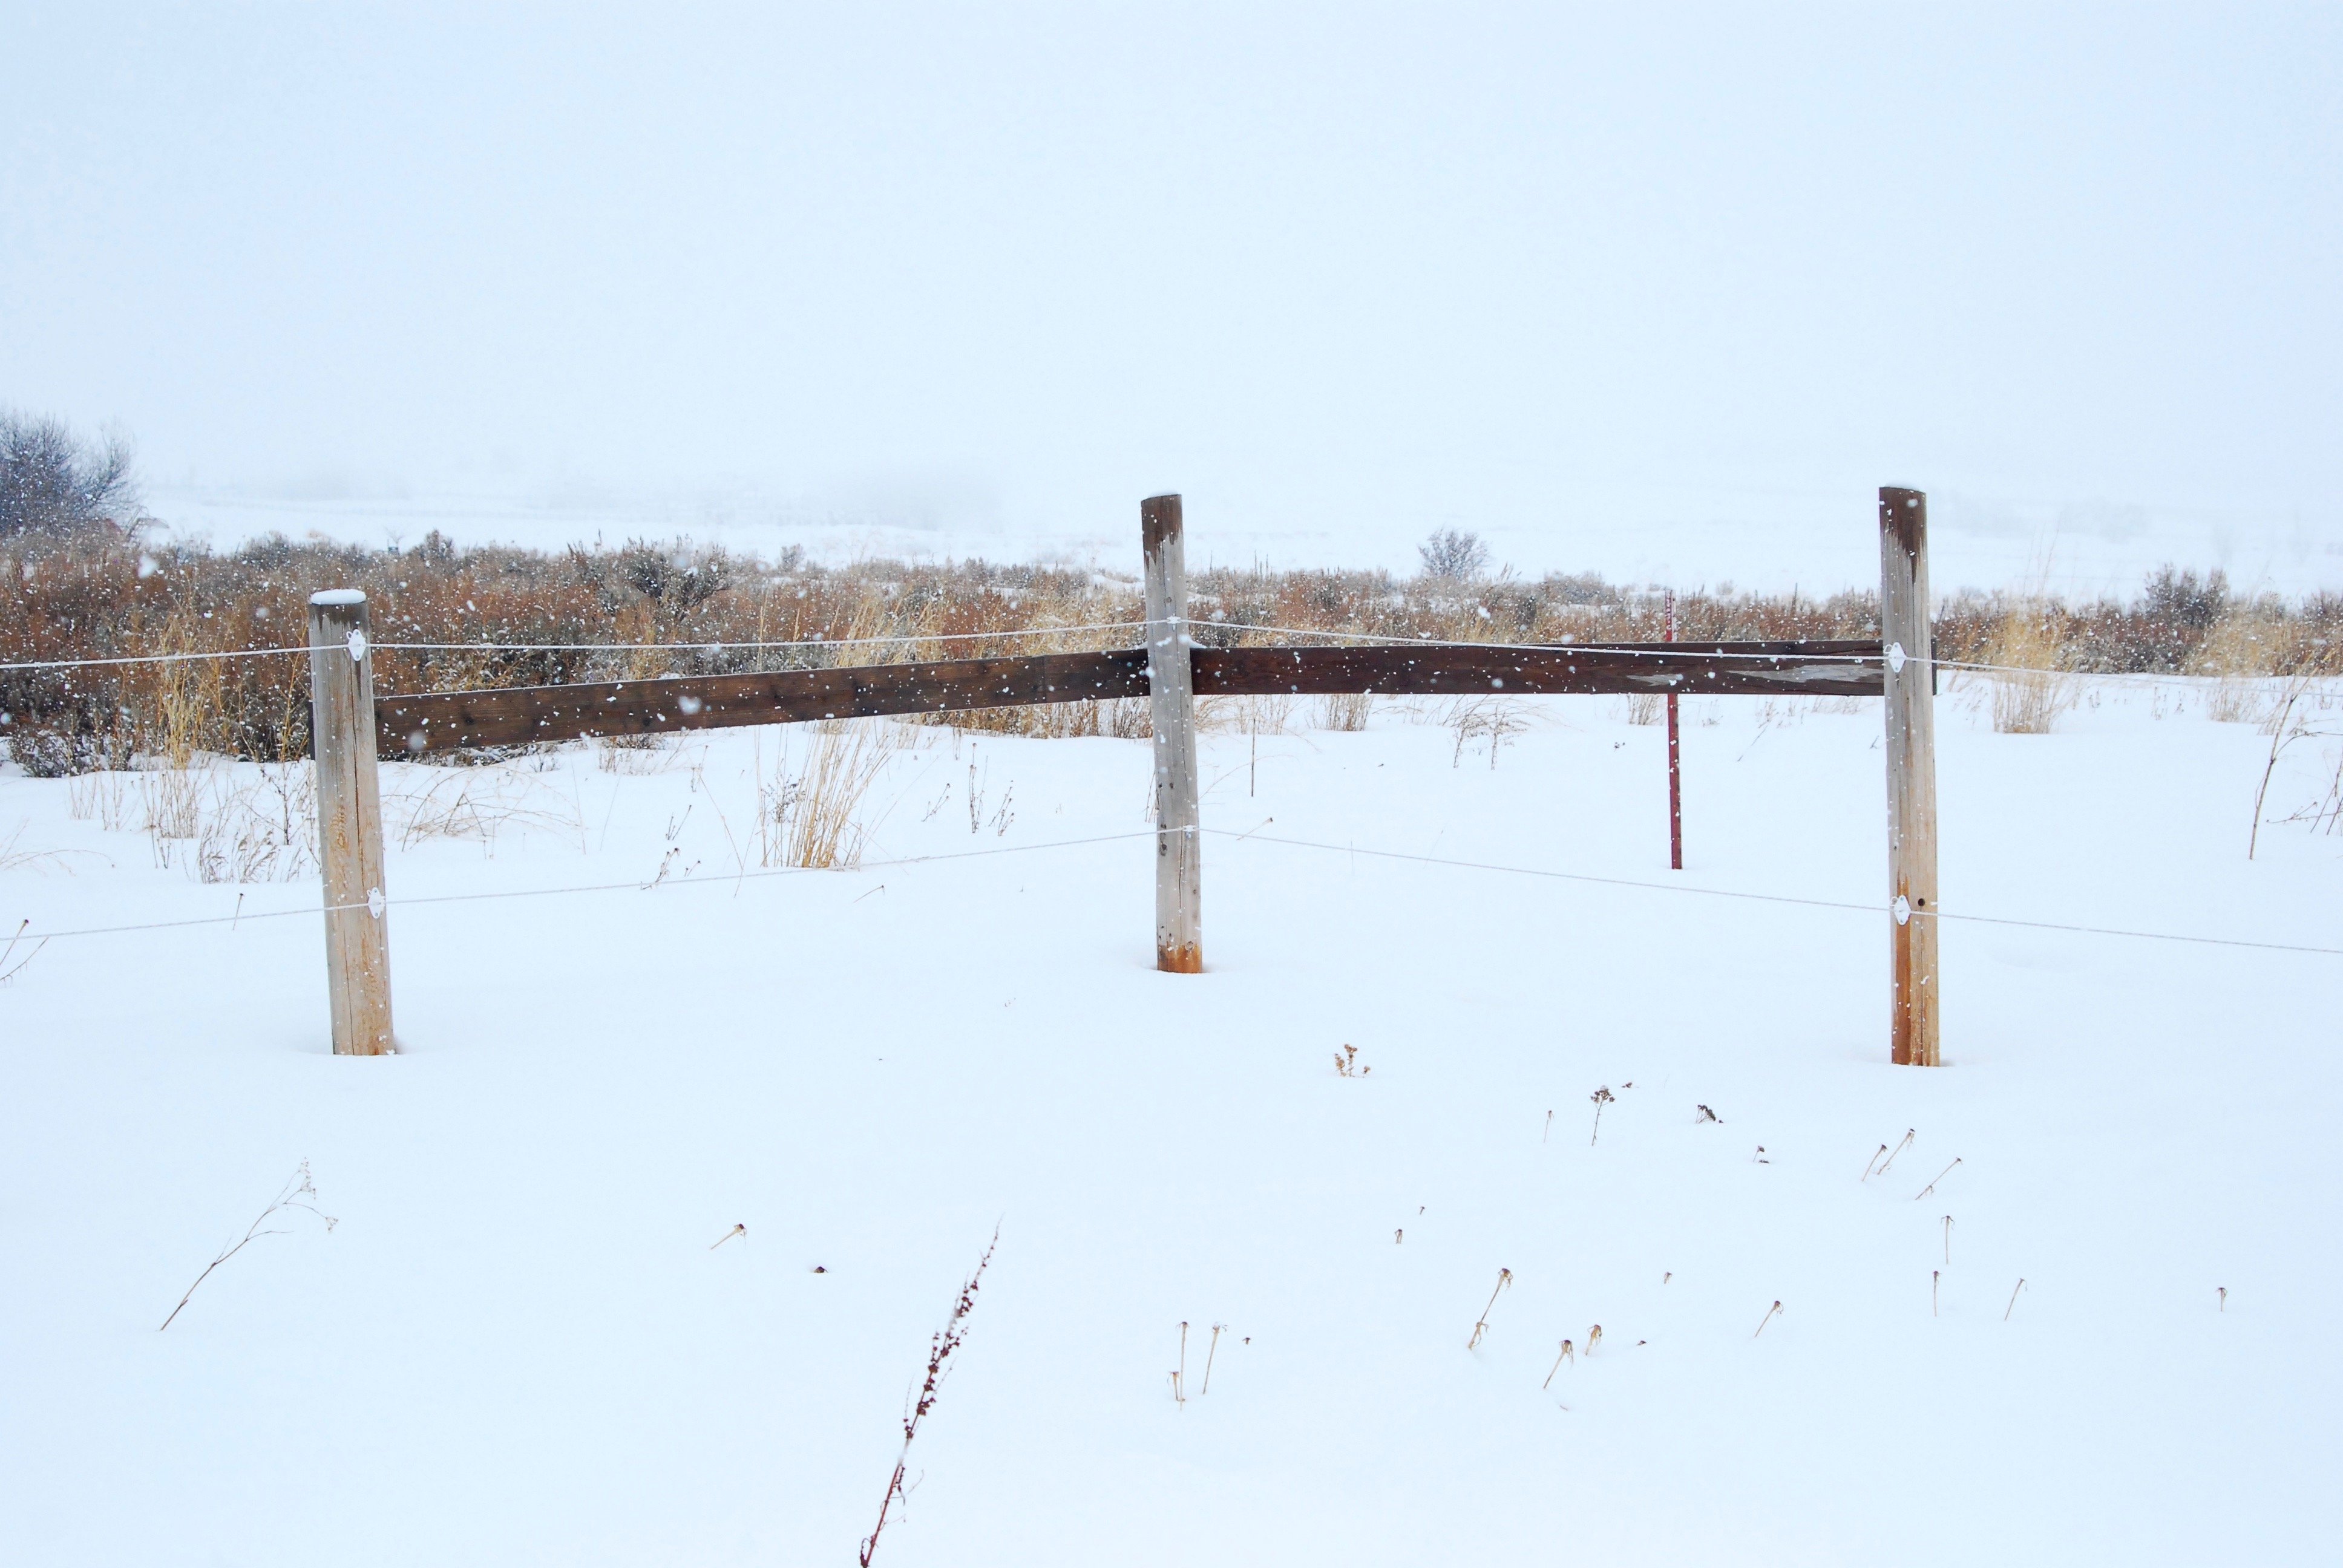
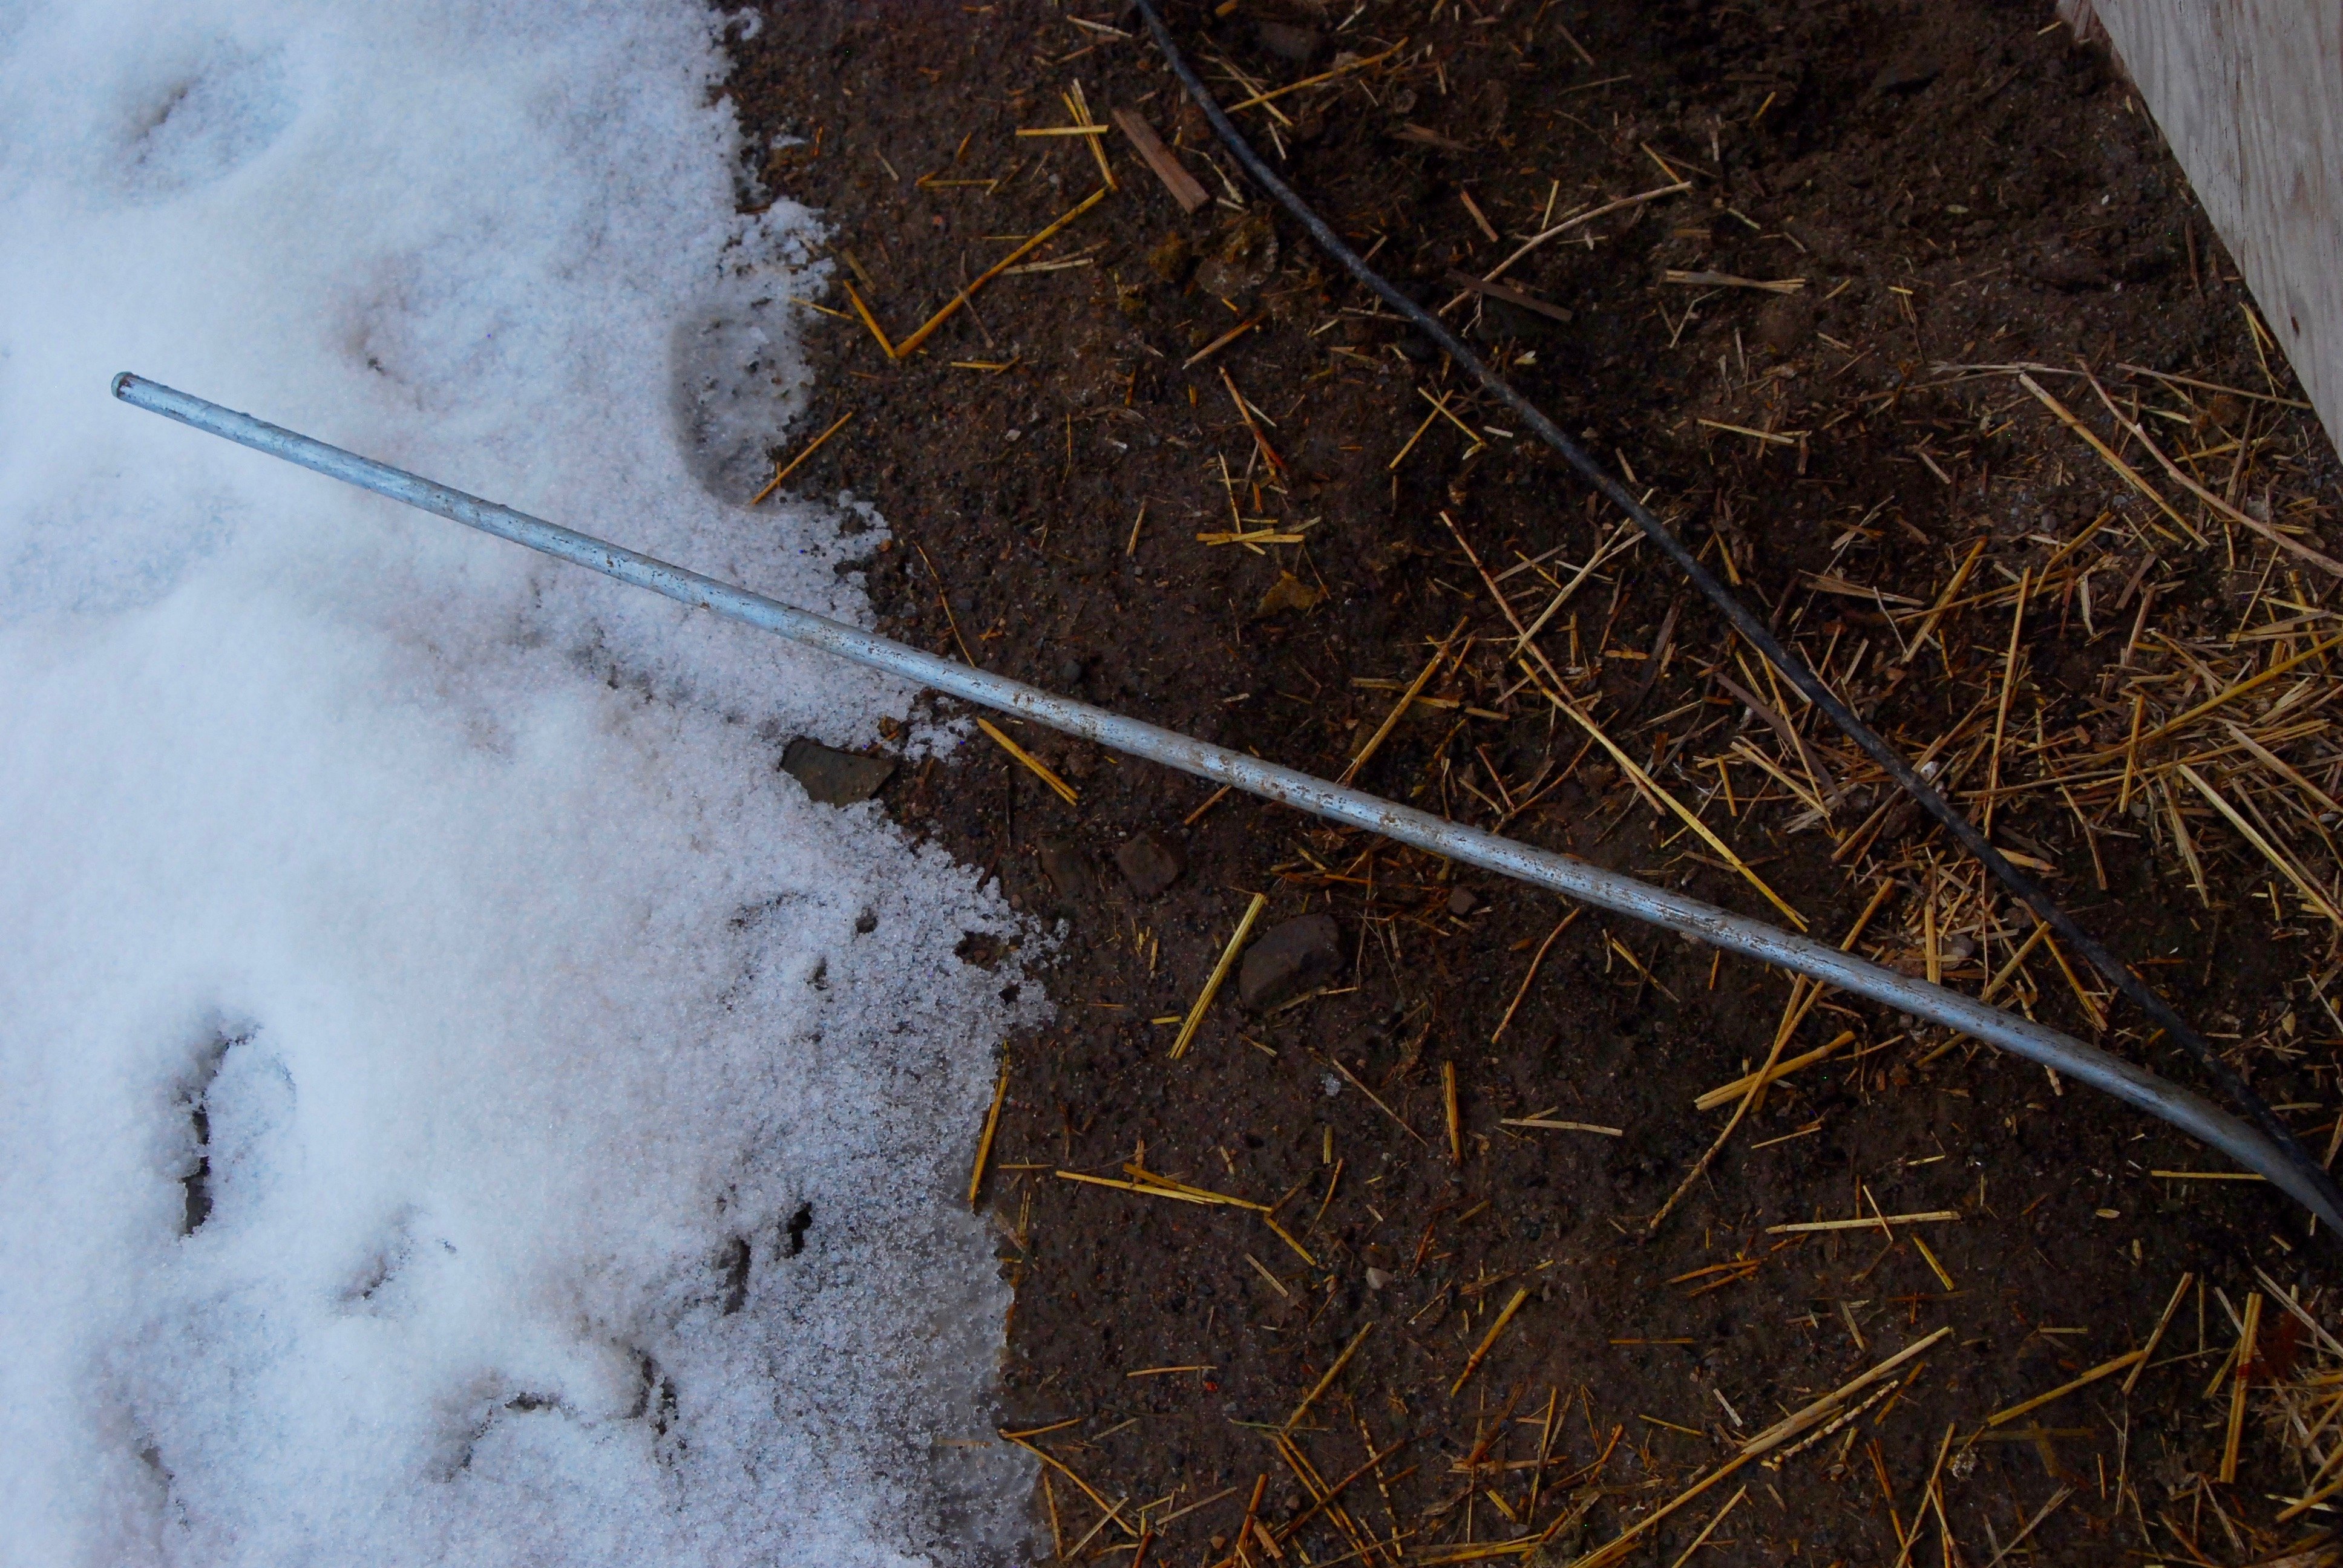
In the photo above and below, you can see that not all of our t-posts were straight or the same direction. Technically, the fencing should be on the INSIDE of the t-posts {photo below}. It is in the back of the field but not on this {pictured} side. Since we basically live on a pile of rocks, we weren't about to re-pound all those posts. It is virtually impossible to get one for the first time and not bend it all to hell and just as hard to get them out! And it's been fine, it hasn't created any issues. A flat head screwdriver is an essential tool when popping those little insulators on! We also used a tape measure to make sure we were pretty level across from post to post.
You can also see that we only used 2 rows of fence. If you are going to be keeping larger animals, like draft horses or camels {true story - there is one in our valley!} for sure take that into consideration. We figured if it became an issue it wouldn't be hard to move things around and add a third row. Also, the snow is deceiving. There is about a foot on the ground so take that into consideration when looking at these pictures.
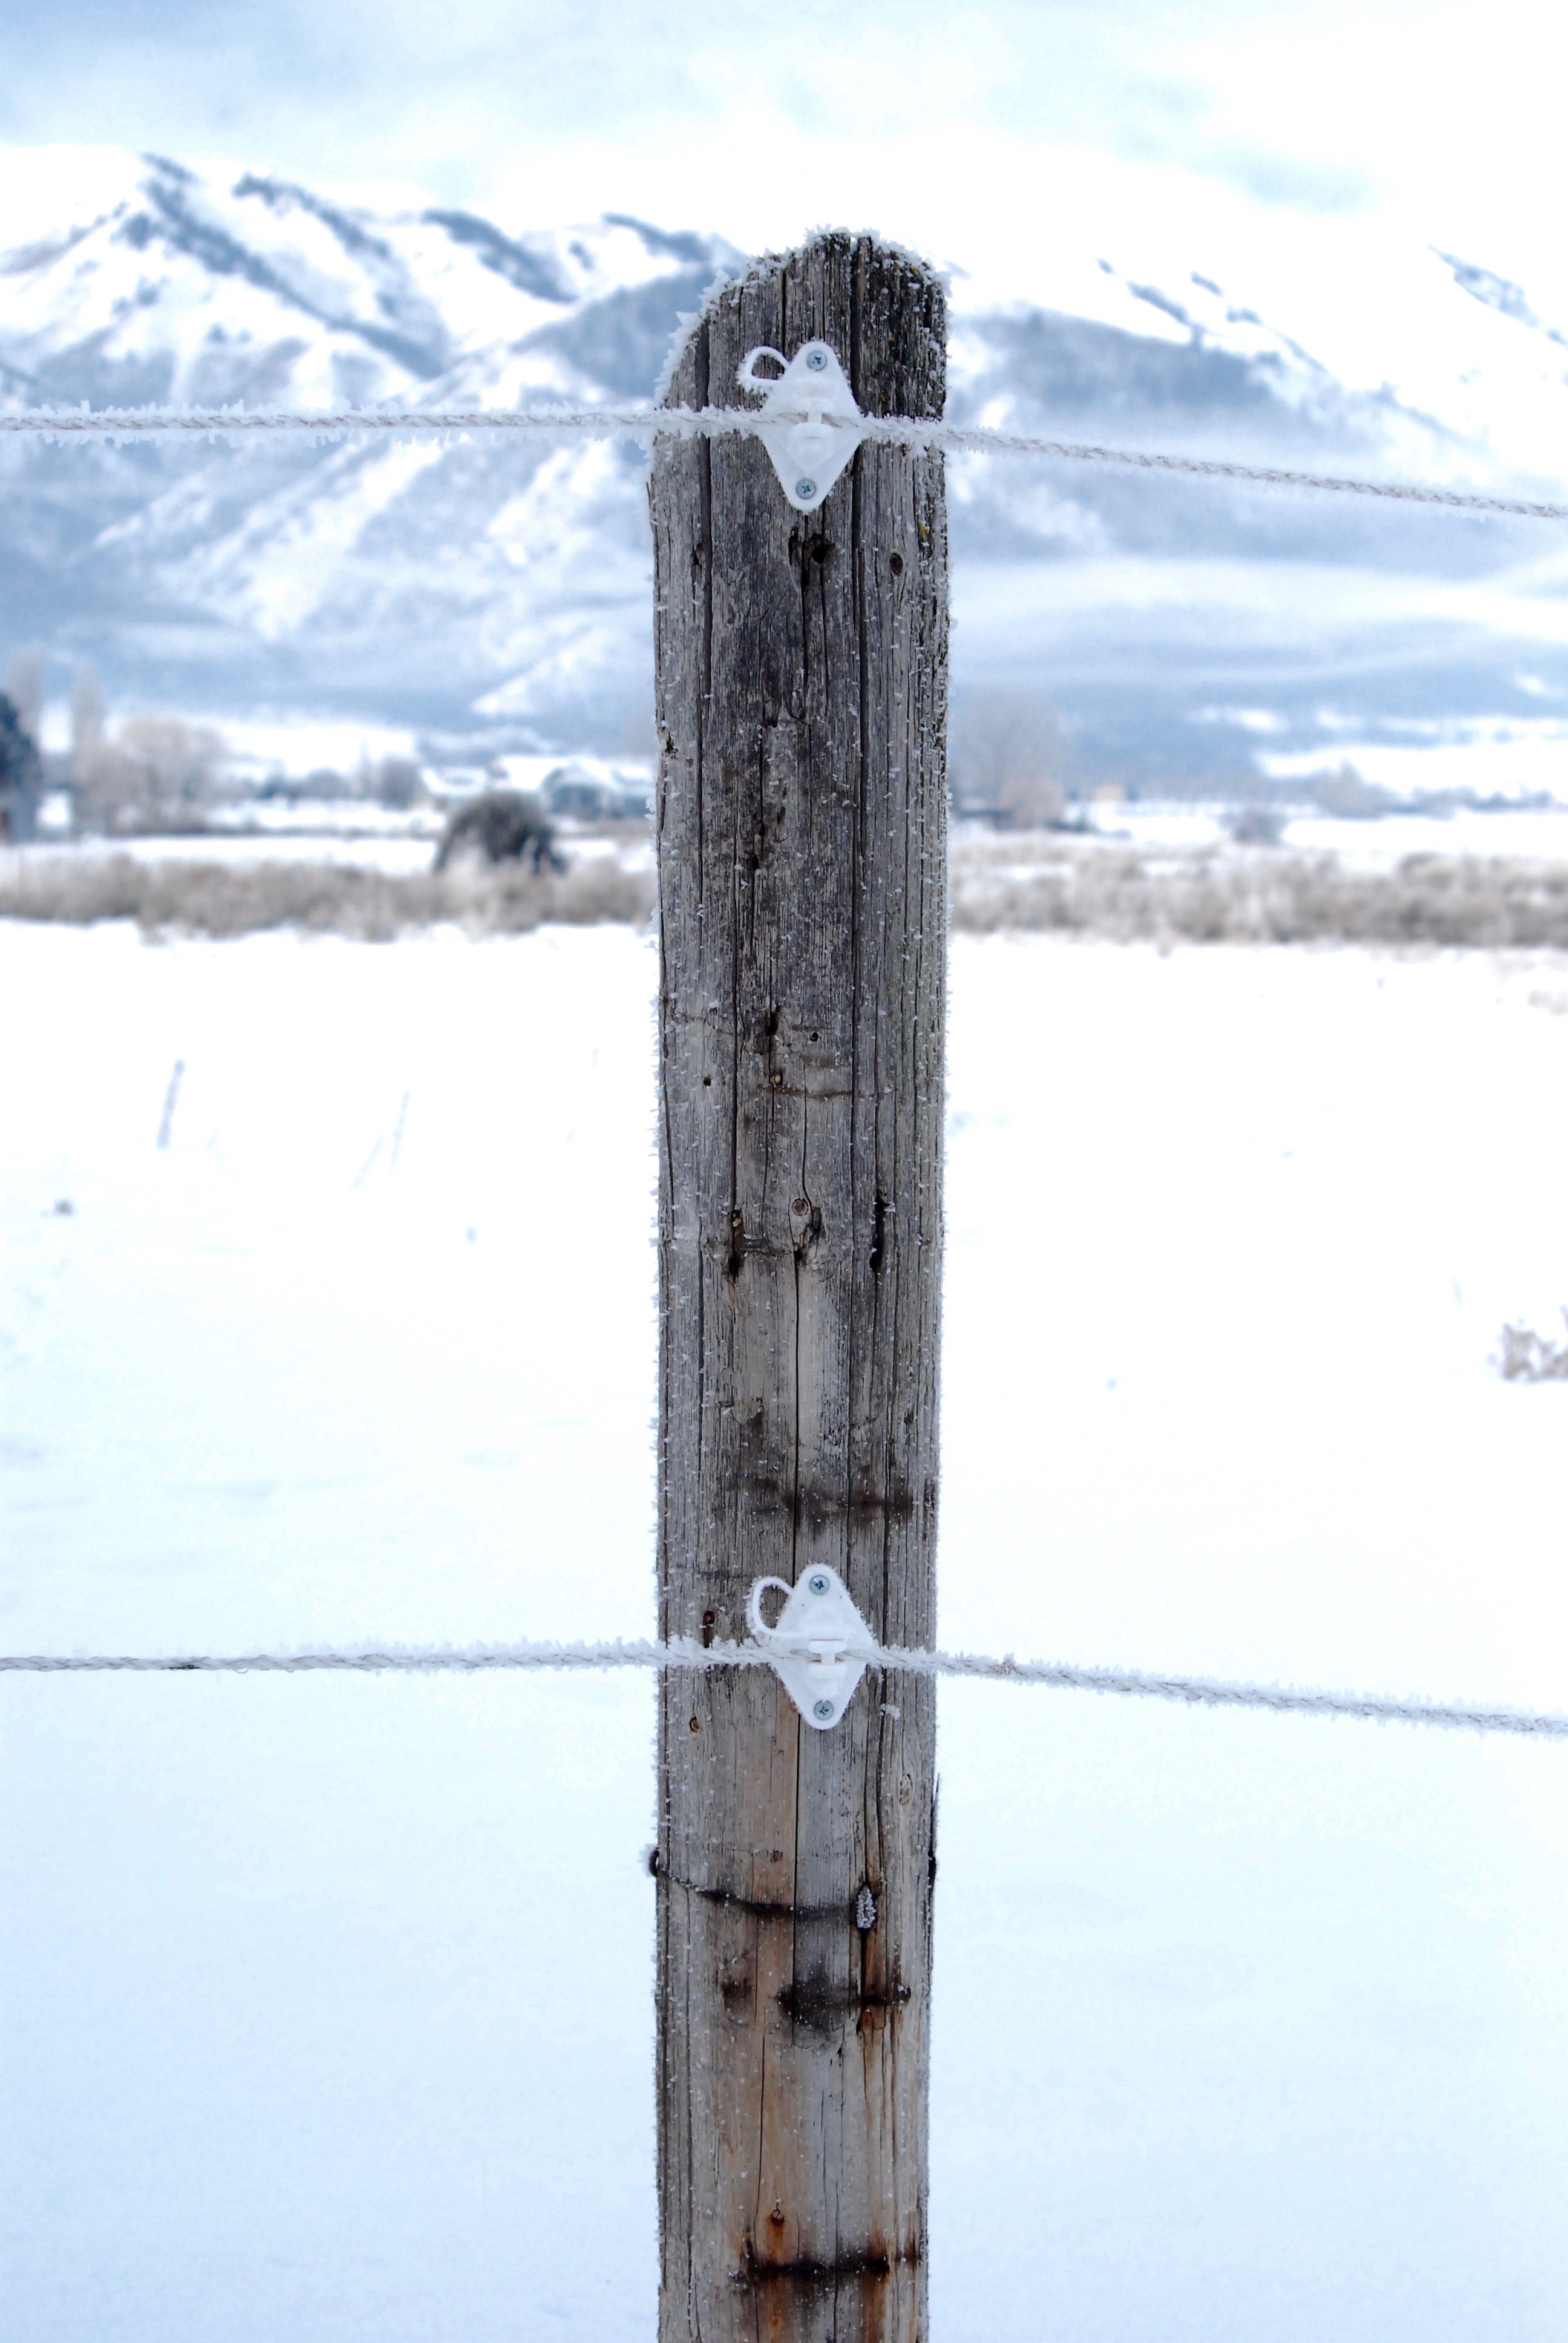
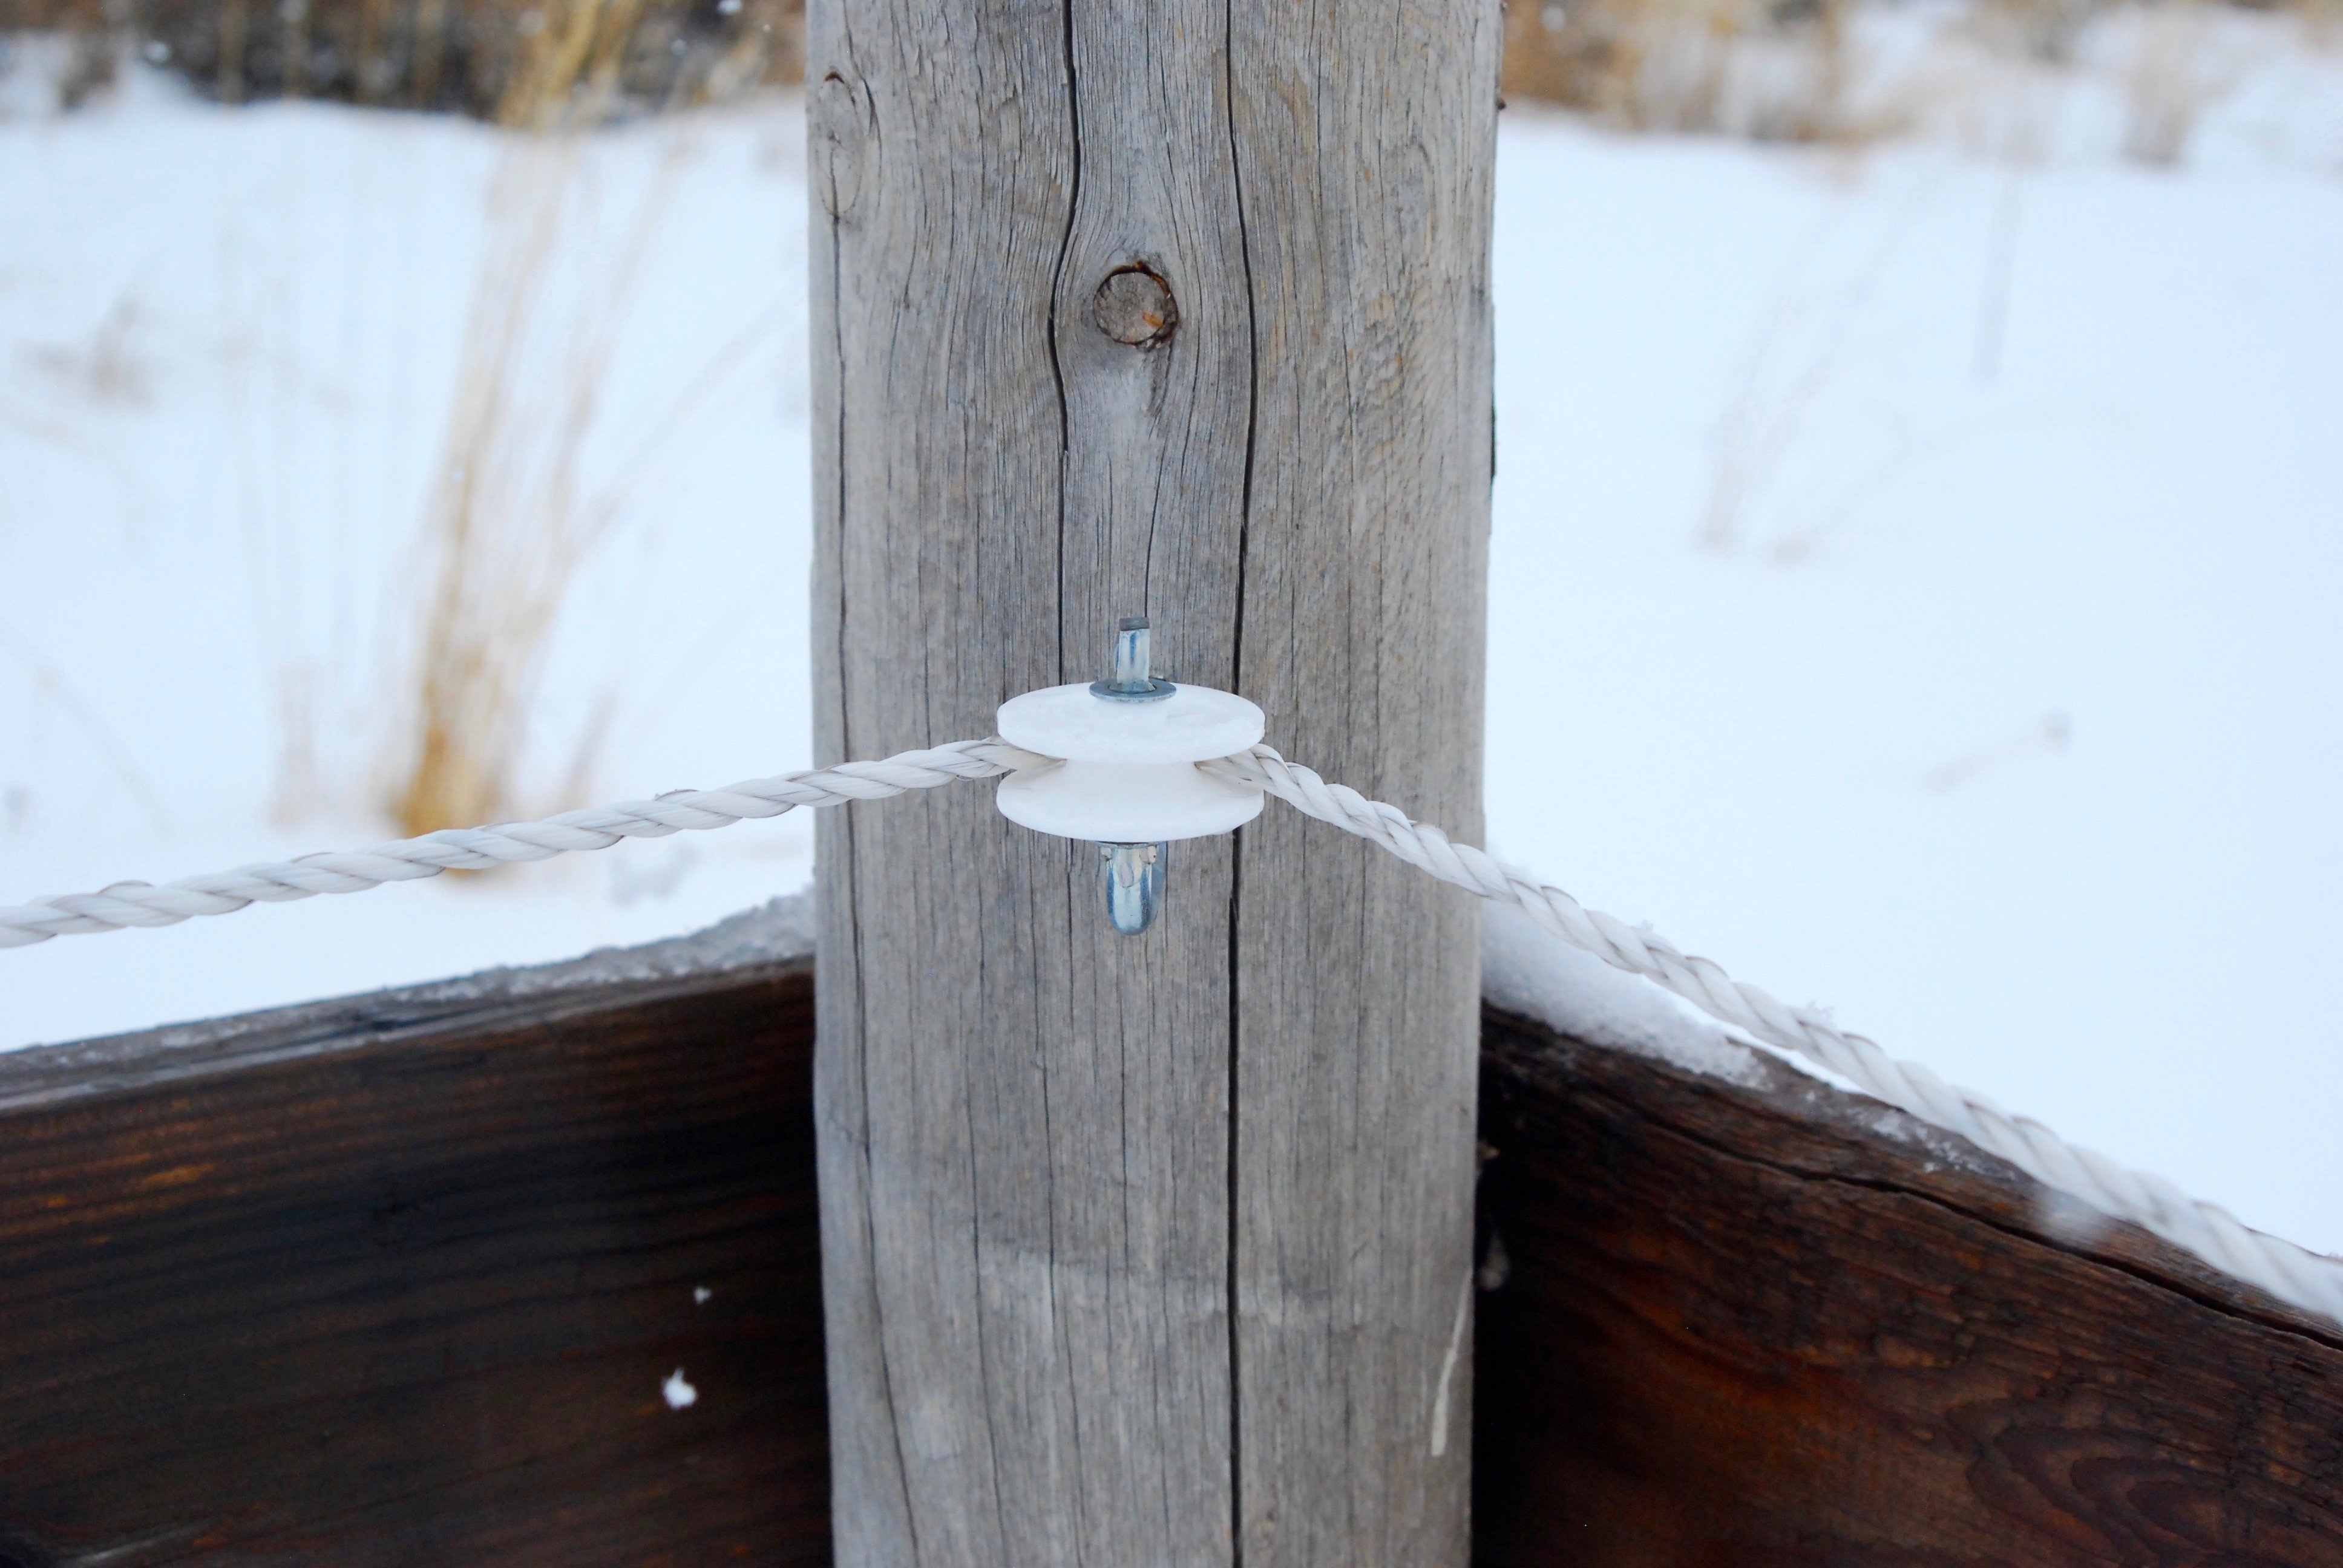
There were random wooden posts throughout our t-posts so we pulled out any that were rotten or unstable but left those that were in good order. We used these screw in insulators on the wooden posts. And yes, every mark in that wood is from the old fence. So. Much. Wire.
Now for the corners. Just like you don't have a good horse without good hooves, you don't have a good fence without good corners. DON'T BE CHEAP ON THE CORNERS! In order to dig our corner post holes, we needed to rent an auger. It literally dug up rocks with a few flecks of dirt. It wasn't very expensive to rent for the day and it was worth every penny. After we dug the holes, we set our corner posts with cement. And we did all this before I started blogging so I have no pictures...I know, shame on me! But that is a pretty simple process:
- Just set your post in the hole about 3 feet down.
- Mix your cement according to the package instructions - make sure you use outdoor cement. {We used about 1.5-2 bags per hole, which is less than the instructions say, so ya know. Use your best judgment.}
- After it's mixed, just shovel it in the hole all around the post, checking the level on your post as you go.
After you have your corner posts in and dried, you need to screw supports across. Since our fence doesn't put a ton of pressure on the actual posts, we only did cross braces {make sure you check the level on this too}. If you wanted more support, you would also include a post going on a diagonal from the top of one post to the bottom of the other post, in the direction of pull from your fence. I think our corner posts are actually a little bit too far apart. We did 10 feet and I think 8 feet would be better.
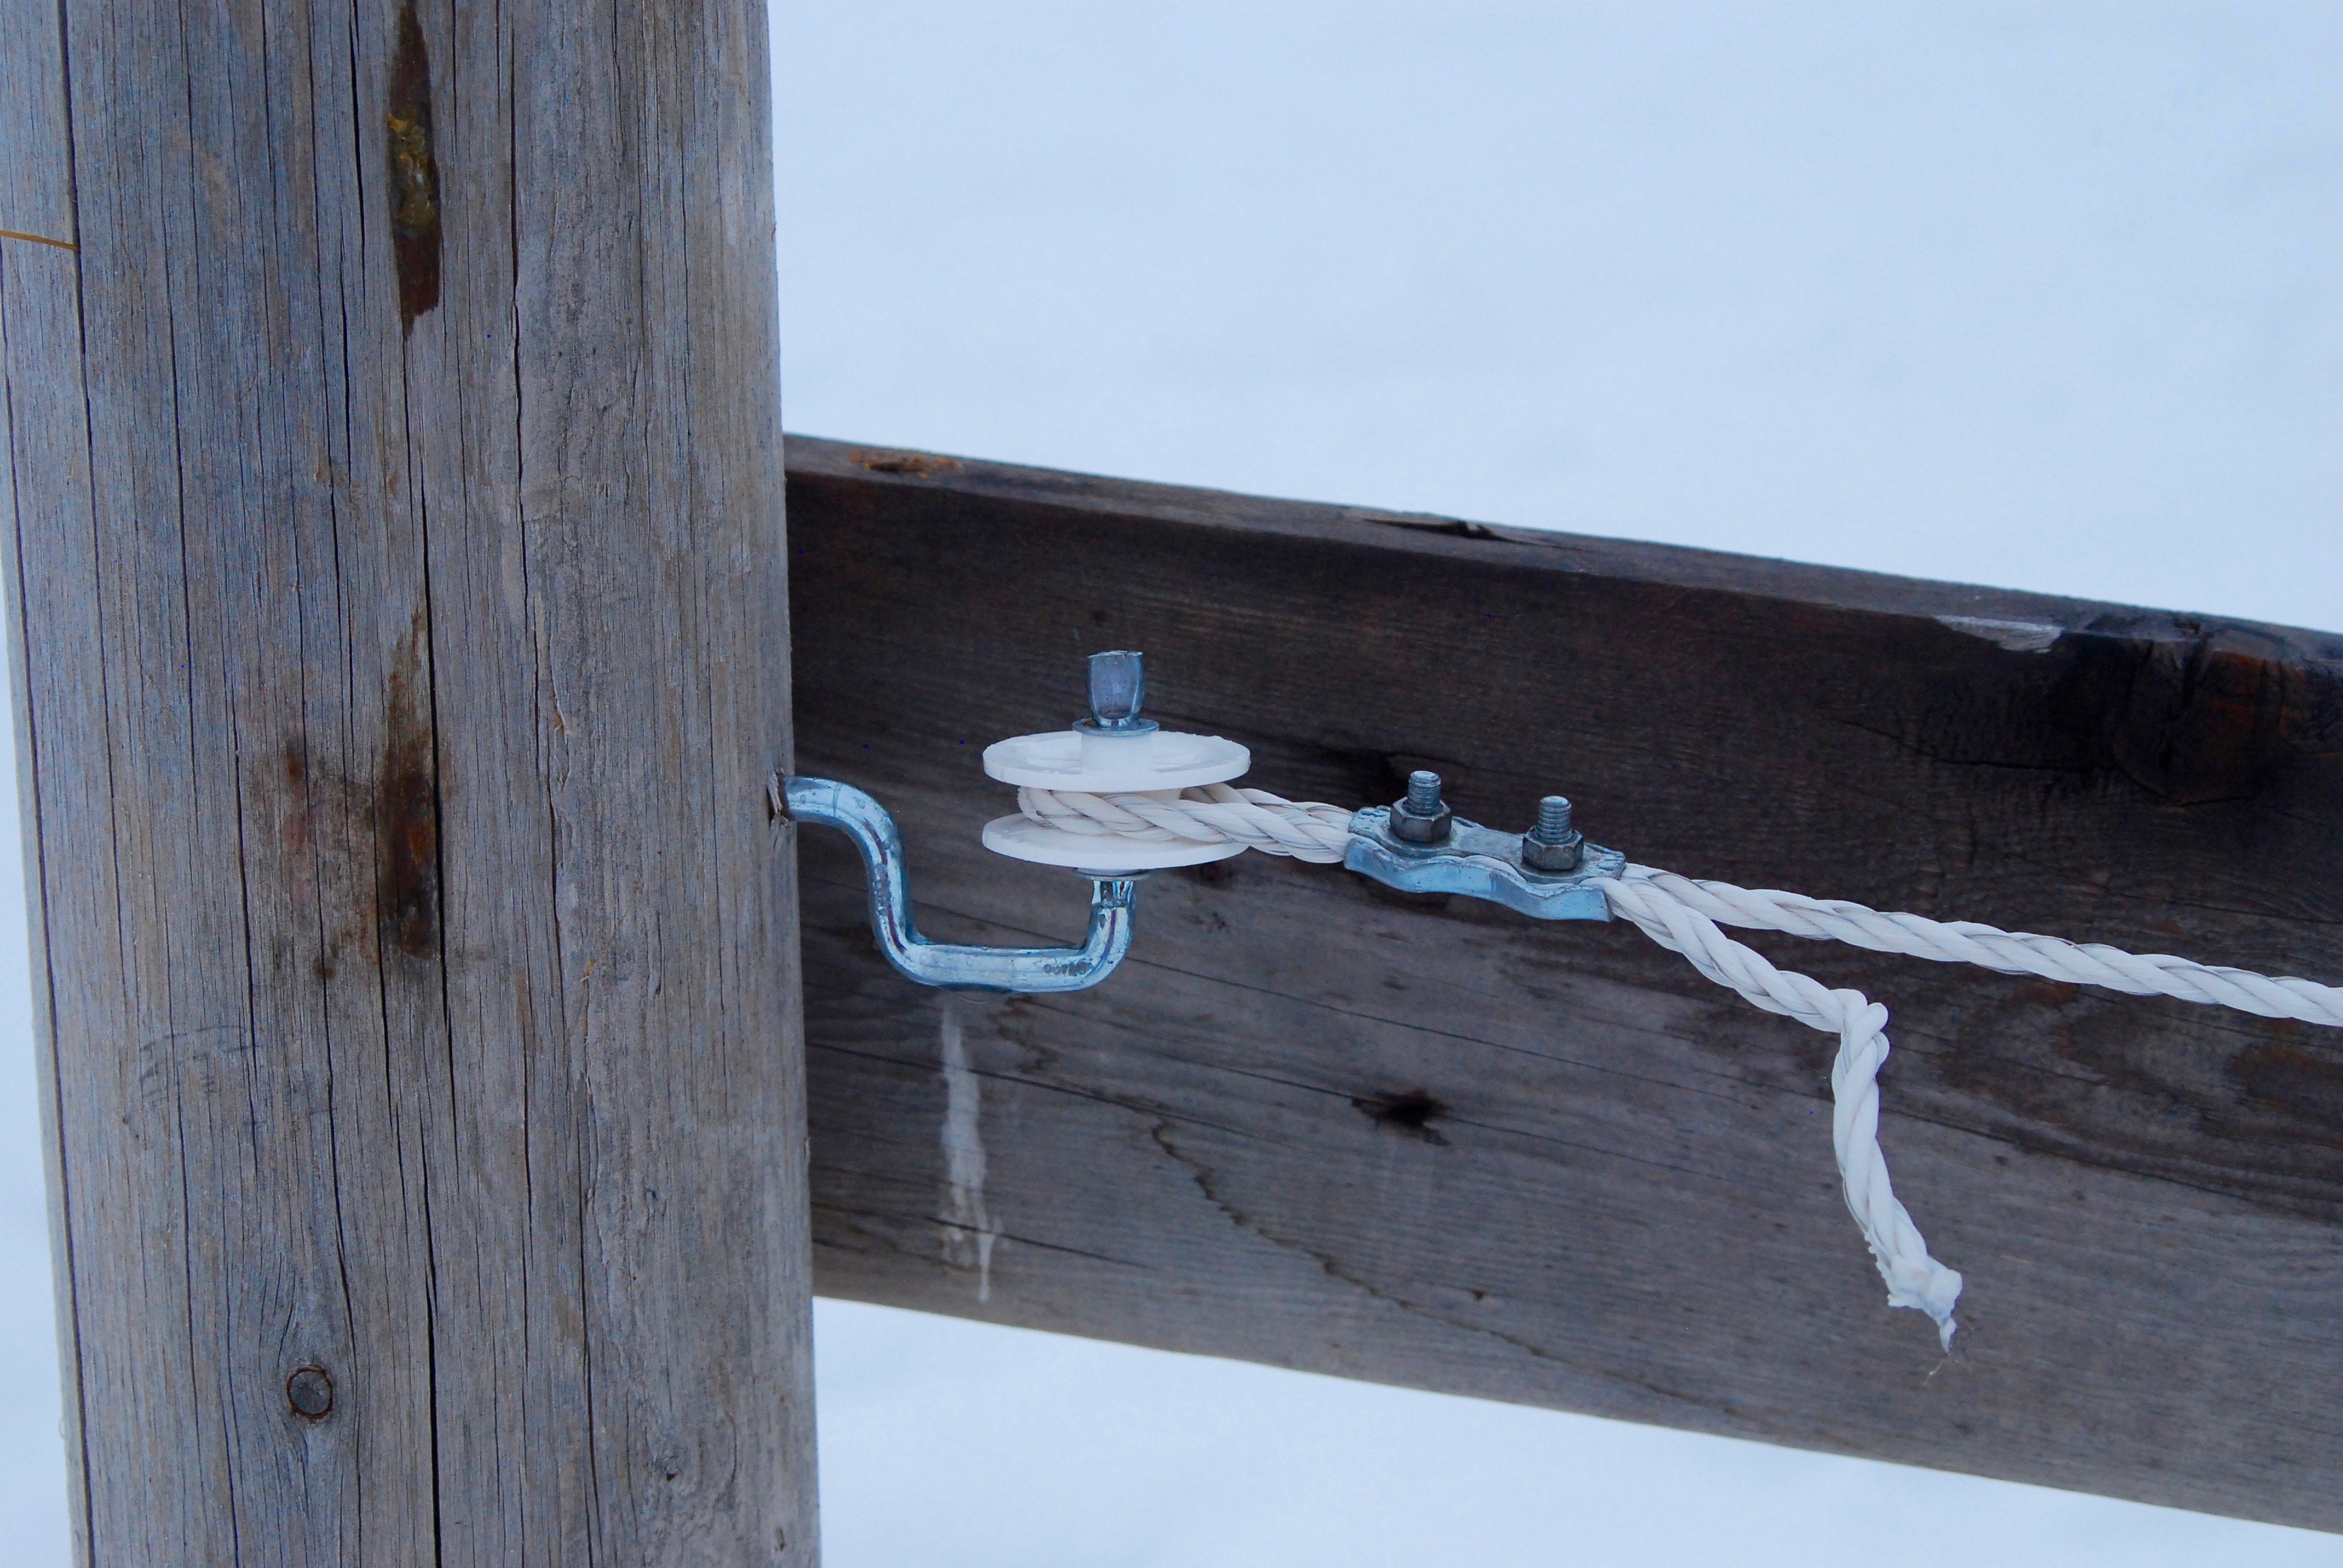
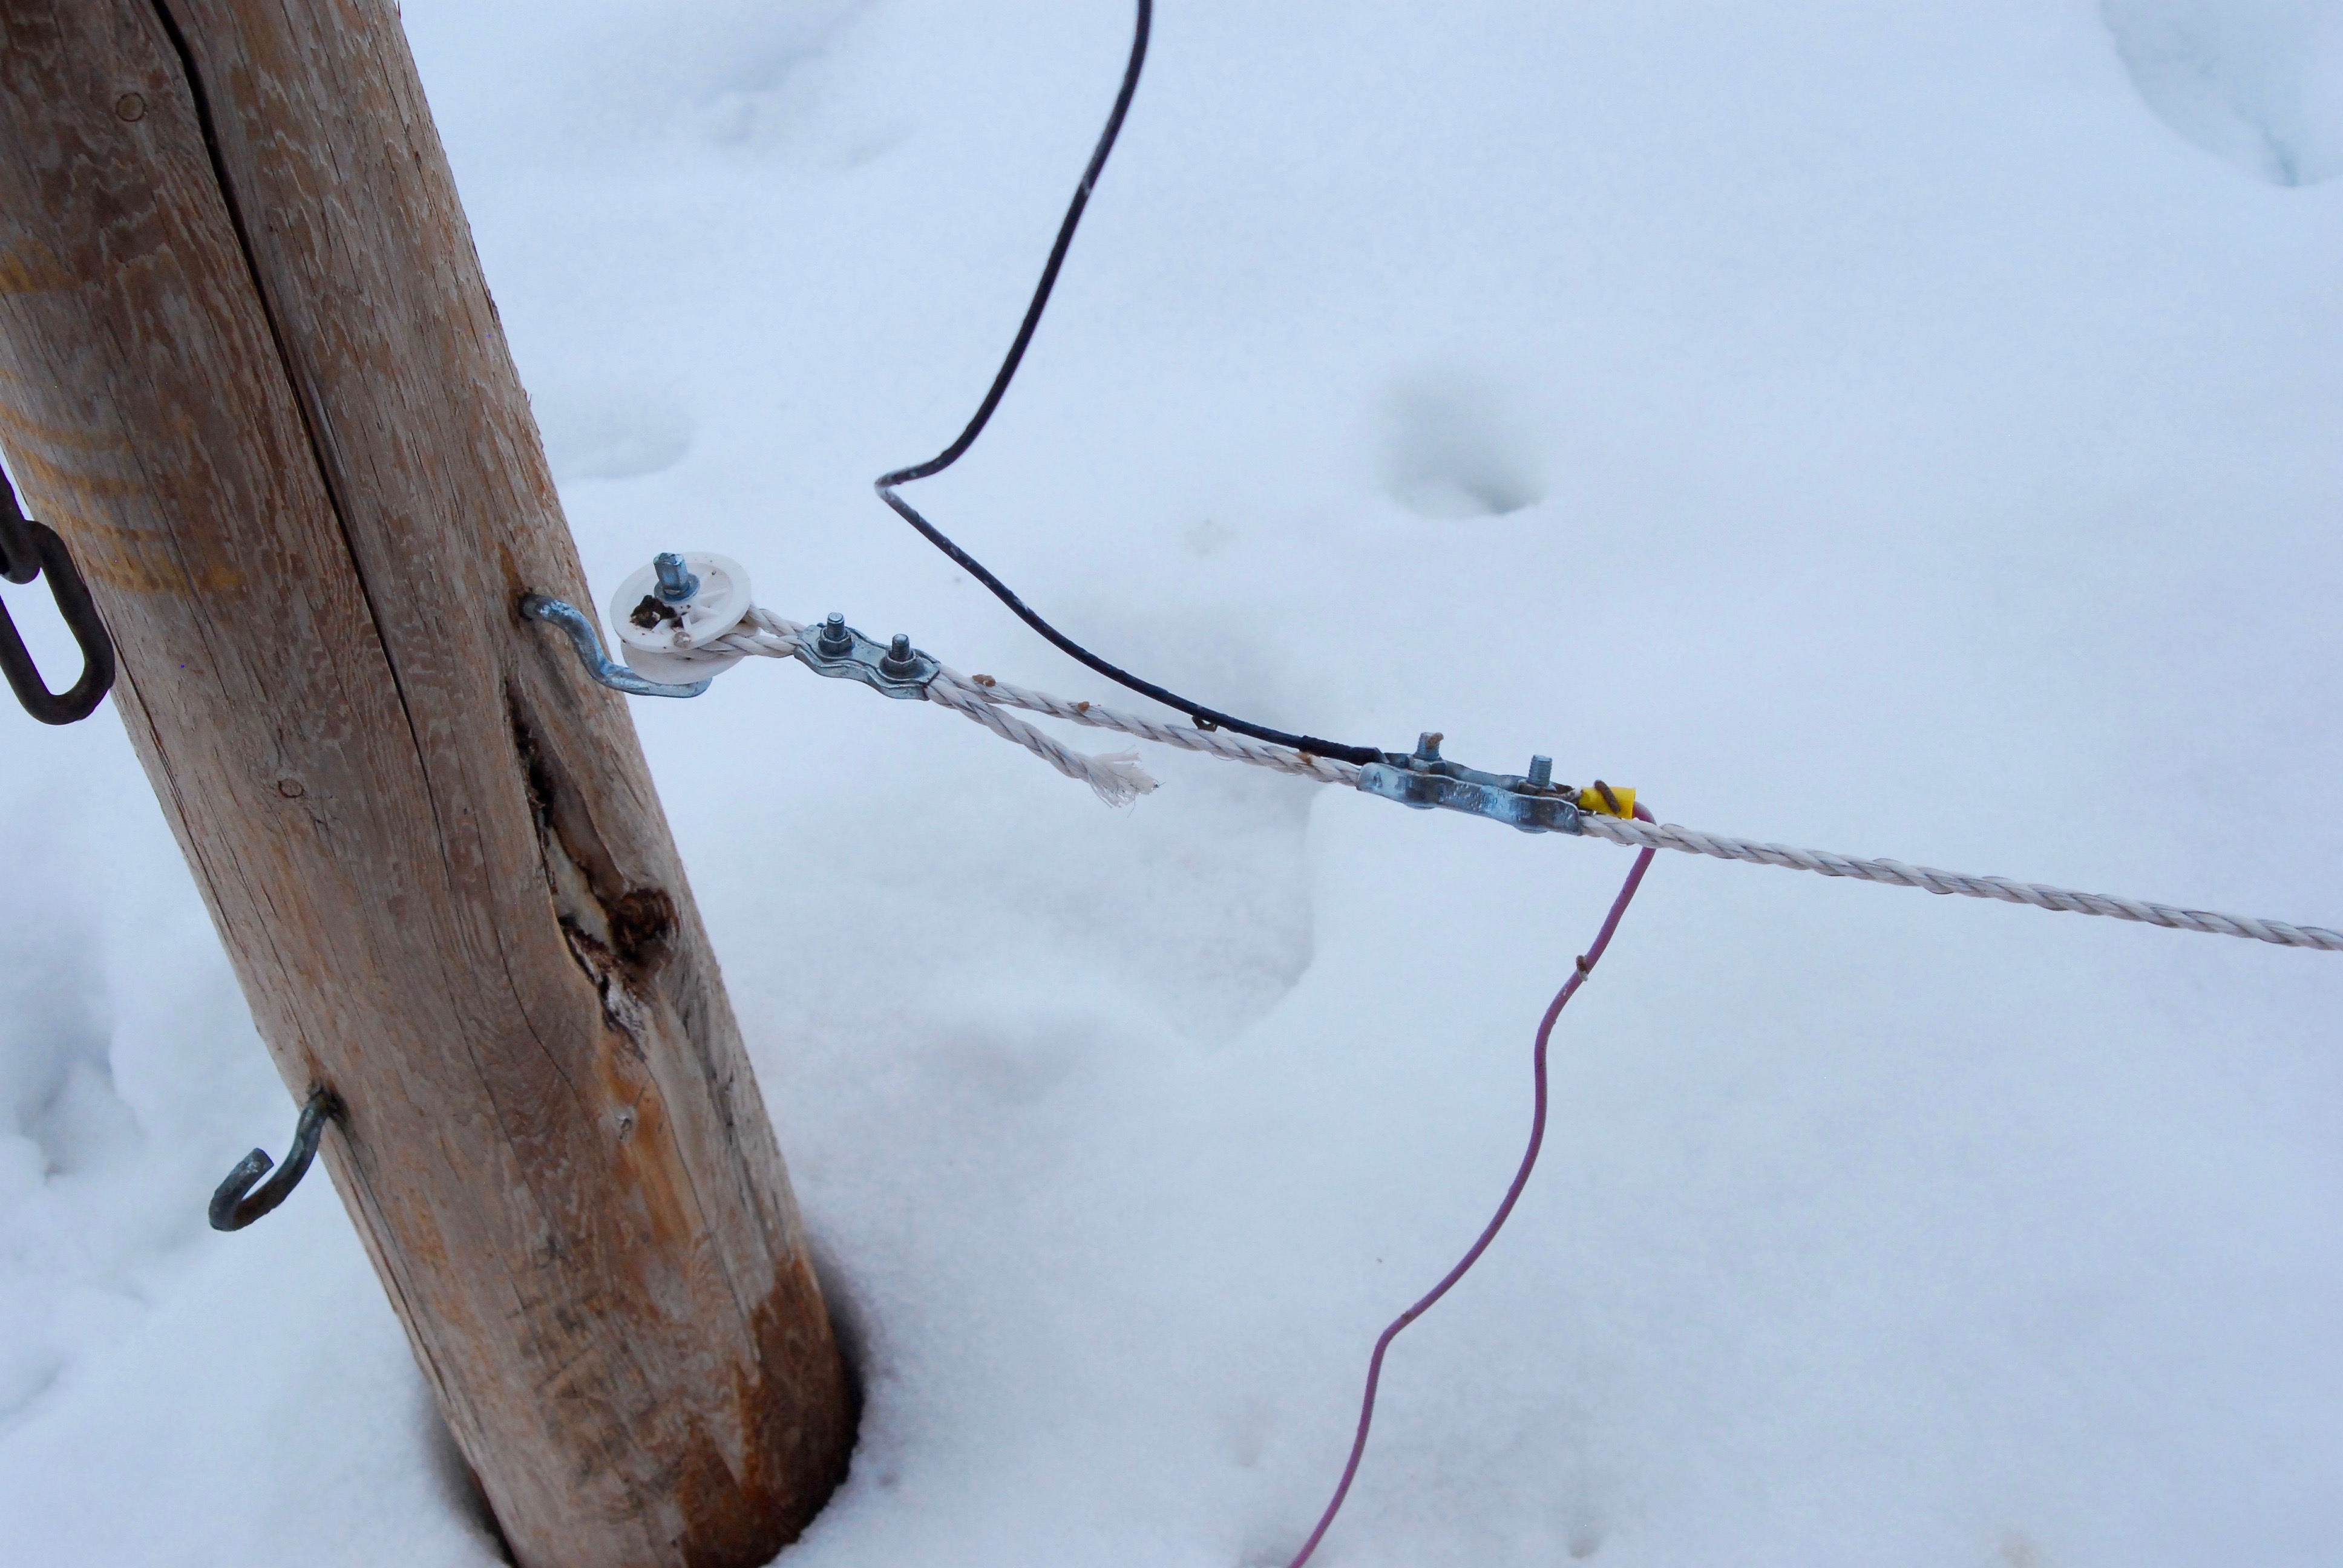
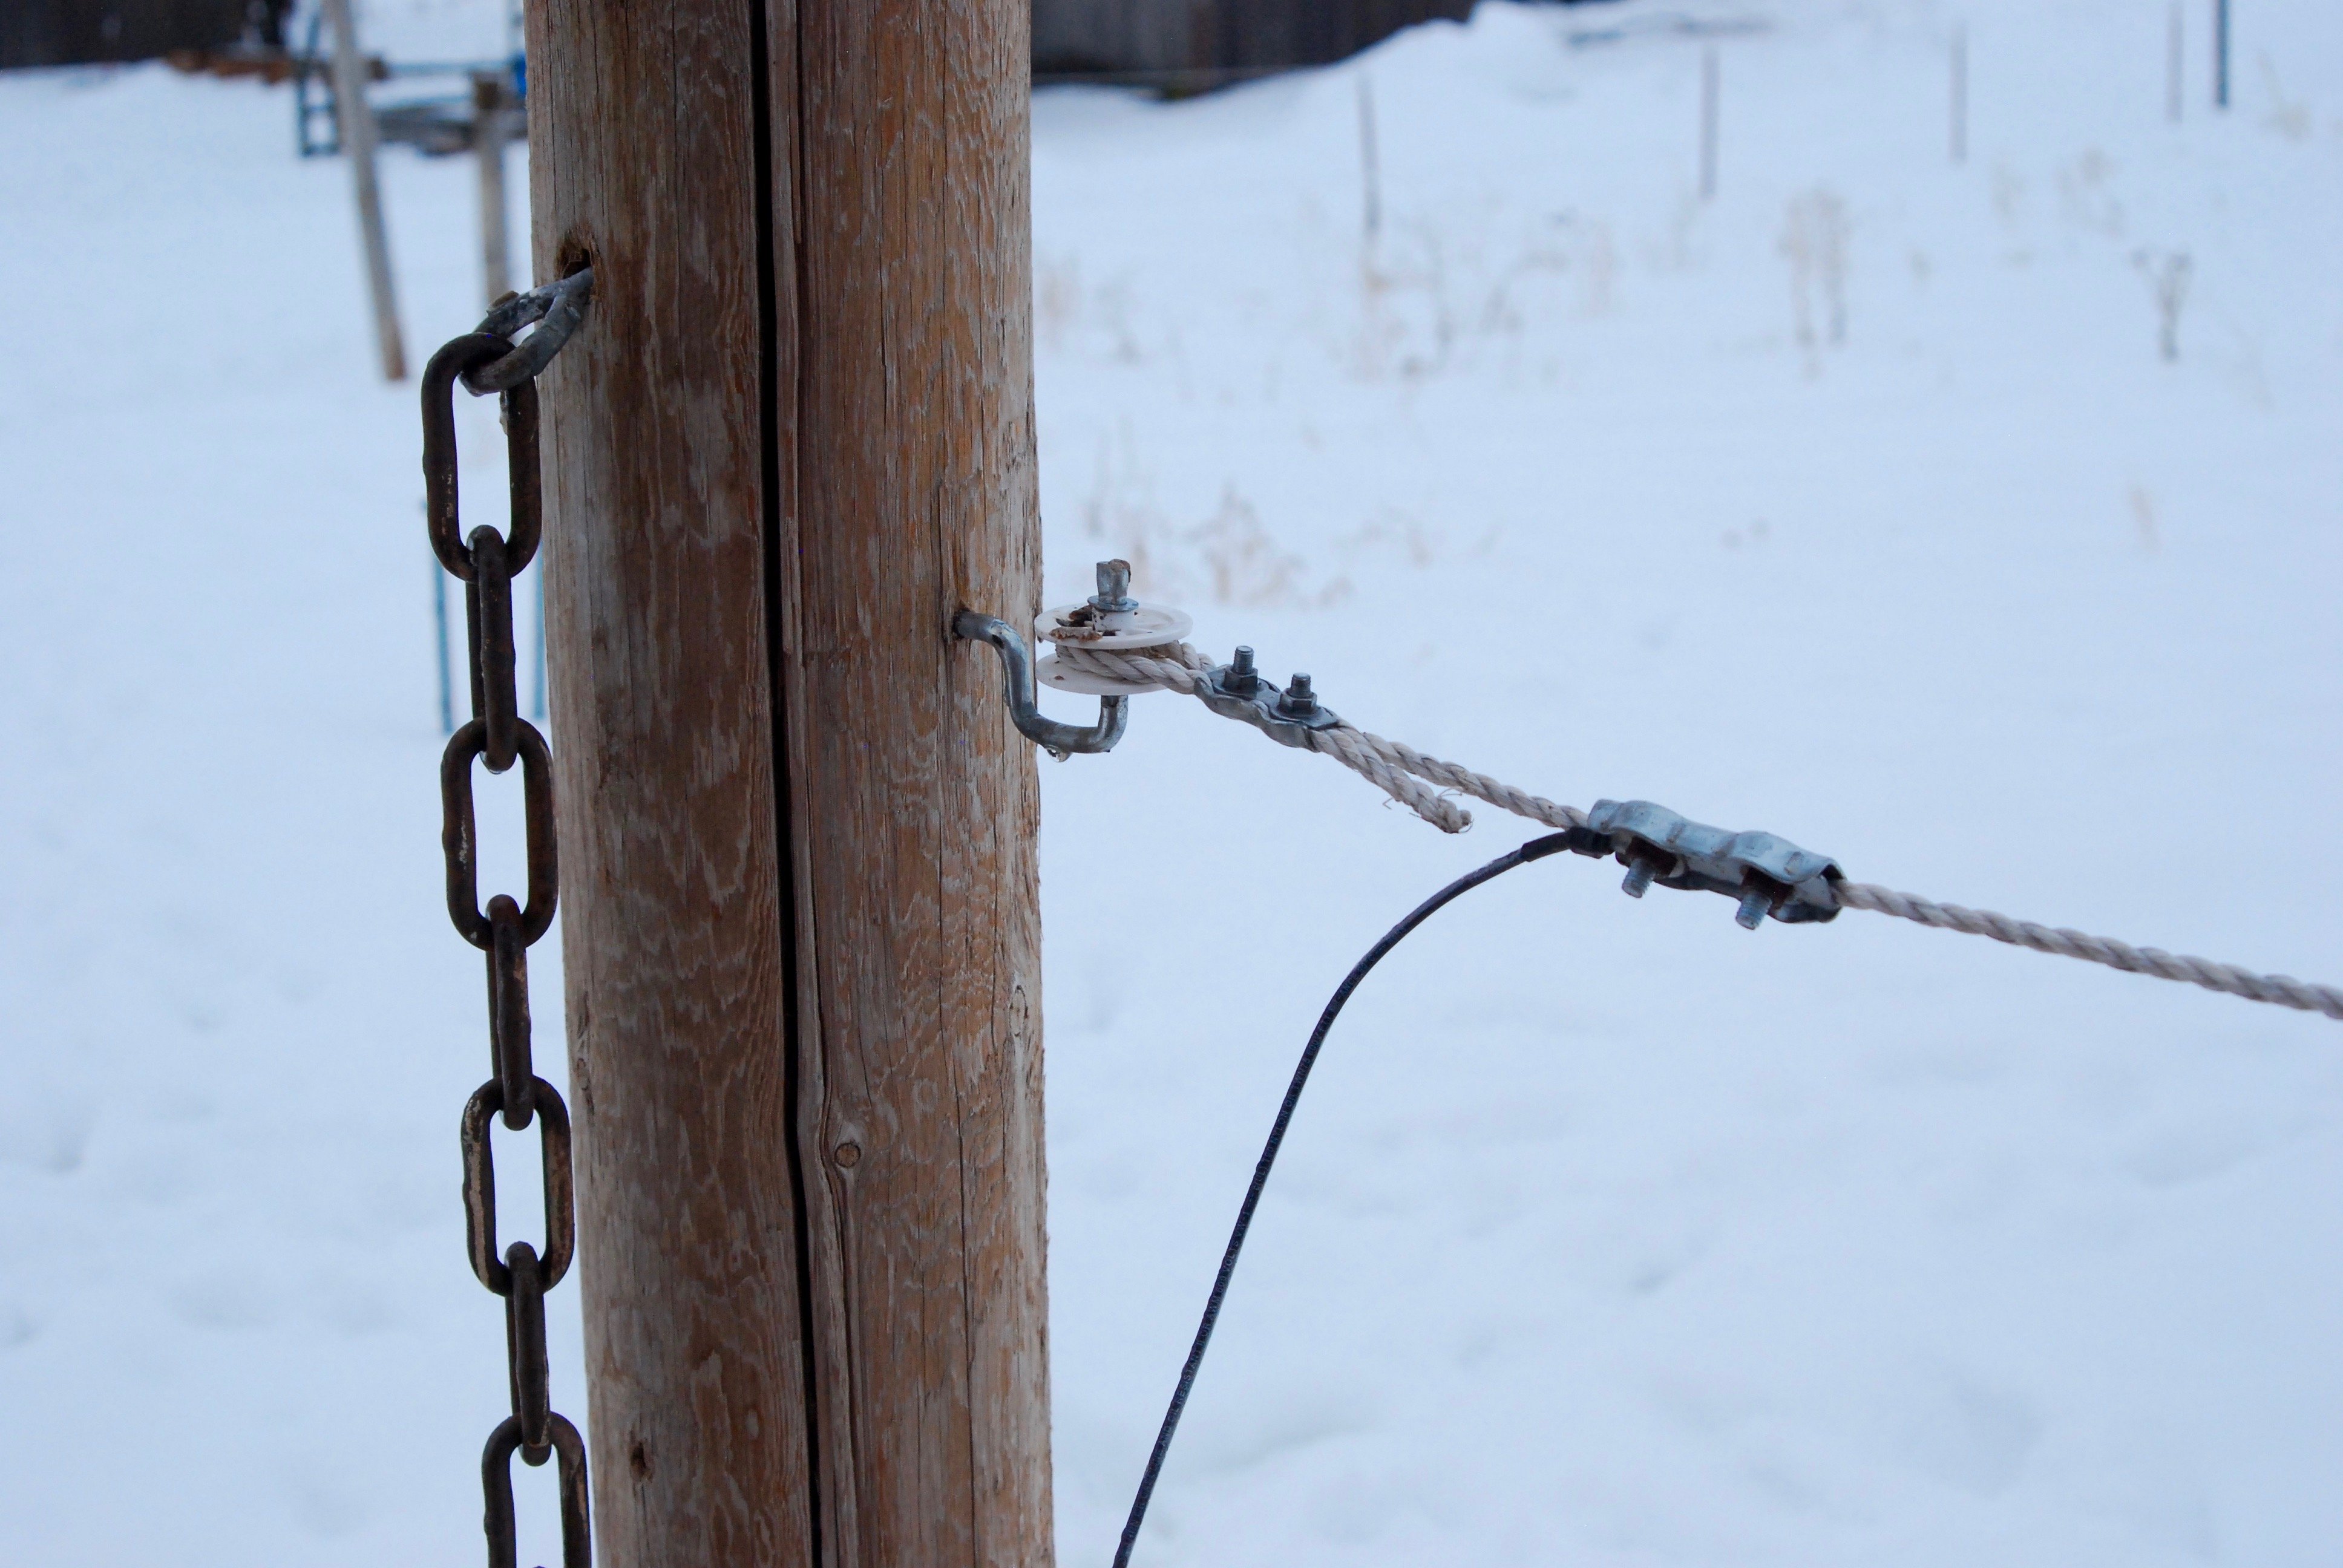
The hardware for the corner posts is actually pretty cool, and the reason there isn't as much pressure on our corner posts as there would be with a traditional wire fencing system. You just drill a hole in your middle post and screw the corner insulators in. The other posts have the same screw-in insulators we used previously.
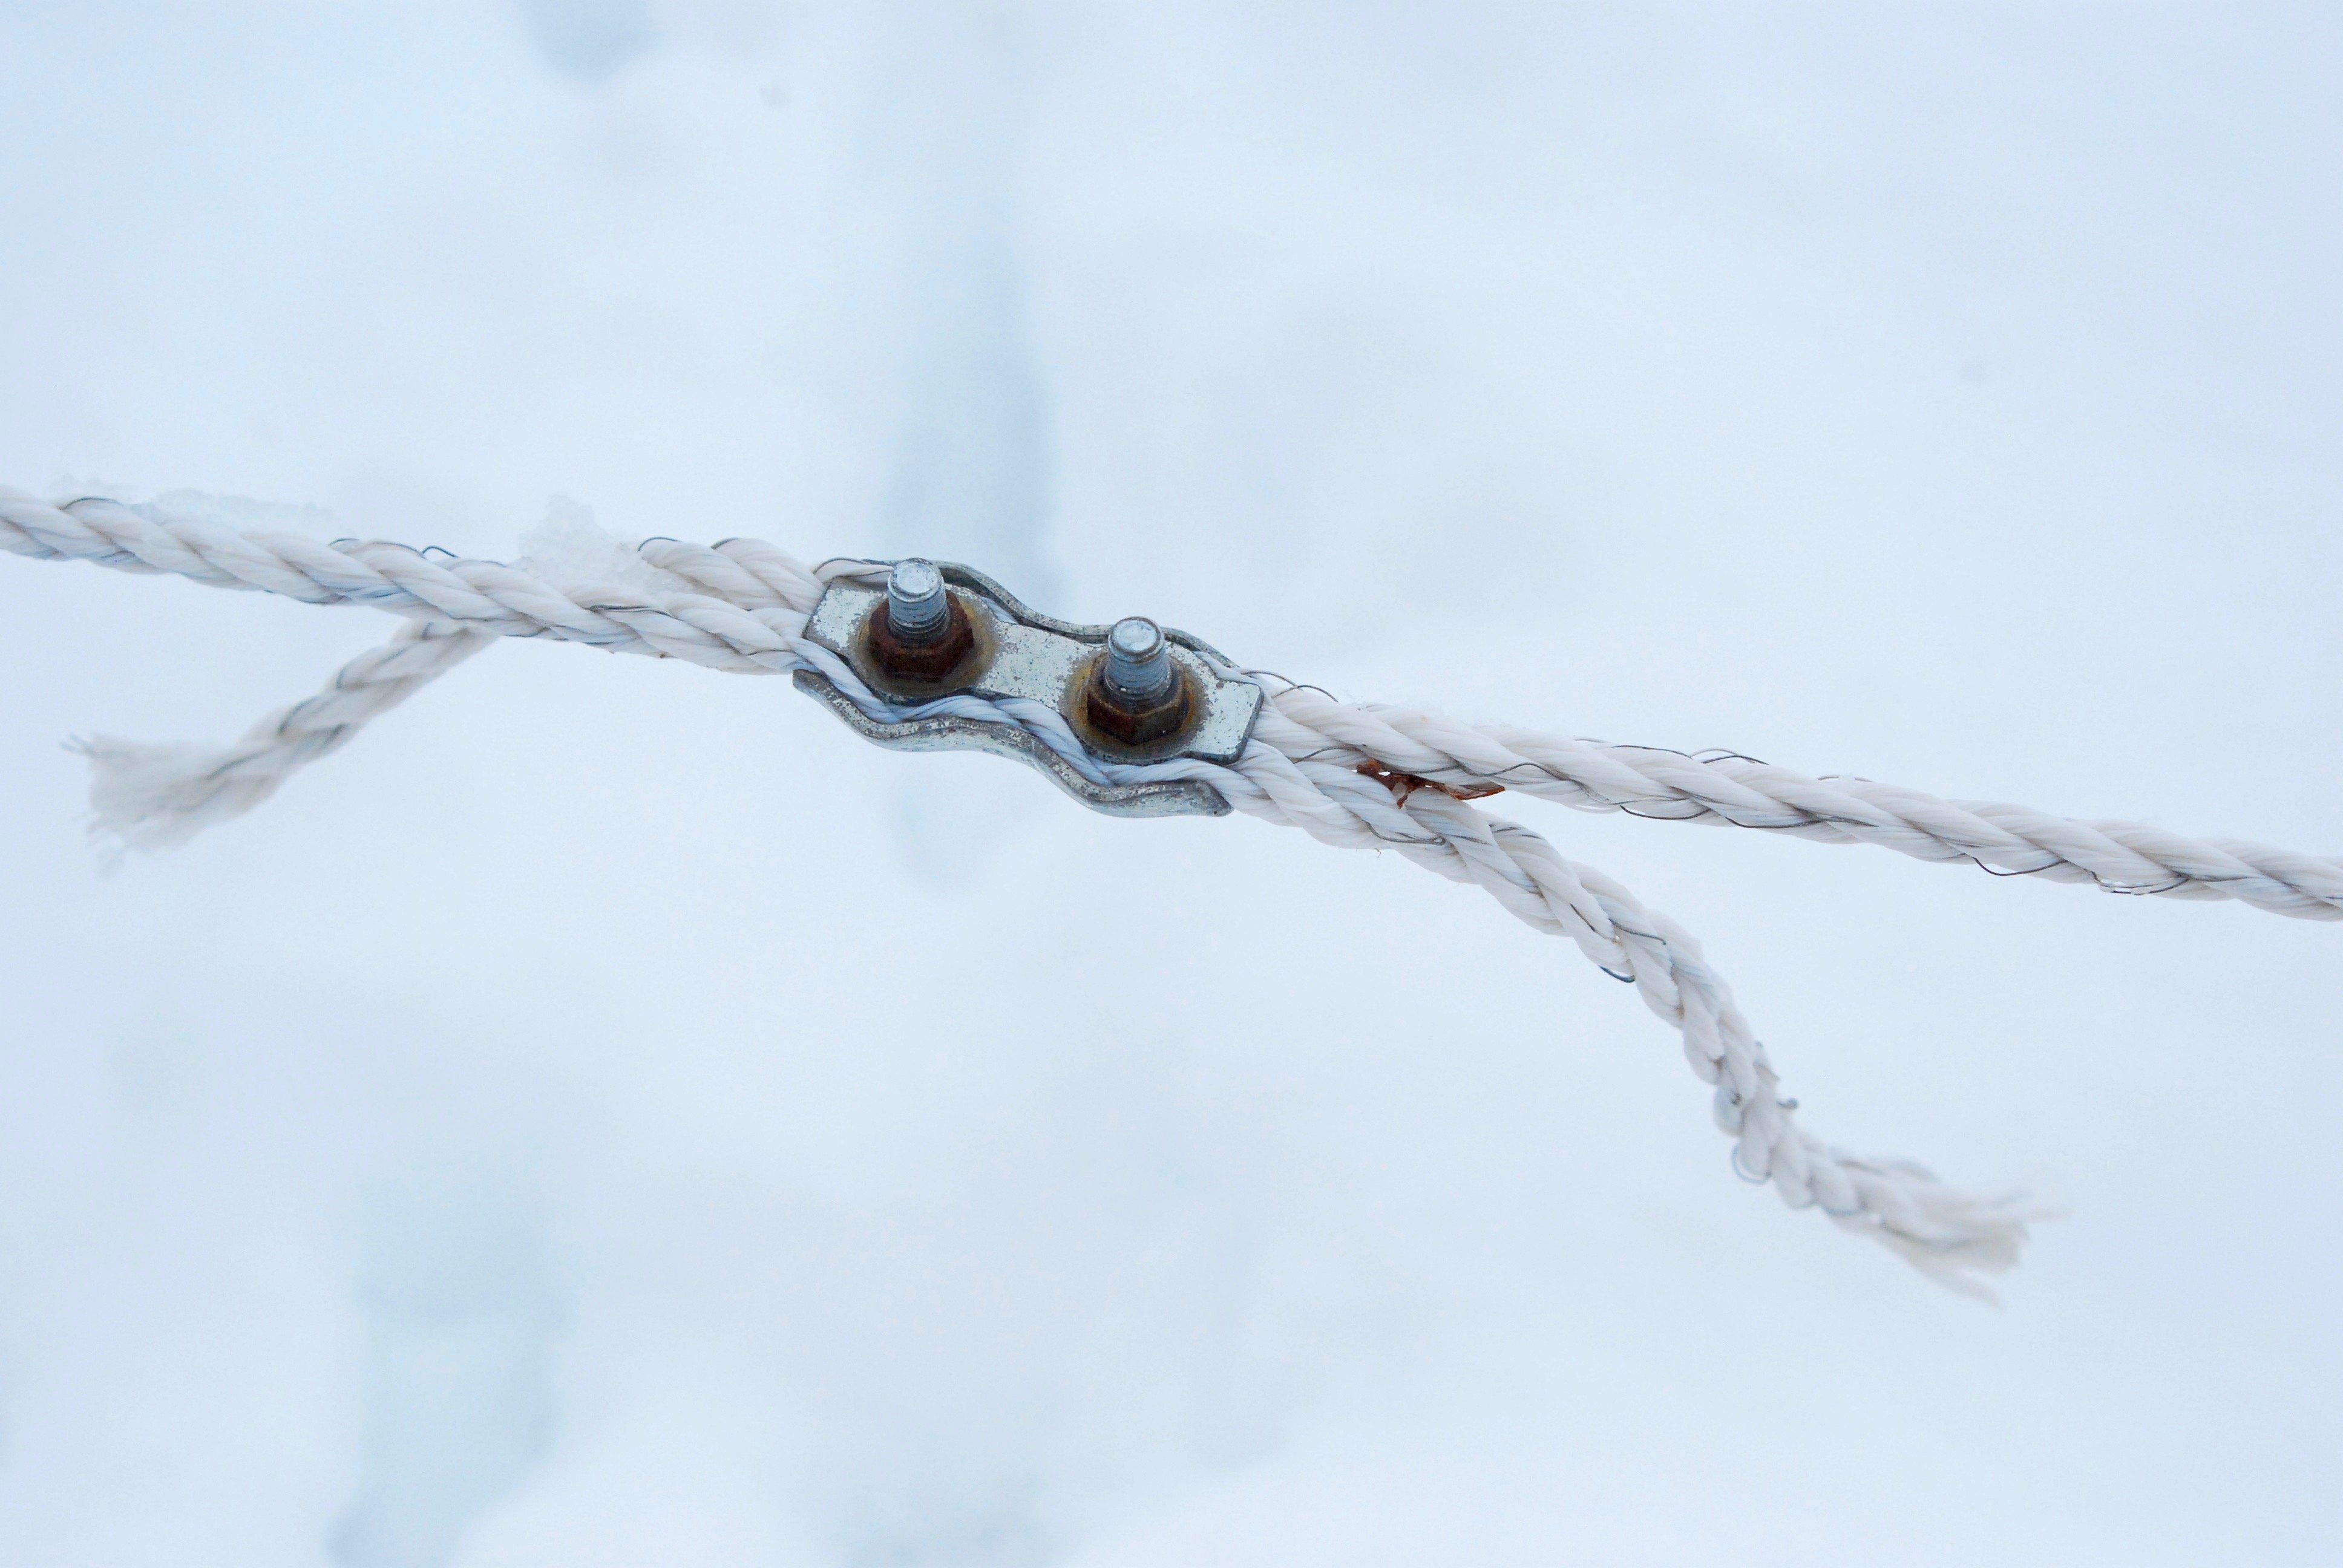
These metal connectors are how you connect two pieces of wire. The ends of this one are a little long, I like them trimmed back more with the ends melted to prevent fraying. These are great for going from one spool of wire to the next or if the roof of building blows off in a storm and slices your fence in half.
Ahem.
Anywho.
When you want to end your fence, you again use the cool insulators we used for the corner and then attach the fence to itself using the wire connectors.
I don't have a picture of our gate because we were dumb when we installed it and it didn't work well so I took it down this Fall and we are going to redo it this Spring. Don't be like us! Ha.
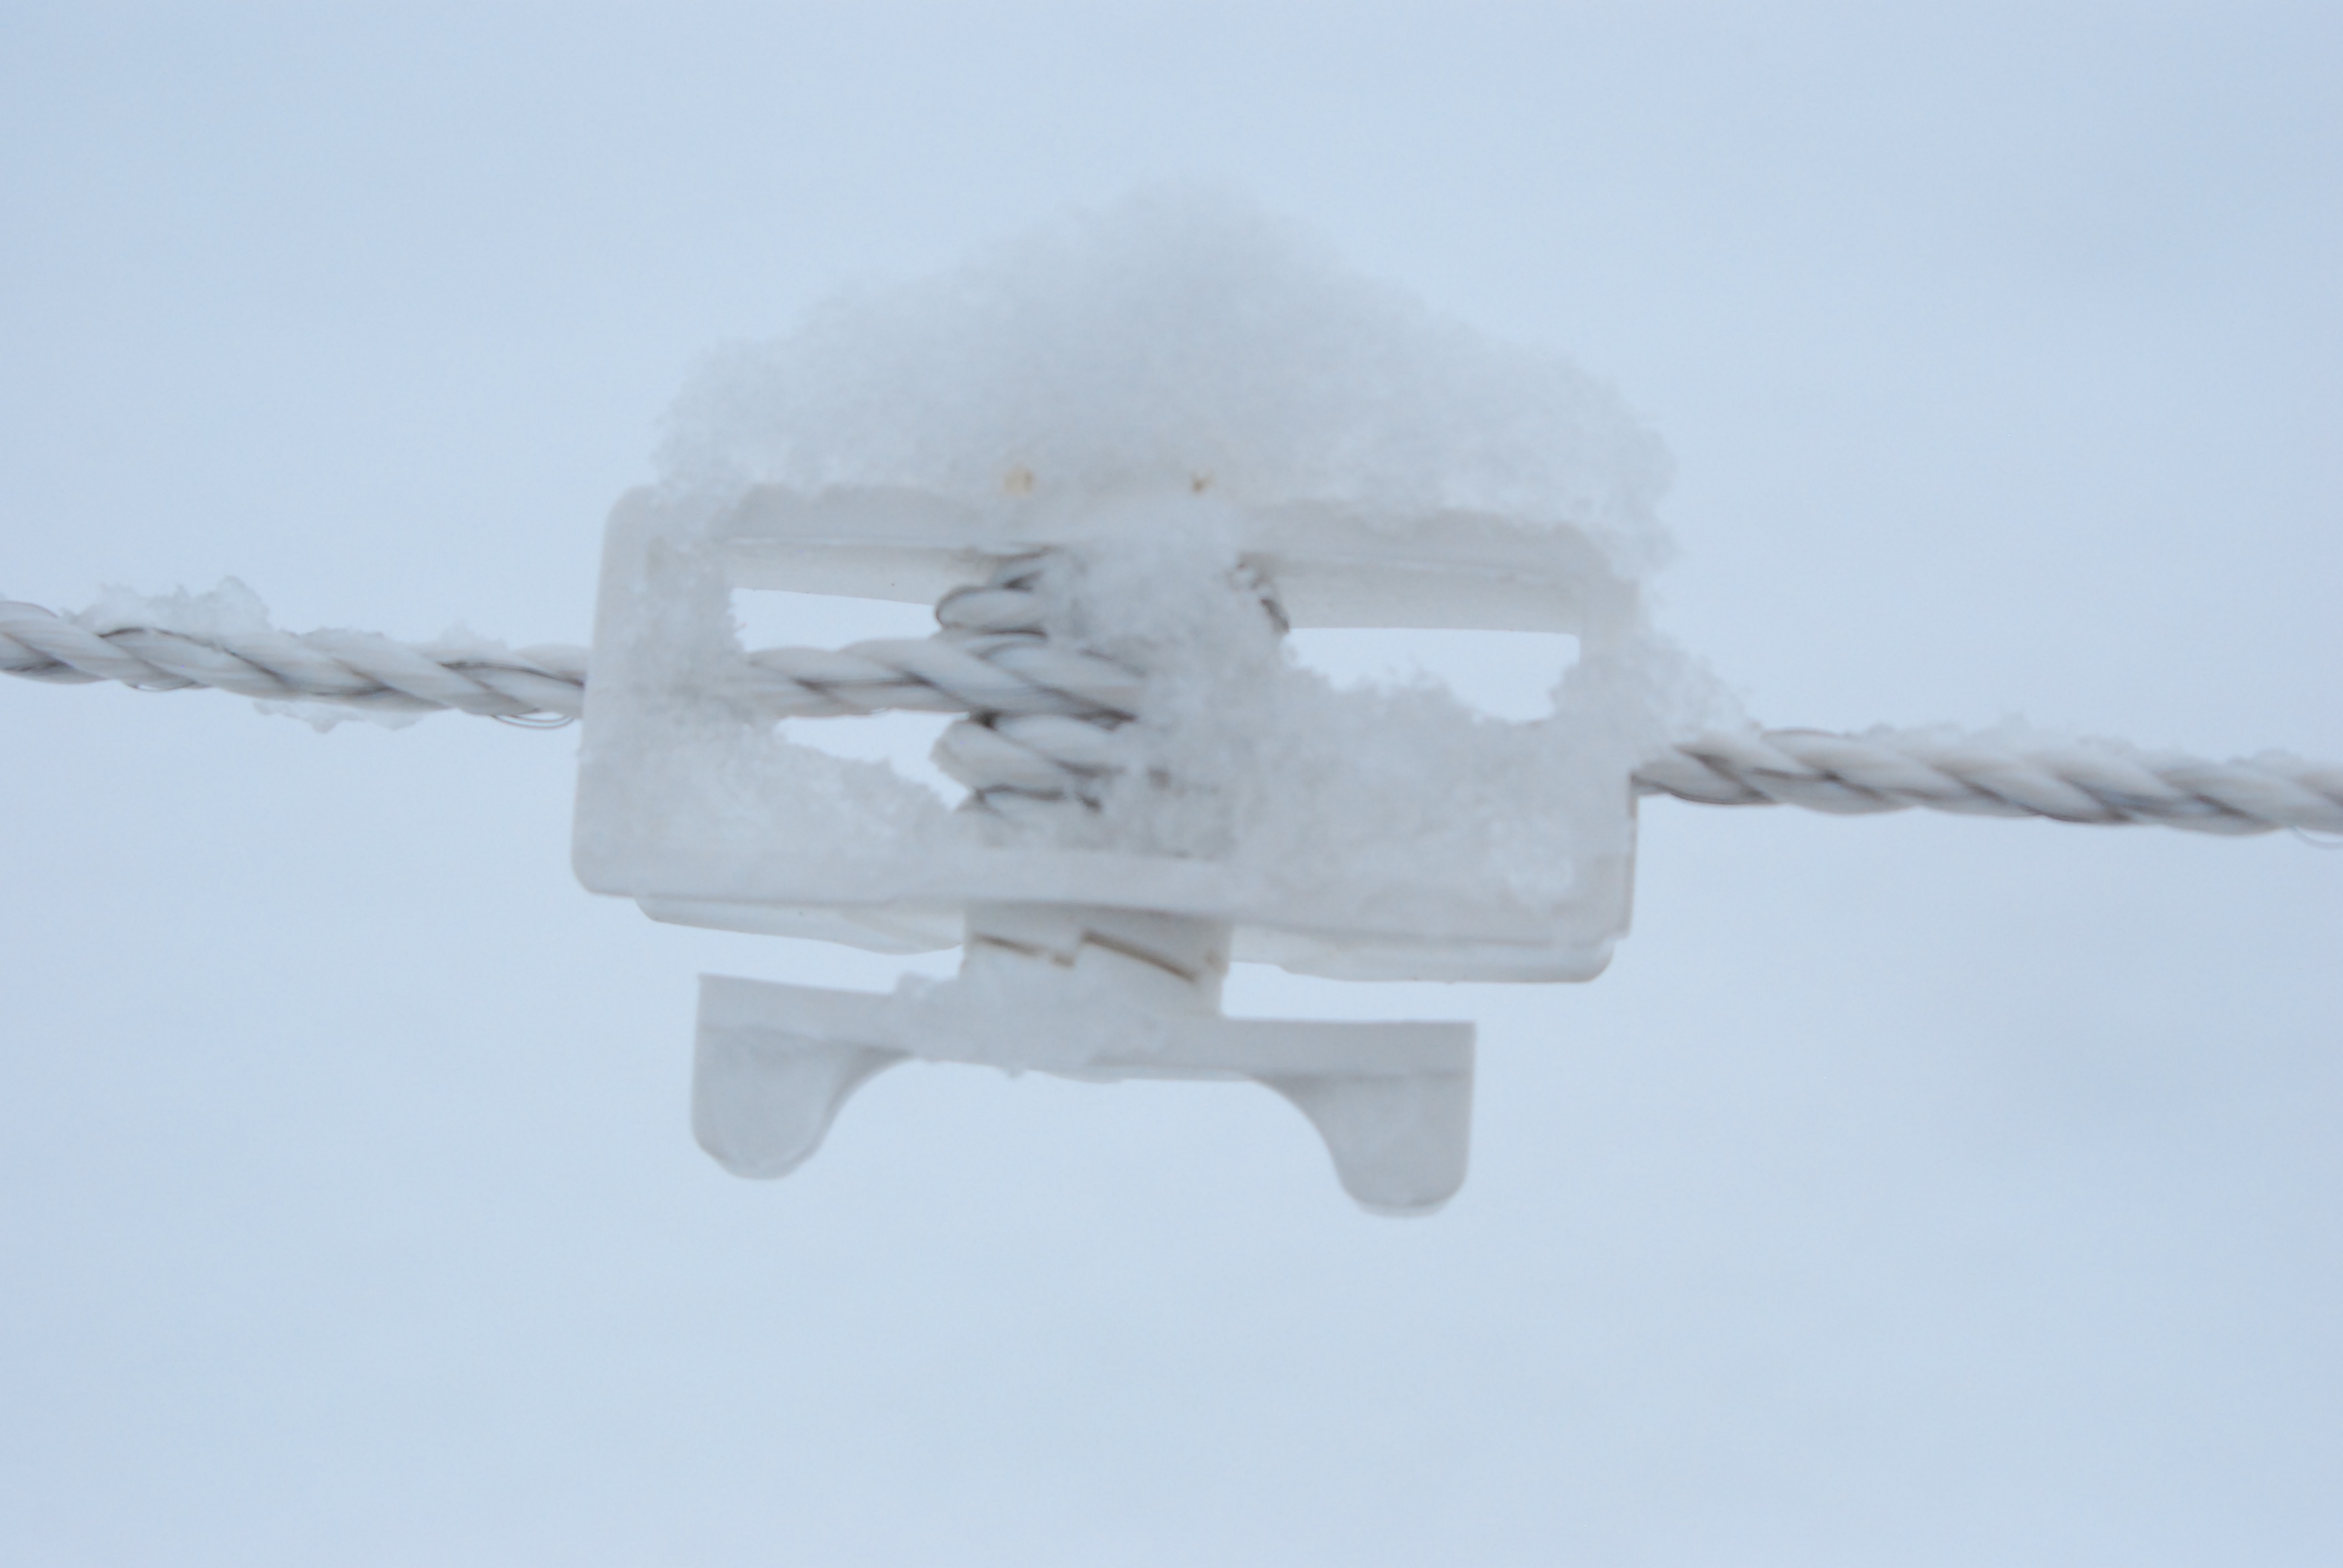
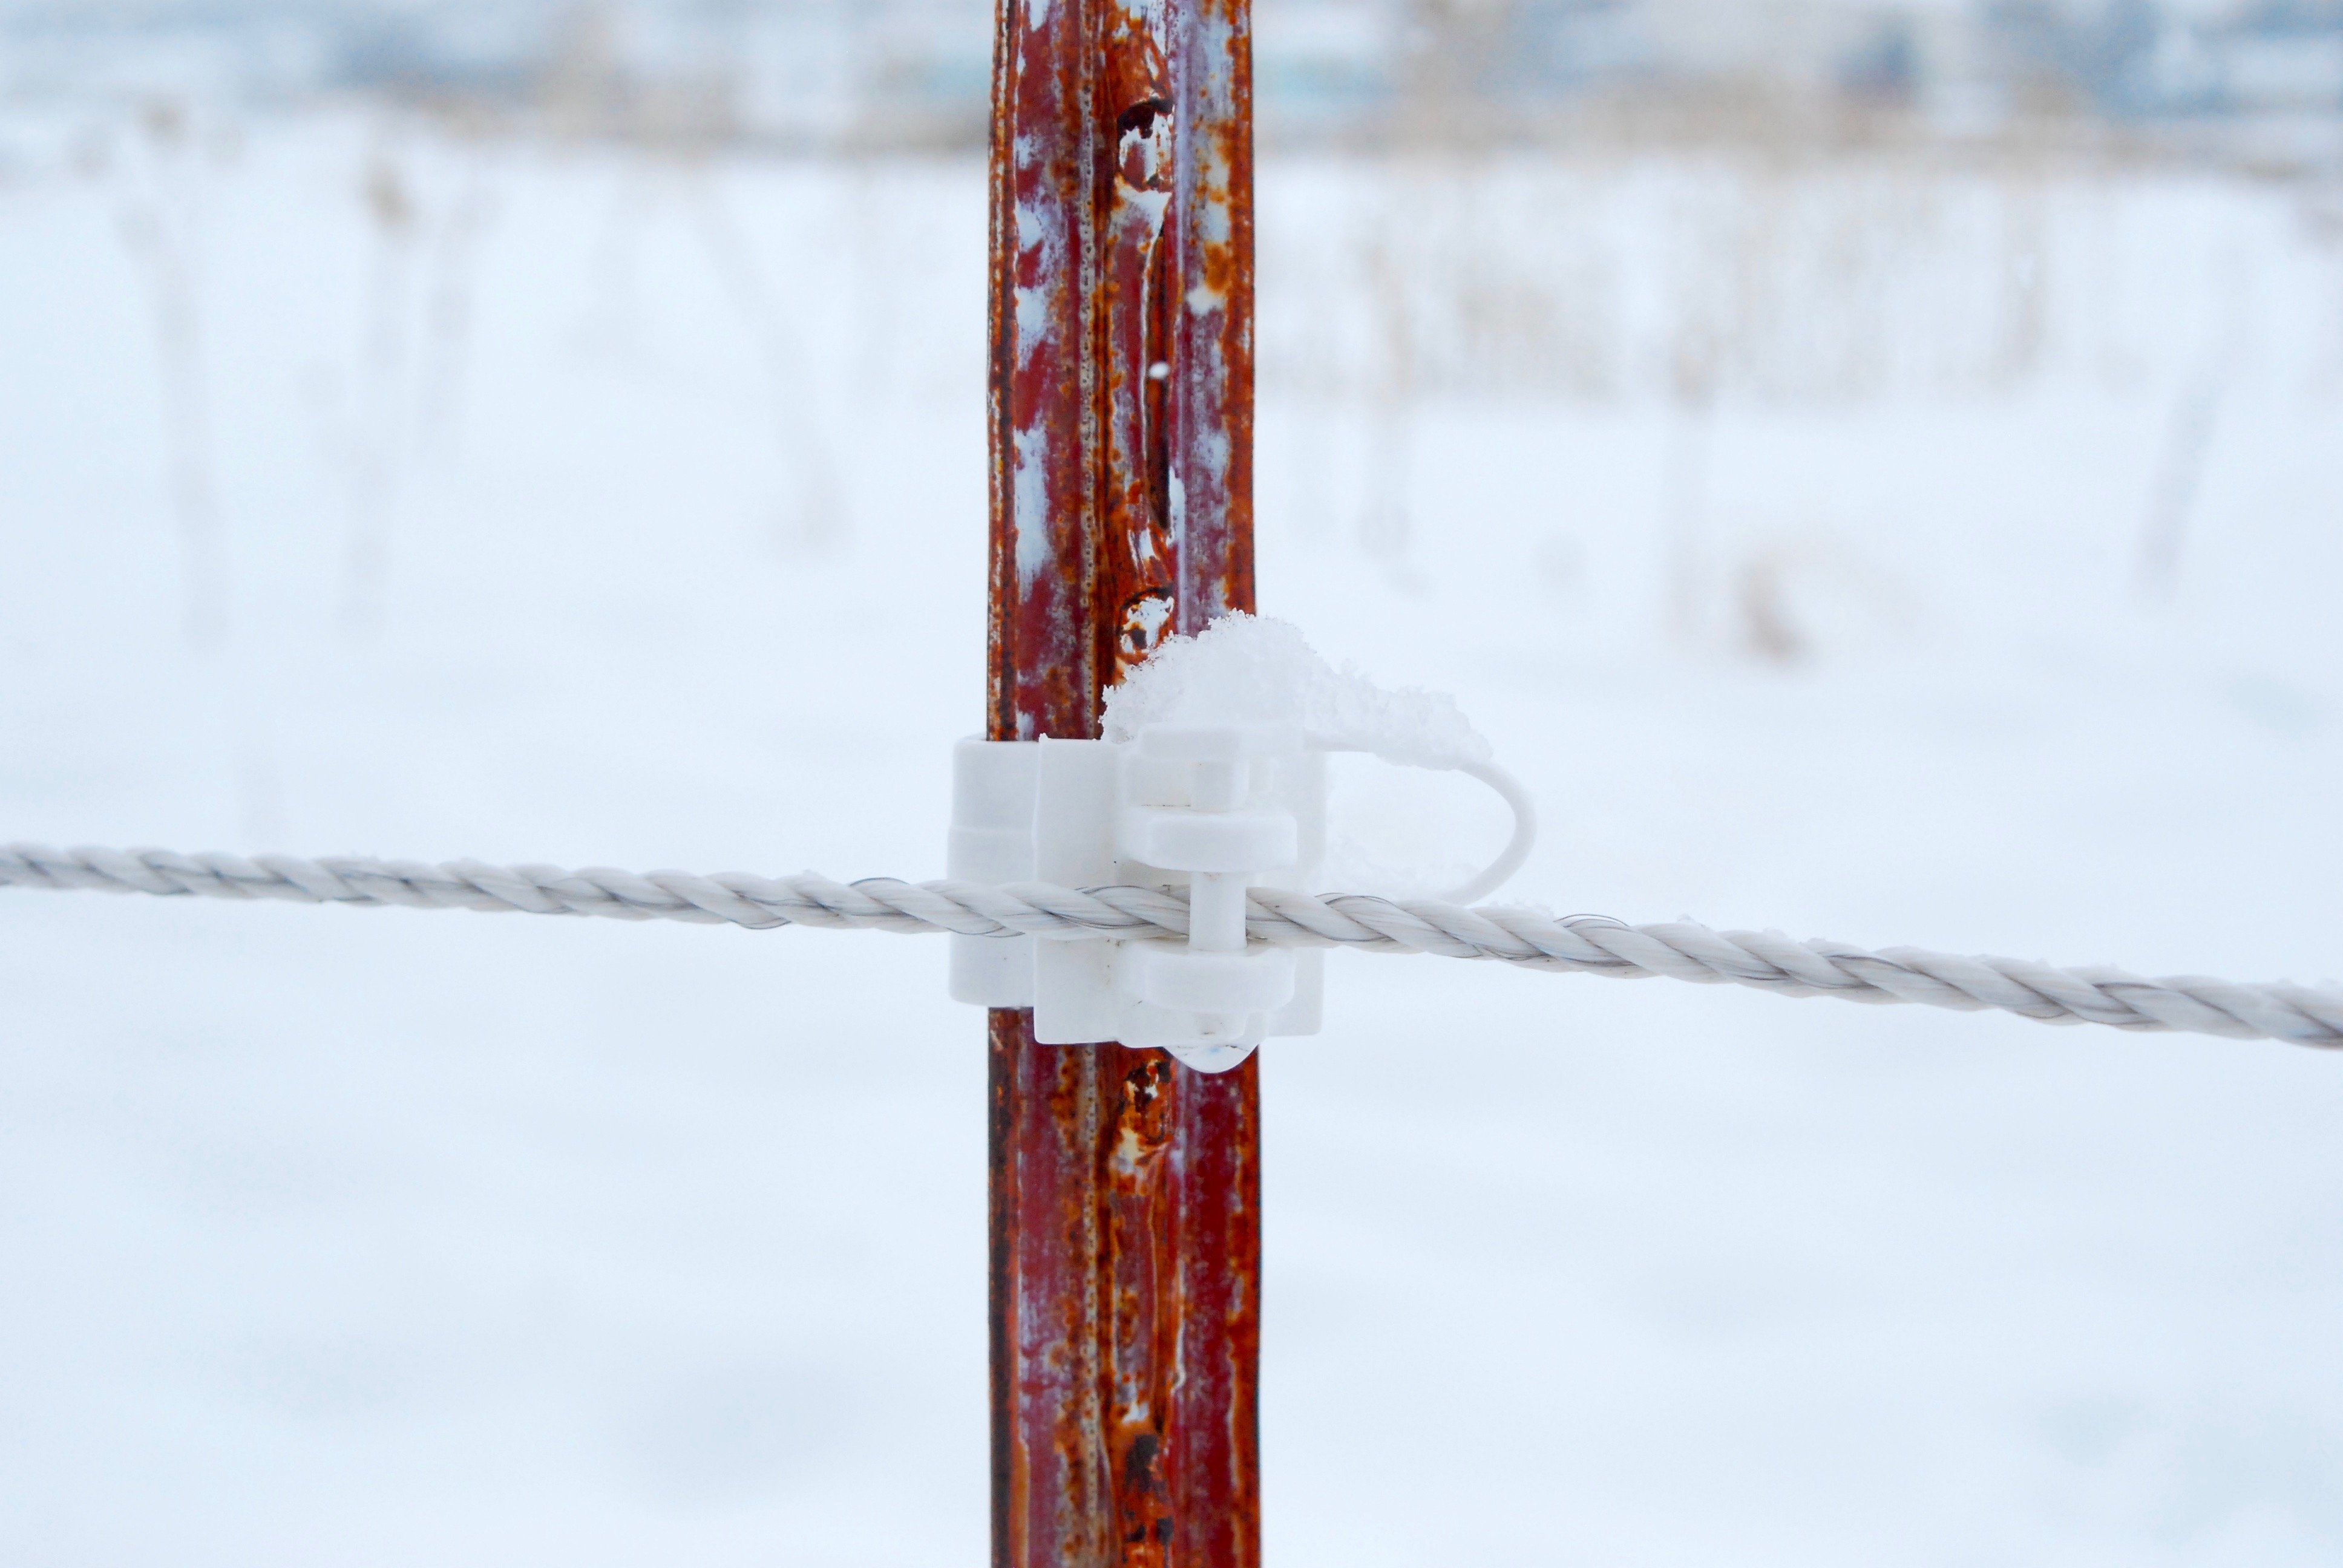
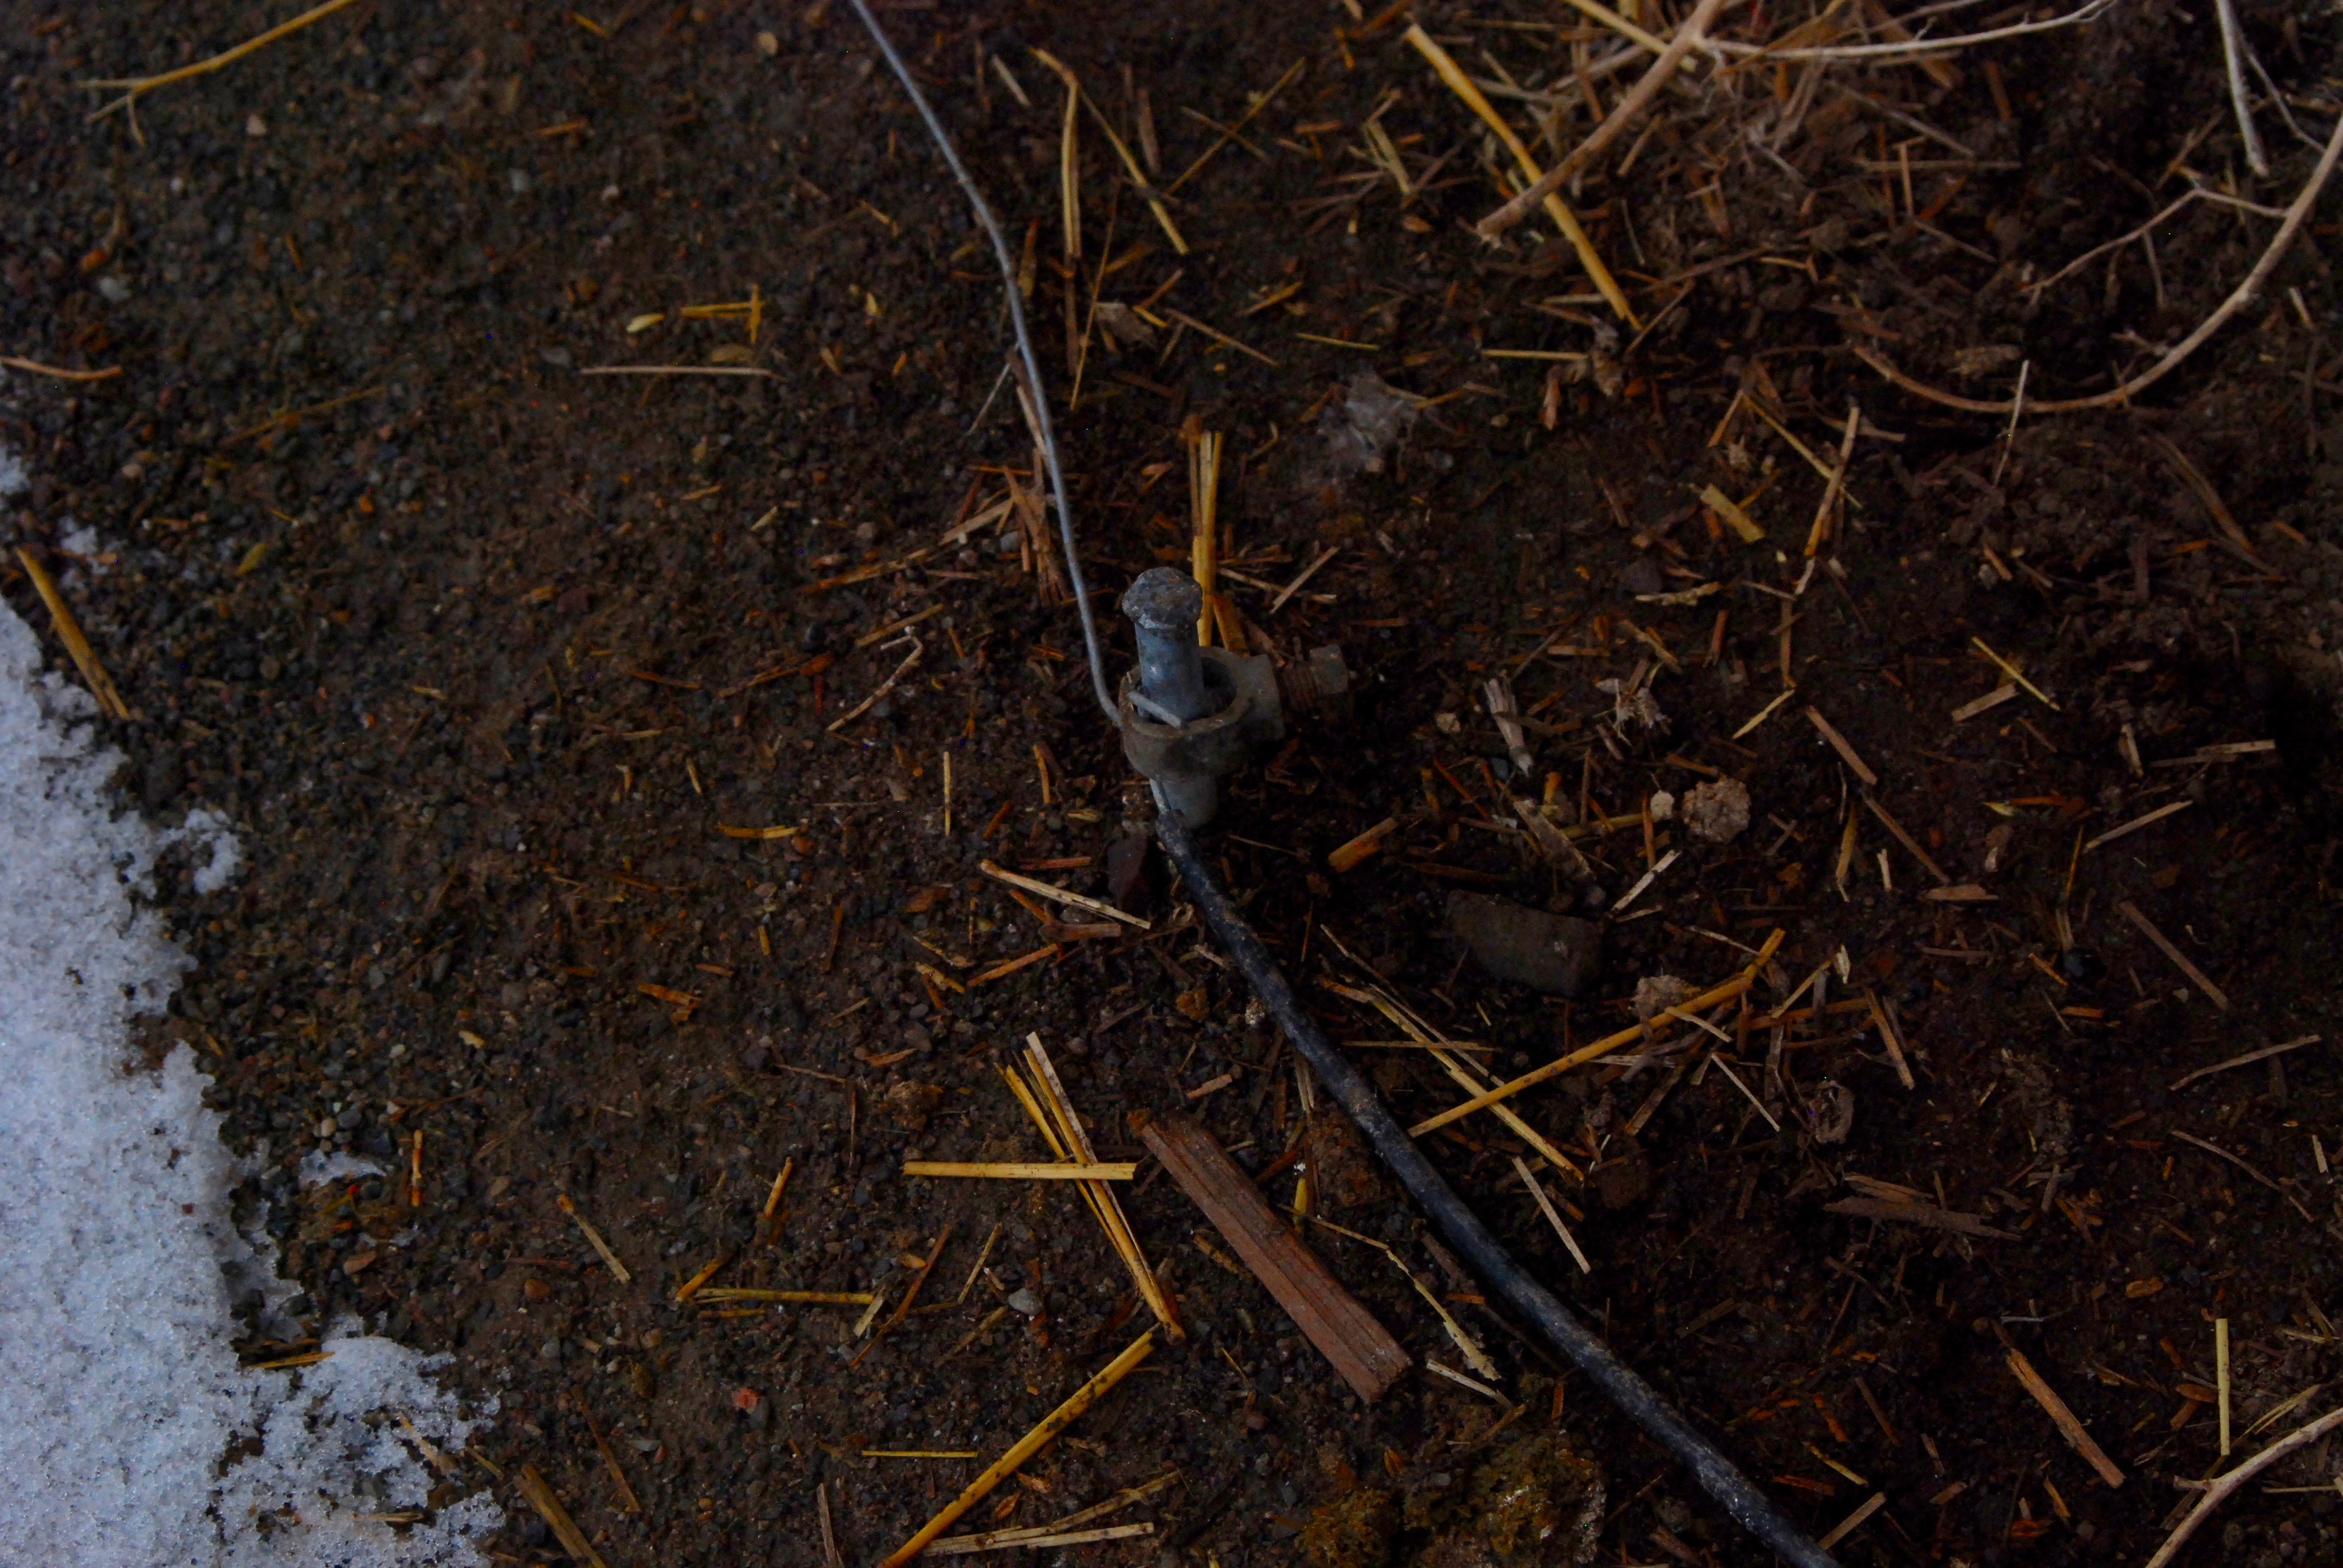
Oh, also these little babies are super important. We strung these along until they landed in the middle of each side of our fence, on both strands of wire. These are polywire tighteners and they allow you to tighten the fence when it sags {like if the temperature drops} or loosen it if it is too tight {like when summer comes}. They are a lifesaver. So far the only one has gotten brittle and broke off. Other than that I have been very impressed with the durability of this fence. Ours is three years old this spring, so not super old but it looks as good today as it did when we first did it and it has taken very little maintenance.
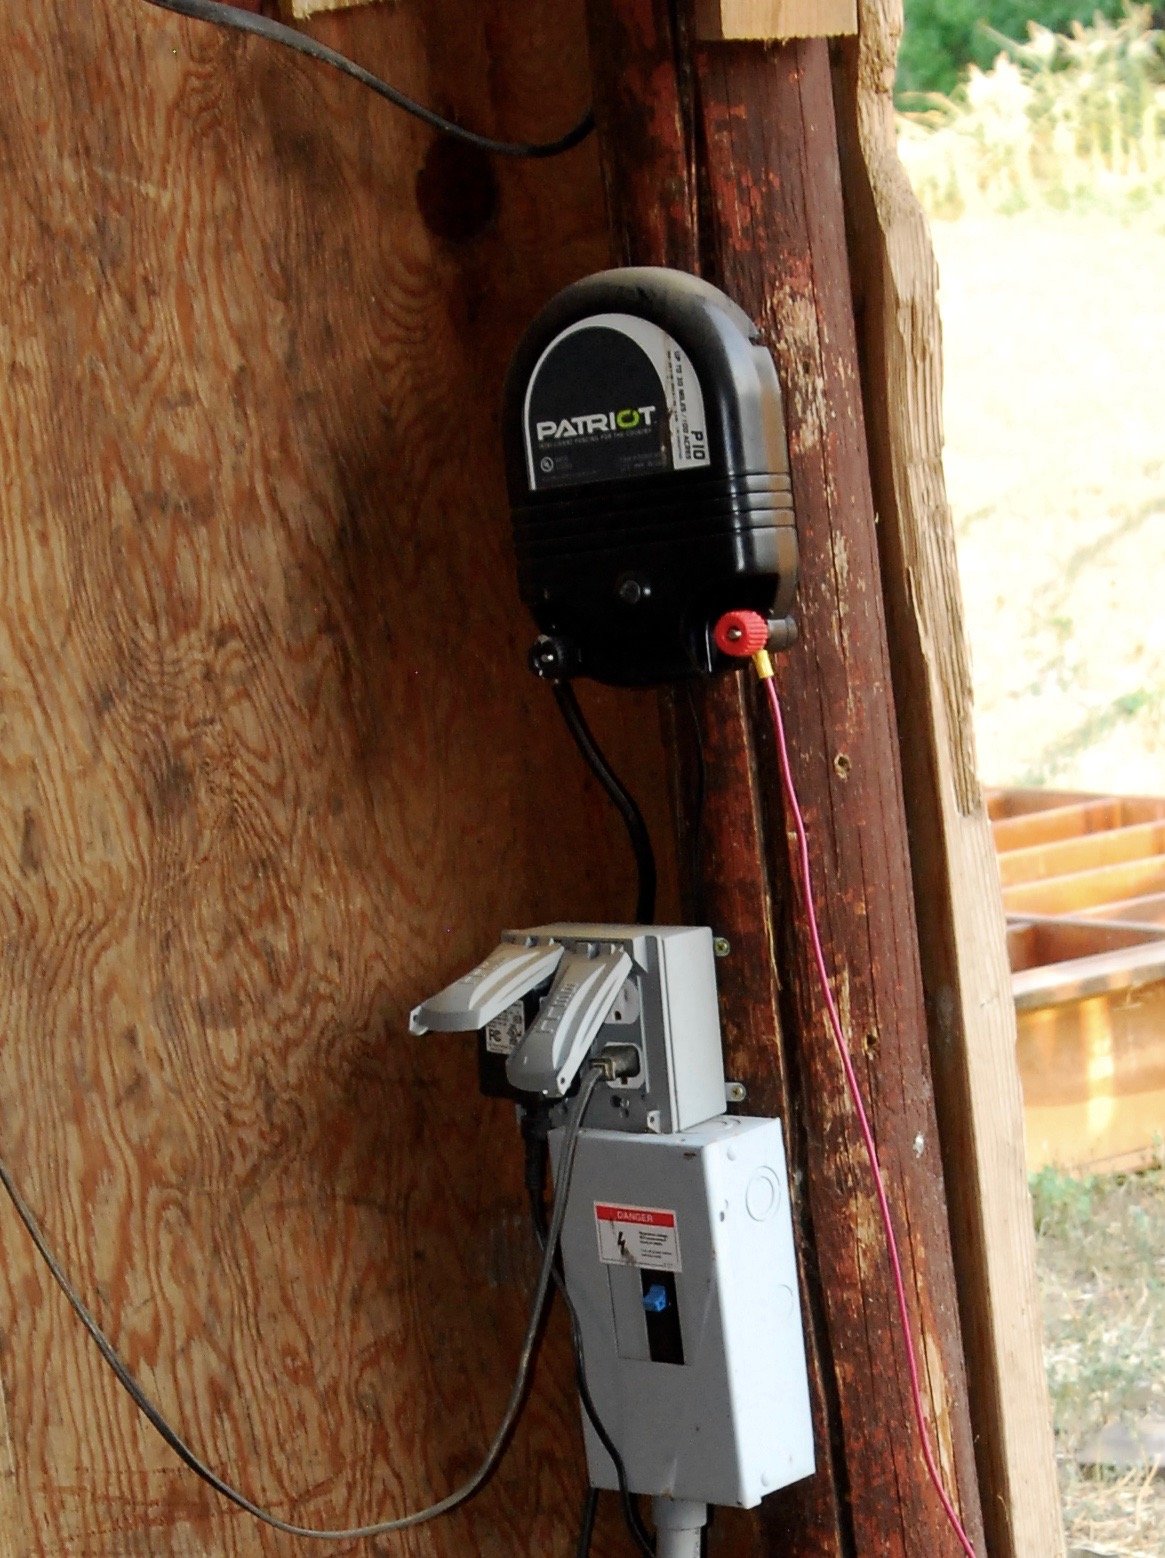
Now for hooking it all up. Our fence charger is a Patriot P10 which provides more than enough charge for our pasture and anything else we would need to use it for {30 miles and 100 acres}. Honestly, I realize now that it's a little overkill. You can also get chargers that run off solar energy as well when it's sunny outside. We have our charger mounted in what is now my chicken coop...wasn't the original plan but that's how it all worked out! We are still coming up with a good solution to enclose all the electrical away from the chickens. Once you have that installed, you hook up the black cable and that just plugs into the outlet. Then you run the red cable out to your fence.
And then hook it up to the bottom row and then the top row. You'll need a couple of things for this, a rope-to-rope connector and a rope-to energizer connector.
Then you need to ground your fence. Three ground poles is recommended but we only got two in before this happened and decided that 2 would do fine...
All of the grounds and the hook ups also came in a handy kit. These are getting covered in a removable cover of some kind this Spring as well. Hooking the grounds together wasn't hard either. Besides hitting rocks every three seconds. Maybe bury your grounds when you rent your augur to dig the fence post holes :).
Overall I'm really pleased with this fence. So far we have kept a horses and a steer inside and they haven't challenged it at all. In fact, our power goes out frequently when it storms and it was never an issue. If you are wondering why I seem to be lacking on the animal front these days, check out this post. In short - don't be impatient! Ha. Overall, to fence our 3.5 acre pasture it cost about $400 - and remember I spent more than needed on the charger. Compared to a traditional fence, it's a huge savings. Compared to a wire fence of any kind, it may be more expensive but it is much safer and easier to maintain!
Pin this farm tip on your Chicken Keeping board to SAVE it for later! Follow Longbourn Farm on Pinterest for more great tips, ideas, and tutorials!
[et_bloom_inline optin_id="optin_4"]


Leave a Reply