

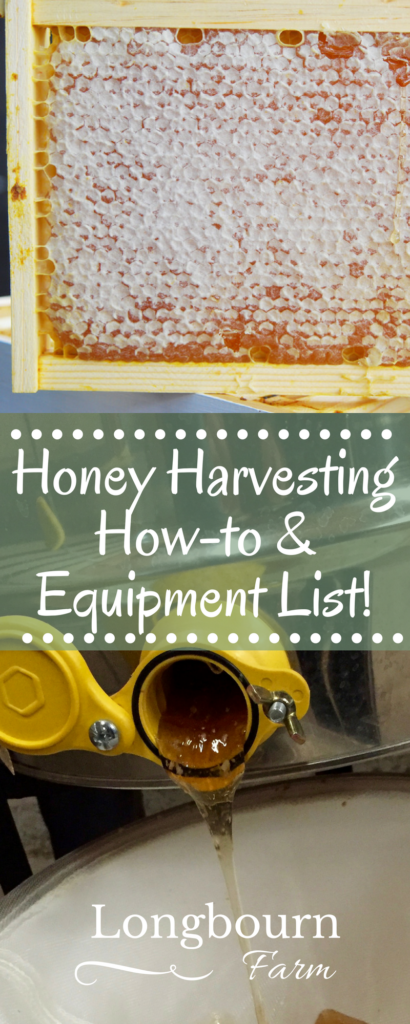
Get an informative and handy list of honey harvesting equipment as well as a how-to guide, perfect for the first time bee-keeper!
WANT TO SAVE THIS RECIPE?
Enter your email below and we'll send it straight to your inbox. Plus you’ll get great new recipes from us every week!
Today's Farm Tip Friday is all about harvesting honey. If you follow along on Instagram, you know that we harvested honey from our beehive last weekend! My dad has been keeping bees for quite a few years now and has been helping me navigate successfully through our first year of keeping bees on our own. He was even nice enough to haul all of his honey harvesting equipment PLUS supers of his own he needed harvest all the way from his place to ours - what a guy!
Because harvesting honey is a sticky mess, I opted to not bring my nice camera into the garage where we were harvesting, so you'll have to suffer through bad lighted iPhone pictures :). But this post should be really helpful for outlining the honey harvesting equipment you'll need and how to do it if you ever have bees!
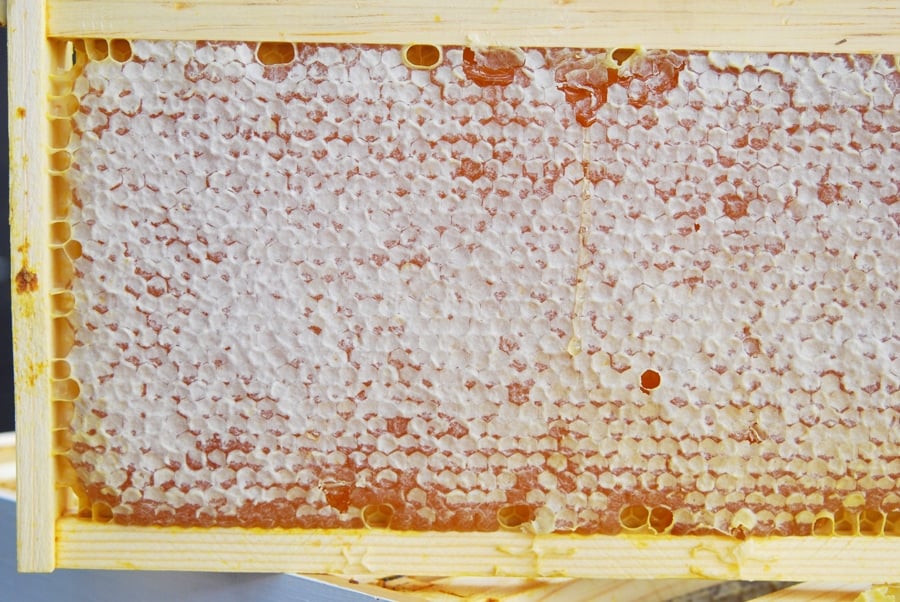
The first step to harvesting honey is determining how much honey you need to leave for your bees to eat over the winter and how much honey will be left over. This is done by checking all the supers in the hive and seeing how full of honey they are. As the season progresses and summer comes to a close, the queen bee won't lay as many eggs and some of the frames that were full of brood earlier in the year will be filled with honey. We had 5 supers {6 ⅝ inch} on our hive, the bottom one was mostly brood {I'll refer to this as number one}, the second one was about half brood and half honey, and the third, fourth and fifth were all honey. We left the bees supers 1-3 and took supers 4 and 5 to harvest. Come spring we will check and see how they are on food, feeding if necessary.
So, how do you take supers full of honey away from a hive of bees? It's actually a lot easier than I thought. Here is my Dad's method, it worked like a charm for us.
- Place an empty super about 20 yards or so away from your hive. Set it on something that will keep bees and other honey-loving things out, like a board or cardboard. Do the same for covering the top, or use an extra telescoping cover if you have one.
- At the hive, remove frames one at a time. Brush all of the bees off and quickly walk the frame to your extra super 20 yards away. Place it in the super, again making sure no bees tagged along, and cover it so nothing can get in.
- Repeat until you're finished. As you fill the storage super, you'll be emptying another super on the hive. Just stack this now-empty super on top of your original storage super and repeat the process for the rest of the frames you need to take.
This was easy and pretty quick with Andy and I both working on it. Andy would clear the frames and I would manage the smoke and walk the frames over to our empty super. I'm thinking our bees are little more on the aggressive side - we do have to make sure we are smoking them regularly when investigating more than one super, otherwise they can get a bit feisty. It's probably because they are Italian, ha! {I'm Italian too 🙂 } We actually just stacked ours on top of cardboard on the back of our four-wheeler so we could drive them up to our garage where we were going to harvest. As long as you can keep the super sealed off from anything the might want the honey, you can remove the supers well in advance of harvesting the honey.
When you're ready to harvest, you'll need the following equipment:
- Hive tool {you should already have this from working with your bees throughout the summer}
- Uncapping knife or an electric uncapping plane
- Uncapping scratcher
- Uncapping station
- Extractor
- A 5-gallon bucket with a gate
- Sieve that will fit over your 5-gallon bucket bucket
- Colander and a bowl it will sit over
- Cheesecloth
- Good ol' elbow grease!
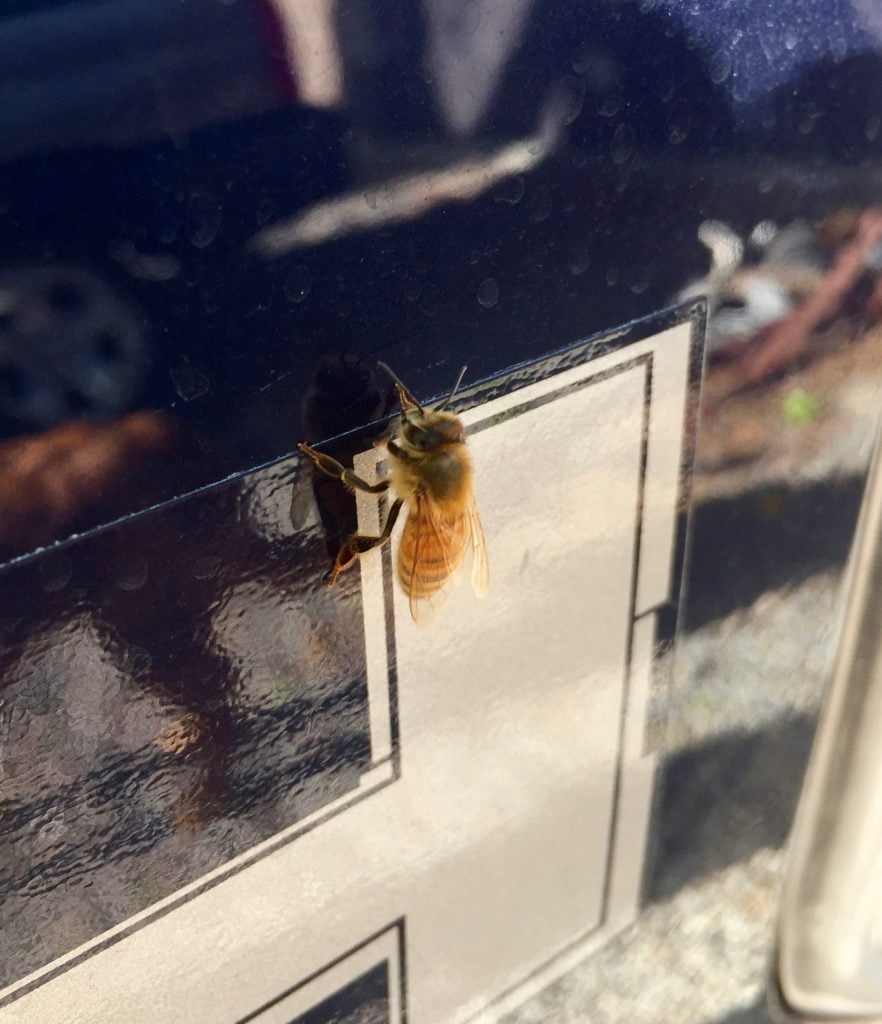
You are going to want to harvest your honey in an area that is able to be enclosed. Bees will get wind of the honey once you start the process and they will come flocking. If one bee finds the honey and is able to get back to the hive to tell the others, you'll have a whole lot of bees on your hands. We used our garage and shut the doors, and even then a few bees found there way in. That isn't a big deal though, they just have a few snacks and don't bother you too much.
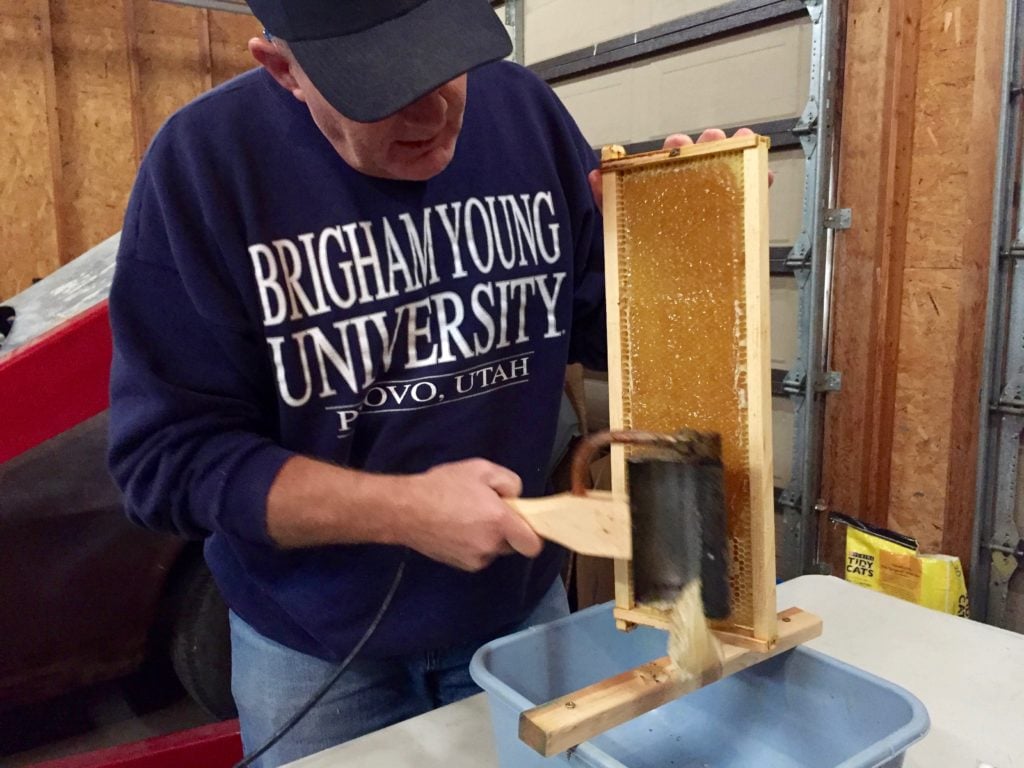
The first thing you'll do to your frames is uncap them. When the bees fill the honeycomb with honey, they will put a wax cap over the top. In order for you to be able to spin the honey out of the comb, you'll need to remove this cap. This is done over an "uncapping station." You can purchase these, but they are pretty pricey. My dad made his own using a plastic bucket and a piece of wood with a few screws in it. The point of the uncapping station is to make an easy and safe spot to rest the frames while you uncap them and to catch all the wax and honey that comes off as you're doing the uncapping.
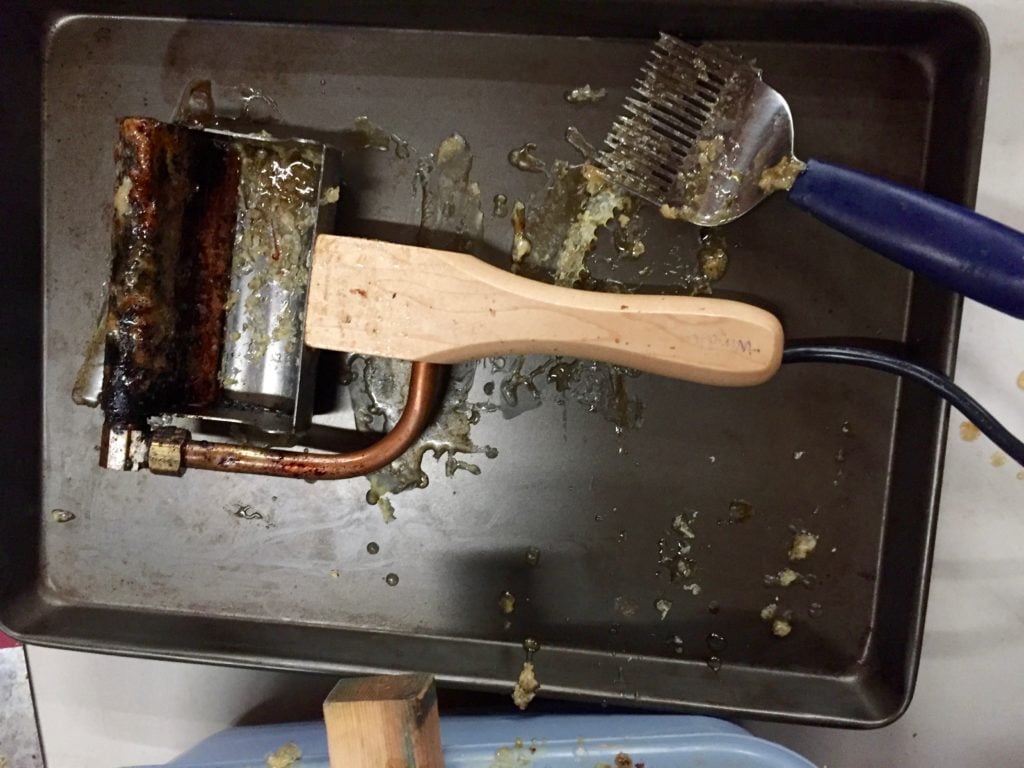
We used an electric uncapping plane to remove the wax caps, an uncapping knife also works - you won't need both. After you uncap the frames, you'll go back through and break up any wax that's leftover with the uncapping scratcher. This tool also has a small blade on the side for remove excess wax from the sides, top, or bottom of the frames.
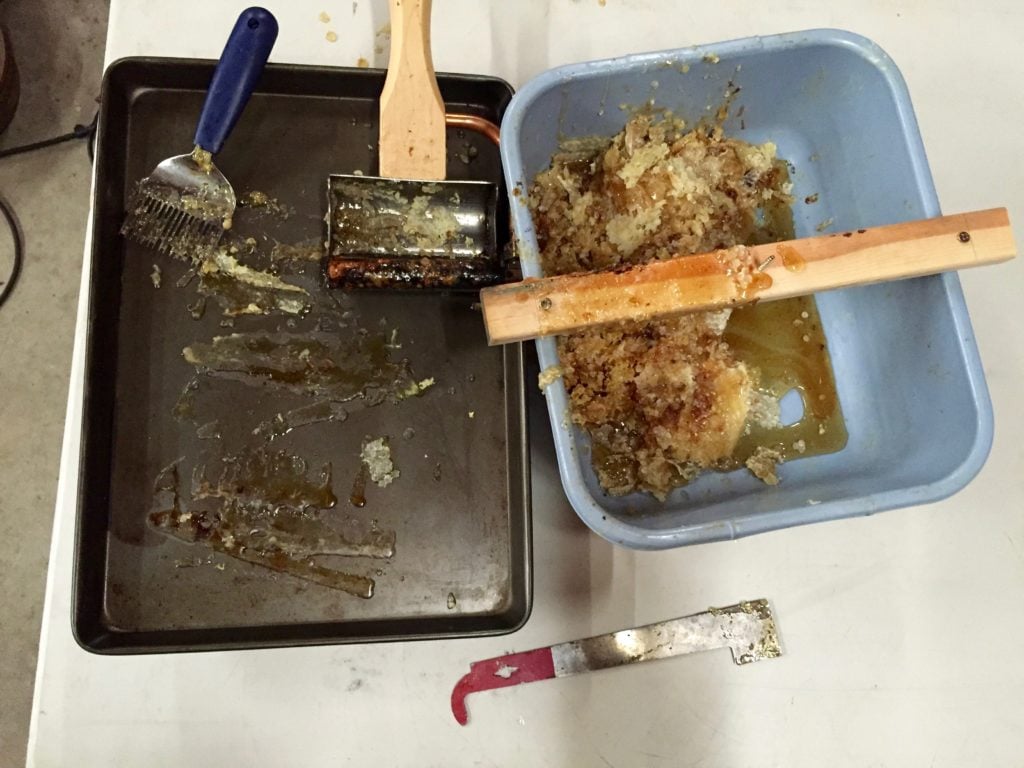
Here is the entire uncapping station set-up!
After you have your frames uncapped, or as many uncapped as will fit in your extractor, it's time to spin out the honey!
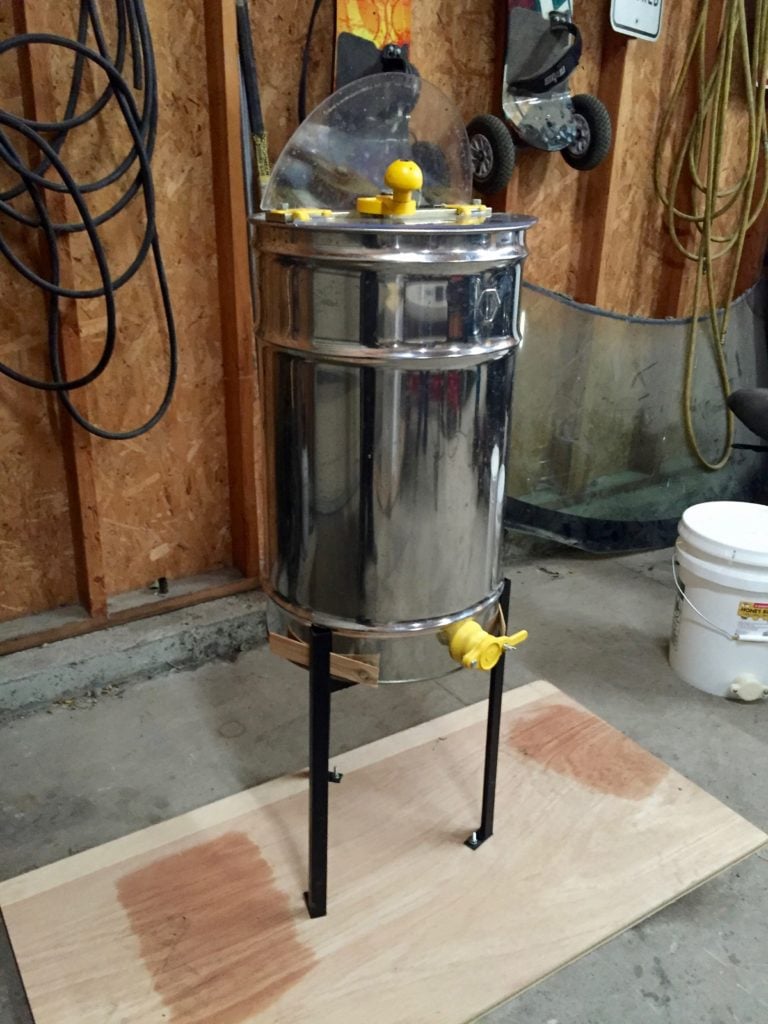
My Dad's extractor held 3 frames so as one of us uncapped, one of us would spin the extractor. This is where the elbow grease comes in, our extractor is spun by hand. The frames are double sided, so you'll have to spin out one side and then flip them around to spin out the other side - the honey is only going to spin out to the outside of the extractor. It's basically like a giant, hand-run centrifuge.
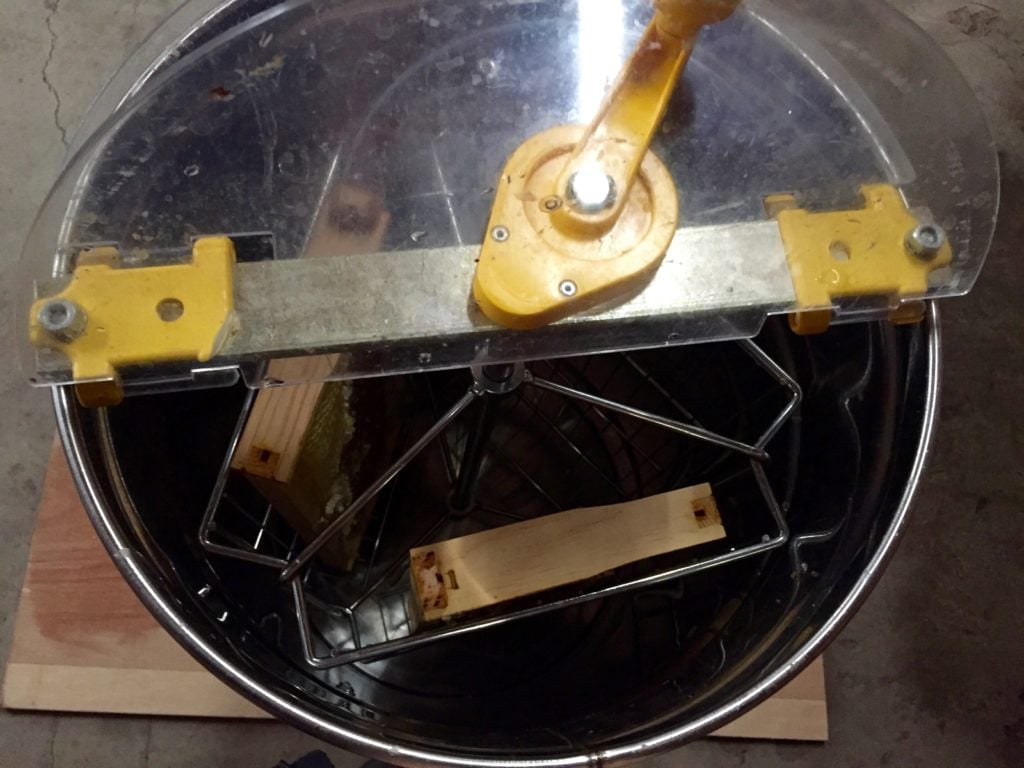
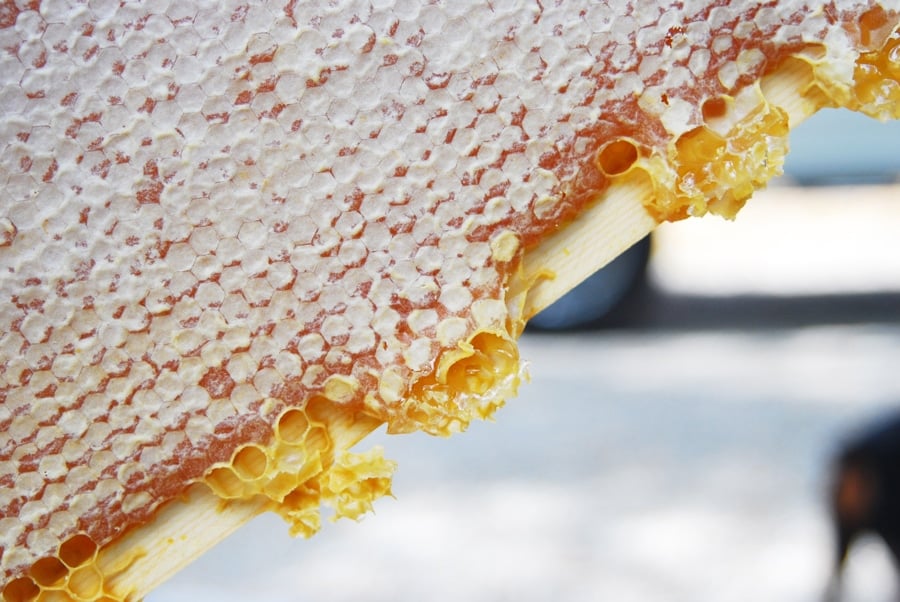
It's easy to see when the honey is all spun out of the wax, you'll just be left with empty honeycomb.
This is the extractor working, basically you spin it and the honey just flows down to the bottom by gravity and then out the spout. You'll place your sieve and bucket under the spout and let the honey flow in.
It's important to note that the warmer it is when you do this, the faster it will go. It was a colder day, around 55 degrees F, when we harvested and the honey took a long time to flow through the sieve in the buckets, it even got backed up a few times and we had to stop and wait.
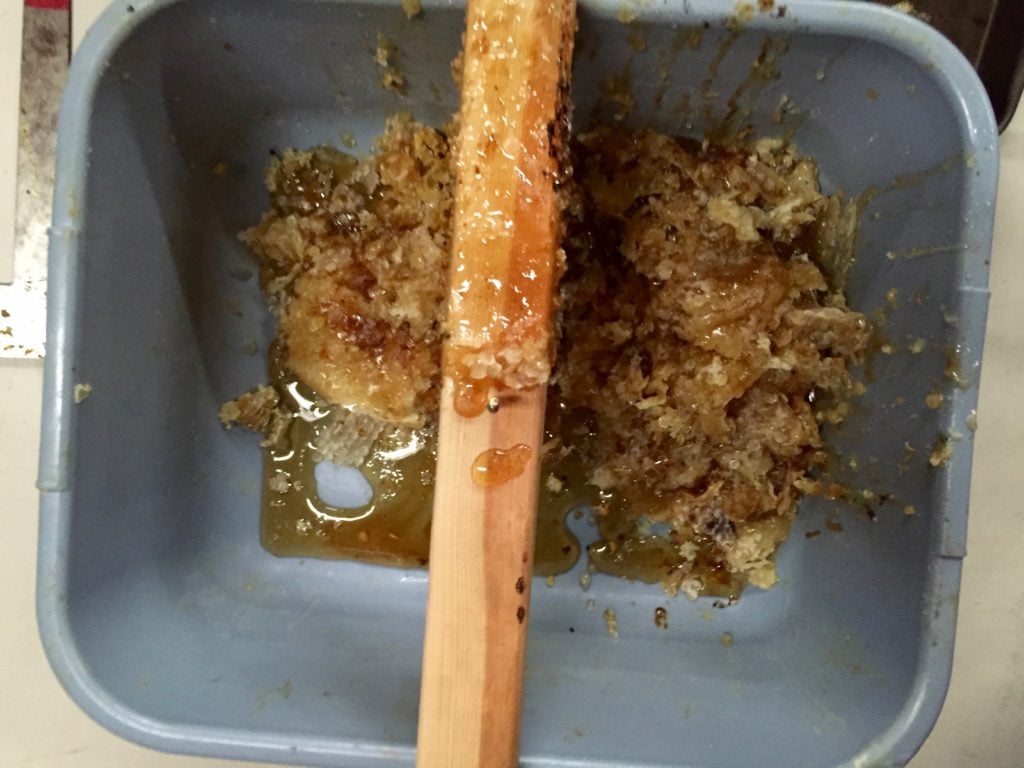
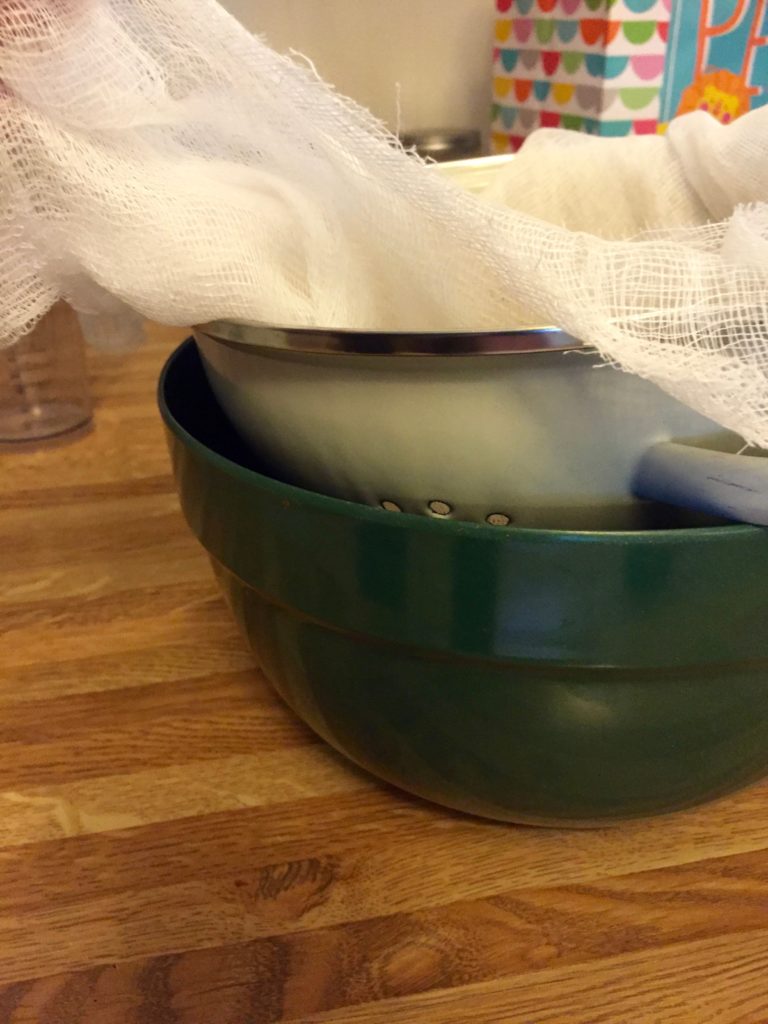
After you have uncapped all the frames and are just spinning them, you'll want to get all the wax and honey out of your uncapping station and put it in a colander lined with a 2-3 layers of cheesecloth.

Place the colander over a bowl that will allow the honey to drain through. I moved mine inside for a day and most of the honey had drained out by then.
After the majority of the honey is out of the wax, fold the cheesecloth over the wax and rinse it under hot water to get the rest of the honey out. Towards the end of this process, I carefully opened the cheesecloth and broke up the wax to make sure it was extra clean. Then you can use the wax to make all sorts of fun things! I love to make diaper rash cream and hand cream.
When you're done extracting your honey, let it drain through the sieve. You may have to help it through a bit at the end by scraping it back and forth with a rubber spatula. Once it's stored in your bucket, you can seal the lid and leave it in there or use the handy spout on your bucket to fill up jars or honey bears or whatever your heart desires!
Your empty frames will have honeycomb in them, attached to the substrate in the frame. You can leave this on the frames, the bees will just reuse it next year. If you wanted more wax you could scrape it out and clean it the same way you cleaned the wax from uncapping. You'll want to store your frames in an area where they can be enclosed. Wax moths will get into them and that sounds like a gross mess. My dad recommended putting them in large garbage bags with a few moth balls so that is what we will do this year. If your frames and supers are really messy and have a lot of honey on them, just set them out by your hive for a day or two and let the bees clean everything up. They are pretty efficient!
I hope this list of honey harvesting equipment and how-to was helpful! Let me know if you have any questions or additional insight.
PS: Are you interested in information about installing your bees? Check out these two posts on Beehive Assembly and Installing Your Bees!
Pin this farm tip on your Bee Keeping board to SAVE it for later! Follow Longbourn Farm on Pinterest for more great tips, ideas, and tutorials!
[et_bloom_inline optin_id="optin_4"]


Lynley Kerr
Thank you for this summary of what to do. I have had my bees for about 16 months now and can't wait to harvest for my first time. I am really nervous as I haven't been inside the hives without the beekeeper. I am getting excited, though. Now I know what to do!
Alli
So exciting, Lynley!! We love keeping bees and harvest is one of our favorite times. You will love it!!
Aleman Meza
I'd bet money that Phil is the one with the hat.
Alli: Great job! this makes me wish to move to one of those 2 acres houses