
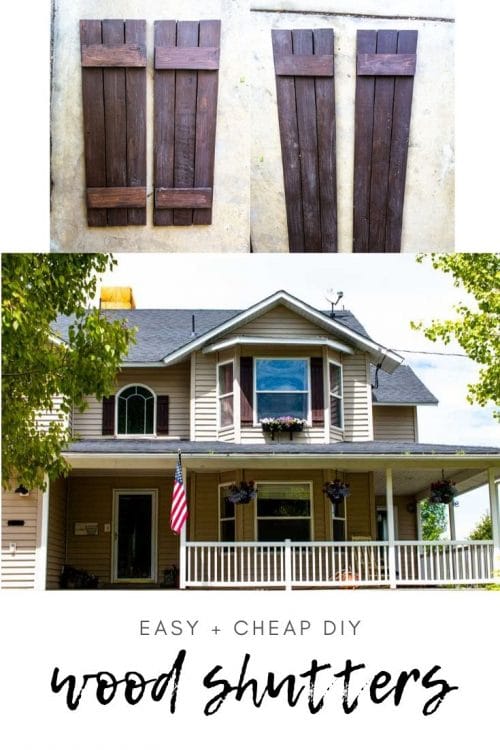
Making wood shutters is so easy and way more cost-effective than buying them or vinyl shutters! Follow this easy tutorial for step-by-step instructions.
WANT TO SAVE THIS RECIPE?
Enter your email below and we'll send it straight to your inbox. Plus you’ll get great new recipes from us every week!
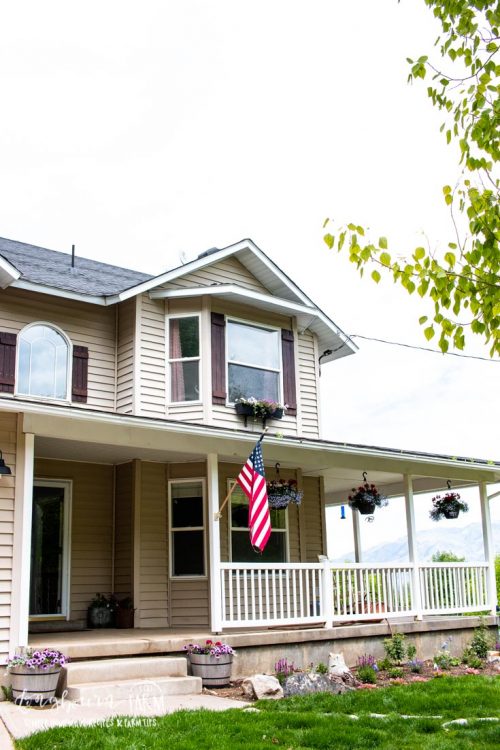
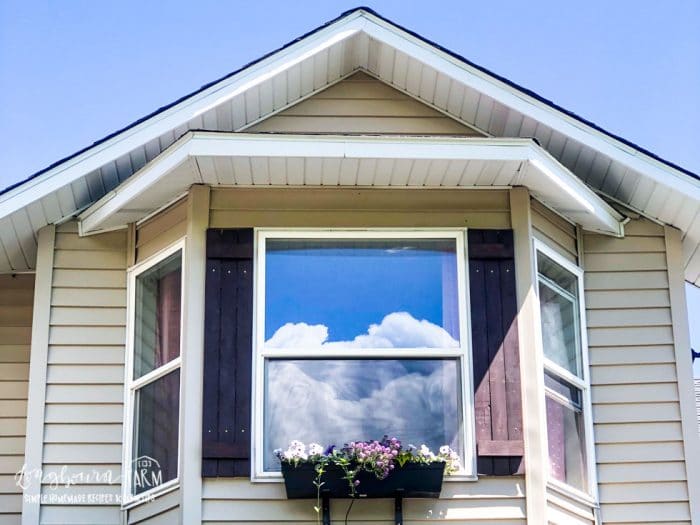
The siding on our house is super plain and there is no framing around the windows. I wanted to amp up the curb appeal on our home so I decided to add shutters.
I searched and researched online for weeks trying to find the perfect shutters but I always got hung up on the price tag! They were all so expensive.
Finally, I decided to just build my own. That way I could make sure they were the right size, the right color, and way cheaper!
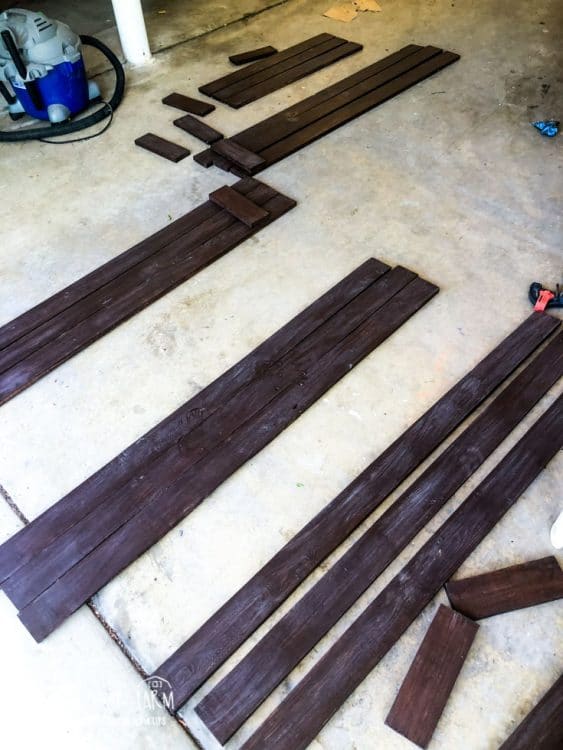
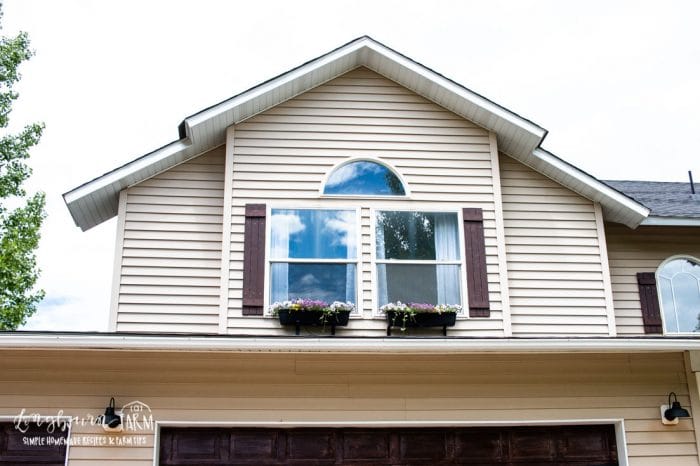
I built the shutters out of basic lumber, the cheapest, longest boards you can find. Because of that, it only cost me about $15 for a pair of shutters. I used a gel stain on them (that matched the gel stain on my garage) and spray-on weather coat.
If you're looking for a more natural wood look and don't want to stain the boards, I'd go with a slightly more expensive cedar wood. That way it will be more naturally weather resistant and still give you that natural, weathered look.
I did my shutters the exact length of my windows. The cross pieces on the shutters were ½ inch from the edge on both sides to give that classic board and batten look.
If you want wider shutters, simply add an additional board onto the shutters. So you would have a 4 board shutter instead of a 3 board shutter.
Supplies for DIY Wood Shutters
- 1x4x8 Furring Strip Board
- DeWalt Skill Saw
- Saw Horse Set
- Trigger Clamps
- Wood Glue
- Hammer
- Finish Nails
- 3-inch Screws
- DeWalt Cordless Drill

How to Build DIY Wood Shutters
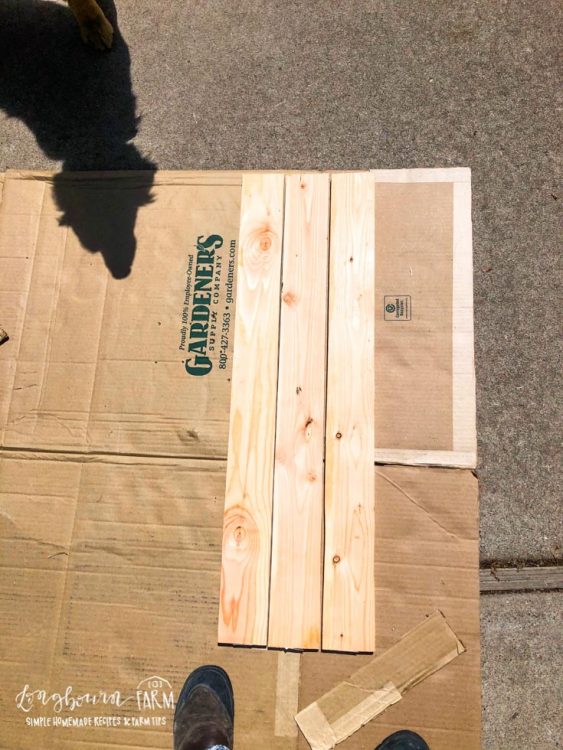
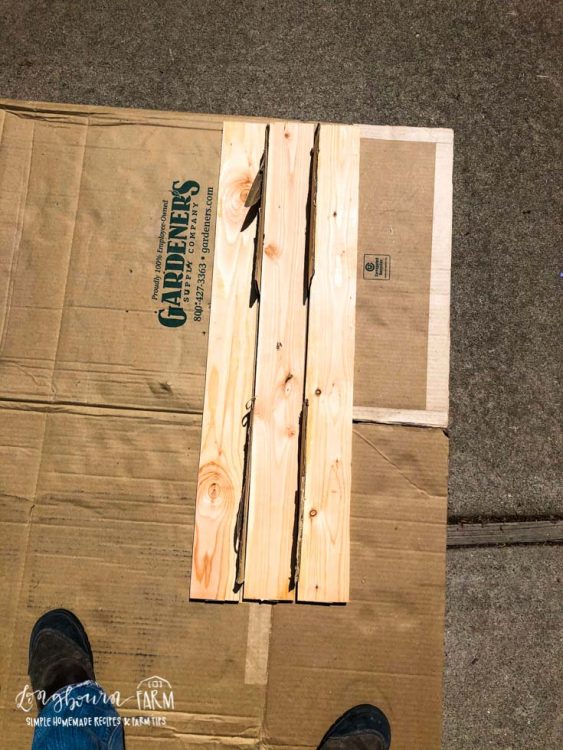
- Cut your boards to length. I used 3 boards on each shutter if you want them wider you could use 4 boards.
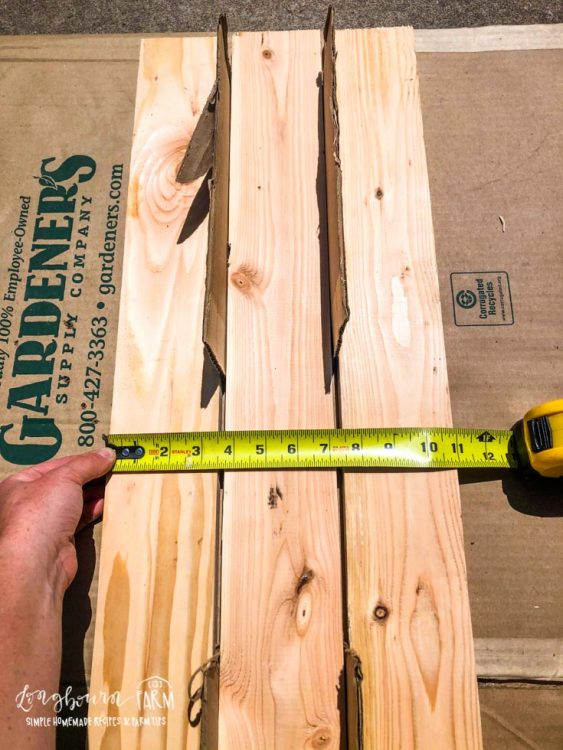
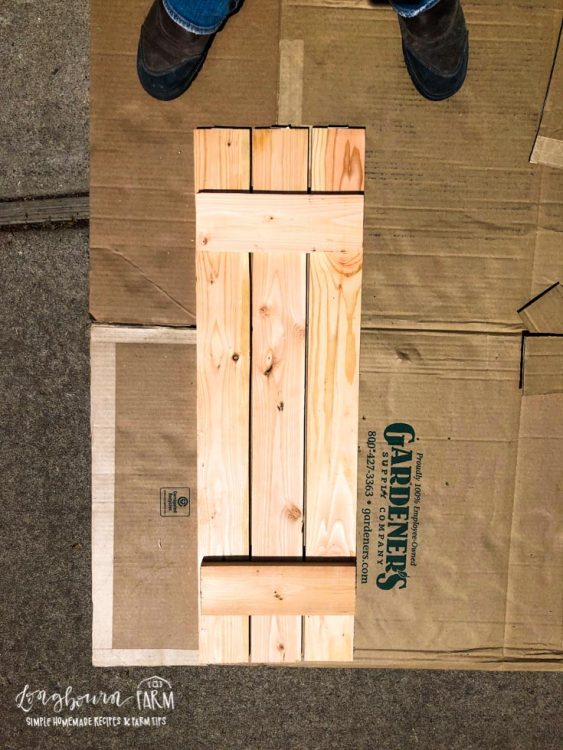
- Cut the cross pieces to length. For a traditional board and batten look, this length is 1 inch shorter than the width of your shutter. When you center the cross piece, it will come ½ inch in on each side.
- Choose a spacer width for your shutters. I used a piece of cardboard because I liked the spacing it provided.
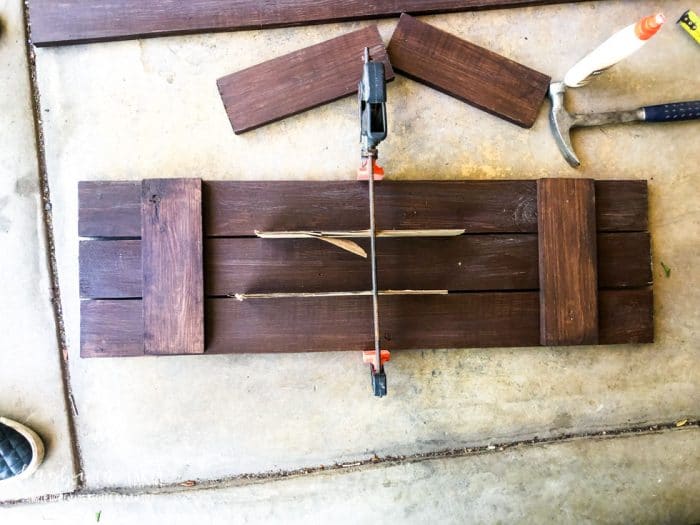
- With the spacers inserted between the shutter boards, clamp the boards that will make up 1 shutter together.
- Place the cross pieces on the shutter, measuring up from the bottom and top to ensure they are evenly space. I placed mine 4 inches from the top and bottom. You can do whatever look you like best.
- Glue the cross pieces onto the shutter boards and then use a finish nail to secure them.
- Once all your shutters are complete, hang them up flush with your windows using outdoor wood screws.


Leave a Reply