
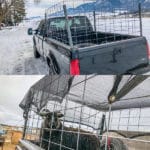
This simple DIY Sheep Trailer turns your pickup truck into a secure livestock transport system. Skip the expensive commercial livestock haulers and build your own versatile sheep trailer for dirt cheap!
WANT TO SAVE THIS RECIPE?
Enter your email below and we'll send it straight to your inbox. Plus you’ll get great new recipes from us every week!
Why Build a DIY Sheep Trailer?
This DIY sheep trailer is one of the best projects we have ever done on our farm! Why is that? Because it has made hauling livestock SO much easier. We used to have to borrow a trailer, but now we never have to do that.
Building your own sheep trailer means never again having to coordinate schedules with neighbors or worry about whether equipment will be available when you need it most. There's nothing quite like the freedom of being able to load up your animals and head to the vet, market, or new pasture whenever the situation calls for it.
This isn't just a sheep trailer – it's a versatile livestock hauler that works perfectly for goats, calves, and even chickens, making it a true multi-purpose investment for any small farm or homestead.
Plus, since you're building it specifically for your truck and your animals, you can customize the height, width, and features to match exactly what you need rather than settling for a one-size-fits-all commercial option.
Materials and Tools Needed
Materials:
- Corner bars - slide into truck bed corners to form the frame foundation
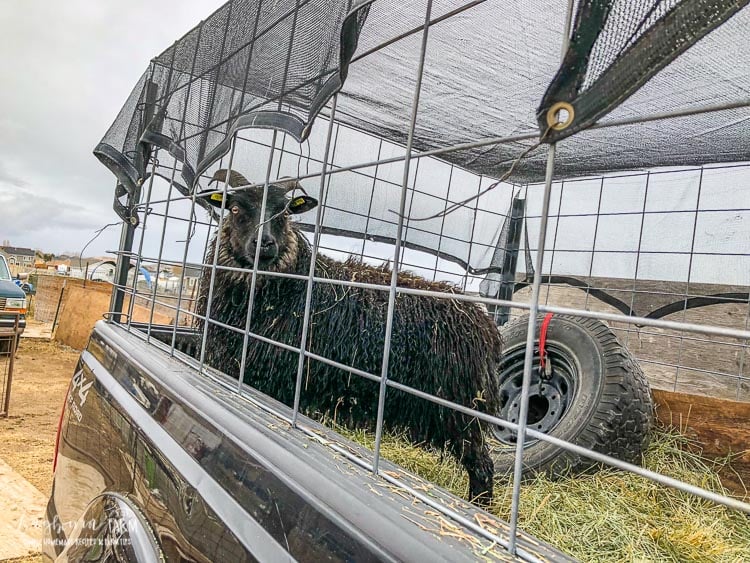
- Cattle panels - create the walls while providing ventilation and visibility
- Heavy-duty wire - temporarily secures panels during construction
- Welding materials/gas - permanently joins all components together
Tools:
- Welder - creates strong, permanent joints (can be borrowed or rented if needed)
- Wire cutters - trim panels to proper size
- Measuring tools - ensure accurate fit in your truck bed
How to Make a DIY Sheep Trailer


Step 1: Start by purchasing corner bars designed to fit your truck bed and insert them securely into each corner. These bars will serve as the main support structure for your entire livestock hauler.
Step 2: Line up your first cattle panel against the corner bars and temporarily secure it with heavy-duty wire. Trim the top of the panel to be level with the bars, ensuring you maintain a full section height – we made ours about 6 feet tall to accommodate calves.


Step 3: Secure the back panel with heavy-duty wire in a way that allows it to open like a door. This design makes loading much easier when combined with your truck's tailgate and a simple ramp.
Step 4: Add cattle panels to all remaining sides, keeping the back panel level with your tailgate height. Leave a small gap when the tailgate is down – this space proves surprisingly handy for arranging things when you already have animals loaded.


Step 5: Extend the front panel all the way down to the truck bed to prevent animals from wiggling through any gaps near the cab window. While this might be not necessary, it provides extra peace of mind during transport.
Step 6: Once all panels are positioned correctly, weld all joints permanently to create a solid, secure structure. Don't worry if your welds aren't perfect – functionality matters more than appearance, and cattle panels weld reasonably well even with basic equipment.

Step 7: Install a cover or additional panels on top since sheep and goats will attempt to jump out of an open hauler. Consider building a simple wooden ramp for easier loading, though lifting smaller animals directly into the hauler works just as well.
DIY Sheep Trailer FAQs
This design works with most full-size pickup trucks, as the corner bars are adjustable to fit different bed widths. The key is ensuring your truck can handle the weight of the livestock you plan to transport.
Capacity depends on animal size – it can comfortably hold 2-3 adult sheep, 4-5 goats, 1-2 calves, or several chickens. Always prioritize animal comfort and safety over maximum capacity.
Basic welding skills are helpful, but this is a great beginner project since the welds don't need to be perfect. If you're not comfortable welding, consider asking a friend to help or having a local shop do the welding for a small fee.
Yes, you can weld the corner bars directly to your truck bed, though this limits your truck's versatility for other hauling needs. The removable design offers more flexibility for most farm operations.
More Favorites From Longbourn Farm


Did you find this info helpful? If so, please share it on Instagram, Facebook, or Pinterest!


Vicki
How long is each panel?
Melissa Griffiths
They're 16 feet.
Christine
Hello there !!! We are about to buy a few sheep and came across your diy sheep trailer and we cant wait to try it out !! Although we were wondering what type of bars are those you used ?
Alli
Hi Christine! So fun you are getting sheep. It's just called angle iron, you should be able to find it at a hardware store.