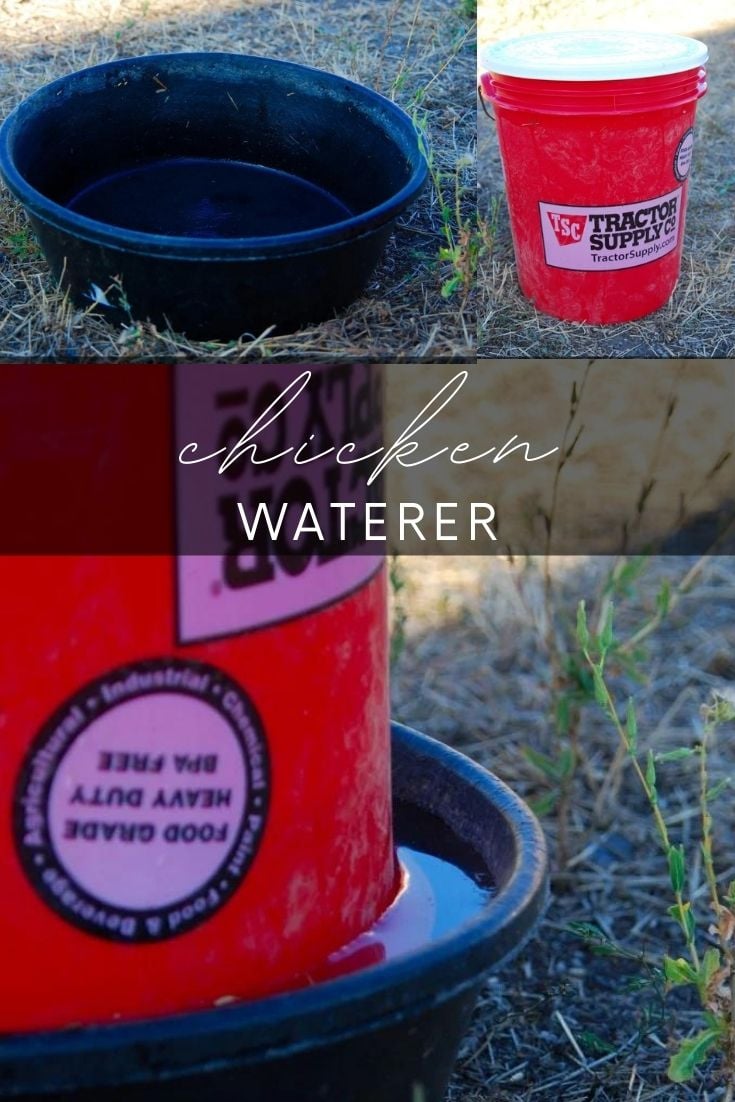
This DIY chicken waterer is inexpensive and simple to make. It will keep your chickens watered for a long time, making your job easier.

While you can buy a chicken waterer for about $45 (affiliate link), I prefer to make my own. Inevitably, they will get brittle and break and I like the bucket and feed pan method because it’s longer-lasting and cheaper! Here’s how to make one.
Supplies for DIY Chicken Waterer
- Large feed pan
- 5-gallon bucket
- 5-gallon bucket lid
- Drill


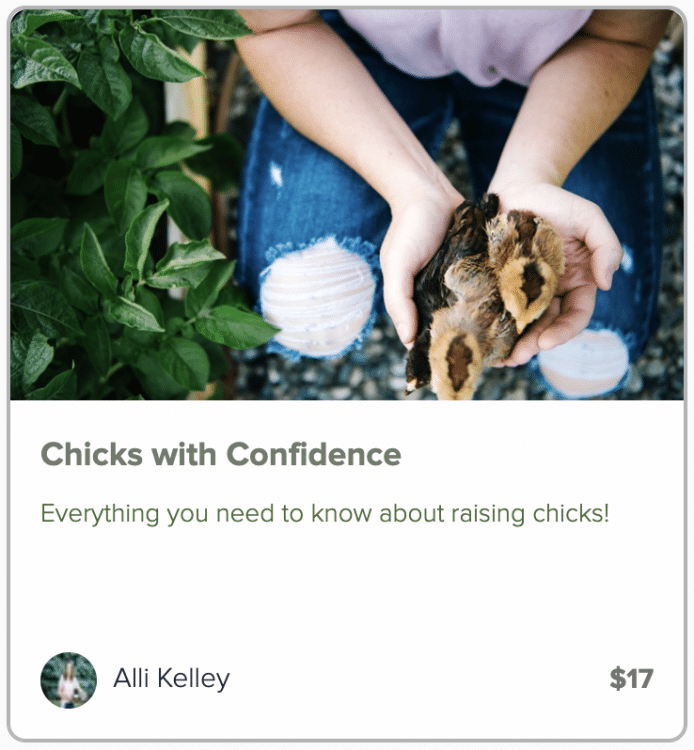
Looking for more in-depth chicken-keeping information? Take my course, Chicks with Confidence!
Chicks with Confidence is a straight to the point, fact based digital course that walks you through exactly what you need to get raising your baby chicks without breaking the bank or causing you to panic everytime they make a weird sounding peep!
How to Make a DIY Chicken Waterer
- Put the lid on the bucket.
- Make sure your bucket fits upside down in the feed pan with at least 2 inches around the edge.
- Leave the bucket upside down in the feed pan and mark on the bucket 1/2 inch below the top edge of the feed pan. That way, when the water comes out, there will be 1/2 inch of space on the pan.
- Take the bucket out of the feed pan and turn it right side up.
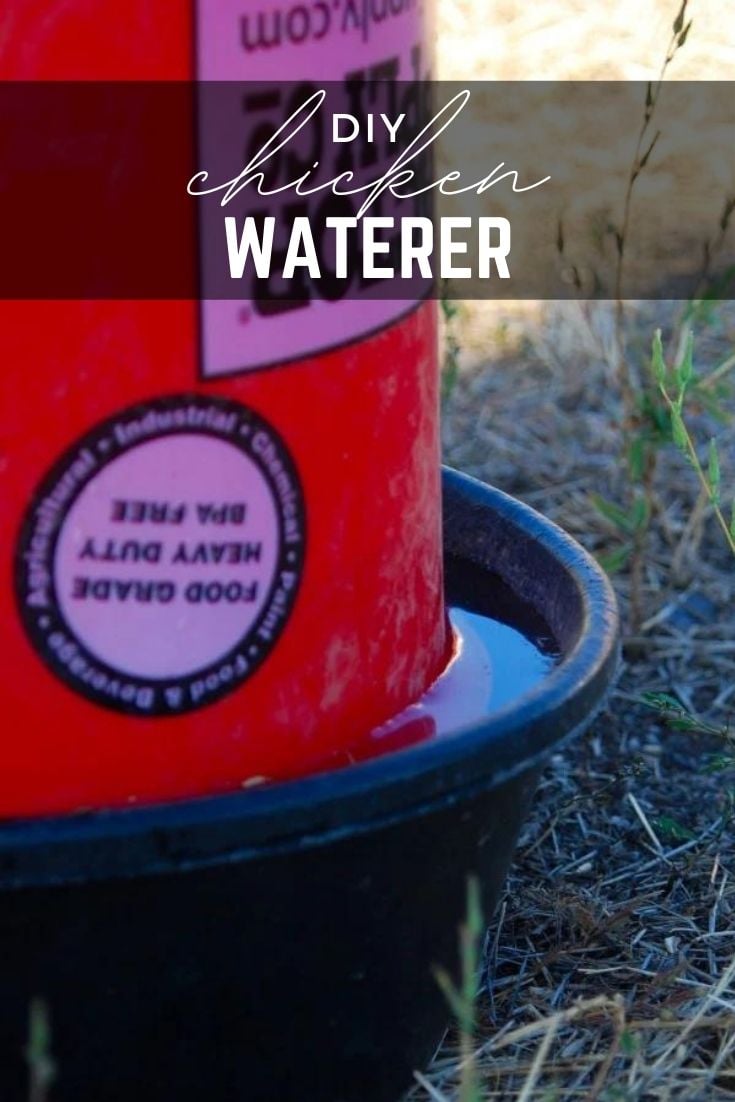
- Drill three evenly spaced, 1/4 inch holes, in the bucket at the level where you marked the bucket.


Does the bucket have to be upside down?
YES. For this bucket and lid type, you will need to turn the bucket upside down. This will create the seal and vacuum you need to keep the water in the bucket and pail. It’s also much easier to fill and transport the bucket when it’s right side up with the holes at the top.
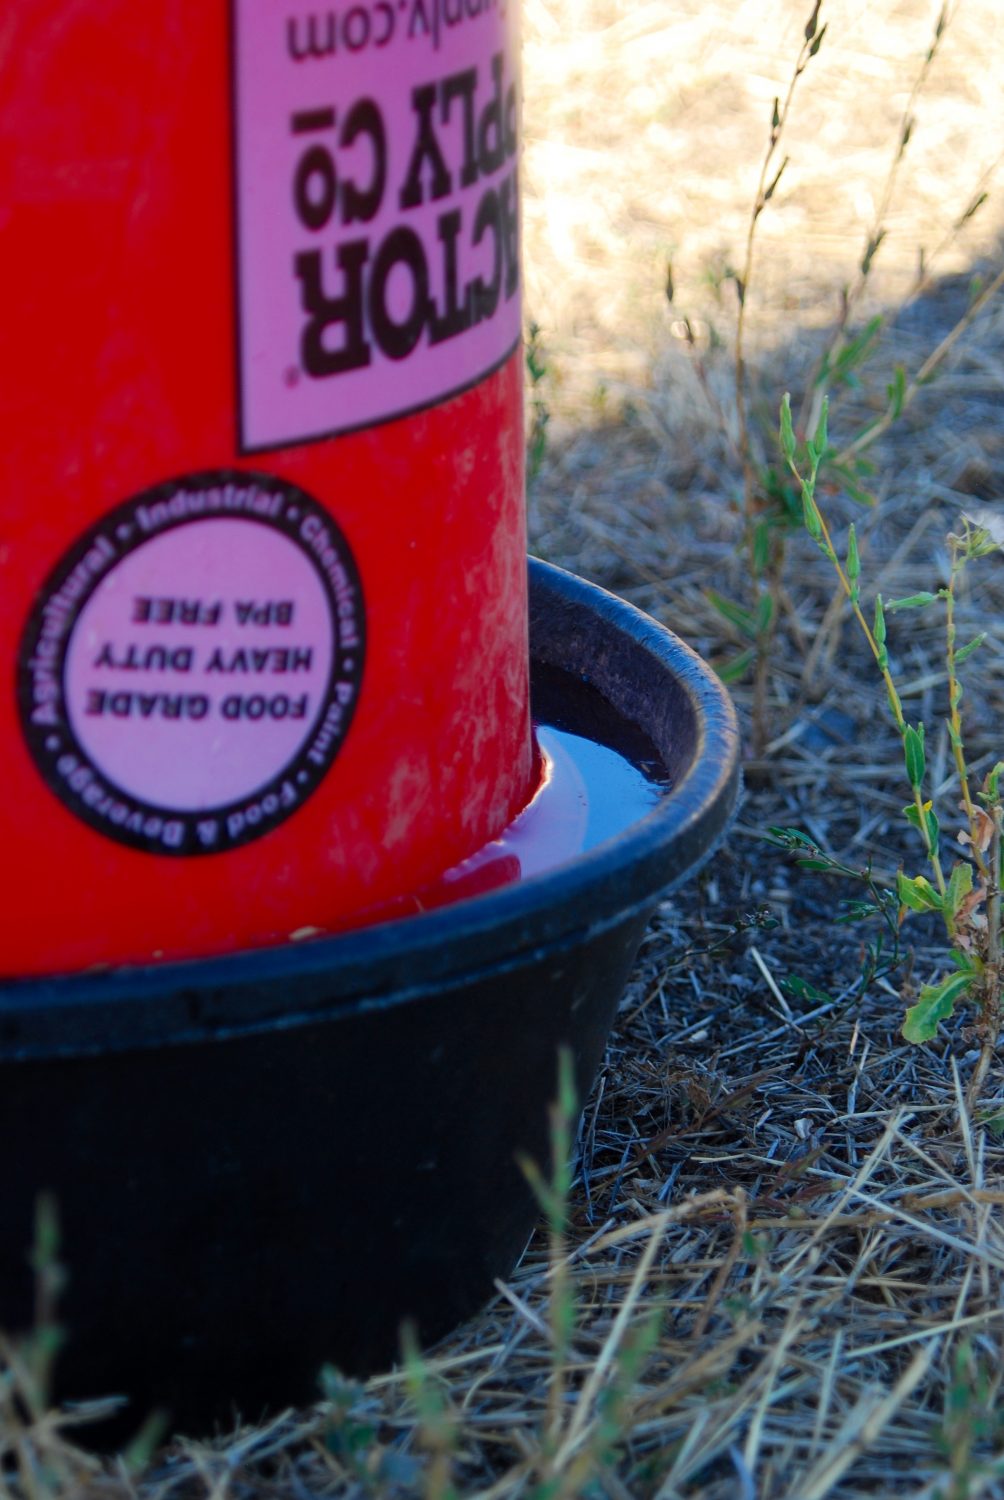
The water in the DIY chicken waterer is the perfect height for the chickens to get a drink and it flows out when it gets below the holes that were drilled. I set it on two cinder blocks to keep it elevated and cleaner.
Total Cost for the DIY Chicken Waterer
| Item | Cost |
| Lid | $2.00 |
| Bucket | $8.00 |
| Feed Pan | $6.00 |
| Total Cost | $16.00 |
| Total Savings | $29.00 |
Looking for more in-depth chicken-keeping information? Take my course, Chicks with Confidence!
Chicks with Confidence is a straight to the point, fact based digital course that walks you through exactly what you need to get raising your baby chicks without breaking the bank or causing you to panic everytime they make a weird sounding peep!
Not up for a DIY Waterer? Here are some other options!
The cost of chicken waterers can vary widely depending on the type, size, brand, and where you purchase them. Here are some general cost estimates for different kinds of chicken waterers:
- Traditional Chicken Waterer with a Tray or Dish:
- Small to Medium Size (1 to 5 gallons): $5 to $20
- Large Size (10 gallons or more): $20 to $50
- Automatic Chicken Waterers:
- Basic Automatic Waterer (plastic or metal): $20 to $50
- High-Capacity Automatic Waterer (larger flocks): $50 to $150 or more
- Nipple Waterers:
- Basic Nipple Waterer (for a few chickens): $10 to $30
- Larger Nipple Waterer (for more chickens): $30 to $60
- Cup Waterers:
- Small Cup Waterer: $5 to $20
- Larger Cup Waterer (multiple cups): $40 to $60
- Heated Chicken Waterers:
- Heated Base or Tray (to place under existing waterer): $30 to $50
- All-in-One Heated Waterer: $30 to $100 or more
- Gravity-Fed Waterers:
- Small to Medium Size (1 to 5 gallons): $10 to $30
- Large Size (10 gallons or more): $30 to $80
- Poultry Watering Systems:
- These systems can be quite expensive and are typically used for larger-scale operations. Costs can range from hundreds to thousands of dollars, depending on the complexity and scale of the system.
Please note that these are rough estimates, and prices can vary based on factors like the quality of materials, brand, and where you purchase the waterer. Additionally, heated waterers may be more expensive due to the heating elements they contain. It’s a good idea to shop around, compare prices, and read reviews to find a chicken waterer that fits your budget and needs.

DIY Chicken Waterer
Equipment
- 1 Drill
Ingredients
- 1 5 gallon bucket
- 1 5 gallon bucket lid
- 1 feed pan large enough for the bucket to turn upside down
Instructions
- Put the lid on the bucket.
- Make sure your bucket fits upside down in the feed pan with at least 2 inches around the edge.
- Leave the bucket upside down in the feed pan and mark on the bucket 1/2 inch below the top edge of the feed pan.
- That way, when the water comes out, there will be 1/2 inch of space on the pan.
- Take the bucket out of the feed pan and turn it right side up.
- Drill three evenly spaced, 1/4 inch holes, in the bucket at the level where you marked the bucket.
Video
Looking for more in-depth chicken-keeping information? Take my course, Chicks with Confidence!
Chicks with Confidence is a straight to the point, fact based digital course that walks you through exactly what you need to get raising your baby chicks without breaking the bank or causing you to panic everytime they make a weird sounding peep!


Donald says
tried three different bucket vidieos and this one worked the best. i have seven hens and they are quit a bit of work. thanks
Alli says
Happy to hear this!
Alyx says
I love this DIY! Works great, even use for my dog’s outside waterer. Prevents her from splashing it all out.
Making as a gift for one of my chicken-loving friends!
Alli says
So glad you loved it Alyx!! You’re the best.
Missy says
Why does the bucket have to be upside down? Couldn’t you do the same thing with the bucket right side up and drill holes at the bottom?
Alli says
The buckets I used didn’t create a good enough seal being right side up so the water just overflowed and emptied out. When the bucket is upside down, it suctions down tight and creates a seal, making the air stay in the top of the bucket without pushing the water out past the level of the holes you drill.