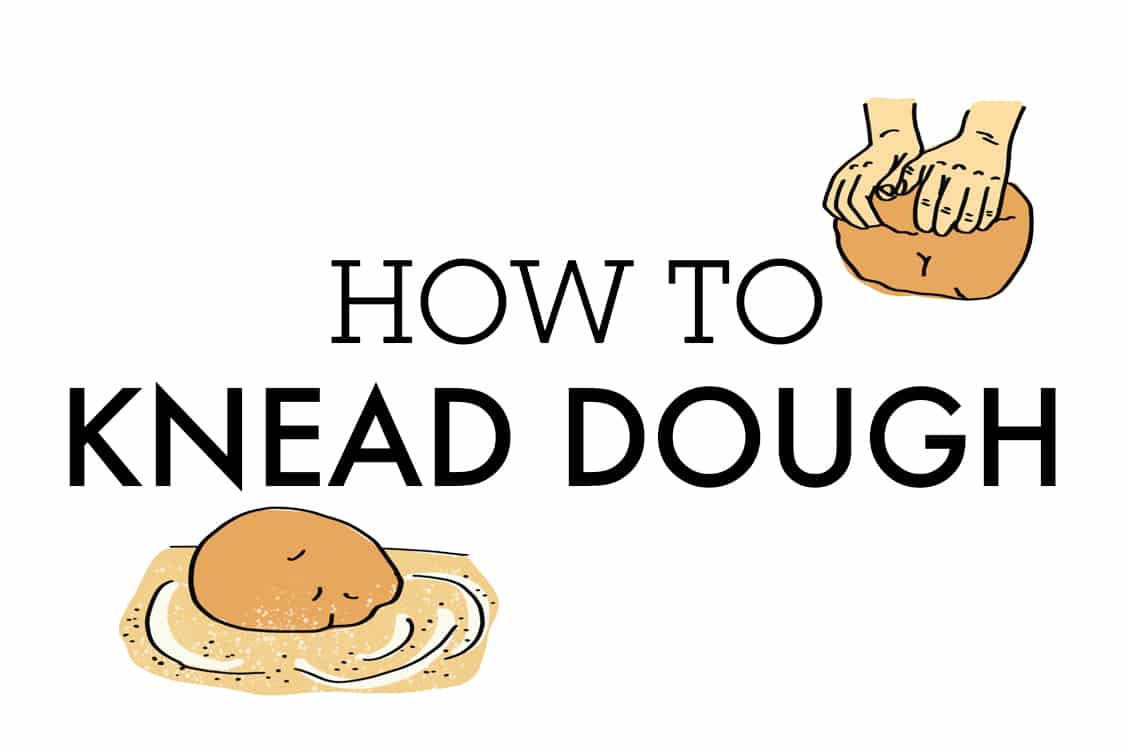
Kneading dough is easy if you know the right technique! Learn all the basics you need to get a fresh loaf on your table with ease.
There’s no better smell in the kitchen than a freshly baked loaf of bread. Everything from the smell of the dough while it’s proofing or the smell after it’s been pulled from the oven is heavenly.
Making your own dough can be a fun and rewarding experience. The hands-on effort from kneading the dough can not only be a good way to work out your frustrations but can also be calming and therapeutic.
If you haven’t made your own bread or doughs before, I highly recommend it! When you read below and see how to knead the dough, you can see that it isn’t as hard as it may seem.
Why do you knead dough?
Yeast breads get their structure from gluten. Gluten develops when it is worked. Think of it like a muscle, the more it’s worked, the stronger it gets. As you knead the dough, the gluten strands connect into long matrices. These long, connected matrices create the structure for your bread. They are what allow it to rise and hold its shape. They also contribute to giving your particular bread its distinct chew and texture.
How to knead dough
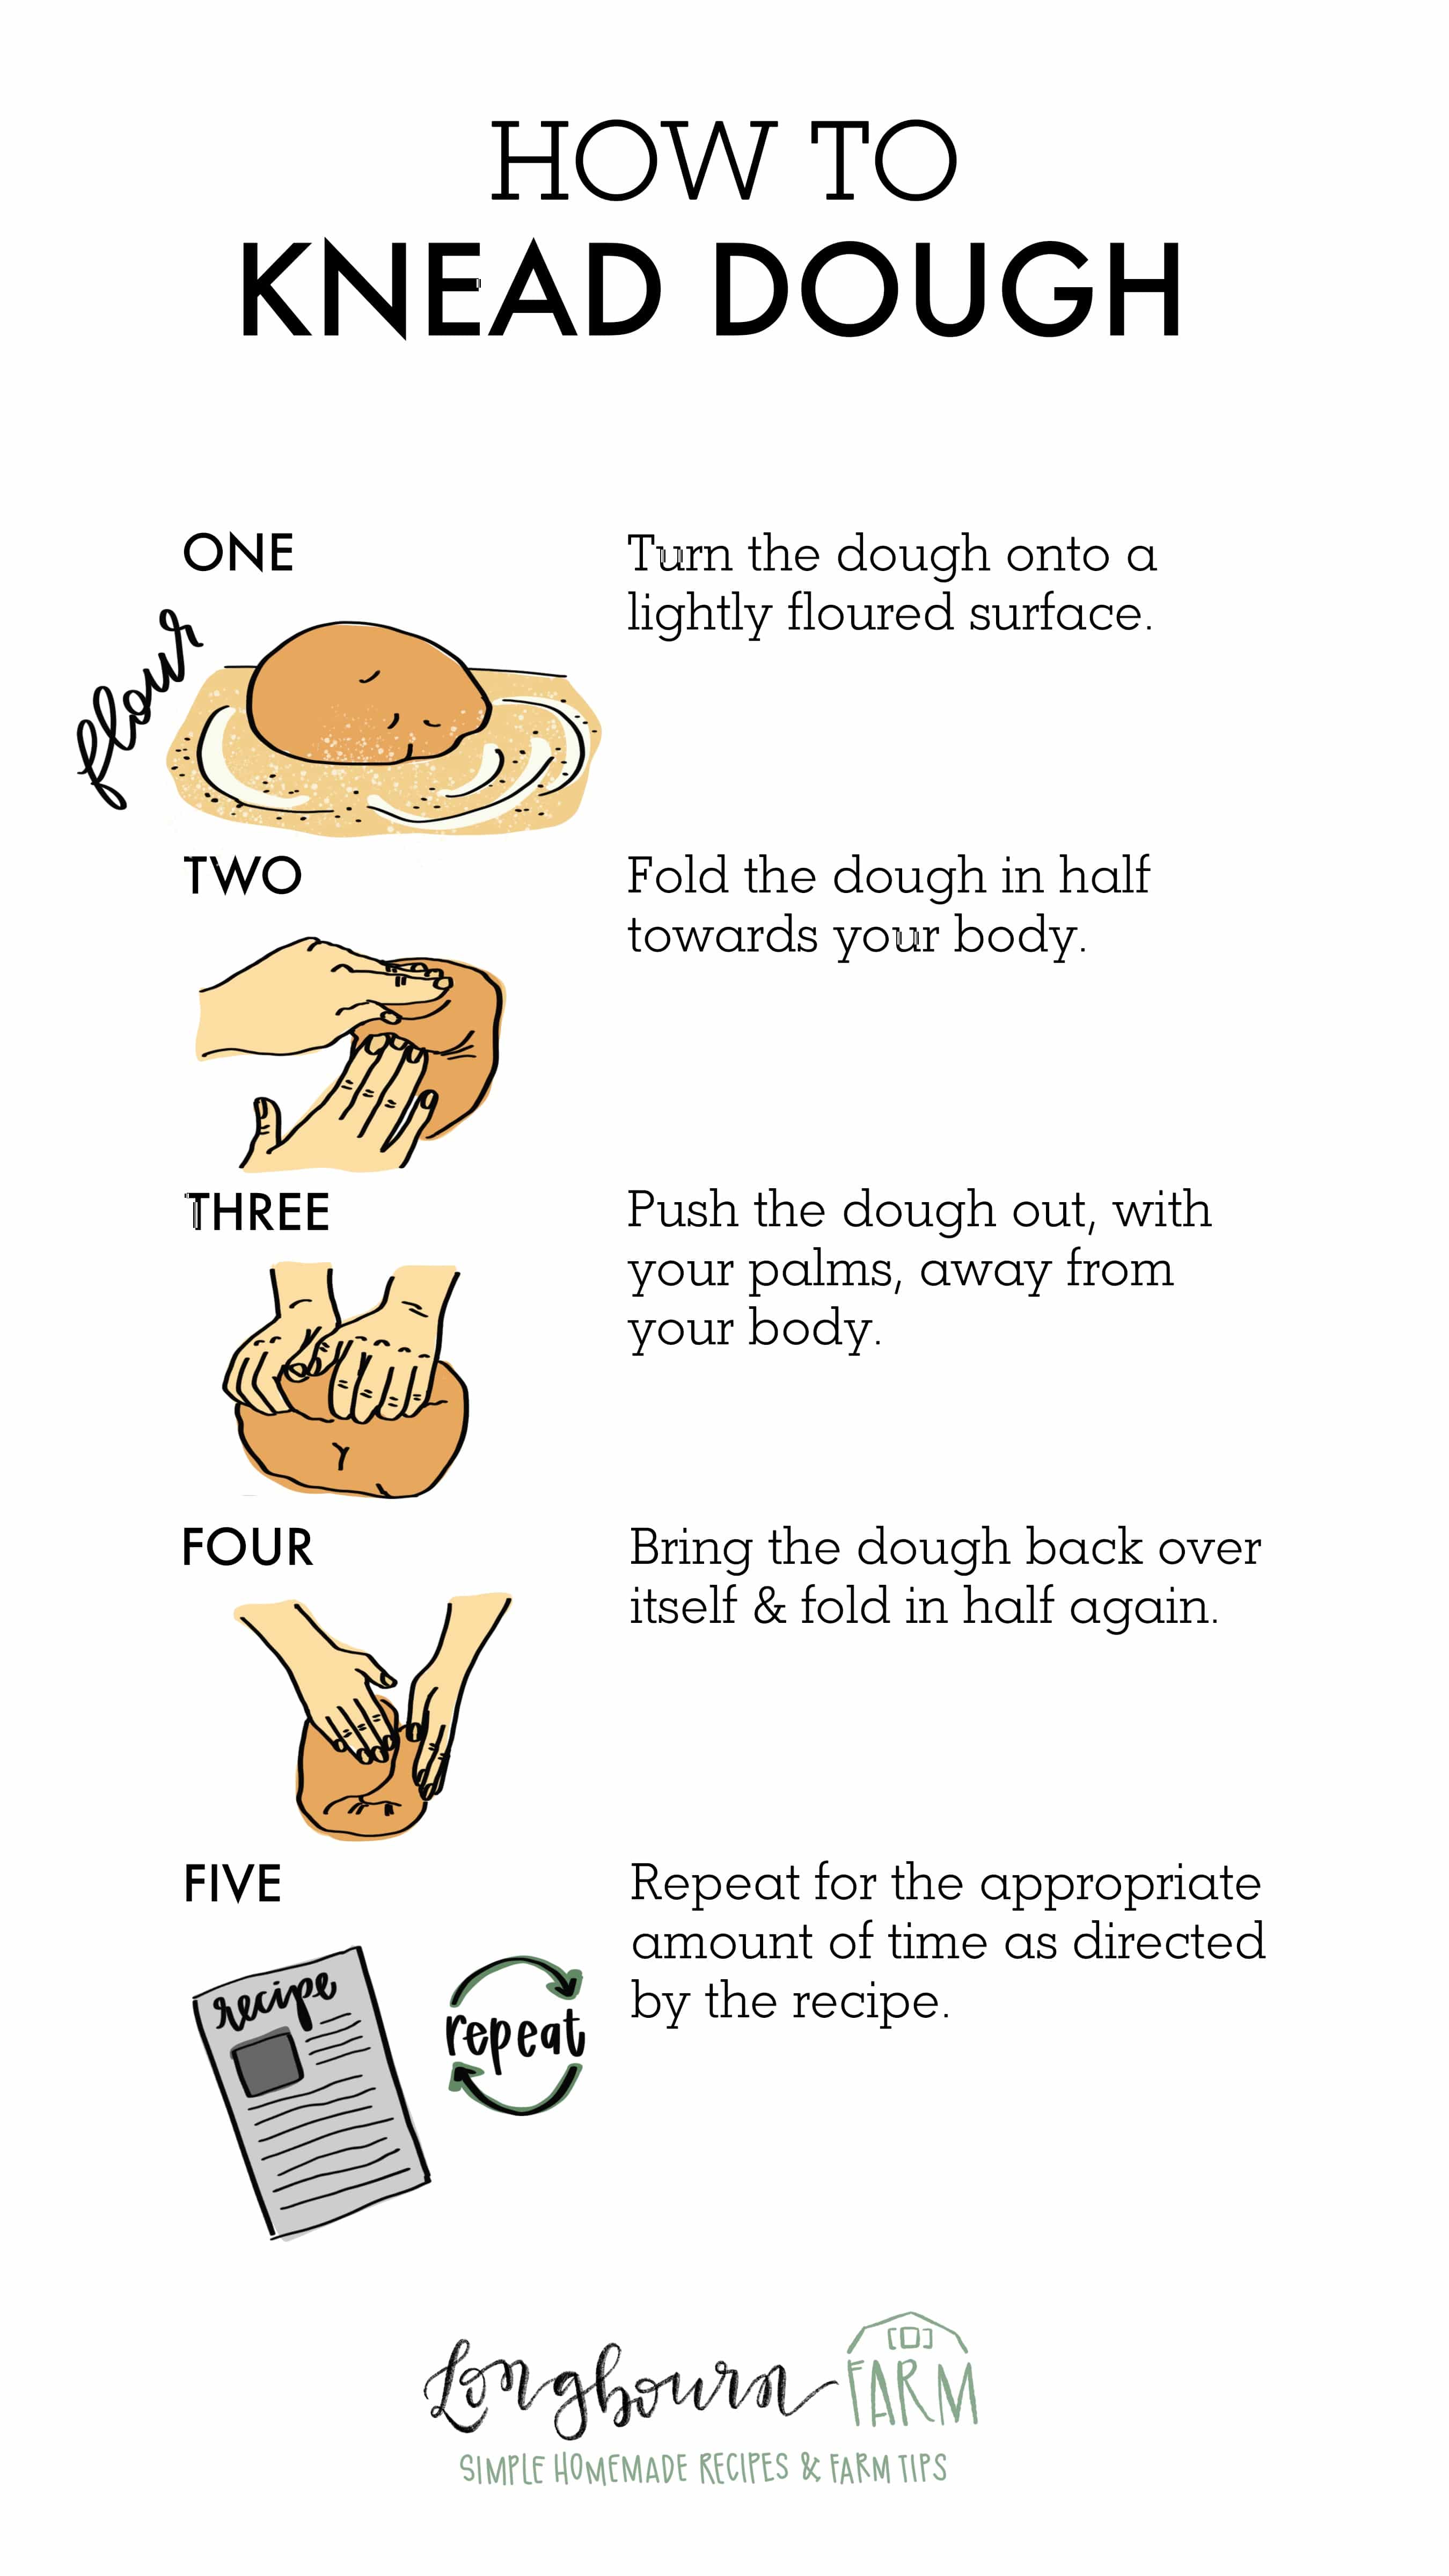
- Turn out dough onto a lightly floured surface.
- Fold the dough in half towards your body.
- Push the dough down and out, with your palms, away from your body.
- Bring the dough back over itself and fold in half again.
- Repeat for the appropriate amount of time as directed by the recipe.
So, is the method outlined here the only way to knead dough? Of course not. But it is a great way to develop gluten and ensure your dough will get the structure it needs.
How Long To Knead Bread
This is something that experience helps with. The more you work with doughs, the easier it is to see and feel when it is done being kneaded visually.
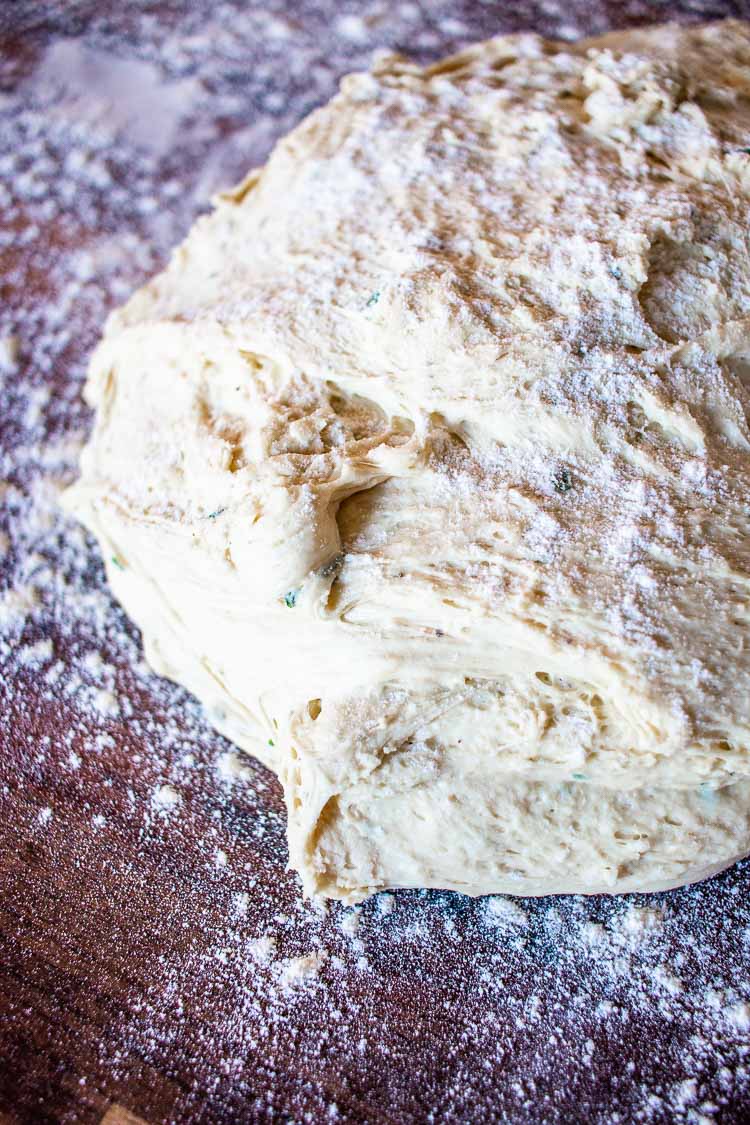
The dough usually needs to be kneaded by hand for about 10-12 minutes, until it is tight and difficult to maneuver.
How do I know when dough is kneaded enough?
There are 5 easy ways to tell that your dough is finished kneading.
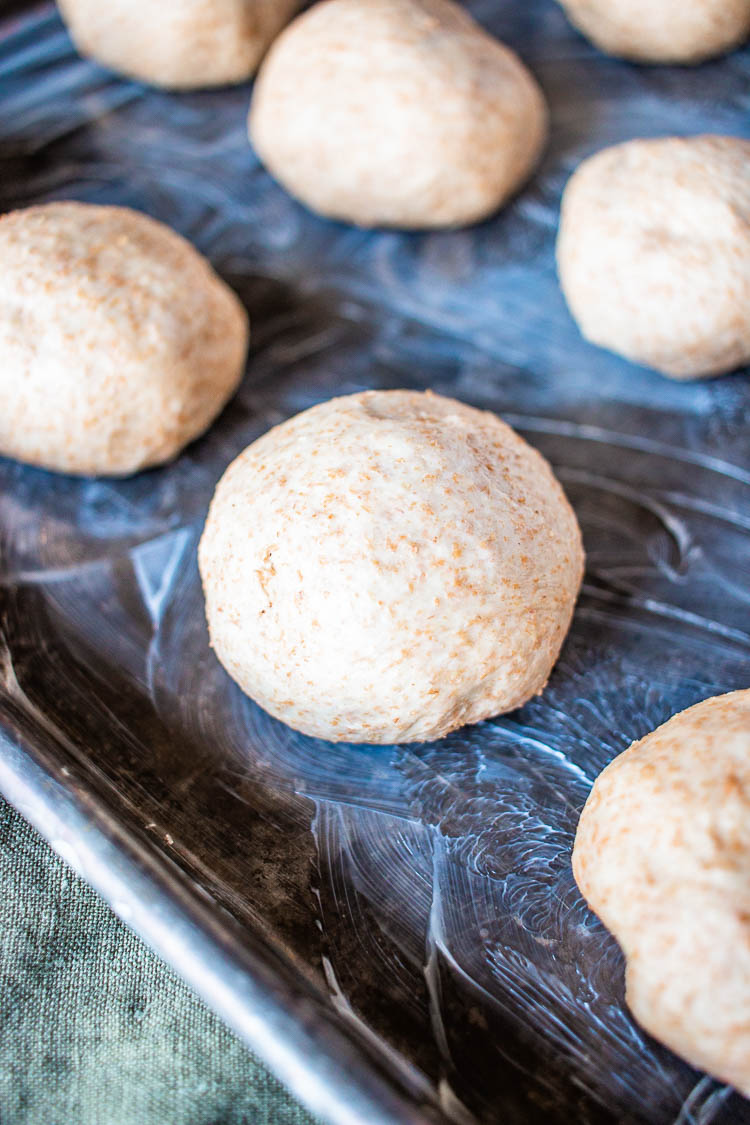
- It’s smooth. All of the lumps and bumps have gone away, and now it’s just a lovely smooth ball of dough.
- Holds its shape. When you place it down in the shape of a ball on the counter, it doesn’t immediately start expanding and trying to turn into a dough puddle.
- It passes the poke test. When you poke the dough, the indentation made your finger goes away quickly.
- You can stretch it thin without it breaking. Take a small piece of the dough (about the size of a golf ball) and pull it out until it looks like a thin sheet of paper. If it can survive that without breaking, the dough is good to go.
- If you’re tired, it could be ready. While a lot of recipes will state to knead the dough for X amount of time, you may notice that your dough can meet the previous tests long before that time is up. With everyone working at their own pace, the time references are usually just a guestimate.
Can You Over Knead Dough?
It’s easy to tell when your dough is under-kneaded because it looks like a soft pile of chunky mess that tears easily. But over-kneaded dough can be a little harder to determine.
If you’re kneading by hand, the chances that you will over-knead the dough are very minimal. You’ll tire yourself long before that happens.
If you’re kneading with the use of a machine, it is much more likely thanks to the powerful little motors.
You can tell that your dough is over-kneaded if it is difficult to shape, doesn’t want to move. Just like with under-kneaded dough, it can tear easily. This is because the gluten has been worked so hard that it now has very little room to give.
While you can’t fix over-kneaded dough, you can give it a little longer to rise during proofing. This will help the gluten to relax a little before baking.
Loaves made with over-kneaded dough usually turn into bread with a tough, crusty exterior, great for making breadcrumbs. Under kneaded loaves will flatten while cooking.
Kneading Bread Pro Tips
Keep the dough moving. Once you place the dough onto your work surface, shape it into a mound. Use one or both hands to press it down and away from you. Fold the dough back, and repeat.
Turn the dough. After every few folds, give the mound of dough a quarter turn to make sure that all surface areas of the dough are evenly worked.
Don’t overwork your dough. You want your dough to be firm but elastic, meaning that if you were to poke it with your finger, it would spring back and fill in that gap quickly. The underworked dough will take a while to fill in the gap, if at all. The overworked dough will be tight and tough and hard to poke.
It’s actually harder to overwork dough by hand than you think. Kneading dough by hand normally takes about 8-15 minutes with constant work, which is tiring enough, but continuing through that for several more minutes will undoubtedly tire you out before you ever get over-kneaded.
You can save overworked dough. If you find that you overworked your dough, do not despair because it is not a lost cause. You can still save it! You have to let the dough rest for a little while (about 10-15 minutes) before shaping and letting rise a second time.
Bread is a learning process
Taking the time to learn this centuries-old skill can help you for the rest of your life. While it can be disappointing by making a dough that doesn’t turn out perfect every time, over-kneaded and under-kneaded bread are both still edible and delicious in their own rights.
The only way to get better is through hands-on practice and experience. If you have questions about what type of yeast you should use, check out this post on Types of Baker’s Yeast!
Looking for some great bread recipes?
- Homemade Bread
- Homemade Wheat Bread
- Banana Bread Recipe
- Best Garlic Bread Recipe
- Focaccia Recipe
- How to Bake Bread
- Dutch Oven Bread
- Cinnamon Roll Recipe
- Pumpkin Cinnamon Rolls
- Homemade Pretzels
- Pretzel Bites
- Sticky Buns Recipe
- Easy Pizza Dough


Leave a Reply